LAWN STAR LSBH 2625 P User manual
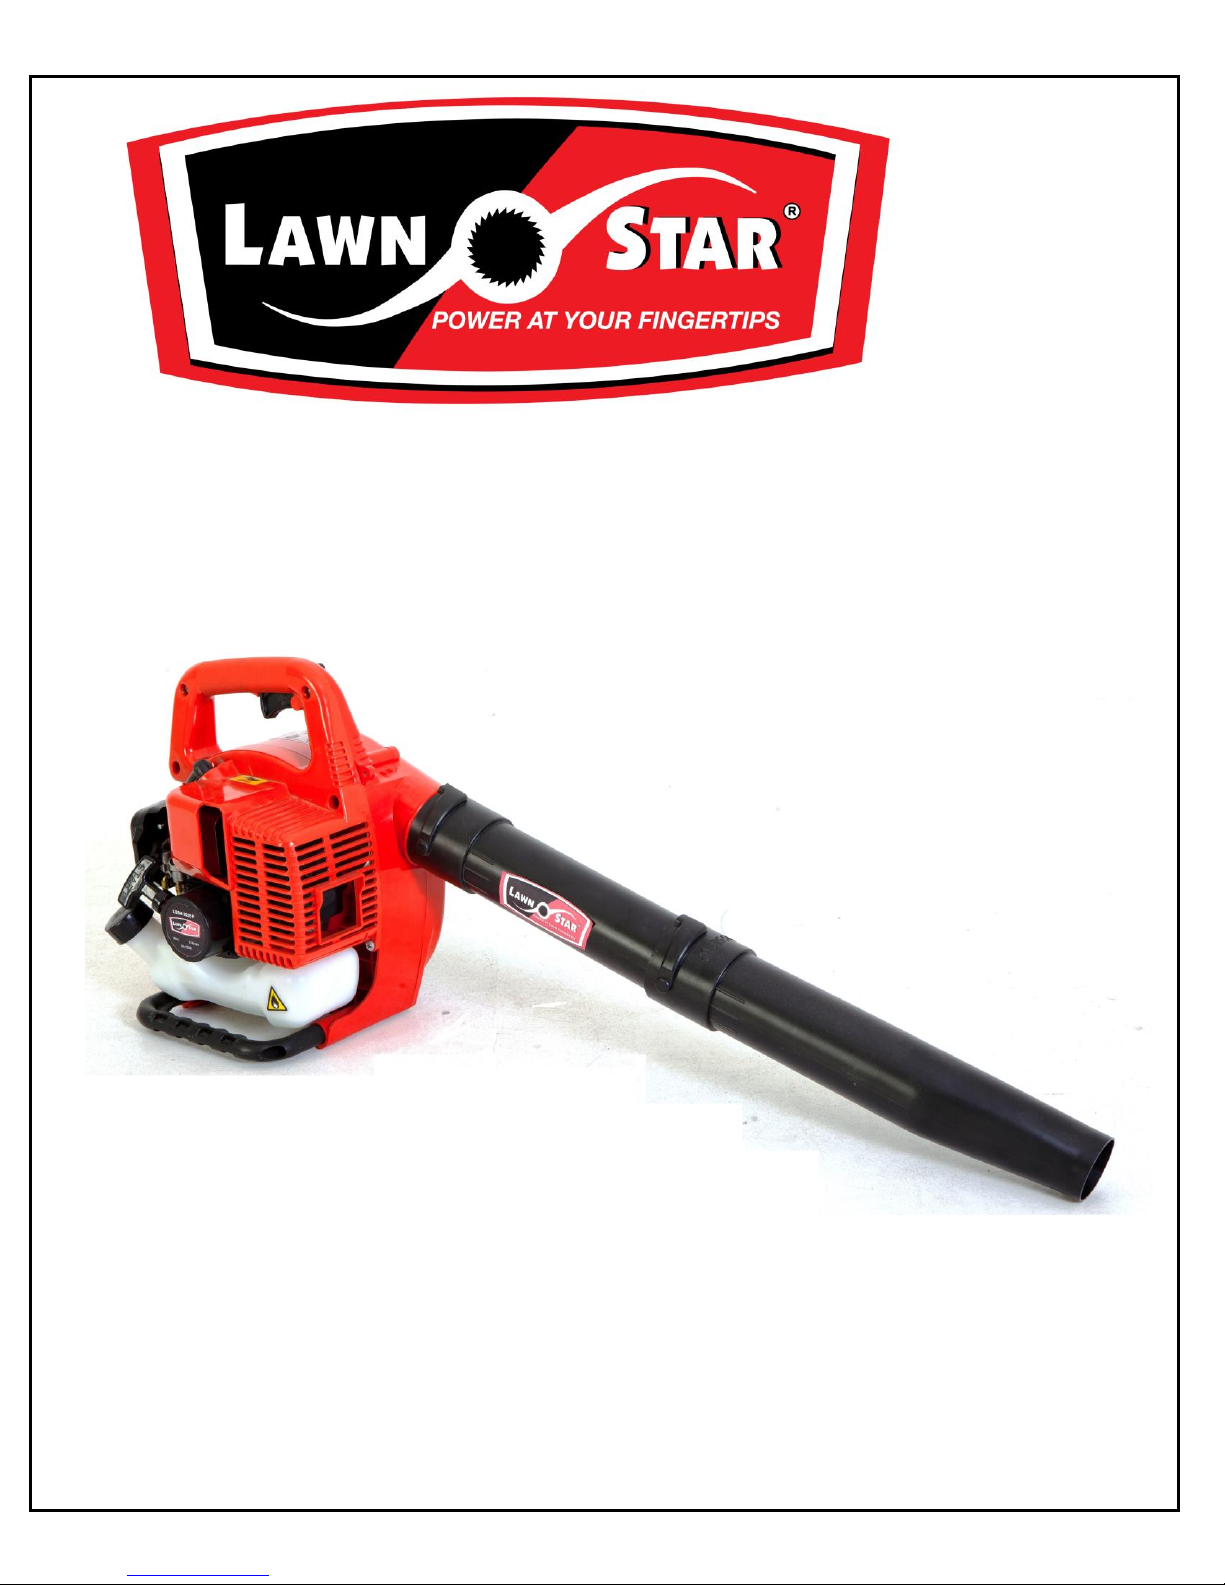
PETROL GARDEN
BLOWER
OPERATING INSTRUCTIONS
MODEL: LSBH 2625 P

2
Thank you for purchasing the Lawn Star Pro-Series 2-stroke petrol Blower which is one of the finest and
most advanced products today’s technology can produce. Before you begin using it, please read this
manual carefully and familiarise yourself with the control and the proper use of this product to ensure you
get the best possible performance from it.
SAFETY PRECAUTIONS
Inspect your Blower and all its parts before each operation. If any part is damaged or worn, repair or
replace before operation. Use only genuine Lawn Star (Pty) Ltd. replacement parts when servicing or
repairing the unit. These parts are available from your supplying dealer or service agent. Have the blower
repaired only by an authorised repairer.
WARNING: Petrol and its vapours are highly flammable. Always stop the engine before refuelling. Do
not smoke or light any flames while refuelling. Wipe off any fuel that may have spilled. Start the engine
away from the place where it was refuelled. Ensure the tank cap is tightened properly.
CAUTION: Exhaust fumes are toxic and asphyxiating. Inhalation may be lethal. Do not start the engine
in closed or poorly ventilated environments.
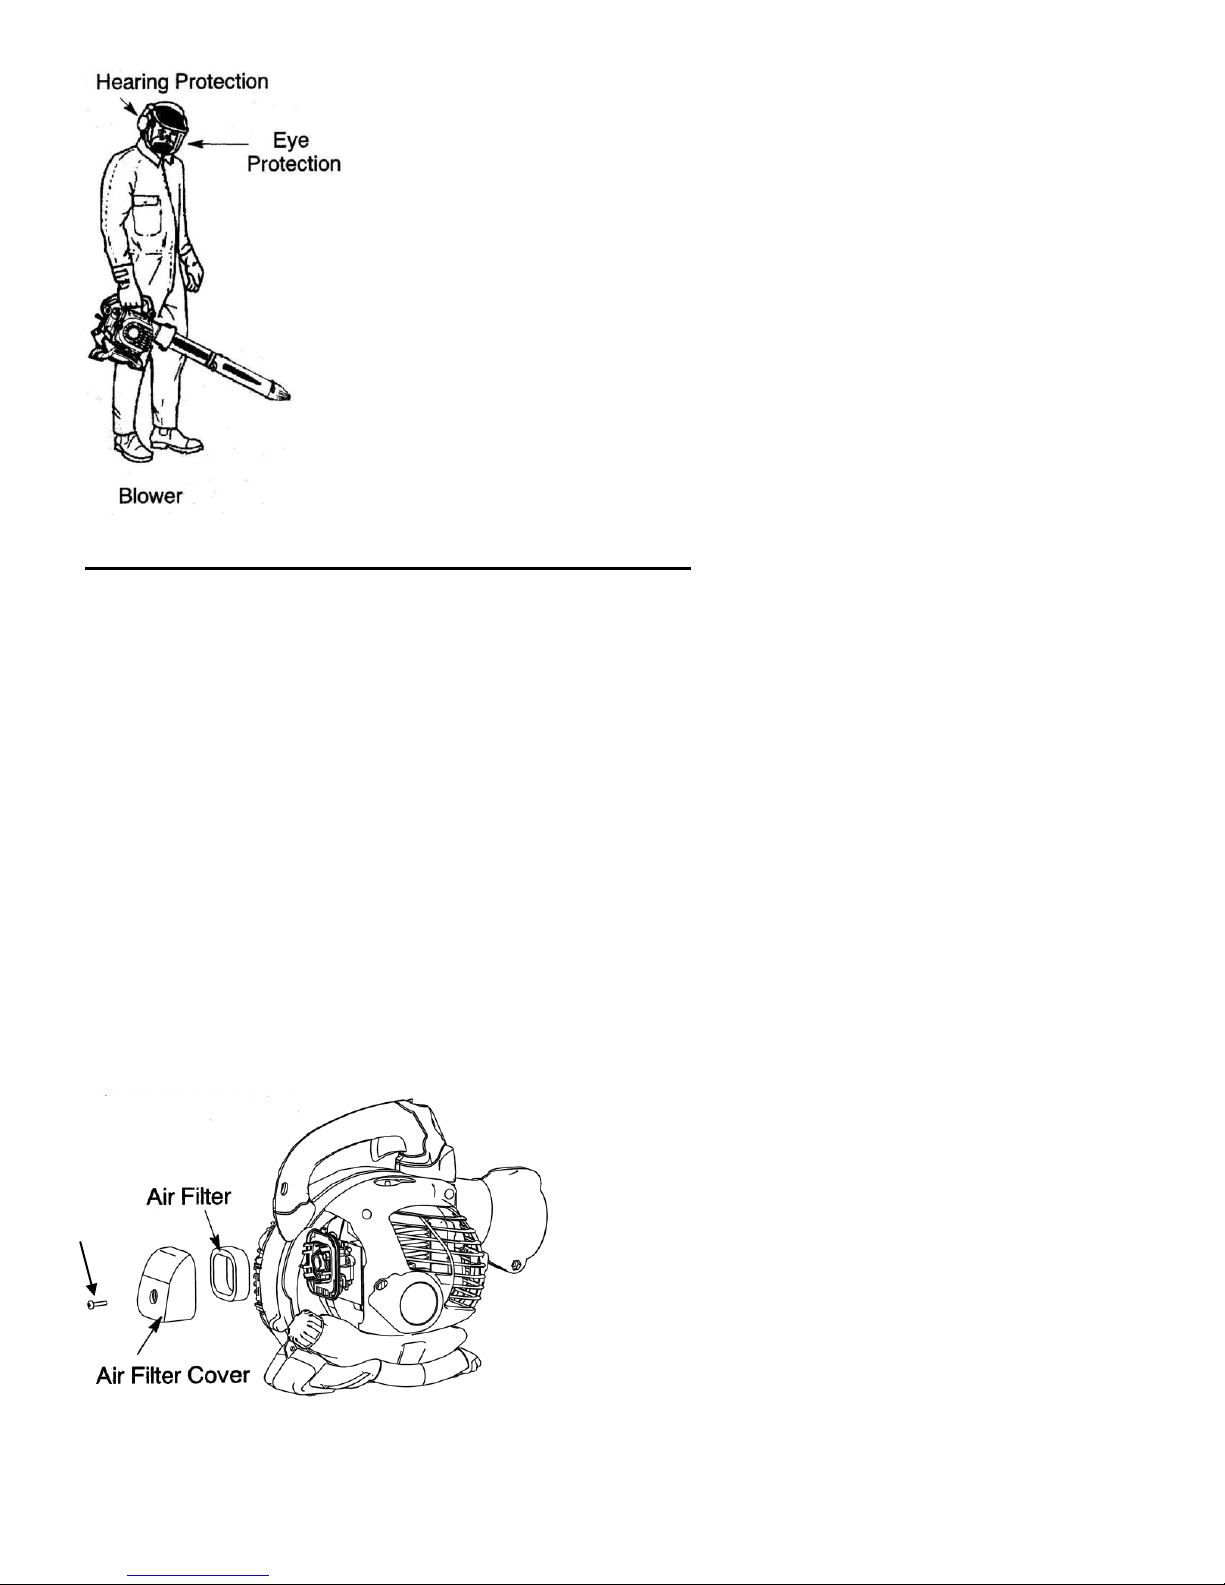
It is essential that the operator wears safety goggles, face shield, gloves, ear muffs, protective
clothing and sturdy, non-slip footwear with toe-protector.
Inspect the unit before use. Replace damaged parts. Check for petrol leaks. Make sure all fasteners are in
place and secure. Failure to do so can result in personal injury to the operator and bystanders, as well as
damage to the unit. Children, pets and onlookers should be kept at least 15 meters away from the work
area, unless shielded by an effective barrier. If you are approached by a person or pet during use stop the
engine immediately. Never start or run the unit inside a closed room or building. Breathing exhaust fumes
can cause serious harm to a person or animal. Operate this unit only in a well-ventilated area outdoors.
Never run the unit without the proper equipment attached. When using this unit, always install the blower
tube. Switch the engine off and wait for the impeller to stop turning before putting the unit down,
performing maintenance, installing or removing the blower tubes or carrying out any maintenance.
Disconnect the spark plug before servicing or cleaning. Do not blow wet materials, liquids, flammable
materials, hot ash or any others materials that are a potential fire hazard. The operator and unit must be in
a stable position when starting the engine. Do not overreach. Always keep proper footing and balance. Do
not touch the engine or exhaust. These parts get extremely hot from operation. When turned off they
remain hot for a while. Do not operate the unit with loose or damaged parts. Do not operate before
repairing the damaged parts. Do not place unit on any surface except a clean, hard area while engine is
running. Debris such as gravel, sand, dust, grass, etc, could be picked up by the air intake and thrown out
by the discharge opening, damaging the unit, property, or causing serious injury to bystanders or operator.
Keep hands, face, and feet at a distance from all moving parts. Do not touch or try to stop the impeller
when it is rotating. Never point the Blower in the direction of people or pets, or in the direction of
windows. Always direct the blown debris away from people, animals, windows, and solid objects such as
vehicles etc. Allow the engine to cool and empty the fuel before storing or transporting. Be sure to secure
the unit while transporting. Store the unit in a dry secured area to prevent unauthorised use or damage.
Keep out of the reach of children. Never douse or squirt the unit with water or any other liquid. Keep
handles dry, clean and free from debris. Clean after each use, see Cleaning and Storage instructions.
Before using the appliance, ensure the blower tube is correctly fitted.

3
PREPARATION FOR USE
WARNING: To prevent serious personal injury, do not attempt to attach the tube while the engine
is running and the impeller is turning.
1. Align the Slot (Fig 1-1) on the upper blower tube with the tab(Fig 1-2) on the blower housing. Slide
the tube in and rotate 90 degrees clockwise to secure (Fig 1). Secure with screw supplied(Fig 1-3)
2. Align the slots on the lower blower tube with the tabs on the upper tube (Fig 2).
3. Slide the lower blower tube onto the upper blower tube.
4. Turn the lower blower tube clockwise until a click is felt to secure the lower blower tube to the upper
blower tube.
NOTE: When the upper and lower blower tubes are assembled together properly, the arrows on both
tubes will be aligned. ( )
WARNING:
Before starting engine, the upper blower tube must be installed.
FUELLING
This product is equipped with a 2-stroke engine which requires 2-stroke lubricating oil to be pre-mixed
with petrol. Use only genuine Lawn Star 2-stroke engine oil (Part No. 90-20000) and use lead-free petrol
(Octane 95). Mix both thoroughly (as per fuel-mix ratio) in a separate container. Always prepare the fuel-
mixture and refuel the blower outside in a well-ventilated environment. Do not smoke! Do not use marine
or automotive 2-stroke oil.
Oil/fuel mix ratio for normal 2-stroke engine oil 1:25 (4%) e.g. 40 ml of oil per 1 litre of petrol or 200ml
of oil per 5 litres of petrol.
Always stop the engine before refuelling. Do not smoke or light any flames while refuelling. Wipe off
any fuel that may have spilled. Start the engine away from the place where it was refuelled. Ensure the
tank cap is tightened properly.
Fig 1
Fig 2
UPPER TUBE
LOWER TUBE
TAB
SLOT
3
1
2

4
A B
SYMBOL
EXPLANATION
WARNING: This blower can be dangerous careless
or improper use can cause serious or even fatal injury.
Read and understand the instruction manual before using the blower.
Approved protective goggles, visor, ear protection, and face mask must be worn.
Always wear approved, protective gloves.
WARNING: The blower may throw objects at high velocity that can ricochet and hit the
operator. This may cause serious eye damage.
The blower operator must make sure that no bystanders or animals come nearer than 15
meters. Whenever several operators are working in the same work area, they should maintain
a safe distance of at least 15 meters from one another.
The following symbols appear on the Blower. For safe operation and
maintenance, please know what the symbols mean:
Fuel tank cap: Oil/fuel mix ratio for normal 2-stroke engine oil
1:25 (4%) e.g. 40 ml of oil per 1 litre of petrol.
ON/OFF Switch
CHOKE CONTROL
(A)Choke ON position (Start)
(B) Choke OFF position (Run).
STOP
5
DESCRIPTION OF LSBH 2600 P BLOWER
1. ON/OFF switch
2. Throttle lock lever
3. Throttle trigger
4. Spark plug
5. Exhaust muffler
6. Upper tube
7. Lower tube
8. Recoil starter handle
9. Fuel cap
10. Primer bulb
11. Choke lever
CONTENTS OF CARTON
This unit includes the following:
Garden Blower
Hardware pack
Instruction manual
2-Stroke oil
Spare spark plug
Fig 3
Fig 4
1
2
3
4
5
7
6
8
9
10
11
11

6
STARTING COLD ENGINE AND STOPPING
1. Switch the ON/OFF switch (No 1 Fig 3) to the “ON” position.
2. Lift the choke lever (No 11 Fig 4) located to the right of the air-filter cover into the (H) ON position.
3. Repeatedly press the primer bulb (No 10 Fig.4) 5-10 times.
4. Slightly open the throttle by pulling the throttle lock lever (No 2 Fig 3) slightly backwards to fast idle
position.
6. Pull the recoil starter handle (No 8 Fig 4) 5 times fully, engine may start.
7. Push the choke lever (No 11 Fig 4) down to the off position (lll).
8. If the engine did not start, pull the recoil starter handle (No 8 Fig 4) repeatedly until the engine starts
and allow to run for a few seconds to warm.
9. Push the throttle lock lever (No 2 Fig 3) fully forward into the idle position and the engine should idle.
10. To stop the engines switch the ON/OFF switch (No 1 Fig 3) to the “OFF” position.
STARTING WARM ENGINE
Proceed as with cold engine start but with the choke lever in the OFF/RUN position lll .
STARTING A FLOODED ENGINE
Flooded engines can be started by moving the choke lever (No 11 Fig 4) down to the off position (lll) and
fully squeezing the throttle trigger. Pull the recoil starter handle (No 8 Fig 4) repeatedly while squeezing
throttle trigger until engine starts and runs. This could require pulling the starter handle many times,
depending on how badly the unit is flooded. If the unit still doesn’t start, refer to the
TROUBLESHOOTING TABLE.
OPERATING INSTRUCTIONS
Before operating the unit, stand in the operating position and check that the harness is correctly adjusted.
Ensure the operator is wearing proper clothing, such as boots, safety glasses or goggles, ear/hearing
protection, gloves and long pants.
OPERATING TIPS
Ensure the blower is not directed at loose debris or persons before starting it. The blower is in good
working condition and the blower tubes and guards are in place and secure. To reduce the risk of hearing
loss associated with sound level(s), the use of hearing protection is required. Watch out for children, pets,
open windows, or freshly washed cars etc. when blowing debris away. Start engine (see starting/stopping
instructions).
1. Place the shoulder harness over your head or onto your shoulder, and adjust it properly.
2. Hold the blower as shown in Fig 5 with the exhaust muffler (No 5 Fig 4) facing away from your body
and clothing. Sweep from side to side with the nozzle several inches above the ground or floor.
Advance slowly, keeping the accumulated pile of debris in front of you.
3. Most dry blowing operations are better suited to low speed than high. High speed is better for moving
heavier items like large debris or gravel.
4. Use the blower for trees, shrubs, flower beds and hard to clean areas.
5. Use the blower around buildings and for other normal cleaning.
6. Use the blower for walls, overhangs and screens.
7
CARE, MAINTENANCE, STORAGE AND TRANSPORT
▲ WARNING: Avoid touching exhaust muffler unless engine and exhaust muffler are cold. A hot
exhaust muffler can cause serious burns.
▲ WARNING: Disconnect the spark plug before performing maintenance.
CHECK FOR LOOSE FASTENERS AND PARTS
● Exhaust muffler
●Spark Plug Boot
●Air Filter
●Housing Screws
CHECK FOR DAMAGED OR WORN PARTS
Contact an authorised service dealer for replacement of damaged or worn parts.
●Fuel Tank. Discontinue use of unit if fuel tank is damaged or leaks.
INSPECT AND CLEAN UNIT & LABELS
●After each use, inspect complete unit for loose or damaged parts. Clean the unit and decals using a
damp cloth.
●Wipe off unit with a clean dry cloth.
●Do not use detergents or solvents to clean the unit.
AIR FILTER MAINTENANCE
Fig 5
Fig 6
Securing
screw

8
A dirty air filter decreases engine performance and increases fuel consumption and harmful emissions.
Always clean after every 5 hours of operation.
1. Clean the cover and the area around it to keep debris from falling into the carburettor chamber when
the cover is removed.
2. Push the choke lever (No 11 Fig 4) down to the off position (lll).
3. Unscrew the air filter cover securing screw by turning it anti-clockwise (Fig 6).
4. Remove the air filter cover and air filter (Fig 6).
5. Wash the filter in soap and water.
NOTE: Do not clean filter in gasoline or other flammable solvent. Doing so can create a fire hazard
or produce harmful evaporative emissions.
6. Allow filter to dry.
7. Apply a few drops of oil to the filter; squeeze filter to distribute oil.
8. Check filter for damage and replace if damaged.
9. Reassemble ensuring that the filter is correctly seated and secure the filter cover with the securing
screw by turning it clockwise do not over tighten (Fig 6).
REPLACE SPARK PLUG
Replace spark plug each year or if starting problems are experienced. Set spark plug gap at 0.6mm.
1. Twist and pull off spark plug boot to remove.
2. Remove spark plug from cylinder with spark plug socket supplied, discard used spark plug.
3. Replace with Lawn Star spark plug (Twin pack spark plug kit stock code 80-26055) and tighten
securely with the spark plug socket supplied.
4. Re-attach the spark plug boot.
REPLACE FUEL FILTER
To replace fuel filter, drain unit by running it dry of fuel, then remove fuel cap/retainer assembly from
tank. Pull filter from tank and remove it from fuel line. Install new fuel filter on fuel line; reinstall parts.
CHECK EXHAUST MUFFLER MOUNTING SCREWS
Once each year, ensure muffler mounting screws are secure and tightened properly to prevent damage.
9
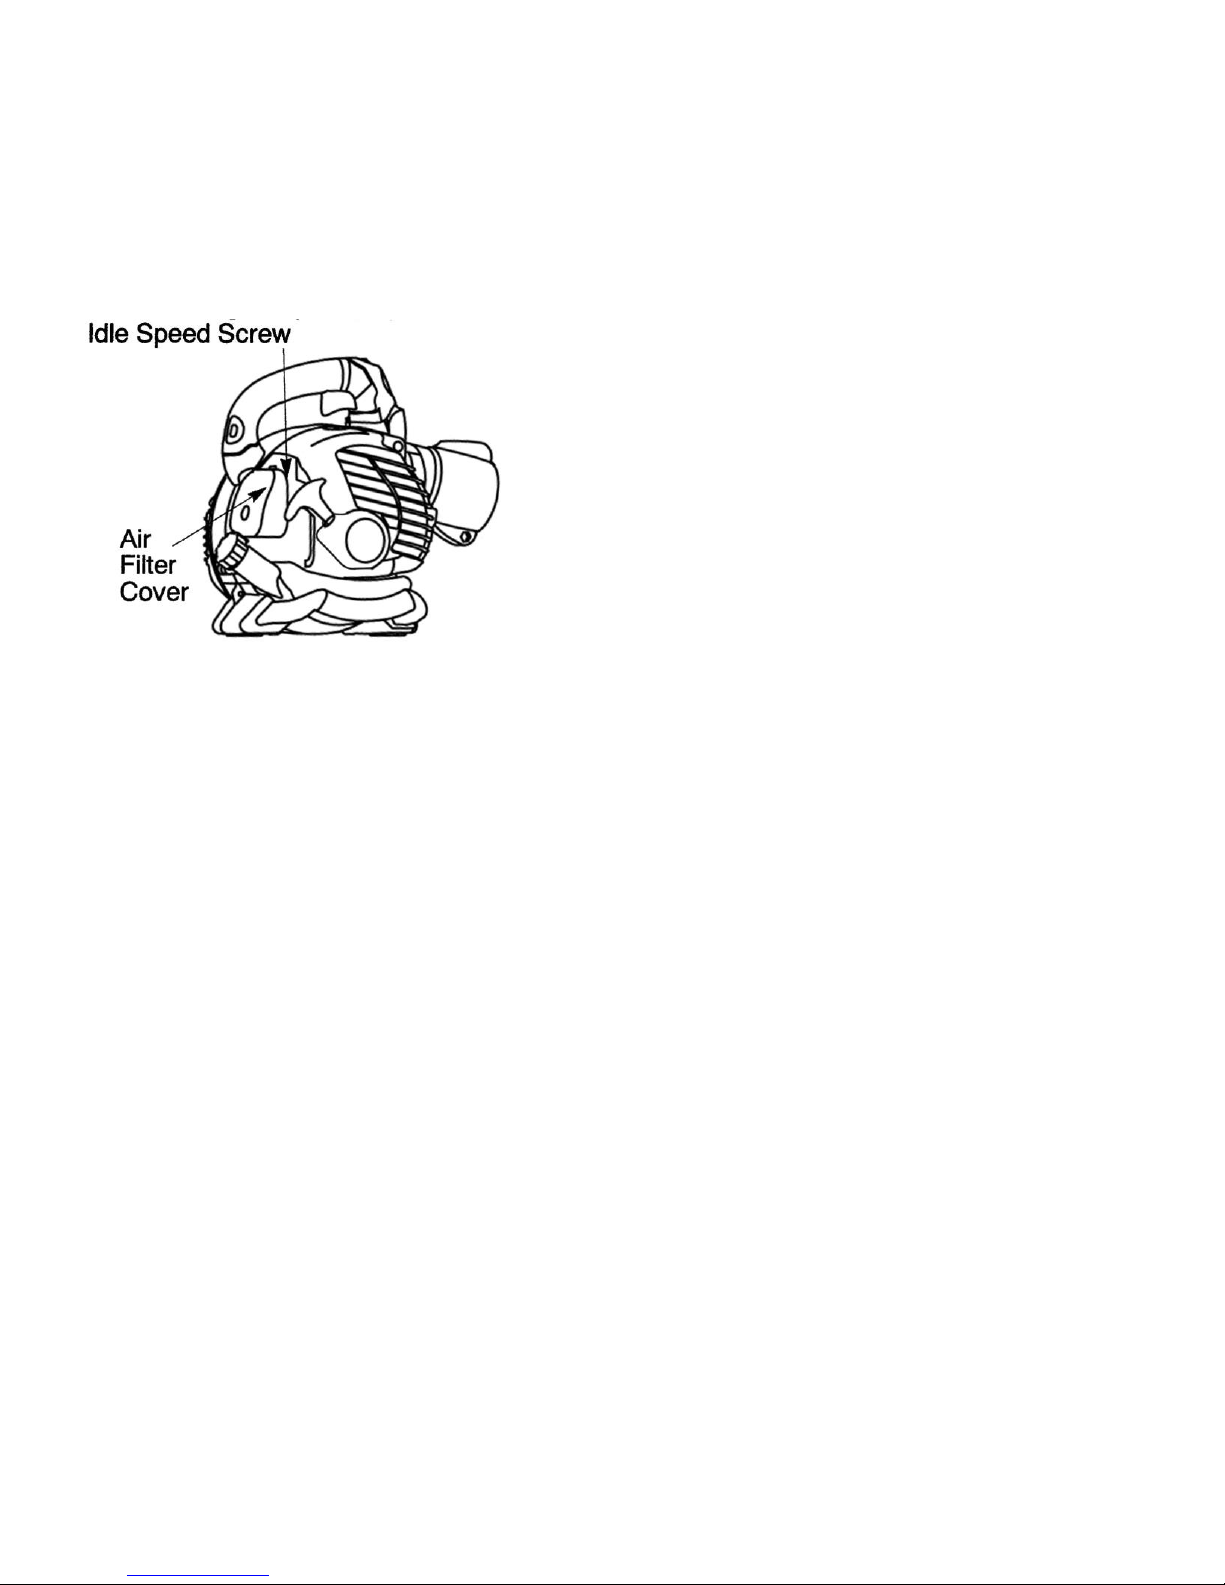
CARBURETOR ADJUSTMENTS
The carburettor has been carefully set at the factory. Adjustments may be necessary if you notice any of
the following conditions:
●Engine will not idle when the throttle is released.
Idle Speed Adjustment
Allow engine to idle. Adjust speed until engine runs without stalling (idle speed too slow).
● Turn idle speed screw clockwise to increase engine speed if engine stalls or dies.
●T urn idle speed screw counter clockwise to decrease engine speed.
If you require further assistance or are unsure about performing this procedure, contact an authorised
service dealer.
STORAGE
Allow the engine to cool before storing.
Store the unit locked up to prevent unauthorized use or damage.
Store the unit in a dry, well-ventilated area.
Store the unit out of the reach of children.
LONG TERM STORAGE
If the unit will be stored for an extended time:
1. Drain all petrol from the petrol tank into a container. Dispose of the old petrol in accordance to local
regulations.
2. Start the engine and allow it to run until it stalls. This ensures that all petrol has been drained from the
carburettor.
3. Allow the engine to cool.
4. Thoroughly clean the unit and inspect for any loose or damaged parts. Repair or replace damaged
parts and tighten loose screws, nuts or bolts.
TRANSPORT
1. Allow the engine to cool before transporting.
2. Drain the petrol tank before transporting.
3. Tighten petrol cap before transporting.
4. Secure the unit while transporting.

10
SPECIFICATIONS
MODEL
LSBH 2600 P
Engine
26cc
Type
2 stroke, air-cooled gasoline engine
Maximum Engine Power
0.75kw/7500rpm
Idle Speed
2800±200rpm
Noise
≤108dB(A)
Spark plug
BM6A
Oil/Fuel mix ratio
1:25
Fuel tank capacity
470ml
Air velocity
250 km/hr
Air volume
≥0.2m³/s
Net weight(kg)
5.8
4.5
Gross weight(kg)
7.1
5.3

11
TROUBLE SHOOTING GUIDE
PROBLEM
PROBABLE CAUSE
CORRECTIVE ACTION
Engine won’t start
No spark
Replace the spark plug
No fuel
Pump primer bulb 10 times, if no fuel flows then pipes
blocked. Have serviced. If primer bulb fills then engine
may be flooded
Flooded engine
Remove spark plug and clean it, allow the engine to
stand for 5 minutes with the plug removed. Refit spark
plug and start as per owner’s manual.
Check fuel/oil mix
Drain and use fresh and correct fuel mix
Engine won’t stop
Various
Move choke to fully closed position, or remove spark plug
cap with gloves. Take to service dealer if problem
persists after restarting.
Engine will not idle
Air filter is blocked
Clean or replace the air filter
Old or improperly mixed
petrol/oil
Drain and use fresh and correct fuel mix
Improper carburettor
adjustment
Take to authorised service dealer for carburettor
adjustment
Engine will not rev
Air filter blocked
Clean or replace the air filter.
Fuel filter blocked
Spark plug fouled
Old, dirty or improperly
mixed
Fuel
Engine carboned up
Clean or replace the fuel filter.
Replace with new spark plug
Drain and replace with fresh correctly mixed fuel
Have serviced
Engine will not rev and
emits smoke
Check fuel/oil mix
Drain and use fresh and correct fuel mix
Dirty air filter or fuel filter
Clean as per instructions
Engine lacks power or
stalls when under load
Old or improperly mixed
petrol/oil
Drain and use fresh and correct fuel mix
Improper carburettor
adjustment
Take to authorised service dealer for carburettor
adjustment
Unit will not blow
Damaged impeller
Take to authorised service dealer
Engine smokes
Incorrect oil/fuel mixture.
Too much oil.
Drain and use fresh and correct fuel mix (1:25)
Oil leaks out of exhaust
muffler
Incorrect oil/fuel mixture.
Too much oil.
Drain and use fresh and correct fuel mix (1:25)

12
LAWN STAR ( PTY ) LTD.
WARRANTY CARD
LSBH 2625 P
Please read carefully
This card is required for warranty repair claims. Please fill in this card and keep it in a safe place, stapled to
the original proof of purchase. The original proof of purchase (ie. receipt, invoice, docket, etc.) must show the
original date of purchase and clearly identify the product.
WITHOUT THIS CARD AND ORIGINAL PROOF OF PURCHASE, ANY WARRANTY BECOMES
NULL AND VOID.
Make:……………………..Serial No:………..……………….Date of Purchase:………………….
Model:………………………………
PURCHASER PURCHASED FROM
NAME: NAME:
ADDRESS: ADDRESS:
PHONE: PHONE:
LIMITED DOMESTIC USE WARRANTY
Lawn Star (Pty) Ltd. guarantees this unit to be free from defects in material and workmanship. If any such
defect should become apparent during a period of
12 MONTHS
from the date of the original purchase, we undertake to repair this unit free of charge or replace this unit with a
factory reconditioned unit at our discretion. This does not prejudice your rights in terms of the Consumer
Protection Act.
Transport costs to our service centre and back to the owner, should such costs occur, will be carried by the
owner of the unit.
The repaired or replaced unit will be covered by this warranty for the remainder of the original warranty
period.
This warranty covers only the original purchaser of this unit.
This warranty becomes invalid if :
- the unit has been used commercially or for rental purposes
- damage has been caused by misuse, abuse, accident or normal wear and tear;
- spares and accessories other than specified by us are used with this unit;
- the unit has been opened, altered or otherwise tampered with;
- the engine has been run without 2-stroke engine oil pre-mixed as per instruction
- marine or automotive 2-stroke oil is used
The impeller is a wearing part and is not covered by Warranty. Spark plug and air filter are
consumable items are not covered by the Warranty.
PLEASE READ AND UNDERSTAND THE INSTRUCTION MANUAL BEFORE YOU OPERATE
THIS UNIT.

13
LAWN STAR ( PTY ) LTD.
For service and warranty repairs please contact your nearest Service
Agent listed below:
CUSTOMER CARE : 0860-LAWNSTAR
HEAD OFFICE : 98 Bofors Circle, Epping 2 South, Cape Town
PO Box 496, Parow, 7499
Tel: 021-535-5249 Fax: 021-535-4624
EASTERN CAPE: Tel: 041-364-2415 Fax: 041-364-2178
FREE STATE : Tel: 082-556-6325 Fax: 086-691-6297
GAUTENG : Tel: 011-979-0162 Fax: 011-979-0174
KZN : Tel: 031-914-2750 Fax: 031-914-2750
WEST COAST : 082-826-0316
NORTHERN CAPE: 082-826-0316
OVERBERG : 084-609-7341
NAMIBIA : Tel: 061- 232-475 Fax: 061- 242-139
BOTSWANA : +267-318-6851
ZIMBABWE : +263-4-486 192/646
For more information visit: www.lawnstar.co.za
Table of contents
Other LAWN STAR Blower manuals


