1.2 Disposal:
Our product is made of recyclable high-performance materials and components. Do not throw
away the appliances with the normal household waste at the end of their life, but hand them in at
an official collection point for recycling. By doing this, you help to preserve the environment.
Please refer to local laws & regulations involved in classified collection of electrical products and
electrons. Properly-disposing of the wastes can helpfully avoid potential negative influence to
environment and human health.
2.1 Introduction
2.User Manual
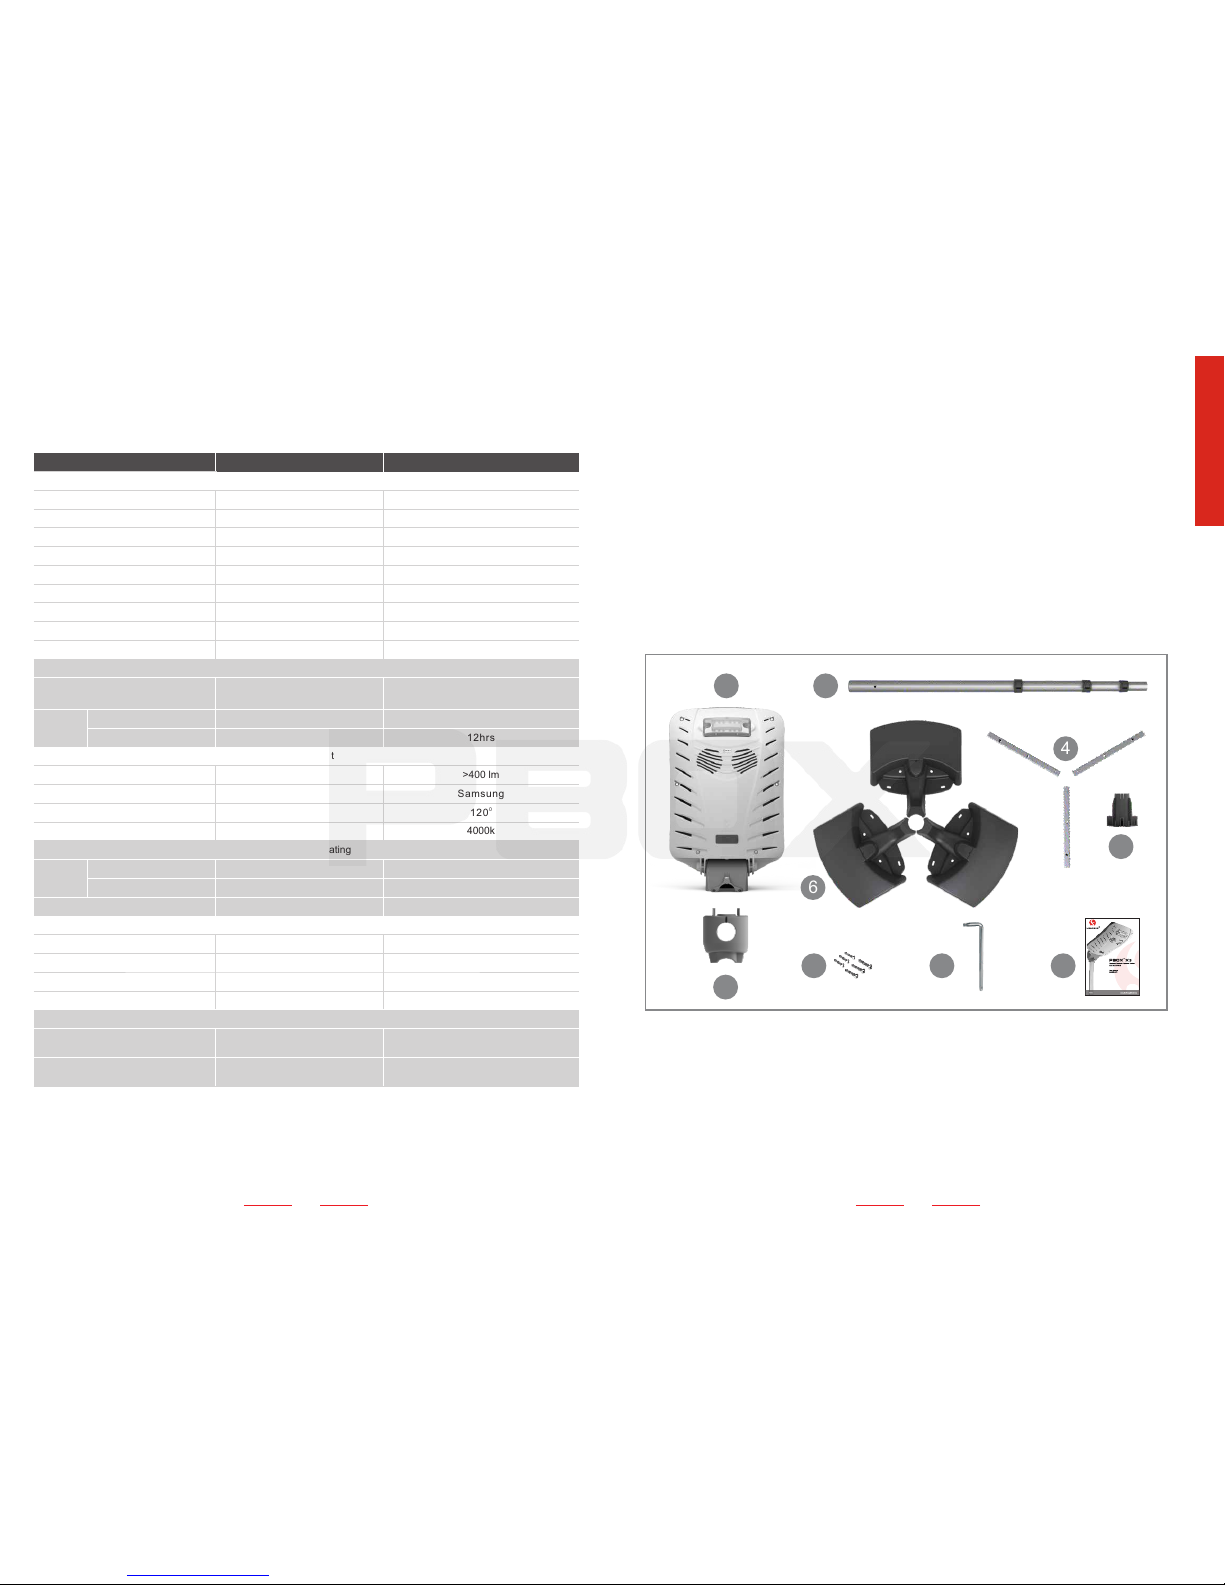
PBOX X3 Functions:
1. Three operating modes: automatic On and OFF, customized and manual control via APP on your
cellphone.
2. Recharged by solar panels, or via Micro USB port ( USB cable and AC/DC adaptor not included ).
3. High-performance lithium battery can sustains 14+ operating hours for the LED lamp, or 20+ hours
for the Bluetooth speaker.
4. Recharge mobile phones, tablets and other potable electronic devices.
5. Customize operating mode according to local weather.
6. Look up charging current and historical charging and discharging data.
7.Play music (PX3BL only).
Caution: Items 5, 6 and 7 are applicable via LIVESUN APP. LIVESUN APP is compatible with
Android 4.0 and above, and IPhone 4s, IPad 2, IPad mini and above.
EN
34
Bluetooth
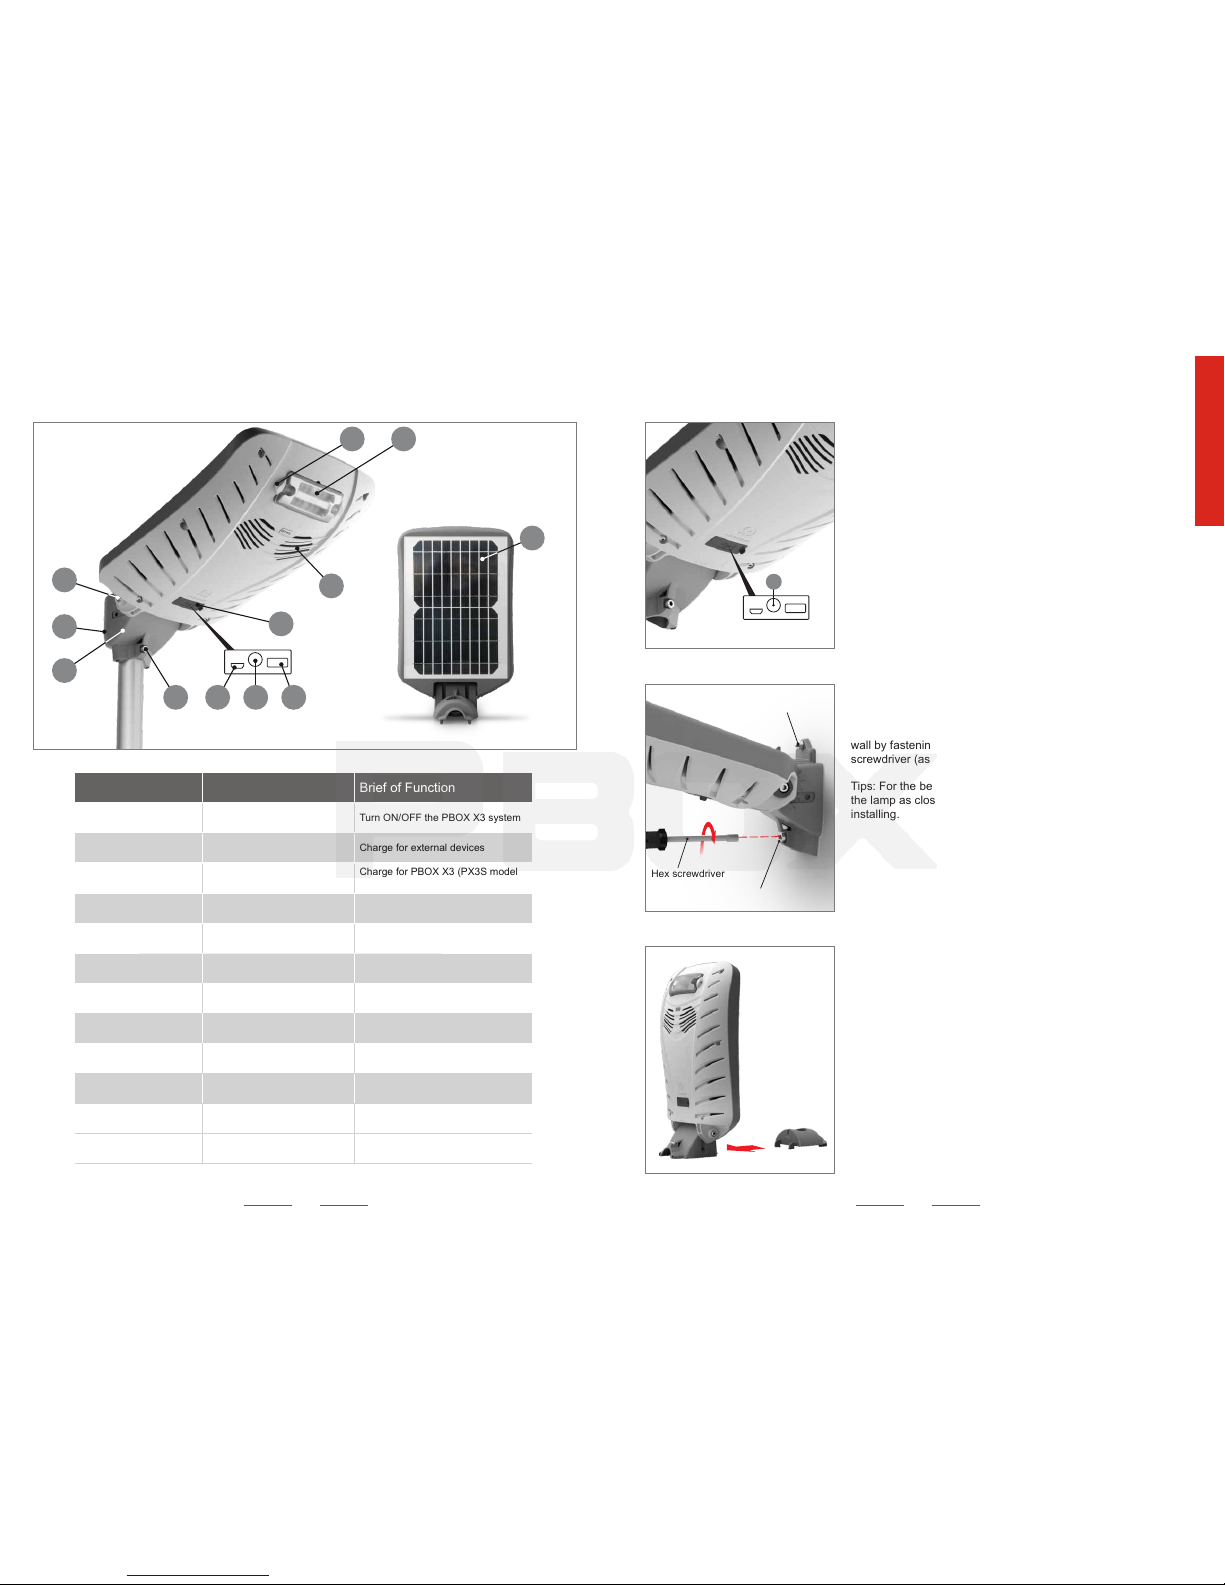
With elegant and smooth design, PBOX X3 Smart Solar Lamp provides brightness over 400lm. You
can easily control the brightness, work mode and operation of the lamp via APP on your smart phone.
The special designed telescoping lamp pole unit is not only easy to install, but also bring you so
much convenience and fun.
PBOX X3 Bluetooth speaker even surprises your experience with enhanced dual stereo.
PBOX X3 invites you to enter into a new everyday life of efficiency, convenience and delight.
Operating and Storage Temperature
The discharge temperature ranges from -4 to 140 (-20℃ - 60℃).℉ ℉
Recharge at a temperature between 32 to 140 (0℃ - 60℃).℉ ℉
The controller will automatically stop charging in order to protect the battery if the temperature drops
below 32 (0℃) or rises above 140 (60℃).℉ ℉
Please ensure not to install this products in the area where the extreme temperature conditions
exceed its limits.
In cold areas, please select the products equipped with heating system. However, the operating hour
shortens due to the cold weather.
Store the products at a temperature between 32 to 95 (0℃-35℃)℉ ℉
Modification:
It is not on the term of warranty if client does modify & refit the light leading to non-proper working
without authorization of LEADSUN.
Replacement of Parts / Spare Parts:
If you need information or if you have a problem, please visit the LEADSUN website at
www.leadsunglobal.com or contact your local distributor / dealer.