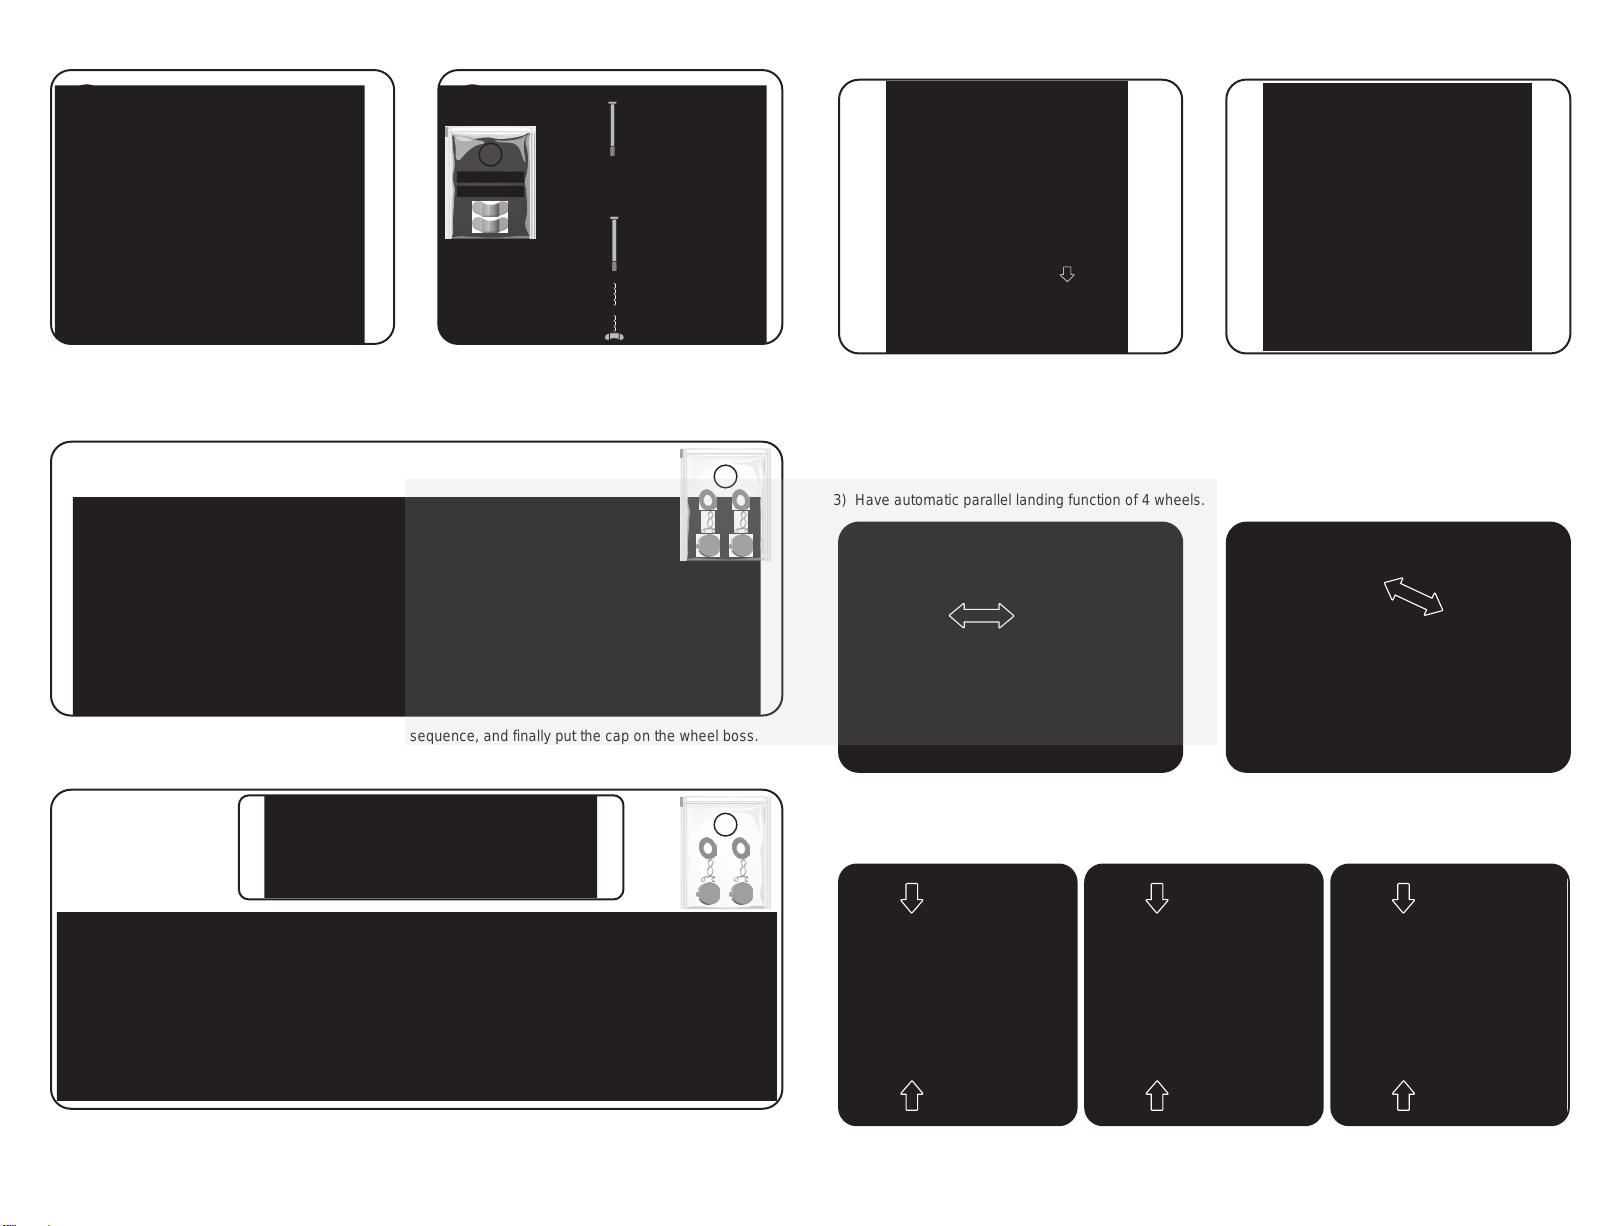
Lean Cars SCUDERIA FERRARI User manual

Produced under license of Ferrari Spa. FERRARI, the PRANCING HORSE device,
all associated logos and distinctive designs are property of Ferrari Spa. The body
designs of the Ferrari cars are protected as Ferrari property under design,
trademark and trade dress regulations.
Read Operation Instructions Carefully Before Use
K07-SMS-162-002
002-01
MADE IN CHINA
Repair and Maintenance
1) Regularly wipe it with a piece of dry cloth.
2) Check the bolt and nut for connecting and tighten them if necessary.
3) Check whether the chain of the drive is unblocked; adjust it if necessary, and clean and
lubricate it as well.
4) The rotatable parts of baby car should be often examined to see whether foreign matters
hinder the rotation and keep a normal lubrication condition.
SCUDERIA FERRARI
PEDAL GO-KART

128CM
70.4CM
60CM
1 2 3
2. WARNING WARNING
To reduce the risk of injury, adult supervision is required at all times.In the interests of safety,
DO NOT use this product on public roads, near motor vehicles, uneven ground, swimming pools
or where there is water.
Product must only be used by one child at a time.
WARNING
Protective clothing and equipment should always be worn when using this product.
WARNING
Please keep the product and all parts away from children before full assembly has been completed
by a responsible adult. Unassembled product contains small parts and potentially harmful sharp edges.
Dimensions of entire car
1. This product is suitable for the children of 5-10 years old,
and should be used under adult supervision!
2. Product dimensions: 128×60×70.4CM
3. Product maximum load weight: 42 kg
4. Product operating ambient temperature: 0-40℃
Contents I. Product specifications and parameters
I. Product Specifications and Parameters
II. Components List
III. Assembly Diagram
IV. Function and Operation
V. Simple Fault Removal Guidance
VI. Warning
II. Components List
Car Body SeatFront mask Steering Wheel
J-shaped stick
Wheels Driving wheel Front iron stand
Wrench
Flag pole
Screws for the front
iron stand (5x47PM)
Locknuts for the front
iron stand (5MM)
Seat screws (6x70PM)
Seat nut fixed
component (6MM)
Washer (22.3x3)
Latch spring
Housing of wheel core
VI. WARNING
1) Product assembly should only be undertaken by a responsible adult.
2) This product can be disassembled and the small parts may be swallowed by small children.
Children using this product must be under the supervision of an adult at all times.
3) This product must be thoroughly checked for safety before allowing a child to use it.
4) It is recommended that children always wear shoes and other protective clothing and
equipment (e.g. helmet, gloves, kneepads etc.) during use.
5) This product must only be used on a flat level surface. Do not use it on a public road
or near dangerous areas such as steps, uneven ground, water etc.
6) The children shall correctly use the car under the adult guidance and supervision,otherwise they
may make themselves or the others injured.
7) This car must only be used by a single child, maximum load 42kg.
8) Small parts possibly fall off when this product is used improperly. So, it is unsuitable for children
under 3 years old.
9) Improper use may damage components.
10) The product packaging is not a toy and must be kept away from children. To avoid
suffocation, remove all packaging material after product assembly.
11) These instructions contain important information, please retain them after product assembly.
1. PRODUCT WARNING
Plastic tube

①
②
12
2Chain bracket
Set nut
Adjustment screws
4Chain bracket
Set nut
Adjustment screws
1Bottom plate
of the outer casing
of the chassis
3
6mm
Chain bracket
2
Align and mount the front iron rack on the car body. Tighten with the screws and locknut in No.2
screw kit.
Check whether screw caps
and screws are tightened up. Check the bolt and nut for connecting and tighten them if necessary.
Check whether the chain
of the drive is unblocked. Adjust the chain if necessary, and clean and lubricate it as well.
V. Simple Fault Removal Guidance
Problems Check
Turn the car upside down, remove the screws
and open the bottom plate of the outer casing
of the chassis.
Loosen the four screws on the chain bracket and
loosen the set nut with the small wrench. Turn the
adjustment screw with screwdriver to adjust the
chain tightness. Turn the screw clockwise to
tighten the chain.
Move the chain bracket to the left or right to adjust
the chain tightness. The most suitable stroke of
chain tension is 6mm.
After the chain adjustment, tighten the set nut and
adjustment screws with the small wrench, tighten
the four screws on the chain bracket. Close the
bottom plate of the outer casing on the chassis,
and then tighten the screws.
III. Assembly Diagram
1.Mount the front iron stand
2. Mount the J-shape iron hook
Hitch the J-shape iron hook on the iron tube
from the bottom.
3. Mount the front mask.
①Insert the iron tube into the hole on the top
of the head part.
②Align with the iron tube and fasten up.
4. Installation of steering wheel
Remove the screw, mount the steering wheel to the
J-shape iron hook, and then tighten the bolts and nuts.
The Ferrari go-kart has a chain and sprocket drive. The chain should be added enough lubricating oil to ensure
the normal driving. If the chain is too tight, the go-kart will be difficult to be driven and the sprockets may be
worn or broken much likely than other parts. If the chain is too loose, it may be disengaged from the sprocket,
thus damaging the outer cover of chain. See below for the adjustment of chain tightness:
Adjustment of the chain gearing

1 2
1
3
3
Driving
wheel
① ②
8.Install flag pole 9. Assembly completion drawing
Mount the front wheel, meson and retaining spring in sequence, and finally put the cap on the wheel boss.
Remove the plugs on both ends of iron tubes of the rear wheel shaft.①Mount the rubber sleeve, rear wheel,
meson and retaining spring in sequence, and finally put the cap on the wheel boss.②Mount the driving wheel,
meson and retaining spring in sequence, and finally put the cap on the wheel boss.
Tighten the screws and nuts fixed component for
the seat in No.1 screw kit. Insert the flag into the hole at the rear of the toy car.
1) The kid sits in the car, grips the steering wheel, toggles forward the clutch, and steps on the pedal.
Step forward to drive the car forward and step backward to drive the car backward. Pull back the brake
rod to stop the car.
2) The steering wheel is used for turning.
3) Have automatic parallel landing function of 4 wheels.
IV. Function and Operation
When the clutch is toggled forward, the car can be
driven forward and backward with pedal. When the
clutch is toggled backward, the car can only be
moved by hands.
Pull back the brake rod to stop the car.
Seat level 1
Seat adjustment: Remove the screws and mount the seat by aligning the screw hole of another level.
Seat level 2 Seat level 3
5. Mount the seat
Mount the seat on the car body.
6. Installation of Front Wheel
7. Installation of rear wheel
Other Lean Cars Utility Vehicle manuals