Leba NoteSync User manual

NoteSync Instructions
Leba Innovation A/S

2
Index
NoteSync ........................................................................... 3
USB Interface ..................................................................... 3
Charging and synchronizing of 6 units ................................. 3
Ventilation ......................................................................... 4
Connecting the unit to mains ................................................ 4
Changing the fuse ............................................................... 4
Connecting the master ........................................................ 5
On/off button ..................................................................... 5
Mode button ....................................................................... 6
Sync mode ...................................................................... 6
Charge mode ................................................................... 6
Disconnected mode .......................................................... 6
The reset button ................................................................. 7
Auto function (not all versions) ............................................. 7
Advanced functions and configuration .................................... 8
Configuring the NoteSync ................................................... 8
Technical specifications and standard .................................... 9
Test rapport ...................................................................... 0
Warranty ..........................................................................
Register product ................................................................ 2

3
NoteSync
NoteSync is a unit designed for synchronizing and charging iPads, iPads II, iPhone or
iPod´s. It is able to synchronize and charge up to 6 units simultaneously and units
can be a mix of supported devices.
The addition of the sync capability means that no longer do multiple users have to
sync one device at a time. With its 6 ports, you can charge and sync up to 6 iPads
simultaneously, without the need for multiple wall sockets, hubs or cable issues.
Scheduling software options also mean that time consuming sync can be performed at
a set time each day.
How many units, that can be synchronized simultaneously, depend on the master and
the operating system. Some combinations of operation system and master may limit
the number of units that can be synchronized in one go.
We recommend using a Mac or a MacBook with Mac OS as master.
NoteSync comes in versions that support most Tablet´s.
Contact LEBA Innovation for further information.
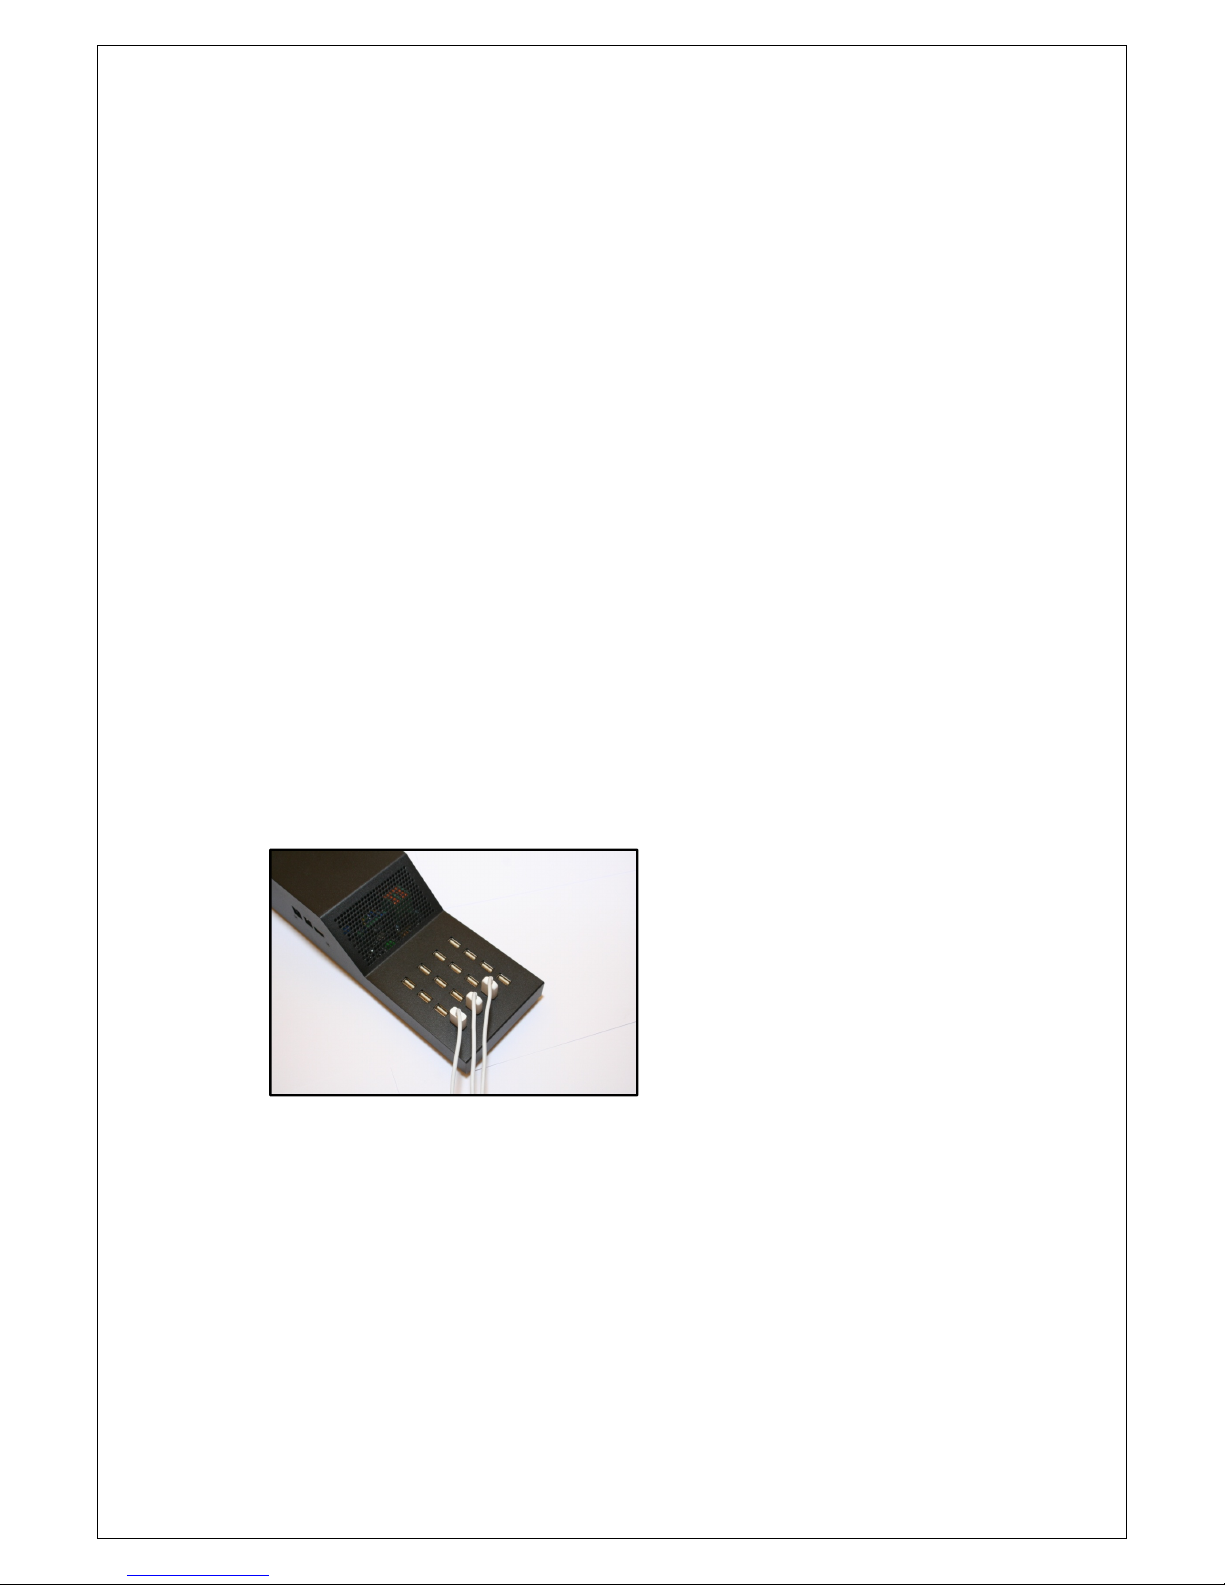
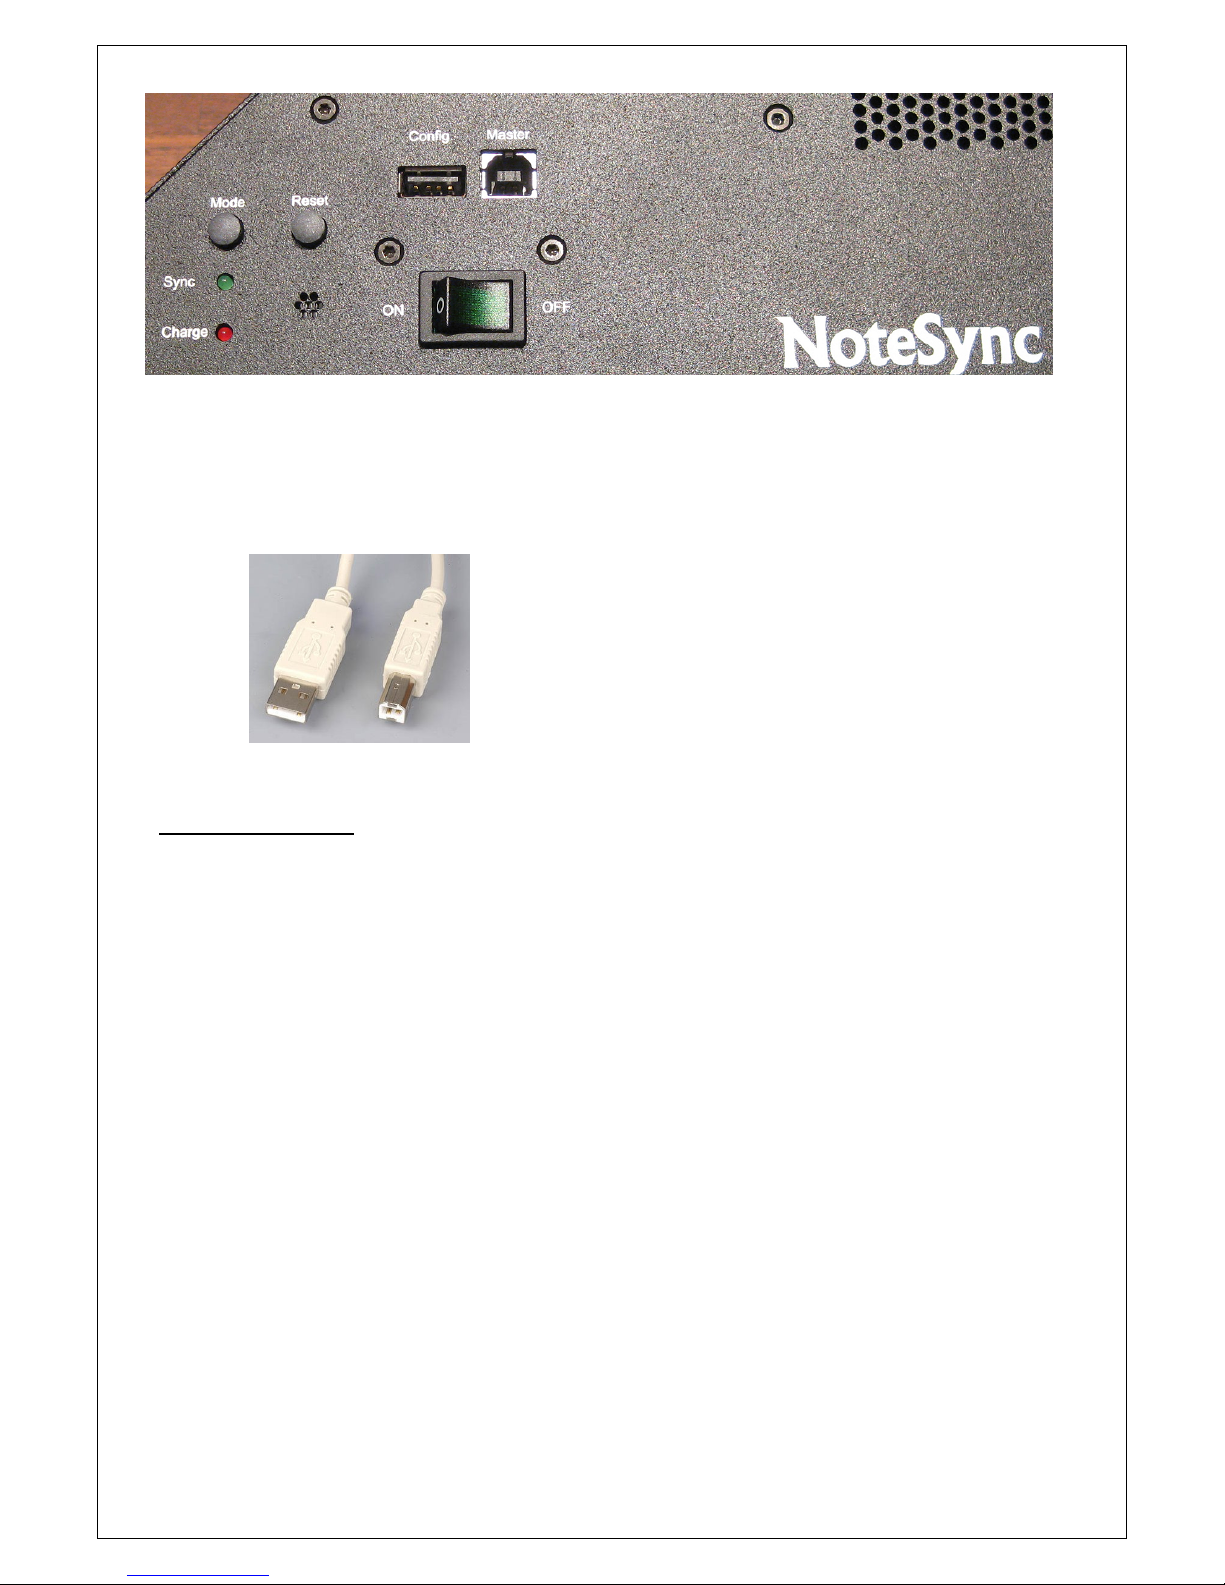
USB interface
NoteSync is equipped with 6 USB 2,0 ports and supports charging with up to 2,5Amp
per port.
NOTICE
Do not touch USB ports directly. This can course the unit to reset.
Charging and sync of more than 16 units
Charging and sync of more than 6 units against one master is made possible by
connecting more than one NoteSync.

Ventilation
Do not cover the ventilation holes on the unit
ventilation holes must be kept free from obstruction.
Connecting
the unit to mains
Connect the mains
cable to the unit as shown on the picture
and can be connected to 00
Changing the fuse
The small compartment
below the 230V connection
Change the fuse as shown on the picture
4
Do not cover the ventilation holes on the unit
. To allow air flow through the unit t
ventilation holes must be kept free from obstruction.
.
the unit to mains
cable to the unit as shown on the picture
s
. The unit is autosensing
and can be connected to 00
-240V
below the 230V connection
houses the fuses
Change the fuse as shown on the picture
s.
. To allow air flow through the unit t
he
. The unit is autosensing
houses the fuses
.

5
Connecting the master
Use a USB a->b cable to connect the master. Use the USB port on the NoteSync
marked “Master”.
ON/OFF Button
Pressing the on/off button will turn the unit on or off. This switch will light green when
the unit is on.
If one of the LED’s is flashing - wait until it lights up continuously.

6
Mode utton
Sync mode
Pressing the mode button makes the NoteSync switch between three modes.
Press the mode button and the green LED will flash. After a few seconds flashing will
stop. The green LED shows that the unit is in Sync mode.
In this mode you can sync all units simultaneously.
Simply start up iTunes on your master and you will see all connected units in iTunes.
If all units are set up under iTunes, sync will start automatically across them all.
Charge mode
Pressing the mode button again makes the green LED turn of and the red LED will
start flashing. When the red LED lights up, the unit is in charging mode.
All USB ports are now charging units connected.
Disconnected mode
Pressing the mode button again makes the green and red LED turn off. The unit is
now in disconnected mode. Same effect as removing all cables to connected devices.

7
The reset utton
Pressing the reset button will make the NoteSync reset on all ports
Auto function (not on all versions)
The Auto switch turns on/off auto mode.
If Auto mode is set to off, the mode button will be active and you can manually select.
If Auto function is set to on, the unit will automatically switch to sync mode if a
master is connected. If a master is not connected the unit will automatically switch to
charge mode

8
Advanced functions and configuration
To be able to use advanced functions and configuration
of the NoteSync connect a Mac or a PC to the unit using
the CONFIG port.
THIS IS NOT A STANDARD USB PORT.
A FDTI cable must be used – can be ordered from your
dealer.
Configuring the NoteSync:
. Connect the FTDI cable to the computer in a spare USB port.
2. Open Hyperterminal, ZTerm or similar terminal application.
3. Connect to the FTDI COM port with the terminal application using 8N settings
(8 bit, No parity, stop bit). No handshaking (don’t use RTS/CTS).
4. Type ‘xx’ to restart the unit.
5. You should then see some text showing which HW and FW versions you are
using, as well as our board manufacturer name and email address for support.
6. The board is now ready to command but all ports are currently disconnected.
The command set is shown below (all characters are lower case):
Command
Function
ap
Switch all 6 ports to sync mode.
ap2
Switch all 6 ports to charge mode.
ap3
Disconnect all ports (same effect
as
removing the USB cable from the iPad)
pnc (replace the ‘n’ with the port
number - 6)
Switch port ‘n’ into charge mode.
pns (replace the ‘n’ with the port
number - 6)
Switch port ‘n’ into sync mode.
pnd (replace the ‘n’ with the port
number - 6)
S
witch port ‘n’ into disconnected mode.
ver
Shows info about the hardware and
firmware version.
xx
Reset the C3
-
Case

9
Technical specifications and standard
Input: 00
-
240 VAC/ 3,5A/ 50
-
60Hz
Out: 5VDC/ 40A @ 80
-
264VAC input
Out: 5VDC/ 32 A
@ 85
-
80VAC input
Fuse: 250V 4A FAST HIGH BREAK
Tmax: 60
o
C (derating above 50
o
C)
Secondary is SELV
The unit is tested by an independent test house and applies to
EN 60950- :2006
including Amendment A :2009
and Amendment A :20 0
EMC test is passed.
To require full test report please contact Leba Innovation.

0

Warranty
NoteSync is covered by 2 years warranty covering labor and parts. Product must be
returned to Leba Innovation for repair.
NOTICE
Please be aware that warranty is void if seal is broken

2
Register product
Register product and get free support, news and free sw updates.
Simply email these information’s to: notesync@leba-innovation.com
Institution/firm
Contact name
e-mail address
NoteSync serial number or numbers
Date of purchase
Leba Innovation
Gisselfeldvej 2a
DK – 4690 Haslev
T: +45 70 250 580
Table of contents
Popular Telephone Accessories manuals by other brands

Comelit
Comelit FT CT 05 Technical sheet

Gigaset
Gigaset T500 PRO instructions

Sipura Technology
Sipura Technology Sipura SPA-2000 user guide

Panasonic
Panasonic KX-T7440 reference guide

Acuity Brands Lighting
Acuity Brands Lighting HOLOPHANE Esplanade ESL3 manual

Williams Sound
Williams Sound TEL008 Specification sheet