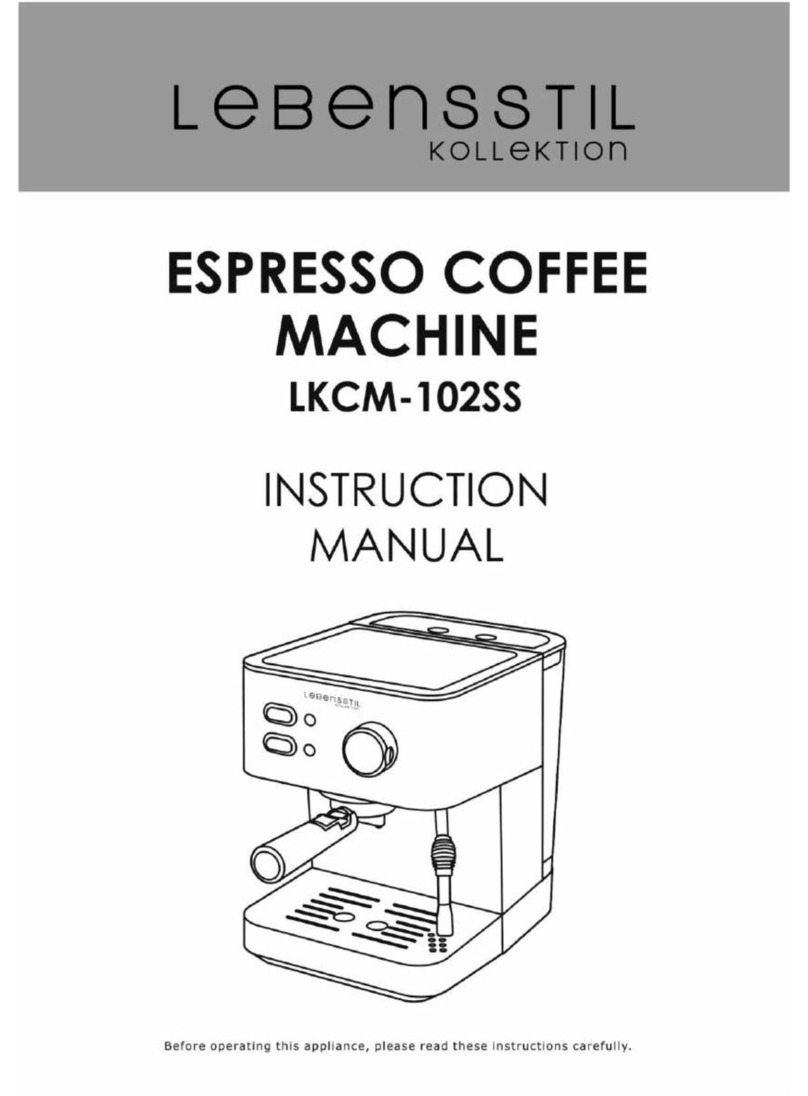
Lebensstil Kollektion LKCM-101SS User manual


CONTENTS
Title Page No.
General Safety Precaution 1
Part Identification 2
Specifications 3
How to Use 3
- Before First Use
- Make Coffee Immediately
-Automatic Start Function
- Hints For Great Tasty Coffee 6
Cleaning and Maintenance 7
- Cleaning
- Descaling
Thank you for choosing LEBENSSTIL KOLLEKTION Drip Coffee Maker.

Before connecting the appliance, please check whether the voltage
indicated on the appliance corresponds with the main voltage in your
home.
Do not immerse appliance, cord or plug in water or other liquid.
Do notoverload outlets or extension cords.It can result in fire or electric
shock.
This product must not be left unattended while it is connect to the main
supply.
Use only original accessories supplied.
Do not operate this appliance with a damaged cord or plug, or in
abnormal state. If its main cord is damaged, it must be replaced by the
manufacturer or send it to the nearest service agent or to the qualified
person.
This coffee maker is intended for indoor and household use only; not for
outdoor, commercial and industrial use.
Do notpull the cord to remove the plug fromwall socket, pull on the plug
instead.
Do notattempt to insert or remove the plug with wet hands.
Do not place the appliance on or near hot gas/electricburner, or a heated
oven.
Do notlet cord hang over the edge of table or counteror touch anyhot
surfaces.
In the event not using the appliance for a long period of time, please remove
the plug fromthe power outlet.
This appliance should notbe used by the physically challenged, slow
response or mentally disabled people (including children) unlessguidance is
provided during operation.
Do not operate any appliance with a damaged cord or plug, or after the
appliance malfunctions or has been damaged in any manner. Repairs and
services should always be carried out by authorized Customer Care/Service
Centre.
General Safety Precaution
1

Control Panel
Part Identification
2

MODEL
LKCM-101SS
RATED VOLTAGE
220-240V~
RATED WATTAGE
823-980W
FREQUENCY
50/60Hz
BEFORE FIRST USE
Check the accessories completely and then make sure the unit has no
damaged. For a perfect taste, carry out descaling process for 2-3 times with
fresh water (without adding coffee). Then pour out the water and clean the
carafe, carafe lid, funnel and the filter thoroughly with warm water. Ensure to
cool down the appliance for 5 mints for every descaling process or brewing
coffee of full carafe.
MAKING COFFEE IMMEDIATELY
1) Open the top cover of the coffee maker, fill in with the proper amount of water
into the tank by using the carafe. The water level should not exceed the MAX
level which marked on the side of the appliance.
2) Place the funnel into the funnel support, ensure it is assembled correctly. Then
place the filter into the funnel.
How to Use
Specification
3

3) Add coffee ground into filter. Usually for a cup of coffee it is recommended to
put 1 spoon full of coffee ground, but you may adjust according to you own
desired taste.
4) Once the coffee ground has been added into the filter, make sure to close the
top cover and insert the carafe on keeping warm plate horizontally.
5) Plug the power cord into the outlet, the LCD will display the default setting as
“12:00“.
6) Press “ON/OFF” button once, then the red lamp of brew will be illuminated.
The appliance will begin working.
Note: You can take out carafe, pour and serve at any time of dripping. The
appliance will stop dripping automatically when the carafe is removed. But
the carafe need to be place back within 30 seconds to avoid over flow of
the coffee thru the funnel.
7) Do not open the top cover when the coffee maker is operating or while in
dripping stage. The flow back of hot water will damage the appliance.
8) You can take out carafe, pour and serve when finish brewing completely
Note: The coffee you get will be a bit lesser than the water you have inputted in,
it is because the water is absorbed by coffee ground and also vaporise
when the heating process take place.
9) Always turn off the coffee maker and unplug the power cord from the electrical
outlet when the coffee maker is not in use.
Note: If you have made one carafe of coffee and wish to make some more
straight away. Please switch off the coffee maker and allow at least 5
minutes for it to cool down. Then you can refill the water tank and make
more coffee.
4

AUTOMATIC START FUNCTION
If you do not want the coffee maker start operation immediately, for example now it
is 8:10 am, you want the coffee maker automatically start at 1:00 pm, first follow
the steps from 1 to 5 of above section, then you can set the automatic start
function as follows:
1) Press “PROG” button, the “LCD” will display “CLOCK”.
Set the current time by pressing the “HOUR” and “MIN”
(See Fig.1).
Note: The time cycle is 24 hours. Select desired time by
pressing the “HOUR” and “MIN” continuously.
2) Press “PROG” button again, the “LCD” will display “TIMER”,
then set the automatic start time by pressing the “HOUR”
and “MIN”. (See Fig.2)
3) Press “ON/OFF” twice, the green lamp of AUTO will be illuminated, at the
same time the LCD will display the current clock, you may see the automatic
starting time by pressing the “PROG”button.
Note: You may cancel the automatic start function by pressing ON/OFF button. If
you want to change the automatic start time once again. You need follow
the above 1-3 steps again.
At 1:00 pm, the green lamp of AUTO will be extinguished, and the red lamp of
BREW will be illuminated. The appliance will start automatically. After brewing, you
can leave the carafe on keeping warm plate. Once the coffee maker has
completed the brewing. The coffee can be kept warm for 2 hours if it is unattended
and also it will cut off the power automatically after 2 hours.
5

HINTS FOR GREAT TASTY COFFEE
1) A clean coffee maker is essential for making great-tasting coffee. Regularly
clean the coffee maker as specified in the “Cleaning and Maintenance”
section. Always use fresh, cold water in the coffee maker.
2) Store unused coffee grounds in a cool, dry place. After opening a package of
coffee grounds, reseal it tightly and store it in a refrigerator to maintain the
freshness of it.
3) For an optimum coffee taste, buy whole coffee beans and finely grind them
just before brewing.
4) Do not reuse coffee grounds since this will greatly reduce the coffee’ flavour.
Reheating coffee is not recommended as coffee is at its peak flavour
immediately after brewing.
5) Oiliness may occur more frequently if heavily roasted coffees are used.
6

CLEANING
Always remove the main plug from the wall socket before cleaning the
appliance.
Never immerse the appliance in water.
Appliance should only be cleaned with a damp cloth.
The carafe and the filter and the funnel can be washed in hot soapy water.
DESCALING
Descale your coffee maker regularly.
Pour 1/3 of ordinary vinegar and then 2/3 of water into the carafe. After
mixed it, fill in into the water tank and make sure to remove the funnel with
ground coffee. Operate the appliance as normal procedure without the
funnel and the filter.
After the descaling with the vinegar is over. Repeat the process with the
normal water until there is no yellow liquid and vinegar odor is left.
Cleaning and Maintenance
7

Table of contents
Other Lebensstil Kollektion Coffee Maker manuals
Popular Coffee Maker manuals by other brands

Best Buy
Best Buy NB-COFF15 Quick setup guide

AEG
AEG KF 5 Series Instruction book

Cuisinart
Cuisinart EM-1000 Instruction booklet

Expobar
Expobar CARAT 1GR user manual

Nescafe
Nescafe alegria A510-1.0 user manual

Classic Coffee Concepts
Classic Coffee Concepts RC130 Instructions for installation, operation, maintenance