Lectric Cycles Bafang C961 User manual

Manual
C961

Contents
Preface···································································· 2
Appearance & size····················································· 3
Material & color························································· 3
Functions & buttons···················································· 3
Function·····························································3
Interface·····························································4
Button································································4
Warnings································································· 5
Installation································································ 5
ON/OFF····························································· 5
Walking assist····················································· 6
Backlight···························································· 6
Level································································· 7
Capacity·····························································7
Distance·····························································7
TRIP clearance····················································7
Error code·························································· 8
Setting····································································· 9
Preparation·························································9
Setting······························································ 9
Unit····························································· 9
Speed limit··················································10
Backlight···················································· 10
Time·························································· 11
Advanced setting······················································11
Wheel size························································12
Sleep time interval··············································12
Level ······························································ 12
FAQ·······································································14
Warranty·································································14
Software version······················································ 15
- 1 -

‐2‐
Dear Customer,
Please read this manual before using the C961 Display.
Thank you,
Lectric Cycles
Tel: +1 480 382-0665
Fax: +1 480 939-3539
E-mail: support@lectriccycles.com
Address:
1920 E. 3rd St., Ste 10
Tempe, AZ 85281 USA
Website: www.lectriccycles.com
‐3‐
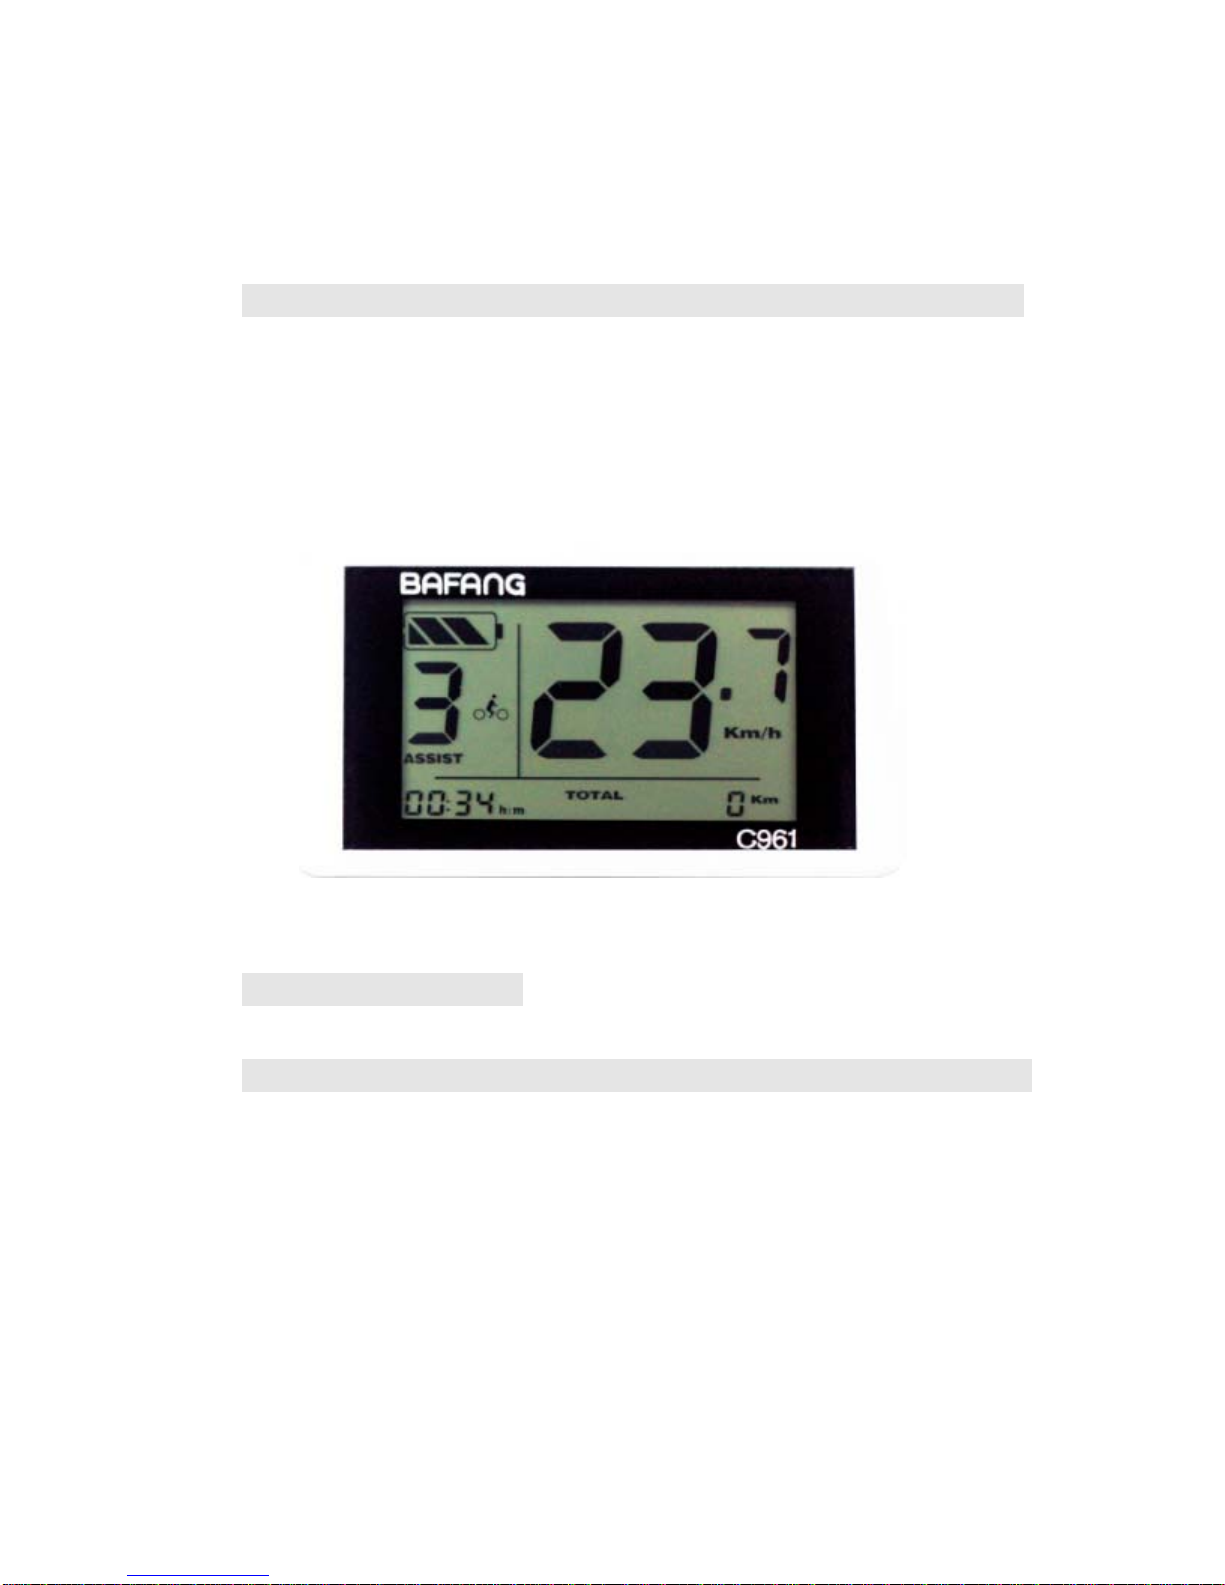
Appearance and size
Material &color
The C961 display is made of ABS and is designed to
perform well under -20º to 60 º C.
Available colors: Black.
Size (Unit: mm)
Functions & buttons
Functions
The C961 offers many functions for your riding pleasure.
These Include:
Multiple Power levels settings (Mode)
Remaining Battery Capacity
Speed

‐4‐
Distance and Odometer (TRIP/ TOTAL)
Time
Assist walking (slow speed motor assist)
Backlight
Error codes
Interface
Button
C961 includes a three button electronic control switch:
Power on/off
Powe
r
Mode
Level
Walkin
g
Time
S
p
eed
Unit
Distance
Unit
TRIPODO

‐5‐
Caution: Do not plug in or unplug this display when the
power to the unit is on.
A
void collisions
Protect the display’s membrane to provide water
resistant performance.
Do not attempt to reset parameters if the display
is not working.
Call for service if the C961 display is not working
Installation
Install the display and button control on the handlebar and
adjust its location. Plug it into the controller with power off.
ON/OFF
To turn the unit on, press and hold the
button to start the
display. A long press again
will switch it off.
The display switches off automatically if there is no
activity for five minutes (default).
‐6‐
Walking assist
Press and hold
to start the walking assist. You will
see the walking icon on the display and the motor will move
the bicycle or vehicle at 4mph (6km/h).
This function is designed for walking alongside
only. Please do not use this function when riding.
Backlight
Press and hold
to turn on the C961’s backlight screen.
Press and hold
again to switch it off.
‐7‐
Power Level
The display is integrated with the controller to provide
several levels of power in Pedal Assist Mode (PAS). Press
or
to change the levels. The Default range is 0 - 5,
where 0 means no output, and 5 means maximum output.
The default switch on is level 0.
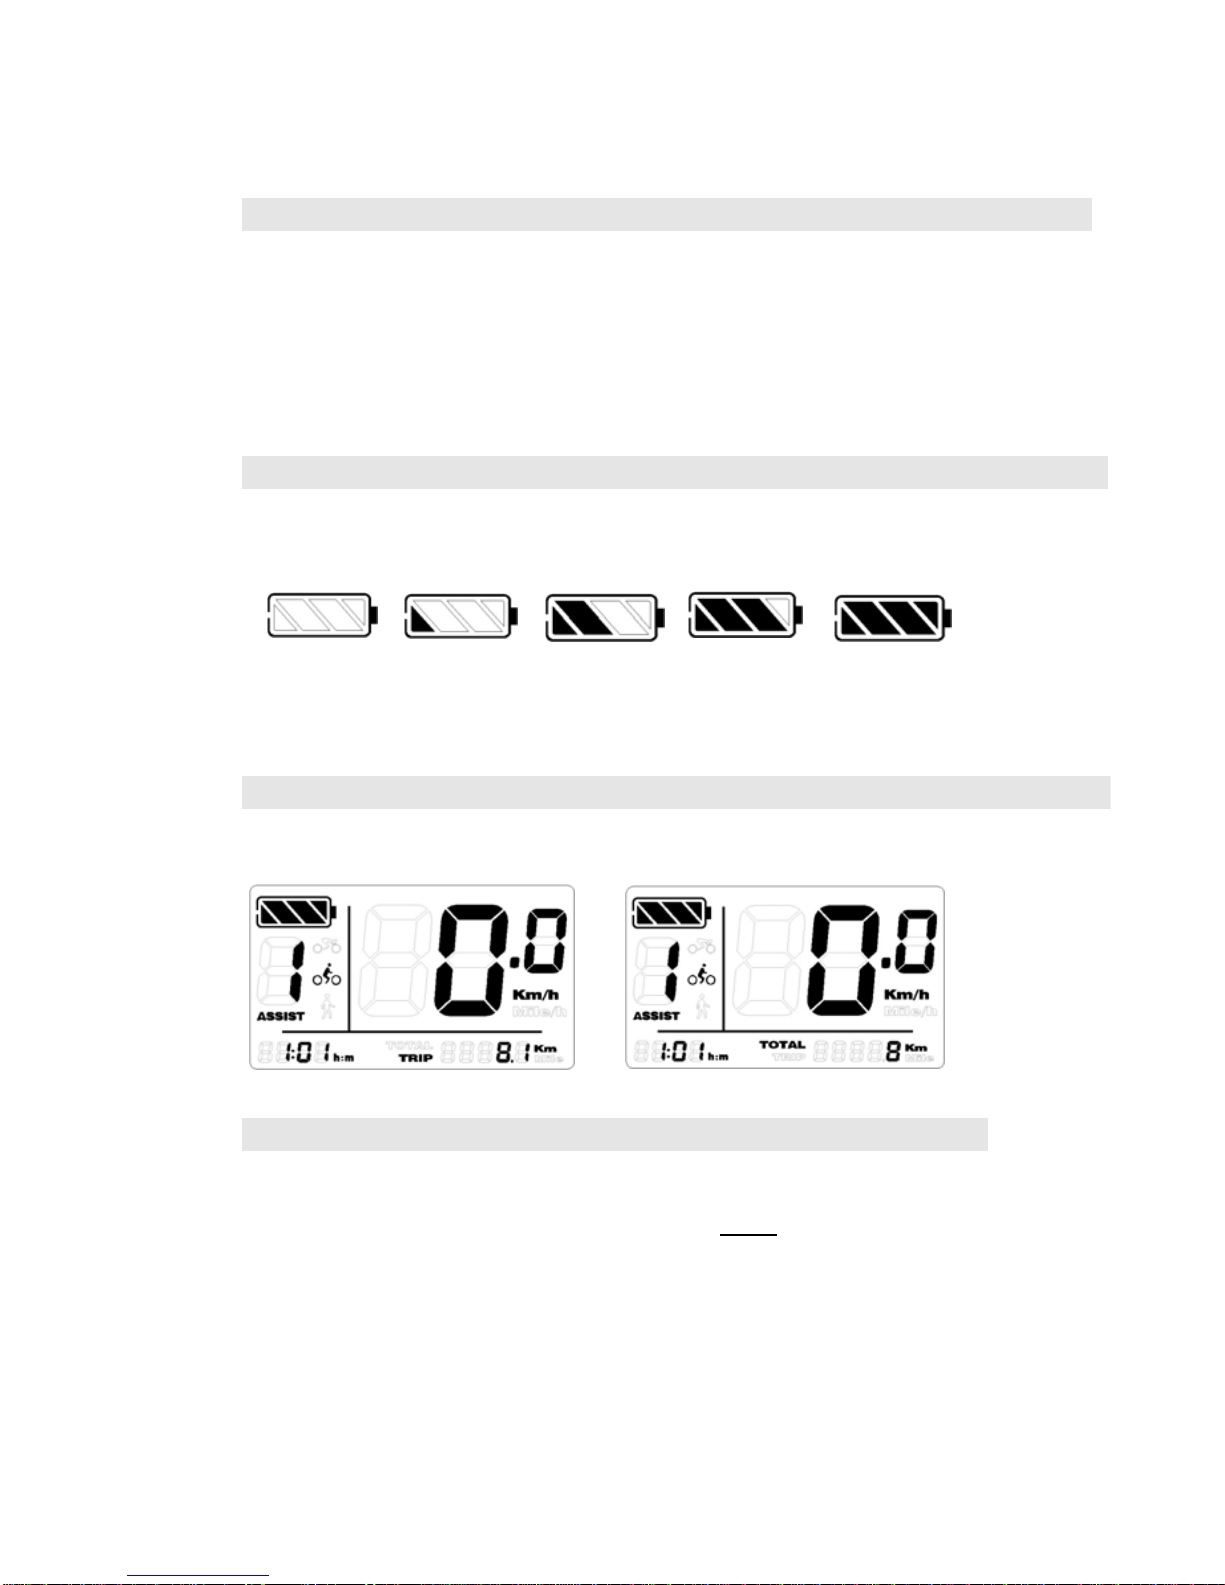
Battery Capacity
Four sections highlights when battery is full.
Percentage of capacity for sections:
<20% 20%-40% 40%-60% 60%-80% 80%-100%
The battery icon flashes at 1 Hz when low power.
Distance (trip and odometer)
Press
to shift between TRIP and TOTAL (Odometer).
TRIP Reset
With the power on, Press and hold both
and
to clear
TRIP distance.

‐8‐
Error codes
When something goes wrong with system, an error code will
flash on the display. Check details on attached list.
The motor will stop working in the event of an error.
Only when the error is gone, will the motor work again.
Error Codes:
Error code Definition
04 Throttle not returning to zero state
05 Throttle abnormality
06 Low voltage protection
07 Over voltage protection
08 Hall sensor abnormality
09 Phase line abnormality
10 Controller overheat
11 Temperature sensor in controller abnormality
12 Current sensor abnormality
21 Speed sensor abnormality
22 Communication abnormality in BMS

‐9‐
Display Settings
Preparation
Makes sure the connections are good, then power on.
Setting
Press and hold
to turn on the display. Press and hold the
and
to set the mode.
UnitPress
to change unit Km or Mile.
Press
to save and go to set speed.
Table of contents
Popular Bicycle Accessories manuals by other brands


Specialized
Specialized Elite CylcoComputer user manual

Sigma
Sigma BC 16.16 manual

Playcore
Playcore Dero Setbacks installation instructions

VDO Cyclecomputing
VDO Cyclecomputing x3dw instruction manual

Cateye
Cateye RAPID X2 manual

buratti meccanica
buratti meccanica Clorofilla Trail Use and maintenance manual


