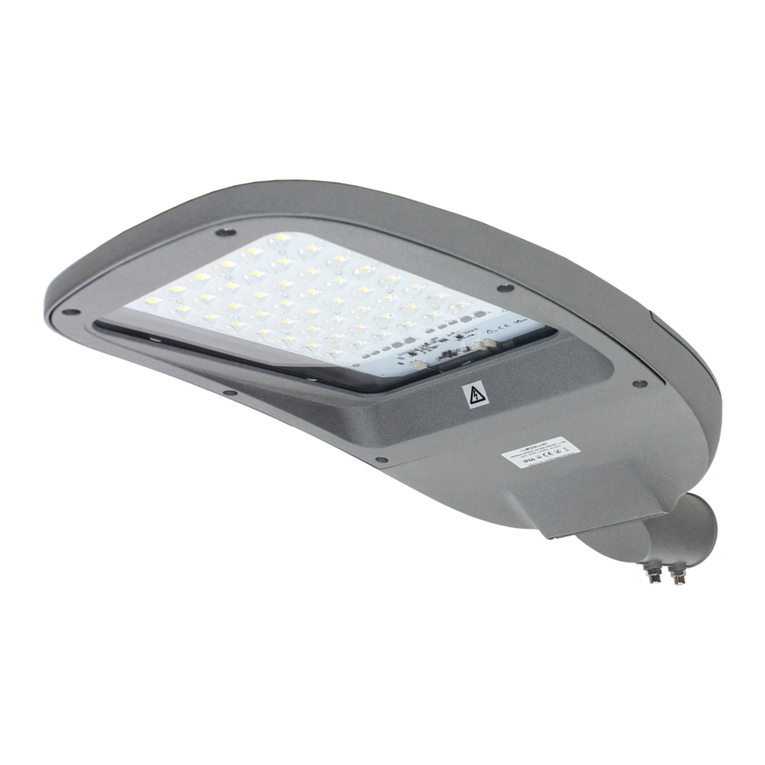
.
2
Przed przystąpieniem do montażu, bezwzględnie odłączyć zasilanie
w obwodzie.
Doprowadzić do oprawy przewód zasilający (2x1.5mm). Połączyć przewód wyprowadzony z oprawy z
przewodem zasilającym wg oznaczeń zamieszczonych poniżej. Stosuj mufę o odpowiedniej
szczelności. Klasa II: brak wyprowadzenia przewodu PE.
Ustawić mocowanie ze względu na sposób montażu, używając klucza inbusowego (6mm, 4Nm).
Ustawić odpowiednio kąt nachylenia oprawy regulując śrubami przy uchwycie montażowym za
pomocą klucza inbusowego (6mm, 4Nm).
Osadzić lampę na słupie lub wysięgniku zabezpieczając śrubami mocującymi za pomocą klucza
inbusowego (6mm, 4Nm) oraz klucza płaskiego (13mm, 4Nm).
8mm
25mm
8mm
25mm
LBrązowy | Brown | Braun
PE Zielono-Żółty | Green-yellow | Grün-Gelb
NNiebieski | Blue | Blau
+Czarny | Black | Schwarz
―Biały | White | Weiß
Make sure you disconnect the power supply before installation.
Trennen Sie immer die Stromversorgung vom Stromkreis, bevor
Sie mit der Montage beginnen.
OFF
Zdemontować przewód wyprowadzony z oprawy. Doprowadzić przewód zasilający do
wewnątrz oprawy – przewód 2x1.5mm (3x1.5mm dla I klasy izolacji). Podłączyć
przewód zasilający do zacisku nożowego M29 wg oznaczeń zamieszczonych poniżej.
Klasa II: brak wyprowadzenia przewodu PE.
Bring the power cord (2x1.5mm) to the luminaire. Connect the luminaire wire to the power cord as
indicated below. No PE cord for protection class II.
Führen Sie das Netzkabel (2x1,5mm) zur Leuchte. Verbinden Sie das Leuchtenkabel mit dem
Stromkabel gemäß den Markierungen unten. Für die Klasse II kein PE-Kabel.
Ilość zacisków | Number of terminals |
Klemmenanzahl: 3
Napięcie znamionowe | Rated voltage |
Nennspannung: 450V
Prąd znamionowy | Rated current |
Nennstrom: 16A
Znamionowa przyłączalność | Rated
connecting capacity | Nennanschluss:
1.5-4mm2
LBrązowy | Brown | Braun
PE Zielono-Żółty | Green-yellow |
Grün-Gelb
NNiebieski | Blue | Blau
Remove the luminaire wire. Place the power cord inside the luminaire - 2x1.5mm cord (3x1.5mm for
class I insulation). Connect the power cord to the blade terminal as specified below.
No PE cord for protection class II.
Entfernen Sie das Kabel, das aus der Leuchte rausgeführt wurde. Führen Sie das Stromkabel in das
Innere der Leuchte - 2x1, 5mm Kabel (3x1, 5 mm für Isolationsklasse I). Schließen Sie das Netzkabel
gemäß den folgenden Markierungen an die Messerklemme an.
Für die Klasse II kein PE-Kabel.
Set up the mounting according to the mounting method using a hex wrench (6mm, 4Nm).
Adjust the angle of inclination of the luminaire by adjusting the screws at the mounting bracket with a
hex key (6mm, 4Nm).
Place the lamp on the pole or the extension arm by securing it with the fixing screws by means of a
hex wrench (6mm, 4Nm) and a flat wrench (13mm, 4Nm).
Stellen Sie die Befestigung gemäß der Montagemethode mit einem Inbusschlüssel (6mm, 4Nm) ein.
Stellen Sie den Neigungswinkel der Leuchte entsprechend ein, indem Sie die Schrauben an der
Montagehalterung mit einem Inbusschlüssel (6mm, 4Nm) einstellen.
Montieren Sie die Lampe an einer Säule oder einem Ausleger und befestigen Sie sie mit einem
Inbusschlüssel (6mm, 4Nm) und einem Flachschlüssel (13mm, 4Nm) mit Schrauben.
Montaż na słupie | Mounting on a pole |
Montage auf einer Säulenhalterung
Montaż na słupie | Mounting on an extension
arm | Montage auf einem Ausleger
BRAK W ZESTAWIE | NOT INCLUDED | NICHT ENTHALTEN
Stosować złącze kablowe IP68
Ilość zacisków: 3
Napięcie znamionowe: max. 250V
Przyłączalność: 0.75-2.50mm2
Średnica zewnętrzna przewodu elektrycznego | The outer diameter of the electric wire |
Der Außendurchmesser des Elektrokabels
min max
Ø6 – 9mm
Średnica montażowa | Mounting diameter | Montagedurchmesser
Ø45 – 60mm


