Technical data
Te c h n ica lda ta
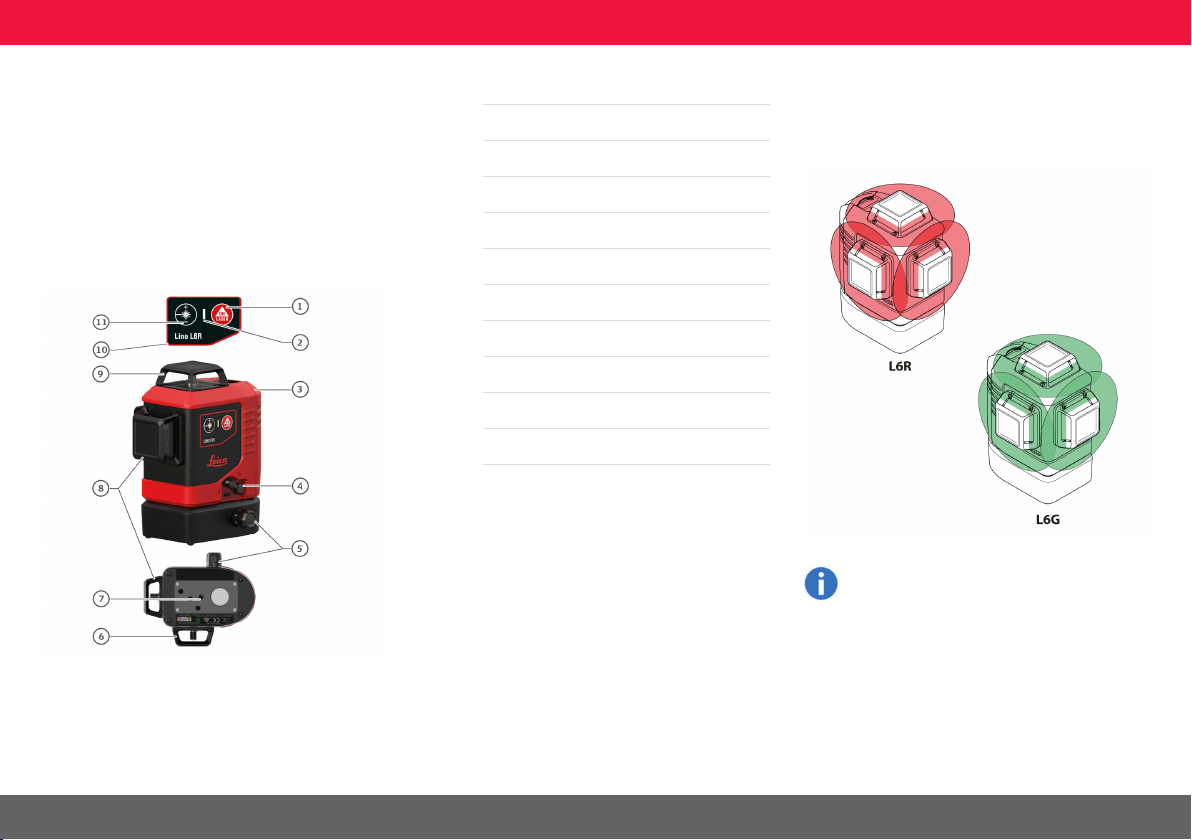
Description L6R L6G
Beam direction/fan angle 2 x Vertical 360°, 1 x Horizontal 360°
Intersection point direction Up, down, right, left, front, back (90°/180°)
Range/Diameter* 25 m/50 m (82 ft/164 ft) 35 m/70 m (115 ft/230 ft)
Range/Diameter* with receiver 70 m/140 m (230 ft/460 ft)**
Levelling accuracy ±0.2 mm/m = ±2.0 mm @ 10m (±0.002 in/ft = ±0.08 in @ 33ft)
Horizontal/Vertical line accuracy ±0.3 mm/m (±0.004 in/ft)
Intersection Point accuracy ±0.2 mm/m (±0.002 in/ft)
Self-levelling range ± 4°
Self-levelling time < 3 s
Out-of-level warning Yes - blink lines every 5 s
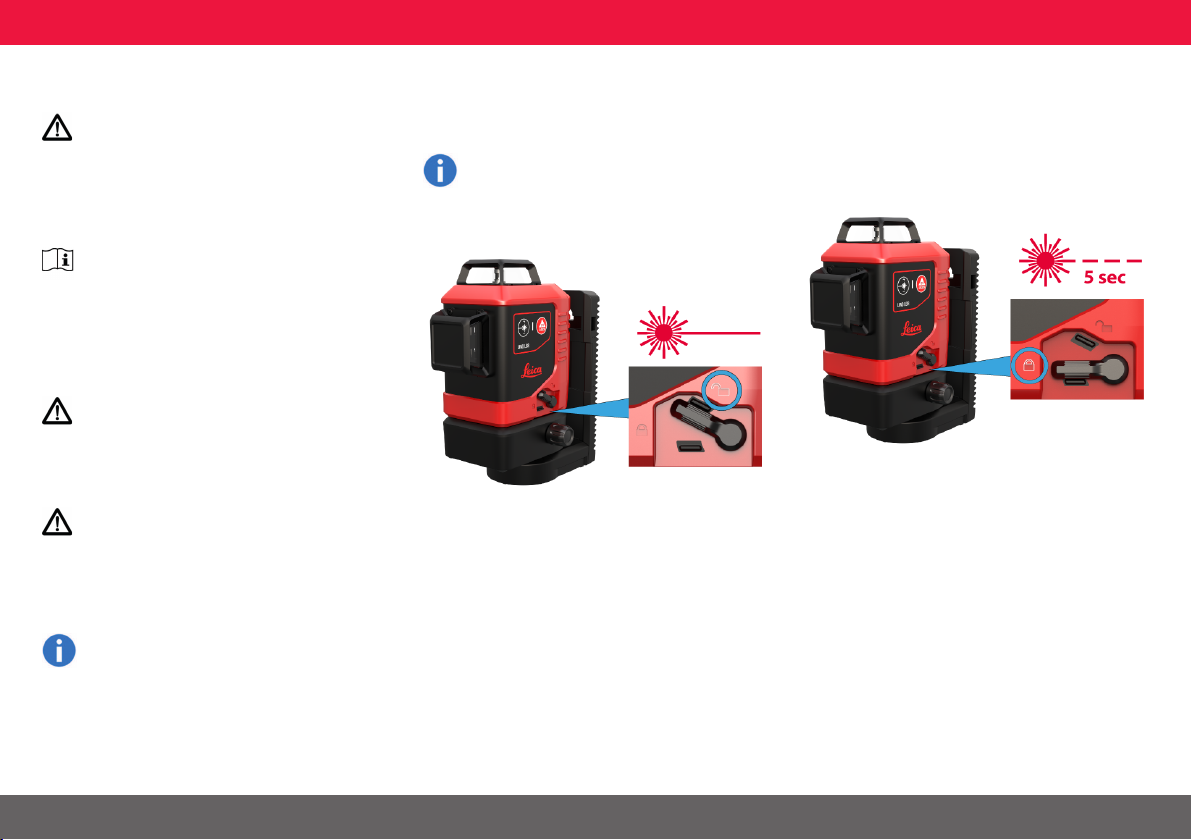
Levelling system Automatic, pendulum lockable
Laser type 630 - 645 nm, Class 2 (acc. IEC 60825-1) 510 - 530 nm, Class 2 (acc. IEC 60825-1)
Protection class IP 54 (IEC 60529) dust and splash water
Shock-resistant 1 m (3.3 ft)***
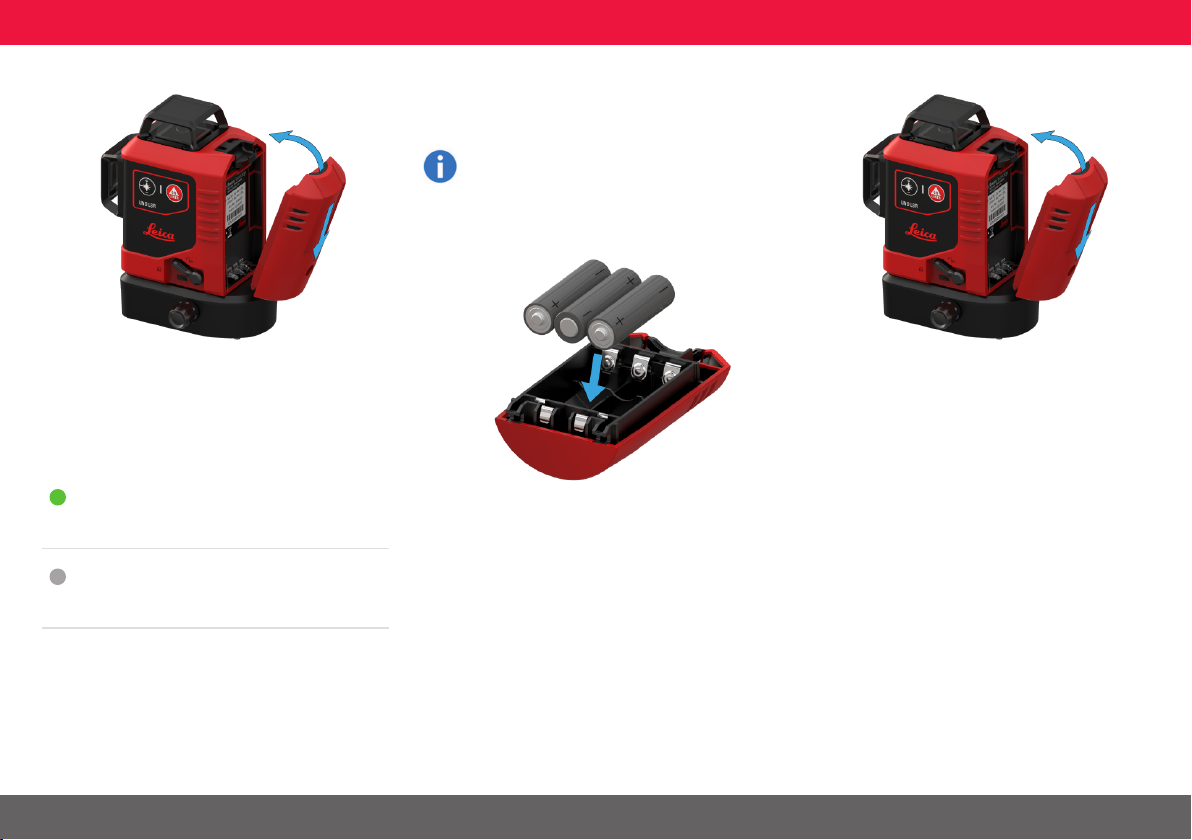
Battery type Lino Li-Ion battery pack 5200 mAh / 18.7 Wh (3 alkaline AA)
Operating time with Li-Ion battery Up to 36h (3 beam) continuous Up to 11h (3 beam) continuous
Operating time with alkaline batteries Up to 25h (3 beam) continuous Up to 8h (3 beam) continuous
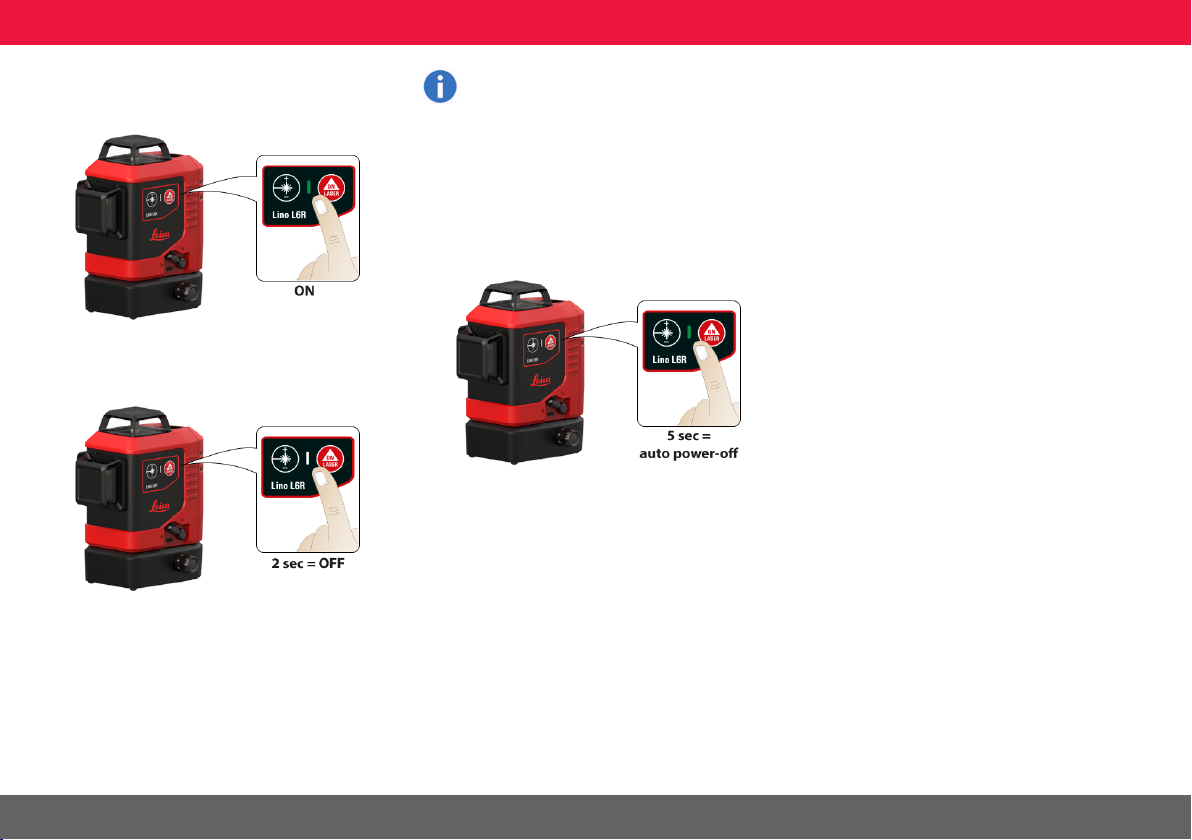
Automatic shut-off Available
Dimensions (L x W x H) 124 x 107 x 154 mm (4.88 x 4.21 x 6.06 in)
Weight with Li-Ion battery 781 g (1.71 lbs)
Operating temperature -10…+50 °C (+14…+122 °F)
Storage temperature -25…+70 °C (-13…+158 °F)
Laser line width at 5m (16.4 ft) distance < 2 mm (<0.08 in)
Tripod thread 1/4’’ (+ 5/8’’ with adapter)
Pulse power for receiver Yes, auto
* depending on lighting conditions
** with Leica RGR 200 receiver
*** accuracy > ± 0.2mm/m (> ± 0.002in/ft), check required
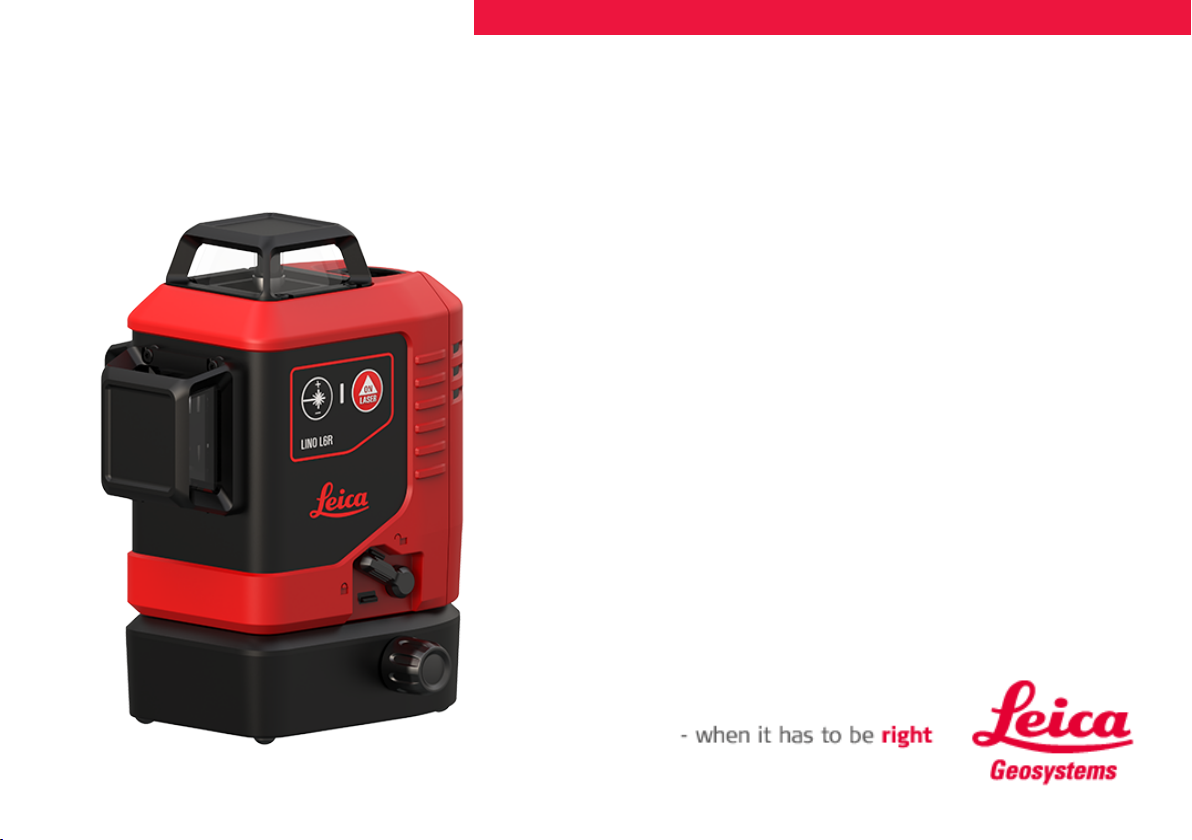
Leica L6R/L6G 4