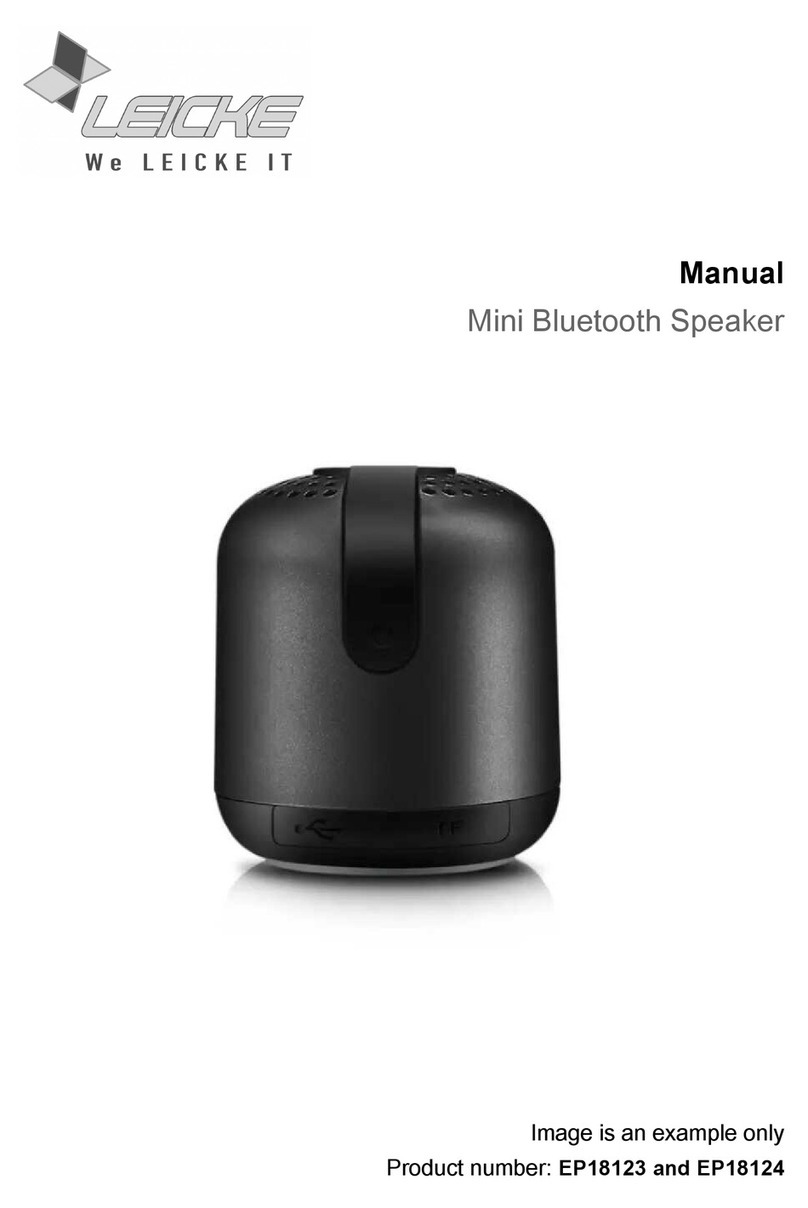
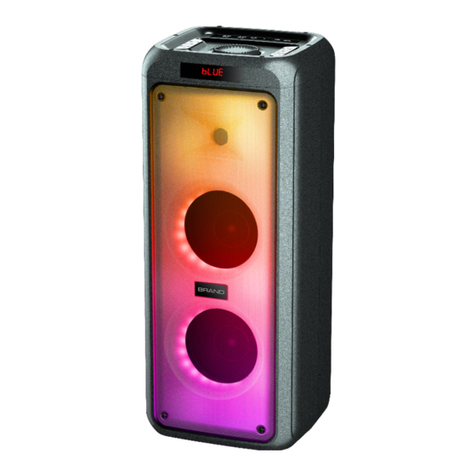
Leicke DJ Roxxx User manual

Manual
Bluetooth-Speaker DJ Roxxx
Product number: EP18177

PACKAGE CONTENTS
Congratulations on the purchase of your new device. You have selected a high-quality
product. Before attempting to use this device, please check the packaging and make sure
the following items are contained in the package:
Number of
Pieces
Name
Note
1
Bluetooth-Speaker
integrated battery
1
Adapter
DC 9V 1,5A
1
AUX cable
3.5mm
1
Remote control
-
1
User's manual
-
TECHNICAL DETAILS
Frequency
50Hz-20KHz
Power
60W
Supported audio format
MP3, WAV files
SD / TF card
up to 32 GB
Sensitivity
80db
Bluetooth version
V5.0
Bluetooth transmission range
≤ 10m
Bluetooth usage current
< 30mA
Bluetooth stand-by current
< 15mA
Bluetooth transmission frequency
2.4GHz-2.480GHz
Bluetooth frequency band
UHF
Bluetooth transmission rate
24Mbps
Max. transmission
2.42 mW
Stand-by usage
Up to 40 h
Charging voltage
DC 9V / 1500mA
Battery capacity
7,4V 10000mAh

Working temperature
-10~40°C
Max. playtime
Up to 9h
Size, Weight
51.5 cm* 21 cm* 21 cm, 4500g
COMPATIBILTY
Compatible with tablets, smartphones, PCs, notebooks which have Bluetooth or AUX
output.
CAUTION
1. Do not expose the device to dripping or splashing liquid.
2. Do not place objects filled with liquid on the unit.
3. Do not block the ventilation openings.
4. When using a high output signal, do not turn the volume up to maximum to avoid
distortion.
FUNCTION PANEL

INTERFACE DESCRIPTION
1. MODE key: Switch to TF/USB/FM/AUX/Bluetooth. (If a Bluetooth connection exists,
press !the "Mode" key for 3 seconds to disconnect the Bluetooth connection and
return to the !connection status for another phone). !
2. PLAY key: Press the "Play" key to pause and resume playback. In FM mode, press
and hold !the "Play" key to access the automatic search station.
3. PREV key: Press the PREV key briefly to go to the previous song or radio station. !
4. NEXT key: Shortly press the NEXT key to go to the next song or radio station.
5. MIC PRI key: Press the key and the display shows " on". The unit switches to the
!microphone priority status. Press the MIC PRI key again and the display shows "
off". The microphone priority is closed. Press the "MIC PRI" key for 3 seconds to
deactivate the speaker lighting. Press the key again for 3 seconds to activate the
loudspeaker lighting.
6. USB interface: Insert the USB disk in USB mode.
7. TF card interface: Insert the TF card directly for playback. !
8. AUX: Connect your device (mobile phone/tablet) to the device with an AUX-IN cable.
9. MIC1/MIC2: Insert a microphone for amplification. !
10. DC9V: Connect the adapter to charge the device. !
11. VOLUME button: To adjust the volume of the device. !
12. Echo button: To adjust the sound effect. !
13. Treble control: To adjust the treble of the speaker. !
14. Bass control: To adjust the bass of the loudspeaker. !
15. POWER: To switch the unit on/off. !
BLUETOOTH MODE
1. Press the MODE button to switch to Bluetooth mode, the LED indicator will flash
blue.
2. Open Bluetooth in your phone and search for "EP18177". Connect with one click
and enjoy wonderful music after successful connection.
MUSIC MODE
1. When a TF card or USB memory device is inserted, the unit automatically switches
to music !playback mode. !
2. Press the play button/PLAY button to pause or resume playback in
Bluetooth/TF/USB !mode. !
3. Press the PREV button to play the previous song. (Only works in Bluetooth/USB/TF
mode). !
4. Press the NEXT button to play the next song. (Works only in Bluetooth/USB/TF
mode). !

FM-MODE
1. Press the MODE button to switch to FM mode. !
2. Press and hold the Play button to search automatically for a station. When the
station search !is complete, the station will be saved automatically. !
3. Press the NEXT/PREV buttons to change the radio station. !
4. Press the MODE button to switch to other functions. !
REC-FUNCTION (control by remote)
1. Record a sound source only when the unit is connected to a microphone and then
save it to a !USB memory device or TF card. If both USB media and TF card are
inserted, the USB !memory has priority. !
2. Press " REC" to start recording. !
3. Press " REC play" to start playing the recording.
Operation of the Microphone
1. Turn on the microphone priority function. When you sing into the microphone, the
!background music stops and you only hear the microphone sound. If no sound
source comes !out of the microphone, the background volume is automatically
restored. !
2. Press the MIC PRI key again, the display shows "off". The microphone priority
function will be !closed.
TWS function
1. In Bluetooth mode, long press the PLAY/PAUSE key for three seconds on either
speaker. This starts the automatic TWS pairing. A „DUDU“ tone indicates successful
pairing.
2. Now open the Bluetooth menu on your phone and search fort he Bluetooth pairing
name. After succesful pairing, one speaker becomes the left channel and the other
the right channel.
3. Press and hold the MODE key to automatically switch off the TWS function again.
CHARGING INSTRUCTIONS
When the battery is charging, the battery indicator on the function panel lights up red.
When the battery is fully charged it lights up green. When the battery is low, the battery
symbol on the LED screen flashes. Please recharge it in time.

REMOTE INSTRUCTIONS
1. Mute: Press this button to mute the music.
2. MODE: Switch mode to FM/BT.
3. REC: Record music.
4. CH-: Last channel / previous Song
5. : Repeat a single or all tracks.
6. Digit 0-9: Change the song that was saved on the USB stick/ TF card.
7. REC Play: Play recorded music.
8. VOL+: Turn up the volume.
9. SCAN: Longpress in FM mode to scan the channel. Press briefly to pause the
music.
10. CH+: Next channel / Next song.
11. VOL-: Turn down the volume.
12. LED: Press this key to switch the speaker lighting on/off. "
SAFETY NOTES
For your own safety and so that you can enjoy our product for a long time, please observe
the following safety instructions:

• Do not expose this product to a wet environment or high temperatures. It must not
stand in the rain or fall.
• To reduce the risk of electronic shock or fire, do not remove the case cover, but
consult a qualified electrician.
• In the rare event of a malfunction, do not attempt to repair the unit yourself. Contact
a certified service technician for proper diagnosis and repair.
• If fragments or liquids fall into the equipment box, turn off the power immediately. It
must not be used again until it has been checked by qualified personnel.
• The device should be placed on a horizontal, flat and solid surface with good
ventilation.
• Do not install the unit in or near a place where it may come into contact with rain,
moisture or other liquids.
• If the battery is incorrectly replaced, an explosion may occur. Please replace it with
a battery of the same or equivalent type.
• To avoid an accidental charging, the original adapter of this product must be used to
charge the battery. If the accident or machine damage is caused by other original
adapters, the warranty is void.
• To avoid battery explosion, do not install the unit in areas of extreme heat, fire or in
areas exposed to direct sunlight.
FCC INTERFERENCE STATEMENT
This equipment has been tested and found to comply with the limits for a Class B digital
device, pursuant to Part 15 of the FCC Rules.
These limits are designed to provide reasonable protection against harmful interference in
a residential installation. This equipment generates, uses and can radiate radio frequency
energy and, if not installed and used in accordance with the instructions, may cause
harmful interference to radio communications. However, there is no guarantee that
interference will not occur in a particular installation. If this equipment does cause harmful
interference to radio or television reception, which can be determined by turning the
equipment off and on, the user is encouraged to try to correct the interference by one of
the following measures: - Reorient or relocate the receiving antenna. - Increase the
separation between the equipment and receiver. - Connect the equipment into an outlet on
a circuit different from that to which the receiver is connected. - Consult the dealer or an
experienced radio/TV technician for help.
This device complies with Part 15 of the FCC Rules. Operation is subject to the following
conditions:
1. This device may not cause harmful interference, and
2. This device must accept any interference received, including interference that may
cause undesired operation.
FCC Caution: Any changes or modifications not expressly approved by the party
responsible for compliance could void the user's authority to operate this equipment.
IMPORTANT NOTE:
Radiation Exposure Statement:
1. This equipment complies with FCC radiation exposure limits set forth for an
uncontrolled environment. End users should follow the specific instructions in the
user's manual to comply with the FCC rules.
• This transmitter must not be co-located or operating in conjunction with any other
antenna or transmitter.
DISPOSAL
This device contains materials that must not be disposed of as household
waste. Please check local laws concerning the applicable disposal
regulations. Protect the environment by participating in recycling programs.
DECLARATION OF CONFORMITY
LEICKE GmbH herewith declares that the device complies with the RED
2014/53/EU and Rohs 2011/65/EC Annex II 2015/863 regulations. The
declaration of conformity. can be found at www.leicke.com. Go to the
product you bought and look at downloads.
www.leicke.com/de/products/EP18177
Contact
You can find our manual on our Website.
Go to the product you bought and look at downloads.
If you have any questions, please feel free to contact us.
PRODUCTION & WHOLESALE
LEICKE GmbH
Stöhrerstr. 17
04347 Leipzig
Germany
Web: www.leicke.com
Mail: [email protected]
This manual suits for next models
1
Table of contents
Other Leicke Speakers manuals

Leicke
Leicke DJ Roxxx Partybox Grand User manual

Leicke
Leicke EP18101 User manual

Leicke
Leicke EP18125 User manual

Leicke
Leicke DJ R Series User manual

Leicke
Leicke EP18123 User manual

Leicke
Leicke EP18222 User manual

Leicke
Leicke EP18131 User manual

Leicke
Leicke EP18141 User manual

Leicke
Leicke EP18108 User manual

Leicke
Leicke EP18142 User manual