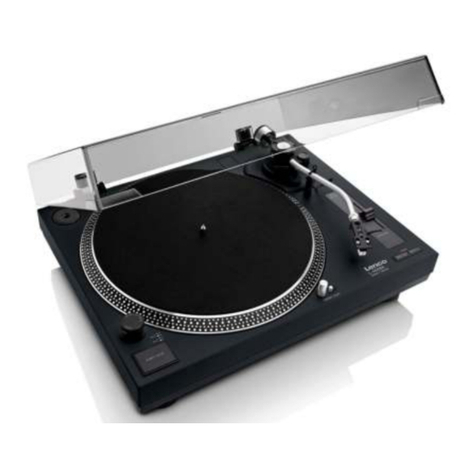
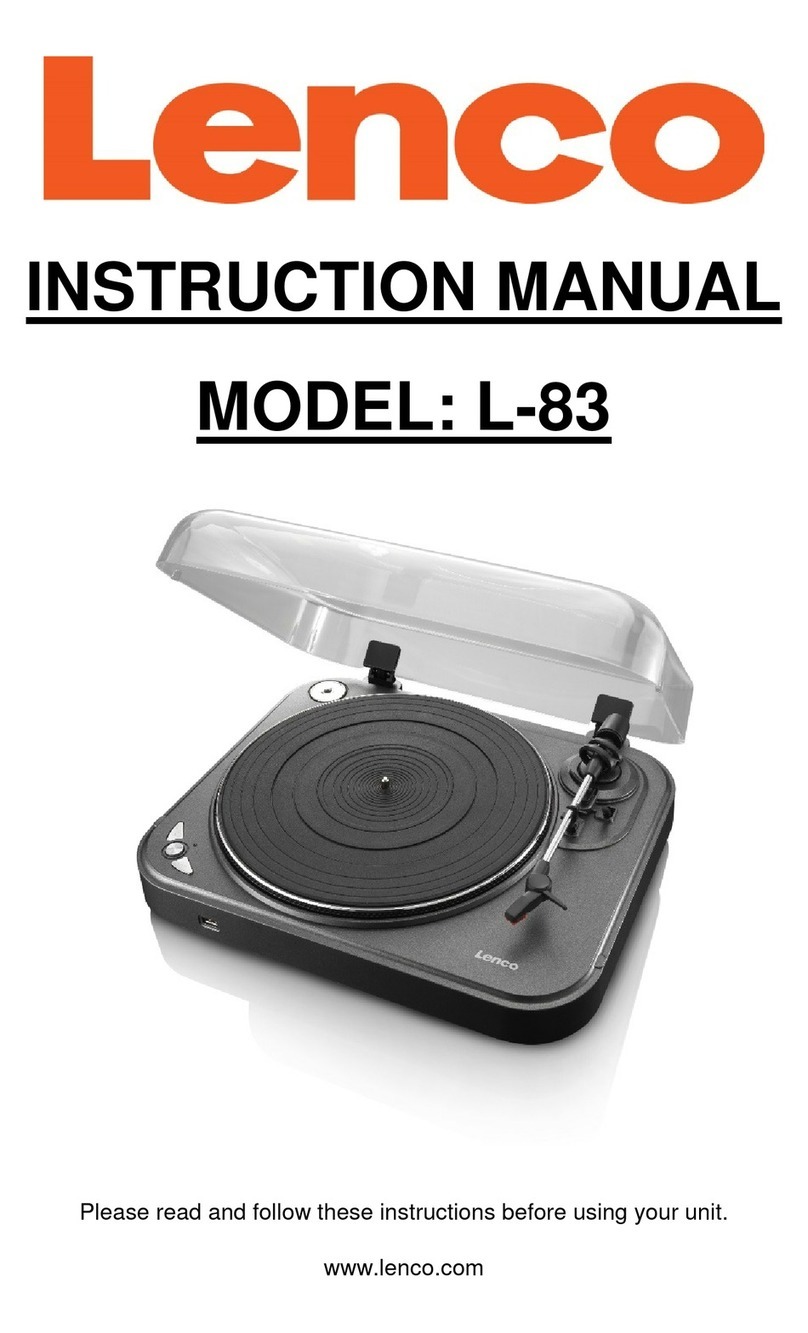
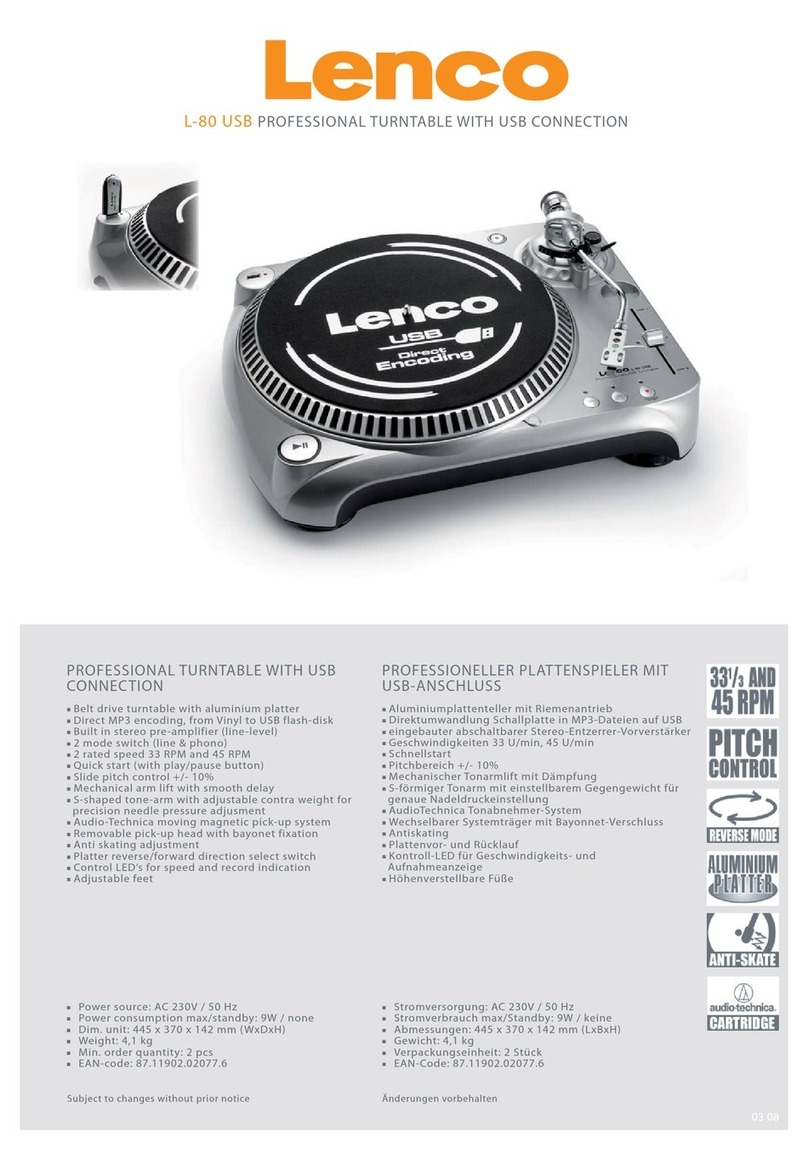
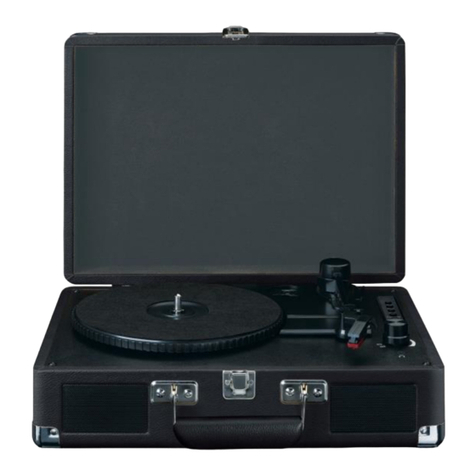
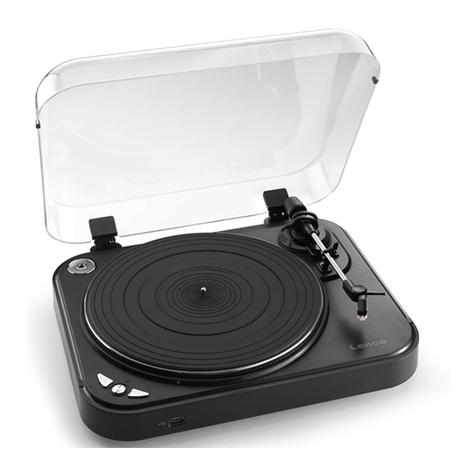
LENCO L-83 User manual

L-83
INSTRUCTION MANUAL

2
CONTENTS
Assembly-------------------------------------------------------3
Description-----------------------------------------------------4~5
Mains Connection----------------------------------------------6
Amplifier Connection-----------------------------------------6
Specification----------------------------------------------------6

3
ASSEMBLY
Drive belt:
The belt and turntable platter ha e been installed properly at factory, but the belt
may be loose during transportation. If so, the following procedures will be taken for
belt installation by yourself.
A. Remo e the rubber mat from the turntable platter and the E ring from the
turntable shaft, then release the turntable platter from the shaft
B. Put the dri e belt on the inner rim of the turntable platter and pull it through the
hole
C. Hold the belt with your fingers and place the belt onto the motor pulley as
shown in the drawing.
D. Clip the E ring on the shaft and place the rubber mat onto the turntable platter.
Caution:
1. Make sure that the dri e belt is not twisted or distorted.
2. A oid oil. Oil splashes will make the belt slippery.
Auto Return Reset:
Always do the reset for Auto Return once you mo e this product. The mechanism
of Auto Return will rotate irregularly when mo ing and it will cause the malfunction
of Auto Return. The following steps will reset the mechanism to normal.
1. Place a record on the platter and play it.
2. Manually le er the tone arm and place it to the blank part of the end of the
record.
3. The mechanism of Auto Return function will be adjusted properly and the tone
arm will automatically return to the arm rest.

4
DESCRIPTION

5
1. A aptor:
Use this adaptor when playing 45 RPM records.
2. Platter:
Place a record here to play.
3. 33/45 RPM Switch:
Switch 33 or 45 rpm for playing a record at a correct speed.
4. REC:
Press it to enter into record mode.
5. SPLIT
For stopping the current recording, forming a record file manually and then
going on recording the next track.
6. Pick-up Set
7. Pick-up Arm Lift Stick:
To raise up and down the Pick-up Arm and cue at a proper place of a inyl.
8. Pick-up Arm Lock:
Use this to lock the Pick-up Arm in place when not in use.
9. Dust Cover:
Use this to protect the turntable from exposure to dust. The co er may be
opened or remo ed during use, but should remain closed when the turntable is
not in use.
10. RCA Line Out Cable
Connect the RCA line out to a mixer or an amplifier in your sound system.
11. Power Cor
Connect this cord to an AC outlet of the proper oltage.
12. Power Switch:
For turning the power on or off through this switch. Please press this button to
re-start your de ice when operation was interrupted.
13. USB Port Input:
Plug in a USB Pen Dri e for recording the music from a record.
*The design is only for USB Flash Dri e. To pre ent the power supply is not
sufficient and o erheated of the circuit(IC), always get the external power
supply if using a hard dri e.
14. LED
USB Record Operation and LED Signal Indication
1. USB storage device is not pl gged. -> LED light is off
2. USB storage device is pl gged in -> LED flashes
3. When the system is ready to record. -> LED light is on
4. Press REC b tton to start recording. -> LED blinks slowly.
5. Press SPLIT b tton to create new file in the recording.
6. Press REC b tton again to stop recording. -> LED is flashing for
a short time, then LED light is stably on again.
Note: Do not remove the USB storage device if the LED is flashing.
6
MAINS CONNECTION
Ensure that the mains oltage of your home corresponds to the operating
oltage of the unit. Your unit is ready to be connected to a correct oltage
of your location.
AMPLIFIER CONNECTION
Connect RCA line out cable (10) to the AUX input on your amplifier:
Red plug into R channel input.
White plug into L channel input.
- Place the record of your choice on the turntable. If it is a 45 rpm, do
not forget to place the adaptor (1) on the record spindle.
- Choose the desired playing speed:
33 rpm -> button unlocked
45 rpm-> button locked.
- Release the pick-up arm clip.
- Place the cartridge ertically o er the first track of the record, the
turntable starts turning.
- When the record is o er, the pick-up arm returns to its rest , the
turntable stops turning
Take care that the pick-up lift stick is in forward-turned (lift down),
close pick-up arm lock to secure pick-up arm.
TECHNICAL SPECIFICATION
Power S pply: 230V, 50Hz
Power Cons mption: <10W
Wow & Fl tter: 0.25%
Distortion: 3%~4%
S/N: 50 dB
A dio O tp t Voltage: 500mV ±200mV
USB: 5V/500 mA

L-83
GEBRAUCHSANLEITUNG

2
INHALTSVERZEICHNIS
Installation-------------------------------------------------------3
Aufbau des Geräts-----------------------------------------------------4~6
Anschluss an die Stromversorgung----------------------------------7
Anschluss eines Verstär ers-----------------------------------------7
Technische Daten----------------------------------------------------7

3
INSTALLATION
Antriebsriemen:
Obwohl Antriebsriemen und Plattenteller bereits während der Herstellung
ordnungsgemäß installiert wurden, ist es möglich, dass sich der Riemen während
des Transports geloc ert hat. Nehmen Sie in solch einem Fall die Installation des
Antriebsriemens wie folgt vor:
A. Nehmen Sie die Gummimatte vom Plattenteller und den E-Ring von der
Antriebswelle. Lösen Sie dann den Plattenteller von der Antriebswelle.
B. Setzen Sie den Antriebsriemen auf den inneren Rand des Plattentellers und
ziehen den Riemen durch das Loch.
C. Halten Sie den Riemen mit Ihren Fingern fest und setzen ihn auf den
Motorritzel wie in der Abbildung dargestellt.
RIEMEN
MOTORRITZEL
D. Befestigen Sie den E-Ring auf der Antriebswelle und setzen Sie die
Gummimatte wieder auf den Plattenteller.
Vorsicht:
1. Stellen Sie sicher, dass der Antriebsriemen weder verdreht noch verzogen ist.
2. Vermeiden Sie Öl. Ölspritzer machen den Riemen rutschig.
Auto-Return R ckstellung:
Führen Sie, nachdem Sie das Gerät umgestellt haben, immer eine Rüc stellung
der Fun tion Auto-Return durch. Der Auto-Return Mechanismus dreht sich
während der Umstellung unregelmäßig und ann zu Fehlfun tionen des Auto-
Returns führen. Gehen Sie wie folgt vor, um den Mechanismus auf die normalen
Einstellungen zurüc zusetzen.
1. Legen Sie eine Schallplatte auf und starten Sie die Wiedergabe.
2. Heben Sie den Tonarm manuell an und setzen ihn auf das leere Feld am Ende
der Schallplatte.
3. Der Mechanismus der Fun tion Auto-Return wird ordnungsgemäß abgestimmt
und der Tonarm ehrt automatisch zur Tonarmstütze zurüc .

4
AUFBAU DES GERÄTS

5
1. Adapter:
Verwenden Sie diesen Adapter für die Wiedergabe von 45 U/MIN Schallplatten.
2. Plattenteller:
Legen Sie hier die Schallplatten auf.
3. 33/45 RPM Regler:
Stellen Sie mit dem Regler die entsprechende Geschwindig eit von 33 oder 45
U/min für die Wiedergabe ein.
4. REC:
Drüc en Sie diese Taste für die Aufnahme.
5. SPLIT
Taste drüc en, um die a tuelle Aufnahme zu beenden, eine Aufnahmedatei
manuell zu erstellen, und dann mit der Aufnahme des nächsten Titels
fortzufahren.
6. Tonabnehmer-Set
7. Lifthebel des Tonabnehmers:
Den Tonarm und Tonabnehmer anheben und an der richtigen Stelle der
Schallplatte absetzen.
8. Verriegelung des Tonarms:
Verriegelung des Tonarms während des Nichtgebrauchs.
9. Staubabdeckung:
Schließen Sie diese Abdec ung, um den Plattenspieler vor Staub zu schützen.
Die Abdec ung ann während des Gebrauchs geöffnet oder geschlossen
werden, sollte jedoch während des Nichtgebrauchs geschlossen bleiben.
10. RCA-Ausgangskabel
Verbinden Sie den RCA-Ausgang mit dem Mixer oder Verstär er Ihres
Soundsystems.
11. Netzkabel
Schließen Sie das Netz abel an eine Stec dose mit geeigneter Spannung an.
12. Betriebstaste:
Schalten Sie das Gerät mit der Betriebstaste ein oder aus. Drüc en Sie diese
Taste, um das Gerät nach einer Unterbrechung wieder einzuschalten.
13. USB-Eingang:
Schließen Sie einen USB-Stic zum Aufnehmen von Musi an.
*Der Port ist nur für den Anschluss von USB-Flashgeräten geeignet. Um eine
unzureichende Stromversorgung oder eine Überhitzung des Strom reises (IC)
zu vermeiden, müssen Festplatten an die externe Stromversorgung
angeschlossen werden.
14. LED
Aufnahme via USB und LED-Anzeigen
1. Kein USB-Speiche ge ät angeschlossen -> LED aus.
2. USB-Speiche ge ät angeschlossen -> LED blinkt.
3. System ist aufnahmebe eit -> LED leuchtet.
4. REC-Taste fü die Aufnahme d ücken -> LED blinkt langsam.
5. SPLIT-Taste d ücken, um wäh end de Aufnahme eine neue
Datei zu e stellen.

6
6. REC-Taste zum Beenden de Aufnahme d ücken -> LED blinkt
ku z und leuchtet dann wiede kontinuie lich.
Hinweis: Das USB-Ge ät da f nicht entfe nt we den, wäh end die
LED-Anzeige blinkt.

7
ANSCHLUSS AN DIE STROMVERSORGUNG
Stellen Sie sicher, dass die Netzspannung in Ihrem Haushalt mit den
Spannungsangaben auf Ihrem Gerät übereinstimmt. Das Gerät muss an
eine geeignete Stec dose in Ihrem Haushalt angeschlossen werden.
ANSCHLUSS EINES VERSTÄRKERS
Schließen Sie das RCA-Ausgangs abel (10) an den AUX-Eingang Ihres
Verstär ers an:
Roten Stec er an den Kanaleingang R anschließen.
Weißen Stec er an den Kanaleingang L anschließen.
- Legen Sie eine Schallplatte auf den Plattenteller. Falls es sich um eine
Schallplatte von 45 U/min handelt, setzen Sie bitte den Adapter (1) auf
die Drehachse.
- Stellen Sie die gewünschte Geschwindig eit ein:
33 U/min -> Taste entsperrt,
45 U/min-> Taste gesperrt.
- Lösen Sie die Verriegelung des Tonarms.
- Bewegen Sie den Tonabnehmer bis verti al über den ersten Titel der
Schallplatte; die Platte beginnt sich zu drehen.
- Am Ende der Schallplatte ehrt der Tonarm zur Tonarmstütze zurüc
und die Schallplatte ommt zum Stillstand.
Zur Verwendung des Tonarms muss der Lifthebel nach vorne
ge ippt sein (gesen t). Schließen Sie die Verriegelung, um den
Tonarm zu sichern.
TECHNISCHE DATEN
St omve so gung: 230V, 50Hz
St omve b auch: <10W
Wow & Flutte : 0,25%
Ve ze ung: 3%~4%
Rauschabstand: 50 dB
Audioausgangsspannung: 500mV ±200mV
USB: 5V/500 mA

L-83
MANUEL D’INSTRUCTION

2
CONTENU
Montage -------------------------------------------------------3
Description-----------------------------------------------------4~6
Connections principales--------------------------------------7
Connections des amplificateurs---------------------------7
Spécifications----------------------------------------------------7

3
MONTAGE
Courroie :
La courroie et le plateau tourne-disque ont été correctement installés à l usine,
mais il se peut que la courroie se desserre lors du transport. Si tel est le cas,
veuillez suivre les instructions suivantes pour installer la courroie vous-même.
A. Enlevez le tapis de caoutchouc du plateau tourne-disque et l anneau E de
l axe du tourne-disque, puis enlevez le plateau tourne-disque de l axe.
B. Mettez la courroie sur le bord intérieur du plateau tourne-disque et tirez-la par
le trou.
C. Maintenez la courroie avec vos doigts et placez-la sur la poulie du moteur
comme indiqué sur le dessin.
D. Accrochez l anneau E sur l axe et placez le tapis de caoutchouc sur le plateau
tourne-disque.
Attention:
1. Assurez-vous que la courroie ne soit pas entortillée ou tordue.
2. Évitez l huile Les taches d huiles rendent la courroie glissante.
Réinitialisation du retour auto atique
Réinitialisez systématiquement le retour automatique dès que vous bougez ce
produit. Le mécanisme de retour automatique tournera irrégulièrement après un
déplacement et cela causera un dysfonctionnement du retour automatique. Suivez
les instructions suivantes pour réinitialiser le mécanisme.
1. Placez un disque sur le plateau et jouez-le.
2. Levez le bras de lecture et placez-le sur la partie blanche au centre du disque.
3. Le mécanisme de retour automatique sera correctement ajusté et le bras de
lecture retournera automatiquement sur le repose-bras.

4
DESCRIPTION

5
1. Adaptateur :
Utilisez cet adaptateur lorsque vous jouez des disques 45 tours.
2. Plateau :
Placez un disque ici pour le jouer
3. Bouton 33/45 tours :
Positionnez sur 33 ou 45 tours pour lire un disque à la vitesse appropriée.
4. REC :
Appuyez sur ce bouton pour passer en mode enregistrement.
5. SPLIT
Pour arrêter l enregistrement en cours, passer manuellement sur une autre
piste puis continuer à enregistrer la chanson suivante.
6. Set de lecture
7. Tige levier du bras de lecture :
Pour soulever et baisser le bras de lecture et le placer sur le point approprié
d'un disque vinyle.
8. Verrou du bras de lecture :
Utilisez cet accessoire pour verrouiller le bras de lecture à sa place lorsqu'il est
inutilisé.
9. Capot anti poussière :
Utilisez cet accessoire pour protéger le tourne-disque de l exposition à la
poussière. Le capot peut être ouvert et enlevé en cours d utilisation, mais il
doit rester fermé lorsque le tourne-disque est inutilisé.
10. Cable sortie RCA
Connectez la sortie RCA sur un mélangeur ou un amplificateur de votre
système de sonorisation.
11. Câble d’ali entation
Connectez ce câble à une prise de courant du voltage approprié.
12. Interrupteur :
Allumez ou éteignez votre appareil grâce à ce bouton. Appuyez sur ce bouton
pour redémarrer votre appareil lorsque le fonctionnement a été interrompu.
13. Entrée Port USB :
Branchez une clé USB pour enregistrer de la musique depuis un disque.
*uniquement conçu pour les clés USB à mémoire flash. Pour prévenir les
baisses de tension et les surchauffe du circuit (IC), utilisez systématiquement
une source d alimentation externe si vous utilisez un disque dur.
14. DEL
Signaux d indication lumineuse des opérations
d enregistrement USB
1. Le dispositif de stockage USB n est pas branché. -> la
DEL est éteinte
2. Le dispositif de stockage USB est branché -> la DEL
scintille
3. Le système est prêt à enregistrer. -> la DEL est allumée
4. Appuyez sur la touche REC pour démarrer
l enregistrement. -> la DEL clignote lentement.

6
5. Appuyez sur la touche SPLIT pour créer un nouveau
fichier d'enregistrement.
6. Appuyez à nouveau sur la touche REC pour stopper
l enregistrement. -> la DEL clignote un court instant, puis
la lumière de la DEL se stabilise à nouveau.
Remarque: N enlevez pas le dispositif de stockage USB
lorsque la DEL clignote.

7
CONNEXION AU SECTEUR
Assurez-vous que la tension du secteur de votre foyer corresponde à la
tension de fonctionnement de l unité. Votre unité est prête à être
connectée à voltage correct de la location de votre choix.
CONNEXION DE L’AMPLIFICATEUR
Connectez le câble de sortie RCA (10) à l entrée AUX de votre
amplificateur.
La fiche rouge dans l entrée R de la chaine.
La fiche blanche dans l entrée L de la chaine.
-Placez le disque de votre choix sur le tourne-disque. S il s agit d un 45
tours, n oubliez pas de placer l adaptateur (1) sur la broche du tourne-
disque.
- Choisissez la vitesse de lecture désirée :
33 tours -> bouton déverrouillé
45 tours -> bouton verrouillé
- Relâchez la tige levier du bras de lecture.
- Placez le bras de lecture verticalement au dessus de la première
piste du disque, le tourne-disque se met à tourner.
- Lorsque le disque est fini, le bras de lecture retourne en position de
repos, le tourne-disque cesse de tourner.
Veillez à ce que la tige levier du bras de lecture soit tournée vers
l avant (baissée), fermez le verrou du bras de lecture pour fixer ce
dernier.
CARACTERISTIQUES TECHNIQUES
Alimentation : 230V, 50Hz
Consommation énergétique <10W
Pleurage et grésillement : 0,25%
Distorsion : 3%~4%
Rapport signal/bruit : 50 dB
Tension sortie audio : 500mV ±200mV
USB: 5V/500 mA
Other manuals for L-83
1
Table of contents
Languages:
Other LENCO Turntable manuals

LENCO
LENCO L-85 User manual

LENCO
LENCO LS-430BK User manual

LENCO
LENCO L-90 User manual

LENCO
LENCO Classic Phono TT-34 User manual

LENCO
LENCO Classic Phono TT-10BN User manual

LENCO
LENCO LS-300(V2) User manual

LENCO
LENCO L-3818 User manual

LENCO
LENCO LBT-120BK User manual

LENCO
LENCO Classic Phono TT-41 User manual

LENCO
LENCO LS-50 User manual