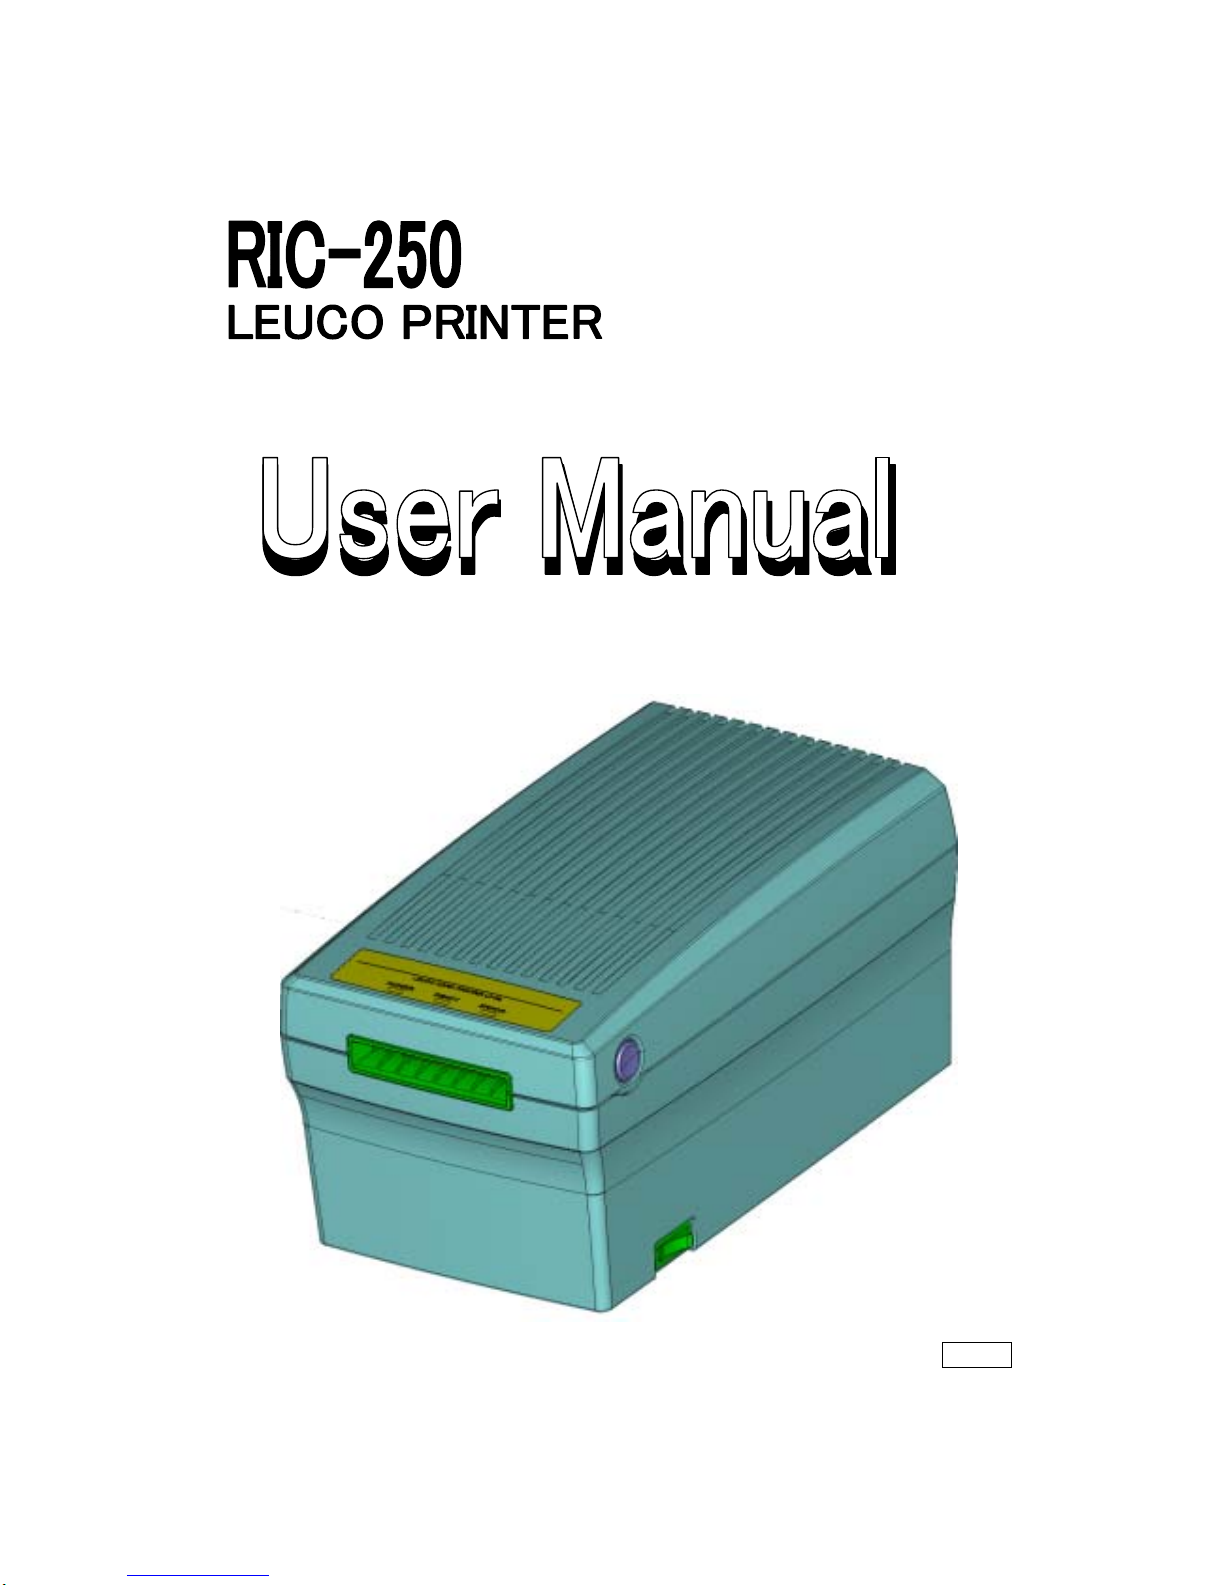
Leuco RIC-250 User manual

Ver 1.0

TABLE OF CONTENTS
- 2 -
■BEFORE YOU OPERATE THE PRINTER
FOR YOUR SAFETY ・・・・・・・・・・・・・・・・・・・・・・・・・・・・・・・・・・・・・・・・・・・・・・・・・・・・・・・・・・・・・・・・・・・・ 3
■ABSTRACT OF PRODUCT
FEATURE・・・・・・・・・・・・・・・・・・・・・・・・・・・・・・・・・・・・・・・・・・・・・・・・・・・・・・・・・・・・・・・・・・・・・・・・・・・・・ 4
CHECKING THE CONTENTS OF THE PACKAGE ・・・・・・・・・・・・・・・・・・・・・・・・・・・・・・・・・・・・・・・・・・・・・・・ 4
CONTROLS AND CONNECTORS ・・・・・・・・・・・・・・・・・・・・・・・・・・・・・・・・・・・・・・・・・・・・・・・・・・・・・・・・・・・・ 5
SPECIFICATIONS ・・・・・・・・・・・・・・・・・・・・・・・・・・・・・・・・・・・・・・・・・・・・・・・・・・・・・・・・・・・・・・・・・・・・・ 7
SPECIFICATIONS OF CARD ・・・・・・・・・・・・・・・・・・・・・・・・・・・・・・・・・・・・・・・・・・・・・・・・・・・・・・・・・・・・・ 9
■INSTALLATION
INSTALLATION CONDITION ・・・・・・・・・・・・・・・・・・・・・・・・・・・・・・・・・・・・・・・・・・・・・・・・・・・・・・・・・・・・・ 10
■MAINTENANCE
CLEANING OF BELT ・・・・・・・・・・・・・・・・・・・・・・・・・・・・・・・・・・・・・・・・・・・・・・・・・・・・・・・・・・・・・・・・・・・ 11
CLEANING OF THERMAL PRINT HEAD ・・・・・・・・・・・・・・・・・・・・・・・・・・・・・・・・・・・・・・・・・・・・・・・・・・・・・ 12
EXCHANGE 0F WIPER ・・・・・・・・・・・・・・・・・・・・・・・・・・・・・・・・・・・・・・・・・・・・・・・・・・・・・・・・・・・・・・・・ 13
EXCHANGE OF FUSE ・・・・・・・・・・・・・・・・・・・・・・・・・・・・・・・・・・・・・・・・・・・・・・・・・・・・・・・・・・・・・・・・・・・ 13
■DEMENTIONS ・・・・・・・・・・・・・・・・・・・・・・・・・・・・・・・・・・・・・・・・・・・・・・・・・・・・・・・・・・・・・・・・・・・・・・・・・・・・・ 14
DEMENTIONS ・・・・・・・・・・・・・・・・・・・・・・・・・・・・・・・・・・・・・・・・・・・・・・・・・・・・・・・・・・・・・・・・・・・・・・・・・ 14

ABSTRACT OF PRODUCT
- 3 -
WARNING
INSTALL THE PRINTER ON A FLAT, STABLE SURFACE
The printer may cause an injury if it falls or is dropped.
MAINTAIN GOOD VENTILATION
Ventilation slots are provided to keep the printer from overheating. Covering the slots may cause
fire. To allow adequate air circulation, place the printer at least 10cm from any walls.
DO NOT PUT ANY OBJECT EXCEPT LEUCO CARD INTO THE PRINTER
Do not put any solid objects except LEUCO card or liquids such as water into the printer. In case
of an accident, unplug your printer immediately and contact your dealer. Using the printer with any
object inside except LEUCO card may cause fire, electric shock or damage.
DO NOT TURN OFF THE POWER WHILE OPERATING LEUCO CARD
Turn off the power while operating LEUCO card may cause damage.
DO NOT USE THE PRINTER NEAR WATER
Do not use where water may be splashed or split onto the monitor as it may cause fire or electric
shock.
STOP OPERATING THE PRINTER WHEN YOU SENSE TROUBLE
If you notice any abnormal phenomena such as smoke, strange sounds or fumes, unplug your printer
immediately and contact your dealer. Using the printer with any object except LEUCO card inside may
cause fire, electric shock or damage.
NEVER REMOVE THE CABINET OR PRINTER UNIT
Removing the cabinet or printer unit may expose you to the danger of fire or electric shock.
OPERATE UNDER THE SPECIFIED POWER SUPPLY
Be sure to operate the monitor only with the specified power supply. Use of an incorrect voltage
will cause malfunction and may cause fire or electric shock.
CAUTION
DO NOT TOUCH MOTOR OR THERMAL PRINT HEAD
Motor or thermal print head become high temperature while printer working. it may cause an injury
if it touches directly.
DO NOT CONNECT THE POWER CONNECTOR OR COMMUNICATION CONNECTOR WHEN POWER SWITCH CONDITION IS ON.
DO NOT DISCONNECT THE POWER CONNECTOR OR COMMUNICATION CONNECTOR WHEN POWER SWITCH CONDITION IS ON.
FOR YOUR SAFETY

ABSTRACT OF PRODUCT
- 4 -
・ This printer can both print and erase by a thermal print head, therefore it very energy
conservation.
・ This printer include function that both read and write for contact‑less IC card of 13.56MHz .
・ This function conforms to ISO14443A.
・ This printer has both USB and RS‑232C as communication function.
The following accessories are included in your package. Check to see if they are enclosed with the
printer. If anything is missing or damaged. Please contact your dealer.
Accessories Amount
Power cable 1
Kit of cleaning 1
User manual 1
FEATURE
CHECKING THE CONTENTS OF THE PACKAGE

ABSTRACT OF PRODUCT
- 5 -
①Connector for Power Cable
②Fuse Holder
・Ratings 250V/3A
③Exhaust FAN
・To allow adequate air circulation, place the printer at least 10cm from any walls.
④Connector for RS‑232C
・D‑SUB9pin
⑤Connector for USB
・Type B
⑥Power Switch
・Power indicator【−】Turn ON、【○】Turn off
⑦Cover Open Switch
・When you open the cover, lift up the cover while pushing a right and left switch(blue).
⑧Insertion entrance of card
⑨Indicator lamp
・POWER Lamp[Green] ・・・Light=Power ON condition
・READY Lamp[Orange]・・・Light=Normal operation
・ERROR Lamp[Red] ・・・Light=Error condition
CONTROLS AND CONNECTORS
①
③
⑤
④
⑥
⑦
⑧
⑨
②

ABSTRACT OF PRODUCT
- 6 -
⑩Wiper
・The wiper remove dust of surface of card
⑪Lever of head bracket
・The lever lock the head bracket.
⑫Head Bracket
・Holder of Thermal print head
⑬Thermal print head
・When you clean a thermal print head, please execute after a minute or more after power‑off.
・Please do not strike close to home to a thermal head. It may cause damage.
⑭Transfer belt
・This belt transfer a card.
⑮Card sensor
⑯Motor
⑩⑪⑫
⑬
⑭It is also in the other side
⑮
⑯

ABSTRACT OF PRODUCT
- 7 -
ITEM SPECIFICATIONS
Transfer of card Belt
Insertion entrance
of card 1 place
Printing or Erasing ・・・ Average 30[mm/s]
Transfer speed of
card Insertion or exhaust ・・・ 100[mm/s]( atmosphere temp.>=13℃)
90[mm/s](13℃>atmosphere temp.>= 8℃)
60[mm/s]( 8℃>atmosphere temp.>=5℃)
Card sensor 2 places
Temperature sensor 2 places (Thermal print head, Atmosphere)
Cover sensor 1 place
Cleaning of card Wiper
Exhaust heat fan 1 place
Mechanism
Safety function When the case cover is opened, the print operation is prohibited.
Printing Thermal print head
Erasing Thermal print head
Printing area Long direction ・・・ 72[mm]
Short direction ・・・ 38[mm]
Resolution Long direction ・・・ 0.125[mm]
Short direction ・・・ 0.125[mm]
Size of Font Full type ・・・ 24×24[dot]
Half type ・・・ 24×12[dot]
Kind of Font Kaku Gothic style(Japanese style)
Graphic printing Monochrome BMP file
Barcode printing QR、JAN8・13、ITF、CODE39、NW7
Printing
Rotation Rotation printing of 180degree
RF
SPECIFICATIONS

ABSTRACT OF PRODUCT
- 8 -
ITEM SPECIFICATION
USB Speed ・・・ 1.2Mbps(Full speed)
Connector ・・・ USBtypeB
Communication
RS‑232C Speed ・・・ 2,400、4,800、9,600、19,200[bps]
(Default:19200[bps])
Transmission code ・・・ 8bit
Parity ・・・ None, Odd, Even(Default:Even)
Stop bit ・・・ 1bit
Connector ・・・ D‑SUB9PIN(socket type)
Pin Signal Direction Function
1 NC ―― Unused
2 TxD Out Transmit data
(The printer → Host computer)
3 RxD In Receive data
(The printer ← Host computer)
4 NC ―― Unused
5 GND ―― Ground
6 NC ―― Unused
7 ―― ―― Connected to terminal No.8
8 ―― ―― Connected to terminal No.7
9 NC ―― Unused
Input AC 100V±10V
Frequency 50[Hz] / 60[Hz]
Power
Consumption 50W(Max)
Power Supply
Current
Consumption Maximum current ・・・ Peak 4.5[A]or less, Average 2.5[A]or less
Standby current ・・・ Average 0.3[A]or less
Installation Room
Operating
temperature 5〜35[℃], Recommendation 15〜35[℃]
Operating
humidity 20〜60[%]RH No dewfall
Storage
temperature ‑10〜60[℃]
Environment
Storage
humidity 20〜90[%]RH No dewfall
Reliability The life time 300,000 cards
However, The life time of exchange parts are separately provided
Exchange parts
①The life time of Thermal print head 150,000 cards
②The life rime of Wiper about500 cards
The life time of the wiper changes according to the dirt condition
of the system requirements and the card.
The case where the wiper is dirty and the dirt of the card cannot be
taken is end of the life time.

ABSTRACT OF PRODUCT
- 9 -
ITEM SPECIFICATION
Standard Conform to JIS X 6301
Outward form 85.47〜85.72[mm] × 53.92〜54.03[mm]
Thickness 0.76[mm] / 0.46[mm]
Area of printing Refer to the figure below
Warp of card The card is put on monotony.
H and L are measured as shown in the figure below.
H and L meet the following requirements.
・h(long direction of card) ・・・ 2.5[mm]or less
・h(short direction of card) ・・・ 1.5[mm]or less
・L ・・・ h×10[mm]or more
・ Area of printing Starting point of coordinates Area of printing
※When the thickness of the card
changes partially, it might influence the
print quality and the erase quality.
・Warp of card
※when the card that outside of warp
specification is used, it may cause trouble
of printing or transportation.
monotony
カード h
L
5mm 以内
SPECIFICATIONS OF CARD

INSTALLATION
- 10 -
It is necessary to fill the following installation requirements.
①It is necessary to fill an environmental specification(page no.8).
②It is necessary to use the power supply outlet with the earth.
③Secure space where there is no obstacle in the opening of the cover in the upper part of the
printer.
320mm or more is recommended from the installation side.
④Confirm the thing that there is enough space for the connector and the cable in the back of
the printer.
100mm or more is recommended from the back.
⑤Confirm there is space where there is no obstacle in the power supply switch operation at
the right of the printer.
20mm or more is recommended from the side.
INSTALLATION CONDITION
connector
connector
Cover open
320mm or more is recommended from install side
20mm or more is recommended from the side 100mm or more is recommended from the back
Power switch
Release button of cover

MAINTENANCE
- 11 -
【Frequency of cleaning】
A cleaning once per every day or a cleaning once per 500cards is recommended
The above‑mentioned frequency is a example, and it changes by the dirt condition etc.
【Cleaning method】
※Clean it according to the instruction of the host system.
① The cleaning card is prepared, and the cleaning liquid is soaked into both sides.
(Refer to the figure below. )
②The case cover is opened.
③The cleaning card is inserted from the rear side of the device.( Refer to the figure below)
④The case cover is closed.
⑤The host system instructs cleaning.
⑥The cover is opened after the cleaning is completed, and the cleaning card is taken out.
⑦The case cover is closed.
Areawherecleaningliquidisspread
CLEANING OF BELT
※The cleaning liquid is spread on the both side of lower area
※if the cleaning liquid is not spread, it may be difficult to insert the cleaning card to the printer
and to complete the cleaning.
※The cleaning card is inserted from the rear side, and it is set that the rear end of the card gets on
the shaded portion in a left figure.
Cleaning
card

MAINTENANCE
- 12 -
【Frequency of cleaning】
Once cleaning per a day or per 500 cards is recommended.
The above‑mentioned frequency is a example, and this frequency changes by the dirt condition.
When an imperfect point is generated on the print side, the cleaning may improve condition.
【Cleaning method】
①The power supply of the printer is turned off, and the case cover is opened.
※When it was used to immediately before, wait for one minute or more to cooling the head.
②The lock of the head bracket is released by opening the lever, and the head bracket is opened.
③Cotton bud is soaked with the cleaning liquid. The whole of glaze part of thermal print head is
strongly wiped off with this cotton bud.
If the cotton bud will be dirty, it is necessary to repeat the cleaning by new cotton bud.
(Refer to the figure below. )
※Do not touch the soldering part of the thermal print head.
④Close a head bracket and lock the head bracket by the lever completely.
※If the lock is not complete, it is not possible to print.
CLEANING OF THERMAL PRINT HEAD
Lever of the head bracket
head bracket
glaze part of thermal print head
Attention:Do not touch it
The cotton bud is soaked
with the cleaning liquid
glaze part of thermal print head
figure:A
The enlar
g
ed
p
icture of the cleanin
g
p
art

MAINTENANCE
- 13 -
Exchange part: prepare for model number LP ‑0711
【Frequency of exchange】
The exchange of wiper per 500 cards is recommend.
The above‑mentioned frequency is example, and this frequency changes by the dirt condition.
When the wiper become that can not prevent the dirty of card, exchange it to new wiper.
【Exchange method】
①the case cover is opened.
②A used wiper is pulled out in the direction of the card insertion entrance.
③The springs on both sides lift up and new wiper is installed.
The lift up of springs should be minimum requirement.
カード挿入口side of the wiper should be set to the same direction to the card insertion
entrance.
④Confirm that the wiper works smoothly.
Exchange part: 250V, 3A, 5*20mm
Power must be turned off ahead of exchanging.
【Exchange frequency】
The periodical exchange is not necessary.
When the printer does not work even if the power turn on, the fuse box that exists in the power
supply inn let in the back is drawn out forward and confirm the state of the fuse.
【Exchange method】
① Power must be turned off ahead of exchanging.
② The fuse box that exists in the power supply Inn let in the back is drawn out forward.
③ A current fuse is exchanged to the new fuse.
EXCHANGE OF WIPER
FUSE EXCHANGE METHOD
Wiper
Direction of pulling out
Direction of installation

DEMENTIONS
- 14 -
ITEM CONTENTS
Outward Full length 220[mm] X 120 in width[mm] X 110 in height[mm]
Weight About 1.8[Kg]
DEMENTIONS
120
110
220

DEMENTIONS
- 15 -
110°
294
306

- 16 -
Table of contents