manuals.online logo
Brands
  1. Home
  2. •
  3. Brands
  4. •
  5. LF
  6. •
  7. Spotlight
  8. •
  9. LF PORTFOLIO Q91DU2806-08 User manual

LF PORTFOLIO Q91DU2806-08 User manual

CARE AND MAINTENANCE
For optimal performance, it is best to install the solar lights in full sunlight and charge for 10-12 hours. Allow the light to run at least
8-12 hours to complete an entire charging and discharging cycle to maximize battery’s capacity
Keep debris and snow off the solar panel to allow the battery to recharge.
If lights have been covered by snow for a long time, allow batteries to recharge in full, direct sunlight for at least 10-12 hours.
If lights will not be in use for an extended period of time or you do not wish for the lights to be on, push the switch to “OFF” position.
Whenever you replace the batteries, note the solar panel will need to be in the sun for a full 8 hours in order for it to recharge.
Do not attempt to replace the LEDs.
WARRANTY
The manufacturer warrants this product against defects in materials and workmanship for one(1) year from the date of purchase. If within this
period the product is found to be defective, take a copy of the bill of sale as proof of purchase and product in its original carton to the place of
purchase. The manufacturer will, at its option, repair, replace or refund the purchase price to the consumer. All costs of installation and
removal of the product are the responsibility of the consumer. This warranty does not cover products becoming defective due to acts of God,
misuse, accidental damage or improper handling and/or installation and specifically excludes liability for direct, incidental or consequential
damages. As some states do not allow exclusions of limitations on an implied warranty, the above exclusion and limilation may not apply.
This warranty gives you specific rights and you may also have other rights which may vary from state to state.
ITEM #1479471
MODEL #Q91DU2806-08
SPOT LIGHT
Porfolio® is a registered trademark
of LF, LLC. All Rights Reserved.
Questions?
Call customer service at 1-800-643-0067,
8 a.m. - 6 p.m., EST, Monday - Thursday,
8 a.m. - 5 p.m., EST, Friday.
ATTACH YOUR RECEIPT HERE
Serial Number/Número de serie __________
PACKAGE CONTENES
Lowes.com/portfolio
14
Lowes.com/portfolio
Printed in China
Portfolio is a registered
trademark of LF, LLC. All
rights reserved.
TROUBLESHOOTING
PROBLEM POSSIBLE CAUSE CORRECTIVE ACTION
Solar light does not turn on
at night.
The nightly run time is
shorter.
1. Solar light is installed close to other
light sources.
2. The switch is in the OFF position.
1. Battery is not fully charged.
2. Battery is reaching the end of its life.
1. Relocate the solar light or eliminate other light
sources.
2. Push the switch to the ON position.
1. Place the solar light in an area where it can
receive the maximum amount of full, direct
sunlight every day.
2. Replace the old battery with a new one.
x 1
Screw
D
x 1
Wing Nut
C
x 1
Stake
B
x 1
A
Spot Light
x 4
Screw
E
x 1
Rechargeable Battery
F
Please read and understand this entire manual before attempting to assemble, operate or install the product.
ASSEMBLY INSTRUCTIONS
REPLACING BATTERY
Lowes.com/portfolio
32
Lowes.com/portfolio
SAFETY INFORMATION
!
PREPARATION
Do not open, short circuit, or damage batteries as injury may occur.
!WARNING
CAUTION/PRECAUCIÓN
Do not dispose of batteries in the regular trash, municipal waste stream or by fire as batteries may leak or explode.
Preserve our environment by recycling batteries or disposing of them in accordance with local, state, and federal
regulations.
Do not use alkaline or standard(carbon-zinc) batteries; use rechargeable batteries only.
Before installing the product, make sure all parts are present. Compare parts with package contents list. If any part
is missing or damaged, do not attempt to assemble, install or operate the product.
Estimated Assembly Time: 5-10 minutes
Helpful Tools (not included): Phillips head Screwdriver
1.
A
E
1
A
F
2
A
B
CD
1
Remove four screws from back of solar panel with screwdriver
(not included). Gently separate the top and bottom of the solar
panel, being very careful not to
disconnect or remove any wires or
other connections inside the
compartment.
1. Replace the old battery with a new 3.7-volt, 2000 mAh,18650
lithium battery. Replace top to bottom of solar panel and
retighten screws to secure.
FOR FIRST TIME USE:
Allow the light to run 8-12 charging
and discharging cycles to reach
battery's maximum capacity.
2.
Attach the spot light (A) to ground
stake (B) using wing nut (C) by
inserting screw (D) into the hole on
(A&B). Align the holes on (A&B),
tighten the wing nut (C) until secure.
To adjust the spot light head, loosen
wing nut (C) and position the light
head. When desired position is
achieved, tighten the wing nut (C)
until secure.
2. Solar panel can be adjusted;
either tilt up or down,
or rotate horizontally to receive
the maximum amount of sunlight.
No need to loosen screws.
3.
A
3
The power switch, located on
the back of the solar panel, has
2 settings-ON and OFF.
Push the switch to
“ON” position to allow the spot
light (A) to automatically turn on
at dusk.
If you do not intend to use the
spot light (A) for an extended
period of time, be sure to move
the switch to the “OFF” position.
2
Adjust
Rotate
This manual suits for next models

1

Other LF Spotlight manuals

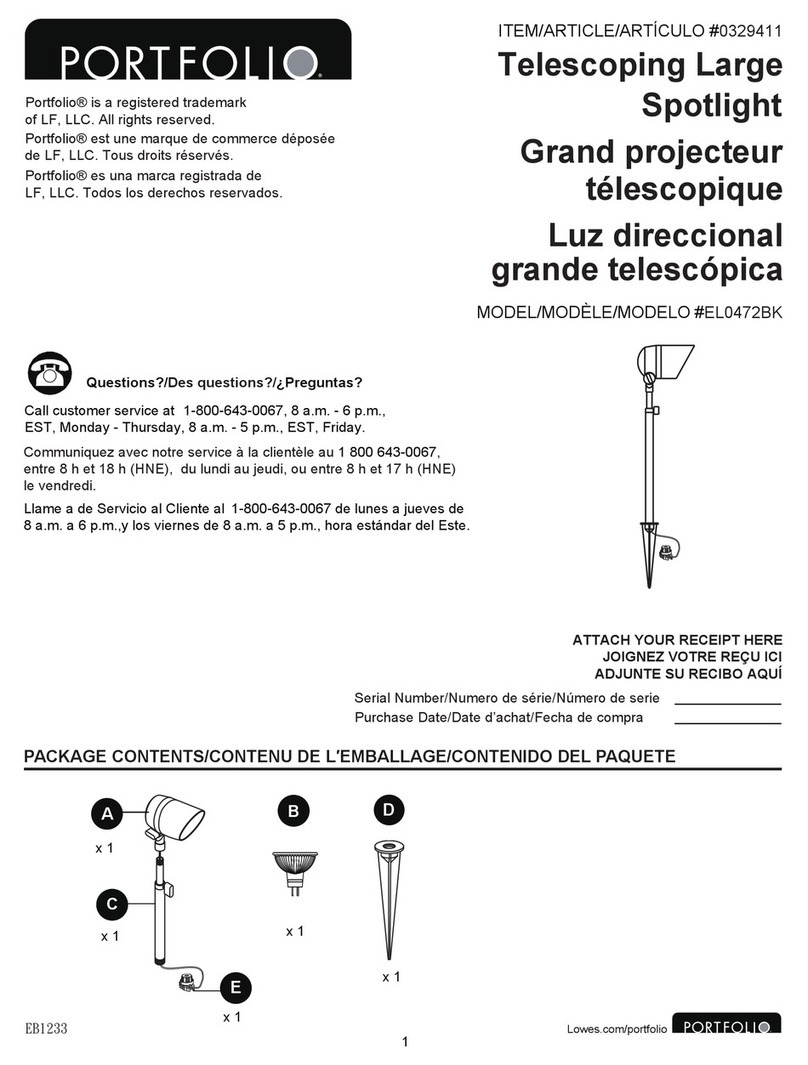
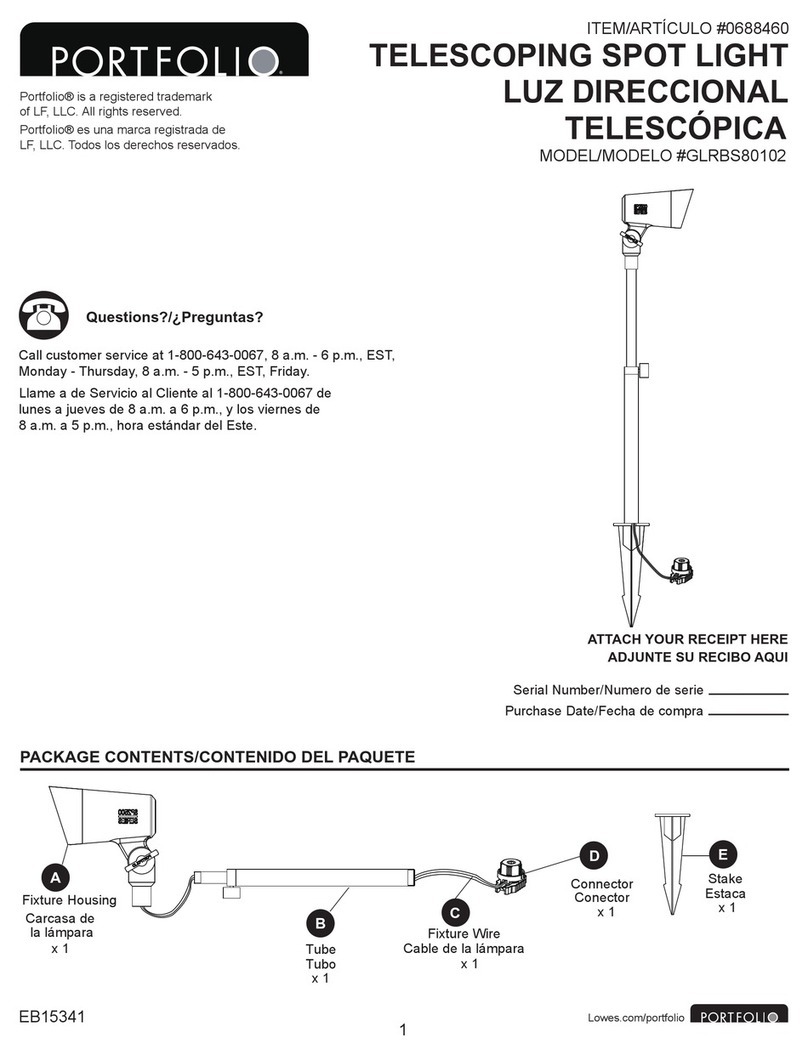
LF PORTFOLIO GLRBS80102 User manual

LF

LF PORTFOLIO GLRBS80102 User manual

LF Portfolio Outdoor 00944 User manual

LF

LF Portfolio Outdoor 00944 User manual

LF Portfolio EL0472BK User manual

LF

LF Portfolio EL0472BK User manual

Popular Spotlight manuals by other brands

Craftsman CMXLSB10 instruction manual

Craftsman

Craftsman CMXLSB10 instruction manual

Vinga Solus II 25W vit quick start guide

Vinga

Vinga Solus II 25W vit quick start guide

LG PSF1032A user manual

LG

LG PSF1032A user manual

Anslut 423-371 operating instructions

Anslut

Anslut 423-371 operating instructions

EuroLite TC-200 user manual

EuroLite

EuroLite TC-200 user manual

NORDRIDE 4060 operating instructions

NORDRIDE

NORDRIDE 4060 operating instructions

Sealey AK436.V2 instructions

Sealey

Sealey AK436.V2 instructions

Philips Ledino 57910/31/96 Specifications

Philips

Philips Ledino 57910/31/96 Specifications

Philips SmartSpot 57970/48/16 Specifications

Philips

Philips SmartSpot 57970/48/16 Specifications

ArtFox ATMIC 3000 user manual

ArtFox

ArtFox ATMIC 3000 user manual

thomann Ignition 2bright Pint FC150 IP user manual

thomann

thomann Ignition 2bright Pint FC150 IP user manual

American DJ FS-1000/HTI User instructions

American DJ

American DJ FS-1000/HTI User instructions

thomann STAIRVILLE BEL4 user manual

thomann

thomann STAIRVILLE BEL4 user manual

Titanium TT-TRK-15W-1 quick guide

Titanium

Titanium TT-TRK-15W-1 quick guide

Robert Juliat SULLY 1156 manual

Robert Juliat

Robert Juliat SULLY 1156 manual

Cameo Q-SPOT 40i user manual

Cameo

Cameo Q-SPOT 40i user manual

Challenger SLFLF15P2 Installation instruction

Challenger

Challenger SLFLF15P2 Installation instruction

GTD LYS200CW user manual

GTD

GTD LYS200CW user manual

manuals.online logo
manuals.online logoBrands
  • About & Mission
  • Contact us
  • Privacy Policy
  • Terms and Conditions

Copyright 2025 Manuals.Online. All Rights Reserved.