9
ENG
ENGLISH
ASSEMBLING AND PREPARING
yDisconnect the power cord first, and then
move or install the monitor set. Otherwise
electric shock may occur.
yIf you install the monitor set on a ceiling or
slanted wall, it may fall and result in severe
injury.
yDo not over tighten the screws as this may
cause damage to the monitor set and void
your warranty.
yUse the screws and wall mounts that meet
the VESA standard. Any damages or injuries
by misuse or using an improper accessory
are not covered by the warranty.
yTo prevent injury, this apparatus must be
securely attached to the wall in accordance
with the instrallation instructions. (This only
ypertains to Australia and New Zealand.)
CAUTION
NOTE
Do not install the product in a place with
no ventilation (e.g., on a bookshelf or in a
closet) or on a carpet or cushion. If there is
no other option but to mount the product on
the wall, make sure that sufcient ventilation
is provided before installation.
- Failure to do so may result in a re due to
the increase in the internal temperature.
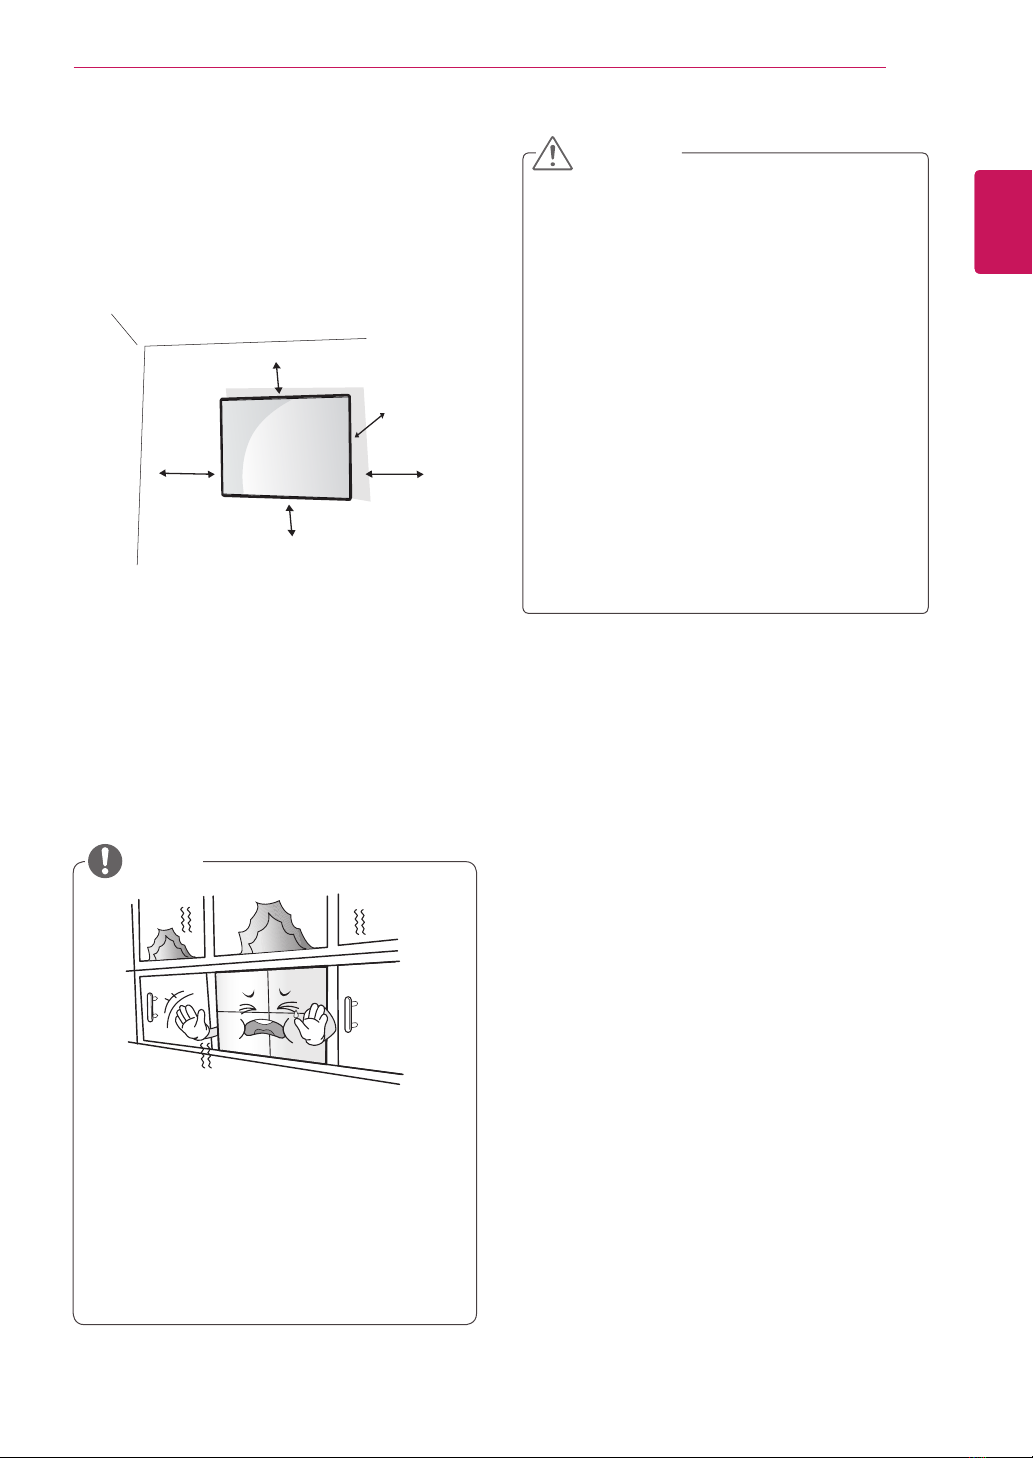
Install the monitor at least 10 cm away from the
wall and leave about 20 cm of space at each side
of the monitor to ensure sufficient ventilation.
Use the wall mount plate and screws that comply
with the VESA standard.
Installing on a Wall
To install the Monitor on a wall (optional),
use the VESA screws provided as accessories to
fasten it.
10 cm
10 cm
10 cm 10 cm
20 cm