5
CONTENTS
WARNING / CAUTION
. . . . . . . . . . . . . . . . . . . . . . . . . . . . 1
SAFETY INSTRUCTIONS
. . . . . . . . . . . . . . . . . . . . . . . . . . 2
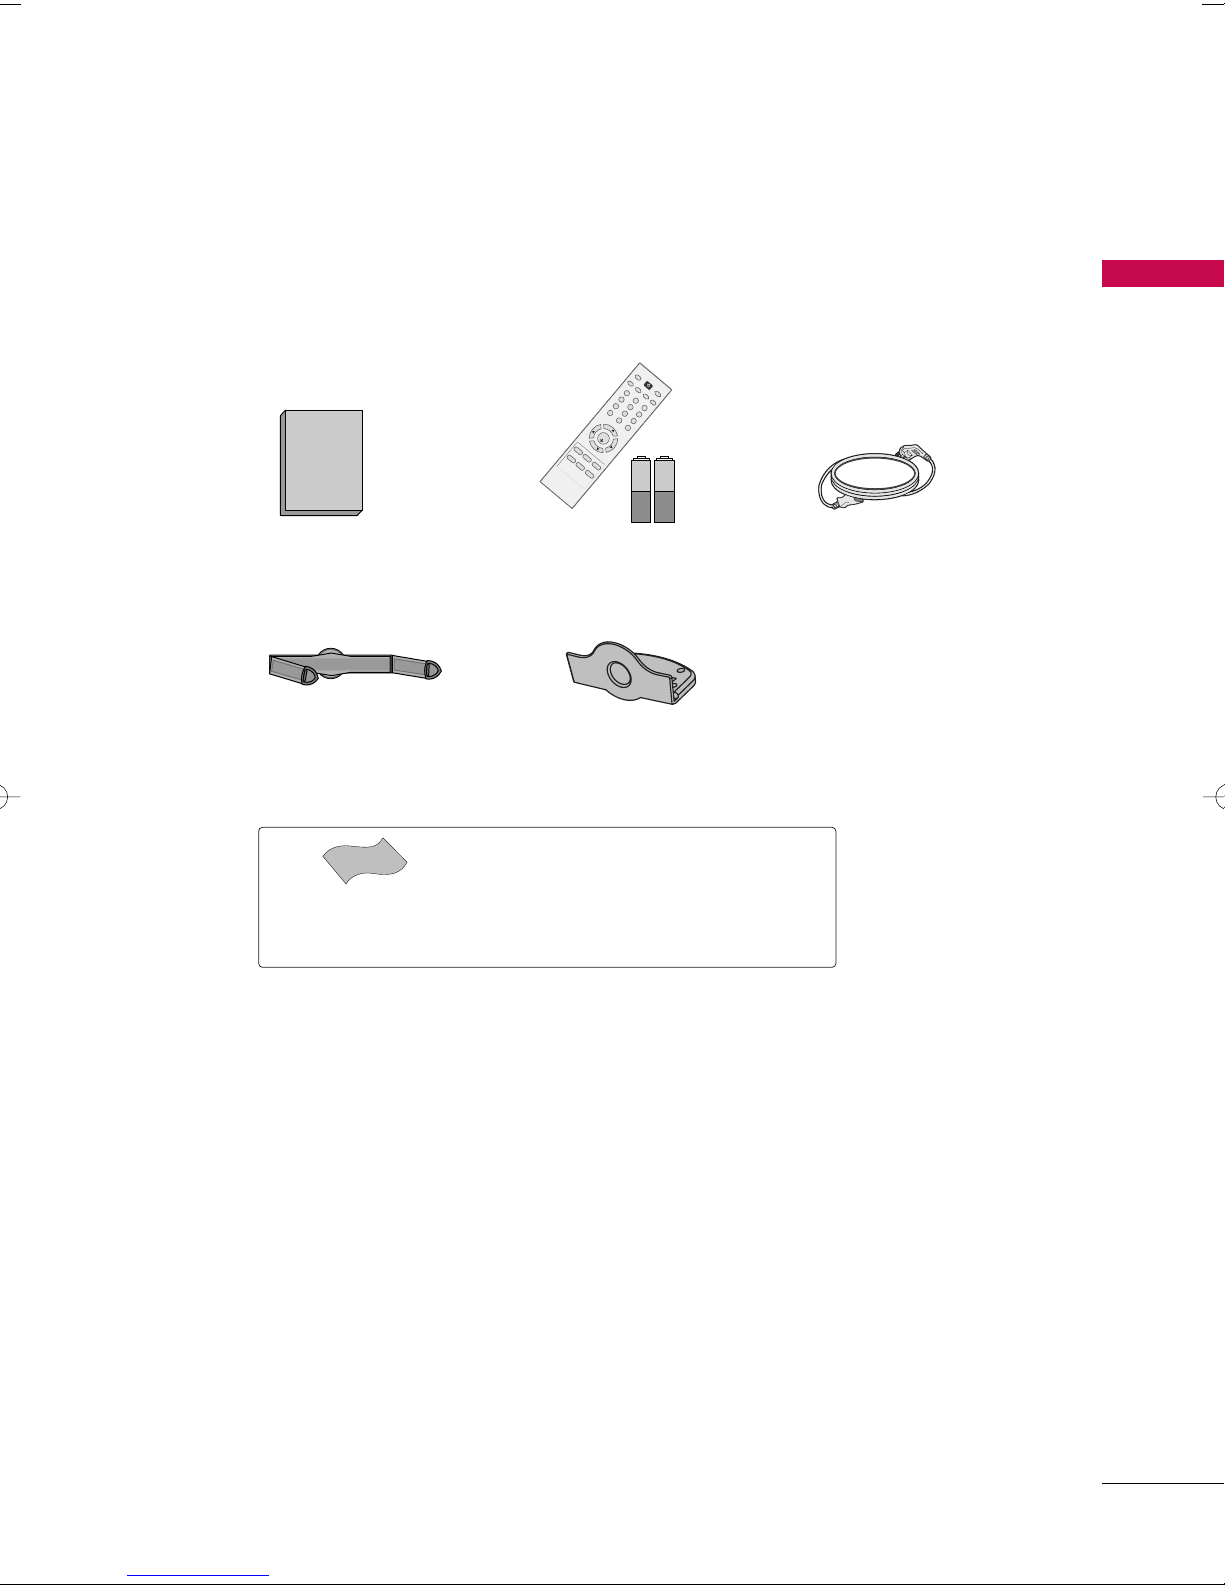
PREPARATION
Accessories . . . . . . . . . . . . . . . . . . . . . . . . . . . . . . . . . . . . . . . . . . . . . . . . . . . . . . 7
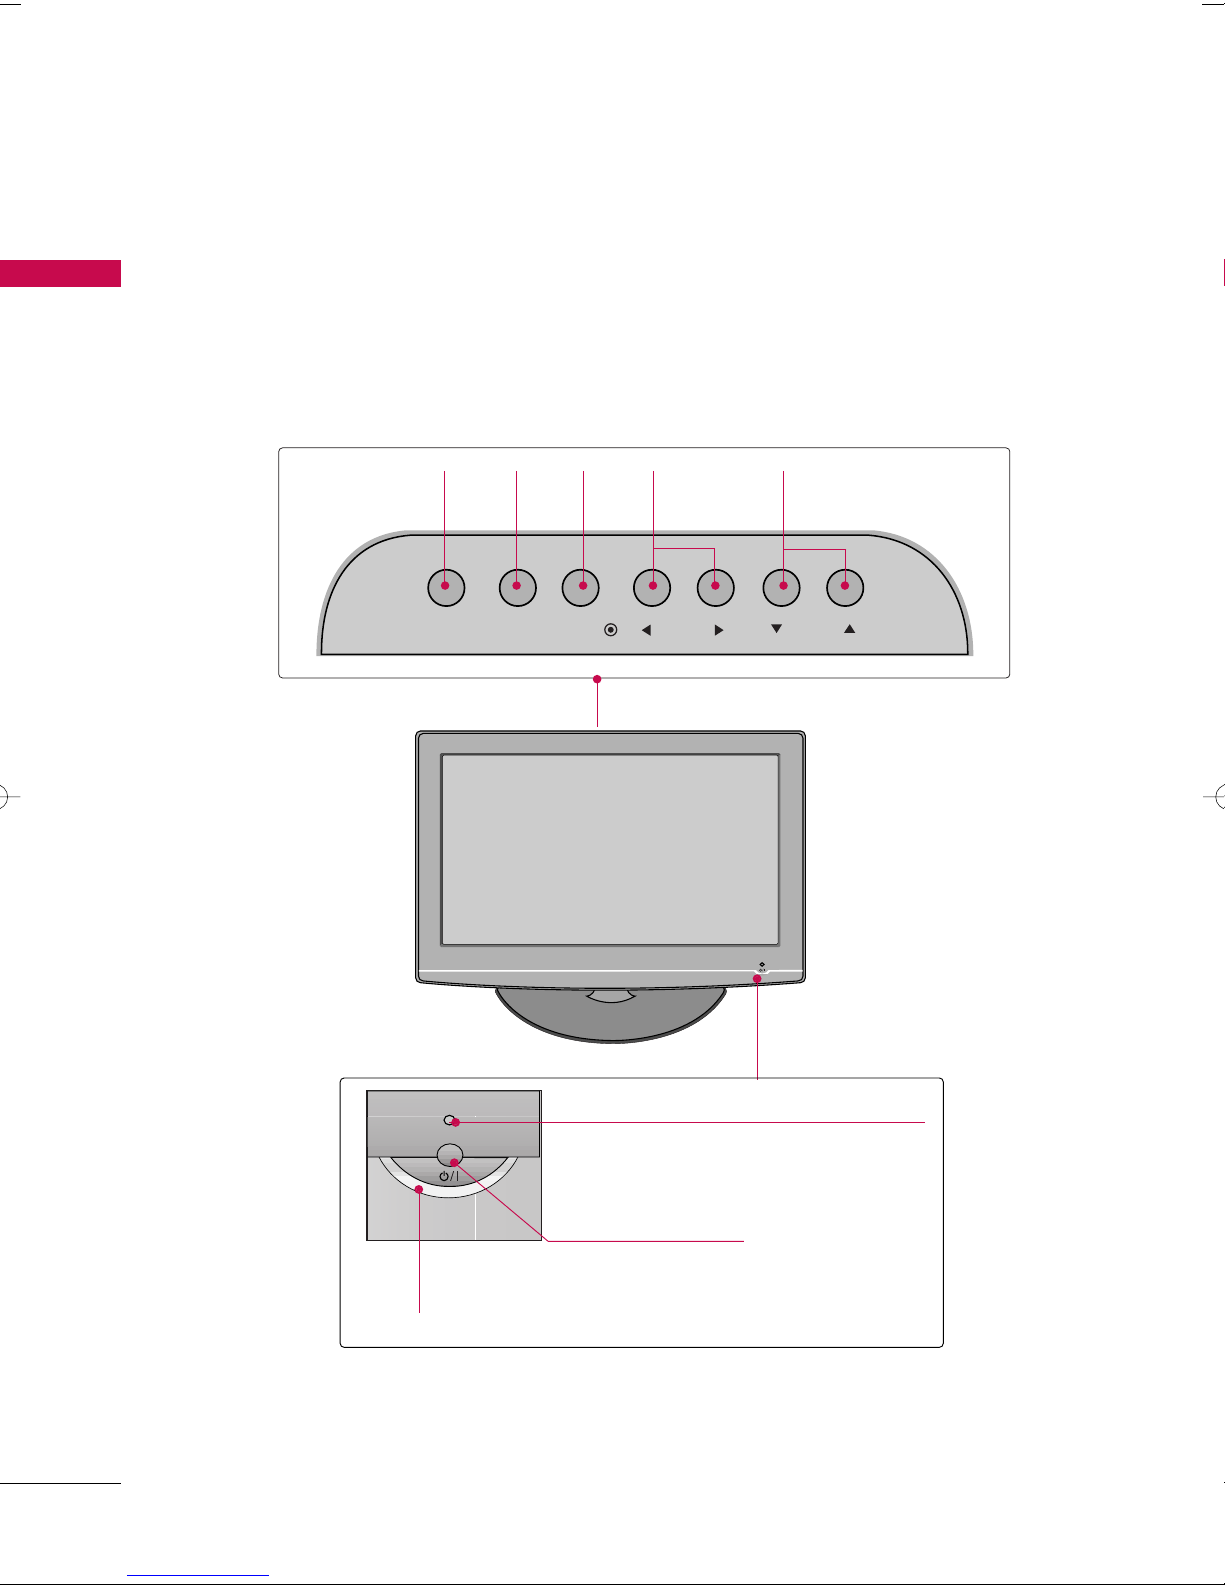
Front Panel Information . . . . . . . . . . . . . . . . . . . . . . . . . . . . . . . . . . . . . 8
Back Panel Information . . . . . . . . . . . . . . . . . . . . . . . . . . . . . . . . . . . . . . 9
Stand Installation . . . . . . . . . . . . . . . . . . . . . . . . . . . . . . . . . . . . . . . . . . . . 10
Cable Mana ement . . . . . . . . . . . . . . . . . . . . . . . . . . . . . . . . . . . . . . . . . . 11
Desktop Pedestal Installation . . . . . . . . . . . . . . . . . . . . . . . . . . . . 12
Wall Mount (Horizontal Installation) . . . . . . . . . . . . . . . . . 12
Protection Cover . . . . . . . . . . . . . . . . . . . . . . . . . . . . . . . . . . . . . . . . . . . . . 13
Positionin your Display . . . . . . . . . . . . . . . . . . . . . . . . . . . . . . . . . . 14
Kensin ton Security System . . . . . . . . . . . . . . . . . . . . . . . . . . . . . 14
Antenna or Cable Connection . . . . . . . . . . . . . . . . . . . . . . . . . . 15
EXTERNAL EQUIPMENT SETUP
HD Receiver Setup . . . . . . . . . . . . . . . . . . . . . . . . . . . . . . . . . . . . . . . . . 16
DVD Setup . . . . . . . . . . . . . . . . . . . . . . . . . . . . . . . . . . . . . . . . . . . . . . . . . . . . . . 19
VCR Setup . . . . . . . . . . . . . . . . . . . . . . . . . . . . . . . . . . . . . . . . . . . . . . . . . . . . . 21
PC Setup . . . . . . . . . . . . . . . . . . . . . . . . . . . . . . . . . . . . . . . . . . . . . . . . . . . . . . . . .23
Screen Setup For PC Mode . . . . . . . . . . . . . . . . . . . . . . . . . . . . . .25
WATCHING TV / CHANNEL CONTROL
Remote Control Functions . . . . . . . . . . . . . . . . . . . . . . . . . . . . . . . 28
Turnin On TV . . . . . . . . . . . . . . . . . . . . . . . . . . . . . . . . . . . . . . . . . . . . . . . . 30
Channel Selection . . . . . . . . . . . . . . . . . . . . . . . . . . . . . . . . . . . . . . . . . . . 30
Volume Adjustment . . . . . . . . . . . . . . . . . . . . . . . . . . . . . . . . . . . . . . . . . 30
On-Screen Menus Selection . . . . . . . . . . . . . . . . . . . . . . . . . . . . . 31
Channel Search
- Auto Tunin (Pro ram Search) . . . . . . . . . . . . . . . . . . . 32
- Manual Tunin (Additin /Deletin Channels) . .
. . . . . . . . . . . . . . . . . . . . . . . . . . . . . . . . . . . . . . . . . . . . . . . . . . . . . . . . . . . . . . . . . . . . . . 33
Fine Tunin Adjustment . . . . . . . . . . . . . . . . . . . . . . . . . . . . . . . . . . . 34
Booster . . . . . . . . . . . . . . . . . . . . . . . . . . . . . . . . . . . . . . . . . . . . . . . . . . . . . . . . . . 35
Favorite Channels Setup . . . . . . . . . . . . . . . . . . . . . . . . . . . . . . . . . . 36
Key Lock . . . . . . . . . . . . . . . . . . . . . . . . . . . . . . . . . . . . . . . . . . . . . . . . . . . . . . . . . 37
PICTURE CONTROL
Picture Size (Aspect Ratio) Control . . . . . . . . . . . . . . . . . . 38
Preset Picture Settin s
- Picture Mode - Preset . . . . . . . . . . . . . . . . . . . . . . . . . . . . . . . 39
- Auto Color Tone Control . . . . . . . . . . . . . . . . . . . . . . . . . 40
Manual Picture Adjustment
- Picture Mode - User Mode . . . . . . . . . . . . . . . . . . . . . . . . 41
- Color Tone - User Mode . . . . . . . . . . . . . . . . . . . . . . . . . . . 42
XD - Picture Improvement Technolo y . . . . . . . . . . . . . 43
Advanced - Gamma . . . . . . . . . . . . . . . . . . . . . . . . . . . . . . . . . . . . . . . . . 44
Advanced - Film Mode . . . . . . . . . . . . . . . . . . . . . . . . . . . . . . . . . . . . . 45
Advanced - Black (Darkness) Level . . . . . . . . . . . . . . . . . . . 46
Picture Reset . . . . . . . . . . . . . . . . . . . . . . . . . . . . . . . . . . . . . . . . . . . . . . . . . 47
Factory Reset . . . . . . . . . . . . . . . . . . . . . . . . . . . . . . . . . . . . . . . . . . . . . . . . . 48
SOUND & LANGUAGE CONTROL
Auto Volume Leveler (Auto Volume) . . . . . . . . . . . . . . . . . 49
Preset Sound Settin s (Sound Mode) . . . . . . . . . . . . . . 50
Sound Settin Adjustment - User Mode . . . . . . . . . . . 51
Balance . . . . . . . . . . . . . . . . . . . . . . . . . . . . . . . . . . . . . . . . . . . . . . . . . . . . . . . . . . 52
On-Screen Menus Lan ua e Selection . . . . . . . . . . . . . . 53
Closed Captions . . . . . . . . . . . . . . . . . . . . . . . . . . . . . . . . . . . . . . . . . . . . . 54
Stereo/SAP Broadcasts Setup . . . . . . . . . . . . . . . . . . . . . . . . . . 55
TIME SETTING
Clock Setup . . . . . . . . . . . . . . . . . . . . . . . . . . . . . . . . . . . . . . . . . . . . . . . . . . . . 56
Auto On/Off Time Settin . . . . . . . . . . . . . . . . . . . . . . . . . . . . . . . 57
Sleep Timer Settin . . . . . . . . . . . . . . . . . . . . . . . . . . . . . . . . . . . . . . . . . 58
Auto Shut-Off Settin . . . . . . . . . . . . . . . . . . . . . . . . . . . . . . . . . . . . . . 59
APPENDIX
Troubleshootin . . . . . . . . . . . . . . . . . . . . . . . . . . . . . . . . . . . . . . . . . . . . . . 60
Maintenance . . . . . . . . . . . . . . . . . . . . . . . . . . . . . . . . . . . . . . . . . . . . . . . . . . . 62
Product Specifications . . . . . . . . . . . . . . . . . . . . . . . . . . . . . . . . . . . . . 63
External Control Throu h RS-232C . . . . . . . . . . . . . . . . . .64
MFL41469212-Edit1-en 1/7/04 8:43 PM Page 5