LG WD-65160F User manual

P/No.: 3828ER3014P

Washing Machine
OWNER’S MANUAL
WD(M)-10160(5)F
WD(M)-80160F
WD(M)-65160F
Thank you for buying a
LG Fully Automatic Washing machine.
Please read your owner’s manual carefully, it provides
instructions on safe installation, use and maintenance.
Retain it for future reference.
Record the model and serial numbers of your washing machine.

roduct Feature
P
ontents
C
2
Warnings....................................................................................3
Specification ..............................................................................4
Installation..................................................................................5
Care before washing................................................................11
Adding detergent .....................................................................12
Function...................................................................................13
How to use washer..................................................................14
Maintenance............................................................................21
Troubleshooting guide.............................................................24
Terms of Warranty...................................................................27
Jumbo drum
LG’s jumbo drum can wash about 40% more load than
conventional washing machines. A bigger drum improves the wash
performance.
More economical by Intelligent Wash System
Intelligent Wash System detects the amount of load and water
temperature, and then determines the optimum water level and
washing time to minimize energy and water consumption.
Child-Lock
The Child-Lock system has been used to prevent children from
pressing any button to change the program during operation.
Low noise speed control system
By sensing the amount of load and balance, it evenly distributes
load to minimize the spinning noise level.
40%

arnings
W
3
For your safety, the information in this manual must be followed to minimize
the risk of fire or explosion, electric shock, or to prevent property damage,
personal injury, or loss of life.
!
READ ALL INSTRUCTIONS BEFORE USE
WARNING!
•Do not install or store the washer where it will
be exposed to the weather.
•Do not tamper with controls.
•Do not repair or replace any part of the washer
or attempt any servicing unless specifically
recommended in the user-maintenance
instructions or published user-repair instructions
that you understand and have the skills to carry
out.
•Keep the area underneath and around your
appliances free of combustible materials such as
lint, paper, rags, chemicals, etc.
•Close supervision is necessary if this appliance
is used by or near children.
Do not allow children to play on, with, or inside
this or any other appliance.
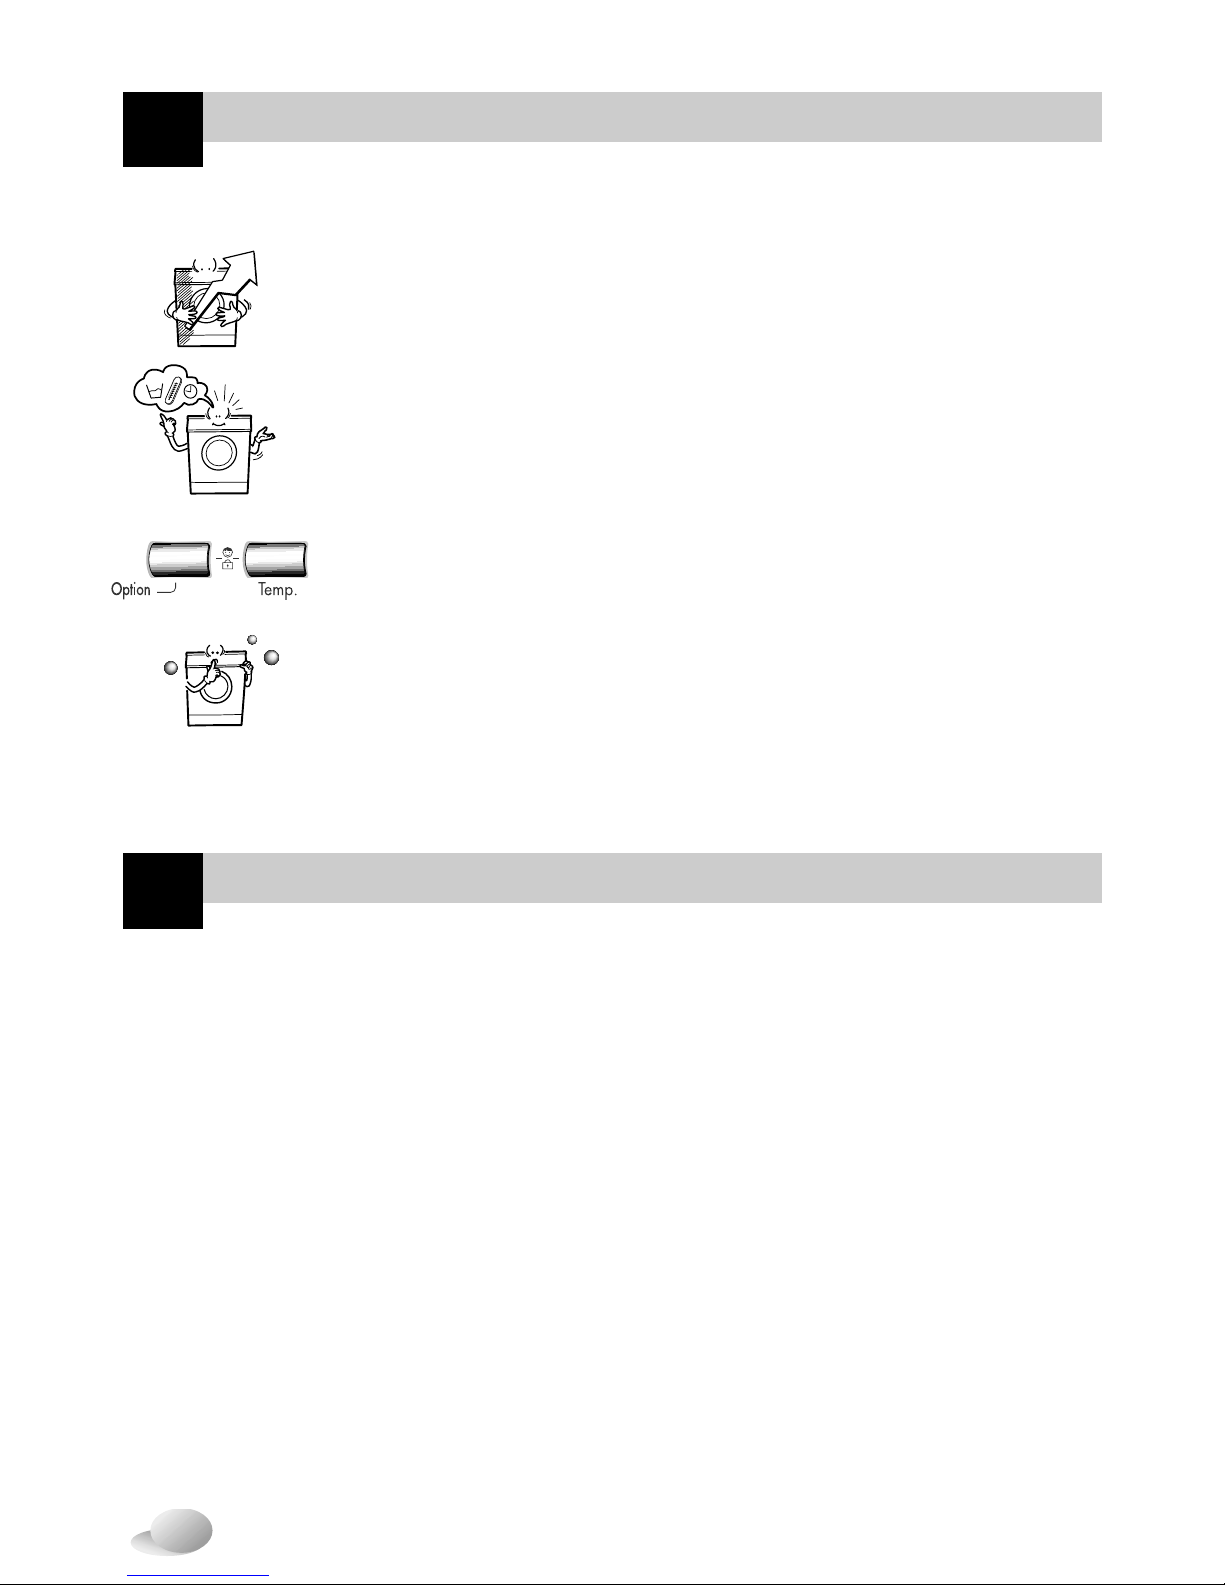
•Do not leave the washer door open.
An open door could entice children to hang on
the door or crawl inside the washer.
•Never reach into washer while it is moving. Wait
until the drum has completely stopped.
•The laundry process can reduce the flame
retardant of fabrics.
•Do not wash or dry articles that have been
cleaned in, washed in, soaked in, or spotted with
combustible or explosive substances (such as
wax, oil, paint, gasoline, degreasers, dry-
cleaning solvents, kerosene, etc.) which may
ignite or explode.
•To avoid such a result, carefully follow the
garment manufacturer’s wash and care
instructions.
•Do not slam the washer door closed or try to
force the door open when locked. This could
result in damage to the washer.
•To minimize the possibility of electric shock,
unplug this appliance from the power supply or
disconnect the washer at the household
distribution panel by removing the fuse or
switching off the circuit breaker before
attempting any maintenance or cleaning.
•Never attempt to operate this appliance if it is
damaged, malfunctioning, partially
disassembled, or has missing or broken parts,
including a damaged cord or plug.
GROUNDING INSTRUCTIONS
This appliance must be grounded. In the event of malfunction or breakdown, grounding will reduce the risk
of electric shock by providing a path of least resistance for electric current. This appliance is equipped with
a cord having an equipment-grounding conductor and grounding plug. The plug must be plugged into an
appropriate outlet that is properly installed and grounded in accordance with all local codes and ordinance.
•Do not use an adapter or otherwise defeat the grounding plug.
•If you don’t have the proper outlet, consult an electrician.
IMPORTANT SAFETY INSTRUCTIONS
WARNING :To reduce the risk of fire, electric shock, or injury to persons when using
the washer, follow basic precautions, including the following:
SAVE THESE INSTRUCTIONS
WARNING :Improper connection of the equipment-grounding conductor can result in risk of electric
shock. Check with a qualified electrician or serviceman if you are in doubt as to whether the appliance is
properly grounded. Do not modify the plug provided with the appliance - if it does not fit the outlet, have a
proper outlet installed by a qualified electrician.

pecification
S
4
Power plug
Control panel
Door
Lower cover
Adjustable feet
(For detergent and
fabric softener)
Drawer
Drum
Lower cover cap
Drain pump filter
Drain plug
If the supply cord is damaged,
it must be replaced by the
manufacturer or its service agents
or a similarly qualified person in
order to avoid a hazard.
Name : Front loading washing machine
Power supply : 220-240V~, 50Hz
Size : 600mm(W) 600mm(D) 850mm(H)
Weight / Max.Watt : 67kg / 2200W
Wash capacity : 7.0kg
Spin speed : No Spin/400/500/650[WD(M)-65160F]
No Spin/400/600/800[WD(M)-80160F]
No Spin/400/800/1000[WD(M)-10160(5)F]
Water consumption : 67 (9.6 / kg )
Permissible water pressure : 0.3-10kgf/ (30-1000kPa)
❋The appearance and specifications may be varied without notice to raise the units
quality.
Spanner
Accessories

nstallation
I
5
1. To prevent internal damage during
transport, the special 4 bolts are locked.
Before operating the washer, remove
the bolts along with the rubber bungs.
•If they are not removed, it may cause heavy
vibration, noise and malfunction.
3. Take out the 4 bolts along with the rubber
bungs by slightly twisting the bung. Keep
the 4 bolts and the spanner for future use.
•Whenever the appliance is transported, the
transit bolts must be refitted.
The appliance is fitted with transit bolts to prevent internal damage during transport.
2. Unscrew the 4 bolts with
the spanner supplied. 4. Close the holes with the caps supplied.
Transit bolts
Install or store where it will not be exposed to temperatures below freezing or exposed to the
weather.
Properly ground washer to conform with all governing codes and ordinances.
The base opening must not be obstructed by carpeting when the washing machine is installed on a
carpeted floor.
In countries where there are areas which may be subject to infestation by cockroaches or other
vermin, pay particular attention to keeping the appliance and its surroundings in clean condition at
all times.
Any damage which may be cause by cockroaches or other vermin will not be covered by the
appliance guarantee.
Removing transit bolts
cap

nstallation
I
6
Level floor :
Allowable slope under entire washer is 1˚
Power outlet :
Must be within 1.5 meters of either side of location
of washer. Do not overload the outlet with more
than one appliance.
Additional Clearance :
For wall, door and floor modeling is required.
(10cm : rear /2cm:right & left side)
Do not place or store laundry products on top of
washer at any times.
They can damage the finish or controls.
Installation place requirement
Laundry
Tub
Washer
approx.
2cm
Drain Hose
BS Plug Safety Details (For U.K. User)
IMPORTANT
THE WIRES IN THIS MAINS LEAD ARE COLOURED IN
ACCORDANCE WITH THE FOLLOWING CODE:
GREEN AND YELLOW: EARTH
BLUE: NEUTRAL
BROWN: LIVE
This appliance must be earthed
As the colours of the wires in the mains lead of this apparatus may not correspond with the coloured markings
identifying the terminals in your plug, proceed as follows:
The wire which is coloured Green and Yellow must be connected to the terminal in the plug which is marked with the
letter E or by the earth symbol or coloured Green or Green and Yellow.
The wire which is coloured Blue must be connected to the terminal which is marked with the letter N or coloured Black.
The wire which is coloured Brown must be connected to the terminal which is marked with the letter L or coloured Red.
If a 13 amp (BS 1363) plug is used, fit a 13 amp BS 1362 fuse.
Green and Yellow(Earth)
Brown(Live)
Blue(Neutral)
Cord
grip
Fuse
E
L
N
650
850
600

7
nstallation
I
Water supply pressure must be between
30kPa and 1000kPa (0.3~10kgf/cm2)
Don’t strip or crossthread when connecting
Inlet hose to the valve.
If the water supply pressure is more than
1000kPa, a decompression device should be
installed.
•Two rubber seals are supplied with the
water inlet hoses these are in order to
prevent water leaks.
•Check water tightness of washing
machine connections by turning the tap
completely on.
•Periodically check the condition of the
hose and replace the hose if necessary.
•Make sure that there is no kink on the
hose and that it is not crushed.
When your washer has two valves,
•The Inlet hose which has red connector is
for the hot water tap.
•If the washer has two valves, the energy
is saved by using hot valve.
Washing Machine is to be connected to the water mains using new hose-
sets and that old hose-sets should not be used.
Connecting water supply hose
Rubber seal
Hose connector
Hot water tap
Cold Hot(option) Cold
water
tap
1. Do not use an extension cord or double adapter.
2. If the supply cord is damaged, it must be replaced by the manufacturer or its service agents
or similarly qualified person in order to avoid a hazard.
3. Always unplug the machine and turn off the water supply after use.
4. Connect the machine to an earthed socket in accordance with current wiring regulations.
5. The appliance must be positioned so that the plug is easily accessible.
•Repairs to the washing machine must only be carried out qualified personnel. Repairs carried out by
inexperienced persons may cause injury or serious malfunctioning. Contact your local service center
•Do not install your washing machine in rooms where temperatures below freezing may occur. Frozen
hoses may burst under pressure. The reliability of the electronic control unit may be impaired at
temperatures below freezing point.
•If the appliance is delivered in the winter months and temperatures are below freezing : Store the
washing machine at room temperature for a few hours before putting it into operation.
Electrical connection

8
nstallation
I
Normal Tap without thread & screw type inlet hose
Normal Tap without thread & one touch type inlet hose (Single inlet models)
1.Unscrew the fixing screw to
attach the tap. 2.Push the connector up till the
rubber packing is in tight contact
with the tap. Then tighten the 4
screws.
3.Push the water supply hose
vertically upwards so that the
rubber packing within in the
hose can adhere completely to
the tap and then tighten it by
screwing it to the right.
1.Untighten the upper connector
screw. 2.Push the upper connector up till
the rubber packing is in tight
contact with the tap. Then
tighten the 4 screws.
3. Connect the water supply hose
to the middle connector,
pushing the plate down.
•Your machine comes with only
cold water connection.
•Make sure that there are no
kinks in the hose and that it is
not crushed.
•Make sure that the rubber seal
is inside the hose connector.
Upper
Connector Rubber
packing
Middle
connector
Fixing screw
Guide plate
Connector
Rubber seal
Hose connector
Used the horizontal tap
Horizontal tap
Extension tap
Square tap
Rubber packing
Upper
Connector
Middle
connector
Plate
Upper
Connector
Water supply
hose
•In case the diameter of the tap is
large remove the guide plate.
•Turn the middle connector not
to have water leaked. •To separate the water supply
hose from the middle connector
shut off the tap. Then pull the
inlet hose down, pushing the
plate down.

9
nstallation
I
Installation of drain hose
max. 100 cm
min. 60 cm
ca. 105 cm
ca. 145 cm
ca. 100 cm
max. 100cm
min. 60cm
Hose
Retainer
Laundry tub
Tie
strap max. 100cm
min. 60cm
max. 100 cm
ca. 105 cm
ca. 145 cm
ca. 100 cm
min. 60 cm
•The drain hose should not be placed
higher than 100 cm above the floor.
•Proper securing of the drain hose will
protect the floor from damage due to
water leakage.
•When the drain hose is too long, do
not force back into the washer. This
will cause abnormal noise.
•When installing the drain hose sink,
secure it tightly with a string.
•Proper securing of the drain hose will
protect the floor from damage due to
water leakage.
This equipment is not designed for maritime use or for use mobile installations such as
caravans, aircraft etc.
Turn off the stopcock if the machine is to be left for any length of time (e.g. holiday),
especially if there is no floor drain(gully) in the immediate vicinity.
When disposing of the appliance, cut off the mains cable, and destroy the plug Disable the
door lock to prevent young children being trapped inside.
Packaging material (e.g. Films, Styrofoam) can be dangerous for children. There is a risk
of suffocation ! Keep all packaging well away from children

10
nstallation
I
Level adjustment
1. Adjusting the washing machine level
properly prevents excessive noise and
vibration.
Install the appliance on a solid and level
floor surface, preferably in a corner of
the room.
2. If the floor is uneven, adjust the
adjustable feet as required. (do not
insert pieces of wood etc. under the feet)
Make sure that all four feet are stable
and resting on the floor and then check
that the appliance is perfectly level. (use
a spirit level)
❊ Diagonal Check
When pushing down the edges of the
washing machine top plate diagonally, the
machine should not move up and down at
all. (Please, check both of two directions)
If machine rocks when pushing the machine
top plate diagonally, adjust the feet again.
Higher Lower
Adjustable feet
Adjustable feet

11
are before washing
C
1. Care Labels
Look for a care label on your clothes. This will tell you about the fabric content of your
garment and how it should be washed.
2. Sorting
To get the best results, Sort clothes into loads that can be washed with the same wash cycle.
Water temperature and spin speed and different fabrics need to be washed in different ways.
Always sort dark colors from pale colors and whites. Wash separately as dye and lint
transfer can occur causing discoloration of white etc. If possible, do not wash heavily
soiled items with lightly soiled one.
Soil (Heavy, Normal, Light) Separate clothes according to amount of soil.
Color (White, Lights, Darks) Separate white fabrics from colored fabrics.
Lint (Lint producers, Collectors) Wash lint producers and lint collectors
separately.
3. Caring before loading
Caring before washing
Combine large and small items in a load. Load large items first. Large items should not be more
than half the total wash load.
Do not wash single items. This may cause an out-of-balance load. Add one or two similar items.
•Check all pockets to make sure
that they are empty. Items such as
nails, hair clip, matches, pens,
coins and keys can damage both
your washer and your clothes.
•Close zippers, hooks and strings to
make sure that these items don’t
snag on other clothes.
•Pre treat dirt and stains by brushing
a little detergent dissolved in water
onto stains like collars and cuffs to
help shift dirt.

12
dding detergent
A
•Main wash only
U
•Pre Wash + Main Wash
U
•Do not exceed the maximum fill line.
Overfilling can cause early dispensing
of the fabric softener which could stain
clothes.
•Do not leave the fabric softener in the
detergent drawer for more than 2 days.
(Fabric softener could harden)
•Softener will automatically be added
during the last rinse cycle.
•Do not open the drawer when water is
supplied.
•Solvents(benzene, etc) are not
allowable.
1. The Dispenser Drawer
• The detergent should be used according to the
instruction of the detergent manufacture.
• If too much detergent is used more than the
recommended amount, too many suds can
occur and this will decrease the washing result
or cause heavy load to the motor. (Causing a
malfunction)
• Use powder detergent only for the front
loading washer.
•Detergent usage may need to be adjusted
for water temperature, water hardness,
size and soil level of the load. For best
results, avoid oversudsing.
❋
Tips
Full load : according to
manufacturer’s recommendation.
Part load : 3/4 of the normal amount.
Minimum load : 1/2 of full load.
•Detergent is flushed from the dispenser at
the beginning of the cycle.
3. Detergent dosage
2. Adding Fabric Softener
Adding detergent and fabric softener
Detergent for
main wash Fabric
softener Detergent for
pre wash
( ) ( )( )
MAX
max
( )
125 ml
MAX MAX
125 ml
NOTE
Do not pour fabric softener
directly on the clothes

13
unction
F
Recommended courses according to the laundry type
❋
Pre Wash : If the laundry is heavily soiled, “Pre Wash”Cotton is recommended. Pre Wash is available in
Cotton and Synthetic Program.
❋
Rinse+: Used to introduce an additional rinse, which may assist in removing traces of detergent residue.
Fabric Proper
Maximum
Energy Time
Program Option in in
Type Temp. Load kWh Minutes
Cotton
Synthetic
Delicate
Wool
Hand
Wash
Quick 30
First check if laundry
is machine
washable.
(white cotton, linen
towel and sheets...)
Color fast gaments
(shirts, night dresses,
pajamas...)and lightly
soiled white
cotton(underwear...)
Polyamide, Acrylic,
Polyester
Delicate laundry
easily damaged
(silk, curtains...)
Machine washable
woolens with pure
new wool only
“Hand Wash”marked
delicate and wool
laundry
Colored Laundry
which is lightly soiled
fast.
95˚C
60˚C
(Cold, 30˚C,
40˚C)
40˚C
(60˚C, Cold,
30˚C)
30˚C
(40˚C, Cold)
30˚C
(40˚C, Cold)
Cold(30˚C,
40˚C)
30˚C(40˚C,
Cold)
Pre Wash
Time Save
Rinse+
Crease Care
Pre Wash
Time Save
Rinse+
Crease Care
Pre Wash
Time Save
Rinse+
Crease Care
Time Save
Rinse+
Time Save
Rinse+
Time Save
Rinse+
Rinse+
Rating
Rating
Less than
3.5 kg
Less than
3.0 kg
Less than
2.0 kg
Less than
2.0 kg
Less than
2.0 kg
2.74
1.33
0.45
0.41
0.28
0.03
0.35
163
161
82
56
58
71
30

14
ow to use washer
H
•Press the Power( ) button to start.
•Press the Start/Pause( ) button.
•Initial condition
- Wash : main wash
- Rinse : 3 times
- Spin : 1000 rpm [WD(M)-10160(5)F]
800 rpm [WD(M)-80160F]
650 rpm [WD(M)-65160F]
- Water temperature : 60˚C
- Program : Cotton
•Press the Power( ) button to start.
•Select the conditions which you want to
use, by pressing each button.
For selecting the each conditions, please
refer to the page15~page20
•Press the Start/Pause( ) button.
1. Cotton automatically
selected upon power on. 2. Manual Selecting
DrainDrain

15
ow to use washer
H
(1) Button : Power
(2) Button : Program
(3) Button : Start/Pause
(4) Button : Time Delay
(5) Button : Option
(6) Button : Option
(7) Child Lock
(8) Button : Temp.
(9) Button : Spin
DrainDrain
2. Time Save
3. Rinse+
Option
Drain
•By pressing the Option button, all
Option functions may be selected.
- Pre Wash
- Time Save
- Rinse +
- Crease Care
•This option can be used to reduce the time
of a wash program.
•To use this option press the Time Save
button once before the wash program is
started.
•This option is not available with Quick 30
program.
•Used to additional rinse, which may assist in
removing traces of detergent residue.
•By selecting Rinse+function, the rinse time
and the rinse water are increased.
4. Crease Care
•If you want to prevent crease, select this
button with spin speed.
1. Pre Wash
•If the laundry is heavily soiled, “Pre Wash”
course is effective.
•Pre Wash is available in Cotton and
Synthetic.
The required lamp will light up for
identification.

16
ow to use washer
H
1. Spin selection
2. No spin
Spin
6
Drain
400
500
650
Drain
Drain
•By pressing the Spin button, the spin speed
can be chosen.
[WD(M)-10160(5)F]
•Spin speed is available according to the
program as follows.
•WD(M)-65160F
- Cotton/Synthetic/Wool/Hand Wash
650➔Rinse Hold➔No Spin➔400➔500
- Delicate
500➔650➔Rinse Hold➔No Spin➔400
- Quick 30
400➔500➔650➔Rinse Hold➔No Spin
•WD(M)-80160F
- Cotton/Synthetic/Wool/Hand Wash
800➔Rinse Hold➔No Spin➔400➔600
- Delicate
600➔800➔Rinse Hold➔No Spin➔400
- Quick 30
400➔600➔800➔Rinse Hold➔No Spin
•WD(M)-10160(5)F
- Cotton/Synthetic/Wool/Hand Wash
1000➔Rinse Hold➔No Spin➔400➔800
- Delicate
800➔Rinse Hold➔No Spin➔400
- Quick 30
400➔800➔1000➔Rinse Hold➔No Spin
3. Rinse Hold
•Is selected by pressing the spin button
repeatedly this function leaves clothes in the
machine; suspended in the water after a
rinse without entering into spin.
•To proceed through to a drain or spin, once
the rinse hold function is completed using to
Program button and Spin button to the
required program.
(Spin or Pump)
The required lamp will light up for
identification.
•If no spin is selected, the washer stops after
draining water.
The required lamp will light up for
identification.
[WD(M)-65160F] [WD(M)-80160F]

17
ow to use washer
H
Drain
1. Water Temperature
Water Temp.
•By pressing the Temp.
button, the water
temperature can be
selected.
- Cold
- 30˚C / 40˚C / 60˚C / 95˚C
•Water temperature can be selected as
below according to the program.
- Cotton
60˚C
➔
95˚C
➔
Cold
➔
30˚C
➔
40˚C
- Synthetic
40˚C
➔
60˚C
➔
Cold
➔
30˚C
- Delicate & Wool & Quick 30
30˚C
➔
40˚C
➔
Cold
- Hand Wash
Cold
➔
30˚C
➔
40˚C
The required temperature lamp will light up for
identification.
For the more detailed information, please refer
to the page13.
Child Lock
Drain
Drain
Drain
Change
the desired
program
Drain
If you choose to lock the buttons on the control
assembly to prevent tampering this function
may be selected.
•If the Program lamps are blinked at the same
time after the power off or the end of the
washing, the child lock mode is set.
•Cancel the child lock mode by pressing the
Option and the Temp. button simultaneously
for 3 seconds.
•Child Lock can be set by pressing and
holding the the Option and the Temp.
button simultaneously.
•When child lock is set, all buttons are inoperable
except power button.
•To deactivate Child Lock system, press the
Option and the Temp. button simultaneously
again.
•To change to the desired program, whilst
in child lock mode.
1. Press both the Option and the Temp.
together once again.
2. Press the Start/Pause button.
3. Select the desired program and press
the Start/Pause button again.
•The child lock can be set at any time and it
is automatically canceled when operational
errors occur. Also Child Lock works when
power is off.
1. Child Lock
NOTE

Program
•8 programs are available according to the
laundry type.
•Lamp will light up to indicate selected
program.
1. Program
2. Course
•When Start/Pause button is pressed, the
Cotton program is automatically selected.
- By pressing the Program button, the
program is selected in order of
“Cotton➔Synthetic➔Delicate➔Wool➔Hand
Wash➔Quick 30➔Rinse+Spin➔Drain”.
Regarding to the laundry type for each program
Please refer to the page13.
-Cotton
-Synthetic
-Delicate
-Wool
-Hand Wash
-Quick 30
-Rinse+Spin
-Drain
Drain
Drain
(Program)
18
ow to use washer
H
Time Delay
1. Time Delay
Preparing washing before starting “Time
Delay”
- Turn on the water tap.
- Load laundry and close the door.
- Place the detergent and fabric softener in
the drawer.
•How to set “Time Delay”
- Press Power button.
- Press the Program button to select
the program you require.
- Press Time Delay button and set the
desired time.
- Press the Start/Pause button.
(“:”blinks.)
•If Time Delay button is pressed, “3:00”is
displayed. The maximum delayed time is
19:00 hours and the minimum time is 3:00
hours.
•Each pressing of the button advances on
time delay by one hour.
•To cancel the time delay, press the Power
button.
•Time Delay is ‘expected time’from the
present to the completion of washing cycle
or selected process (Wash, Rinse, Spin).
• According to the condition of water supply and
temperature, the delayed time and the actual
washing time may vary.

19
ow to use washer
H
Start/Pause
•This Start/Pause( ) button is used to start
wash cycle or pause the wash cycle.
•If temporary stop of wash cycle is needed,
press the Start/Pause( ) button.
•When in Pause, the power is turned off
automatically after 4 minutes.
•NB. The door will not open before 1 to 2
minutes when Pause is selected,
or at the end of the wash cycle.
1. Start
2. Pause
Drain
1. Power
2. Initial Program
Power
•Press the Power button to turn power on
and off
•When the Power button is pressed, the
washer is ready for Cotton program. And
the other initial conditions as follows.
•So, if you want to advance into the
washing cycle without changing the
program, just press the Start/Pause( )
button and then the washer will proceed.
Initial program
[WD(M)-65160F]
-Cotton Program/Main Wash/
Normal Rinse/650 rpm/60˚C
[WD(M)-80160F]
-Cotton Program/Main Wash/
Normal Rinse/800 rpm/60˚C
[WD(M)-10160(5)F]
-Cotton Program/Main Wash/
Normal Rinse/1000 rpm/60˚C
Drain
This manual suits for next models
7
Table of contents
Other LG Washer manuals
Popular Washer manuals by other brands

Bosch
Bosch WGB256A0ME User manual and installation instructions

Haier
Haier HWD1600 user manual

Bosch
Bosch WAW28740EU Instruction manual and installation instructions

Alliance Laundry Systems
Alliance Laundry Systems F232135R12 Installation

Crosley
Crosley CFW4000FW1 Use & care guide

Sharp
Sharp ES-HFB812AWC-IT user manual

Indesit
Indesit IWC 7105 Instructions for use

Alliance Laundry Systems
Alliance Laundry Systems 9001014R7 Basic installation/operation

Whirlpool
Whirlpool W10200890B installation instructions

Indesit
Indesit iwc 5085 Instructions for use

Hotpoint
Hotpoint WMAL 621 Instructions for use

GE
GE SPACEMAKER WSLS1100D Product information