Handbuch Deutsch
Einstellen der Leerlaufzeit: Hierbei handelt es sich um das Timeout, so lange der AutoSwitch nach Beenden eines
Auftrags wartet, ehe er wieder zur Verfügung steht. Wenn Sie den entsprechenden Wert (in Sekunden)
eingegeben haben, klicken Sie auf “Apply” zur Übernahme des Werts.
Druckerauswahl: Wenn Sie einen Drucker zur gemeinsamen Nutzung anschließen, müssen Sie auswählen,
welcher Drucker vom Dienstprogramm des AutoSwitch verwaltet werden soll, wenn ein Druckauftrag ansteht.
Klicken Sie auf “Select” zur Anzeige der Druckerliste und wählen Sie den gewünschten Drucker aus. Bestätigen
Sie mit „OK“.
Nun ist das AutoSwitch Dienstprogramm konfiguriert und Sie können es zur automatischen Verwaltung der
Druckauträge verwenden.
Wiederholen Sie die oben genannten Schritte um die Konfiguration auf jedem der angeschlossenen Computer
durchzuführen.
Auswahl des Modus: automatisch oder manuell
Standardmäßig ist der USB Autoswitch im automatischen Modus (erkennbar an der orange leuchtenden AUTO
LED auf der Vorderseite des Switch). Wenn sich der USB AutoSwitch im automatischen Modus befindet, müssen
die Nutzer der angeschlossenen Computer sich nicht darum kümmern, ob der gemeinsam genutzte Drucker
verfügbar ist. Sie können ihren Druckauftrag einfach abschicken, dieser wird automatisch an den Drucker
übergeben. Alle Aufgaben werden vom Dienstprogramm des USB AutoSwitch verwaltet und kontrolliert.
Der manuelle Modus ist eine Option, wenn man in diese automatische Verwaltung eingreifen möchte. Man kann
dann einen Computer manuell auswählen, der Zugriff auf den Drucker bekommt. Den manuellen Modus können
Sie einstellen, indem Sie die „Switch“-Taste vorn am USB AutoSwitch drücken. Durch Drücken der “Switch”-Taste
können Sie zwischen folgenden Einstellungen wechseln:
Automatischer Modus (Standardeinstellung) Manueller Modus (Port 1 Port 2 Port 3 Port 4)
Automatischer Modus
Wenn Sie sich zum Beispiel im automatischen Modus befinden und die “Switch”-Taste drücken, dann wechselt der
USB AutoSwitch zum manuellen Modus/Port 1 (Port 1 hat Zugriff). Bei erneutem Tastendruck wechselt der
AutoSwitch auf Port 2 im manuellen Modus (Port 2 hat Zugriff), dann Port 3, Port 4 und schließlich wieder der
automatische Modus.
Im manuellen Modus leuchtet die LED des aktiven Ports grün, was bedeutet, dass ausschließlich dieser Port über
einen Zugriff verfügt. Es kann nicht manuell auf einen anderen Port umgeschaltet werden. Man muss den Timeout
abwarten (Standardeinstellung 16 Sekunden) bis die LED zu blinken beginnt. Dann findet keine Datenübertragung
mehr statt und erst jetzt kann auf einen anderen Port umgeschaltet werden.
Im manuellen Modus kann man also den AutoSwitch “zwingen”, dass ein bestimmter Computer einen dringenden
Auftrag schneller erledigen kann.
LED Status
Orange AUTO LED:
Diese leuchtet orange wenn sich der USB AutoSwitch im automatischen Modus befindet. Im manuellen Modus
leuchtet die LED nicht.
PC Port LEDs – PC1, PC2, PC3, PC4 (Grün):
Wenn sie leuchtet, kann nicht auf einen anderen Port umgeschaltet werden (weil noch Datentransfer stattfindet
oder der Timeout abgewartet werden muss). Wenn die LED blinkt, kann auf einen anderen Port umgeschaltet
werden.
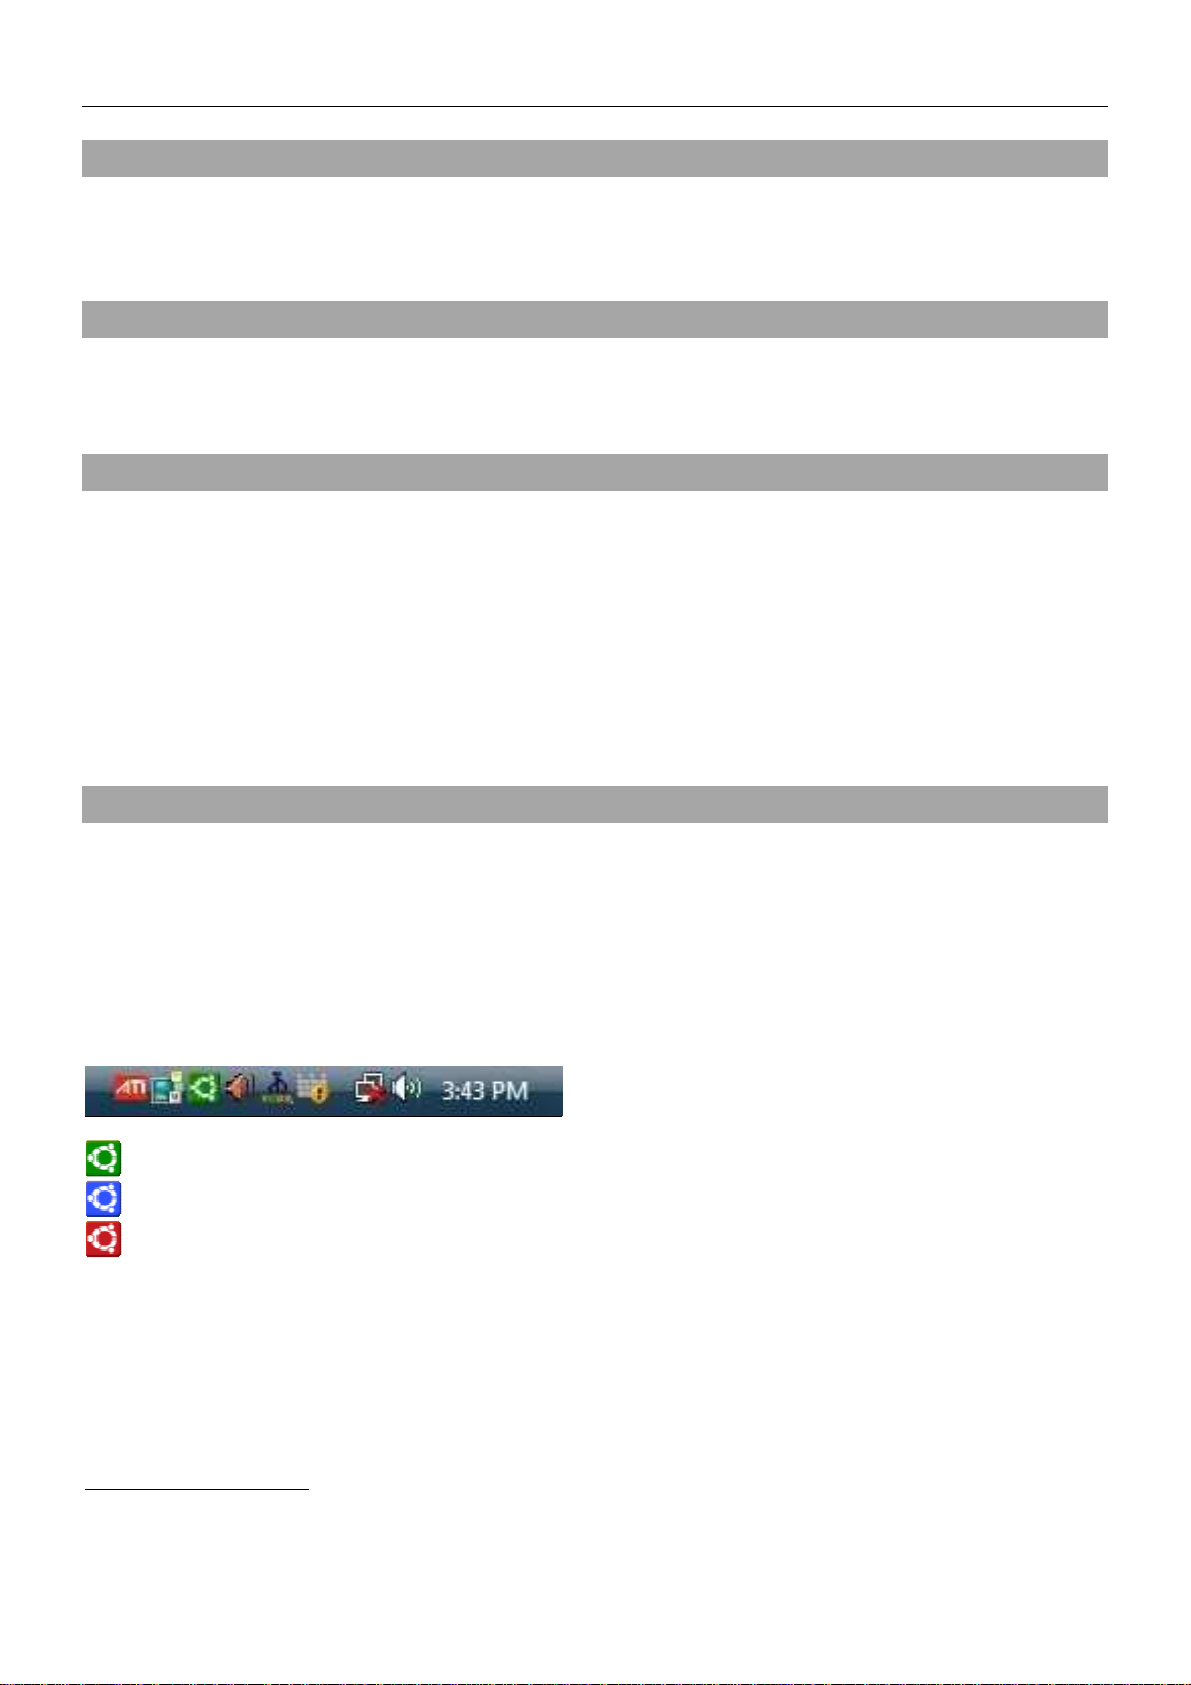
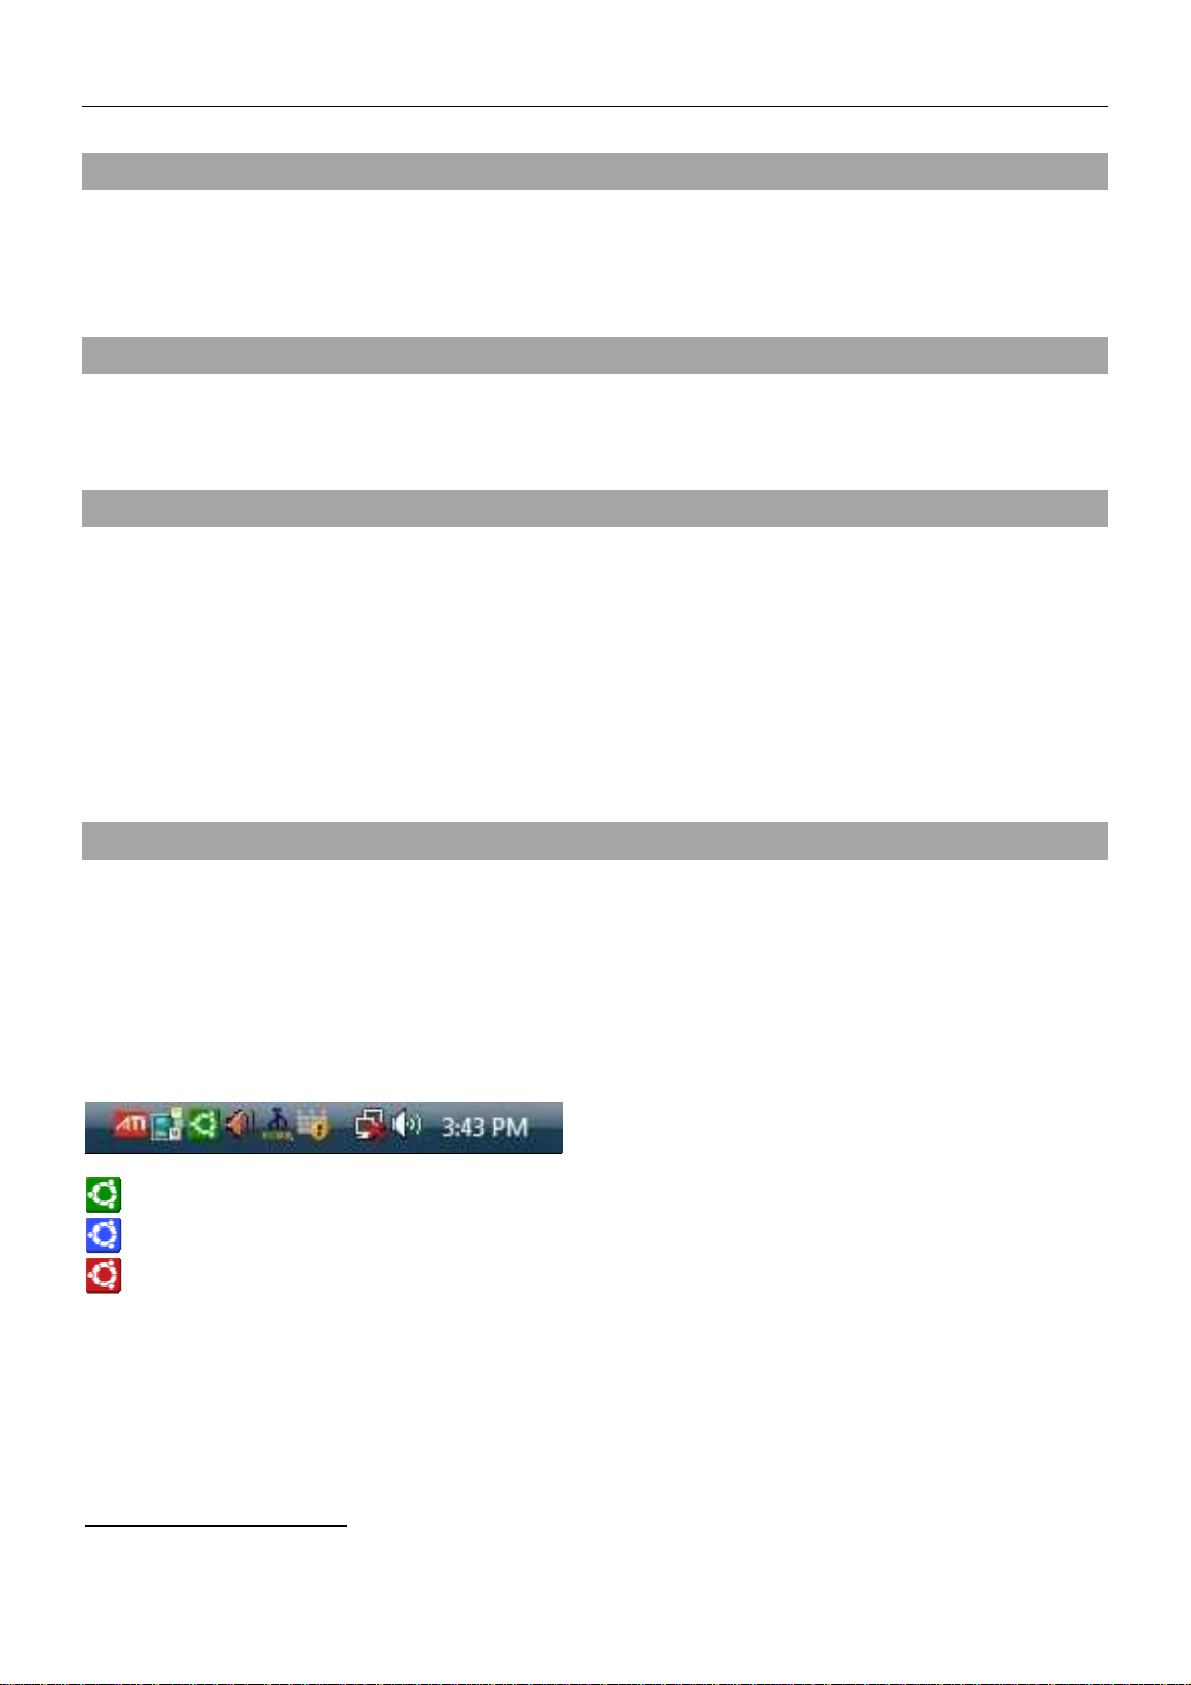
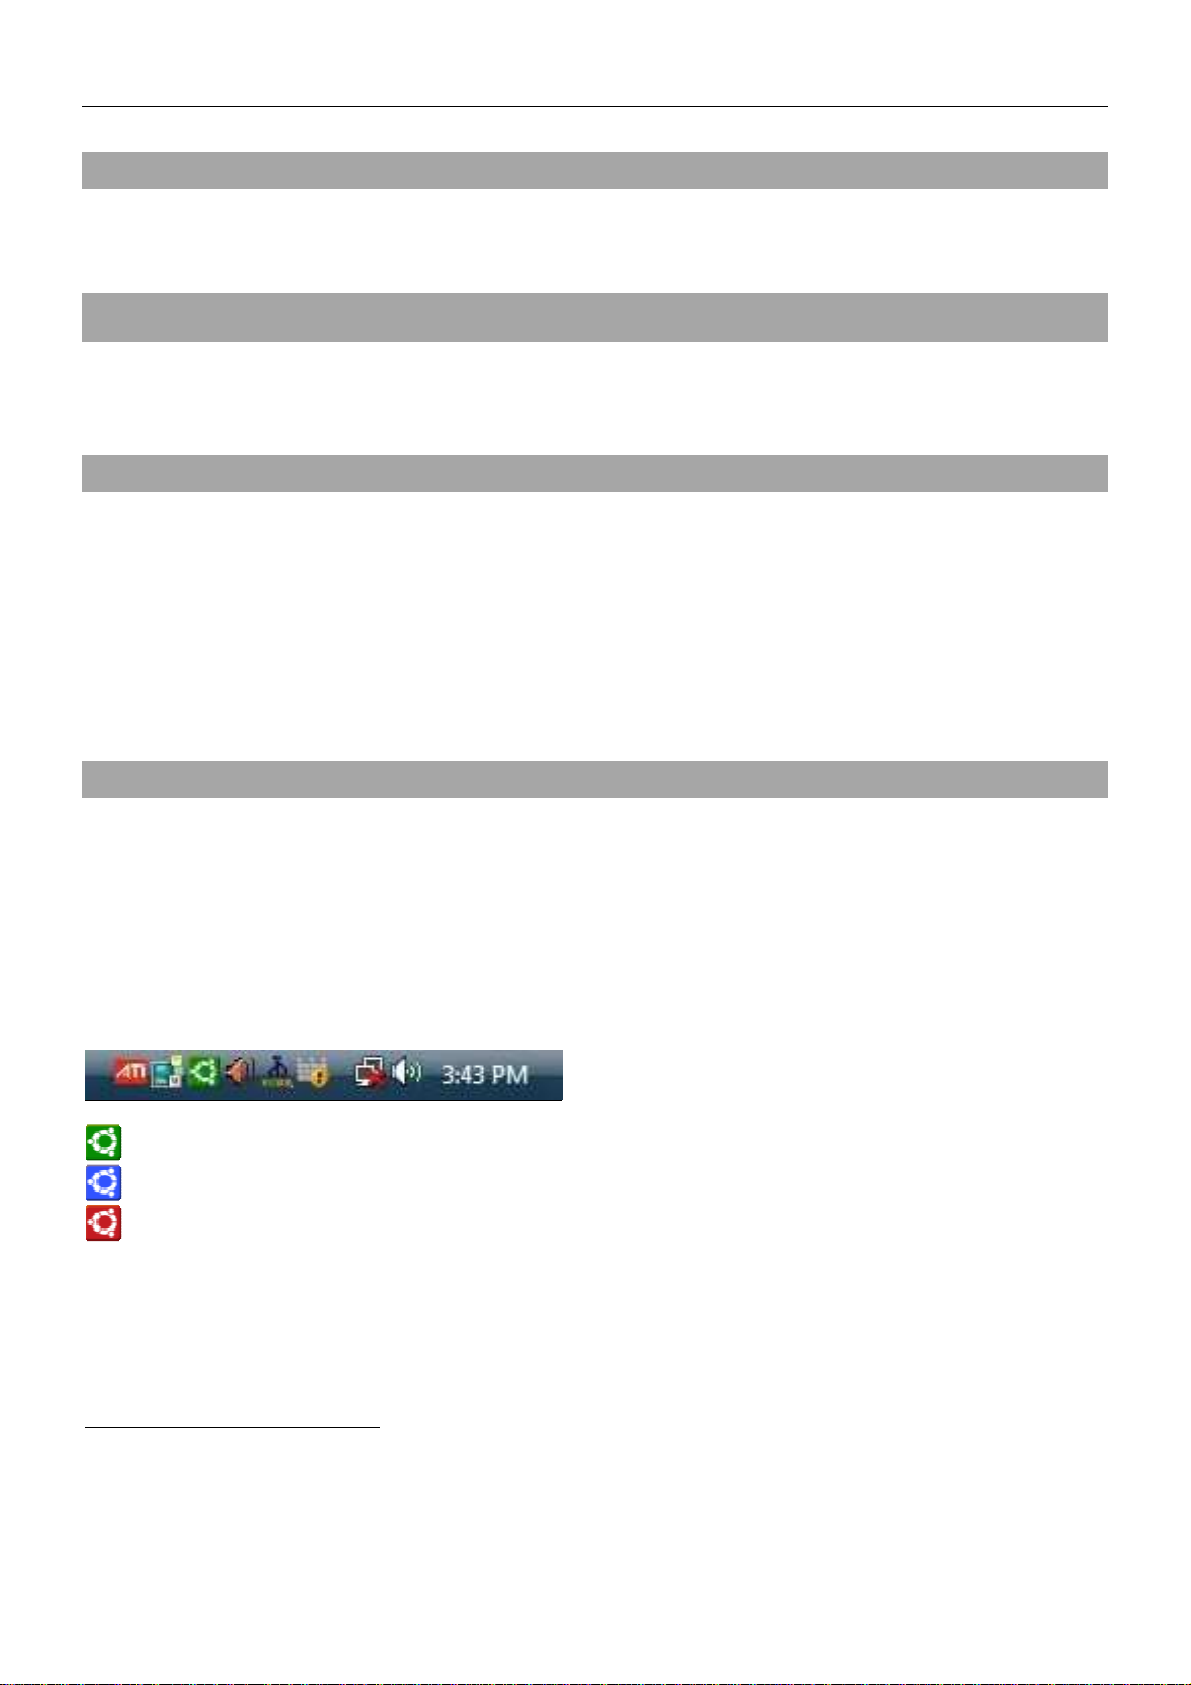
Mac OS & Linux
Mac und Linux unterstützen nur den manuellen Modus, Software muss nicht installiert werden. Schließen Sie
einfach den USB AutoSwitch an den Computer an und warten sie, bis der Computer das Gerät erkennt und die
Hardware installiert. Wiederholen Sie diesen Vorgang für alle Compüuter, die Sie anschließen möchten.