manuals.online logo
Brands
  1. Home
  2. •
  3. Brands
  4. •
  5. Linear Tube Audio
  6. •
  7. Amplifier
  8. •
  9. Linear Tube Audio MZ2 Series User manual

Linear Tube Audio MZ2 Series User manual

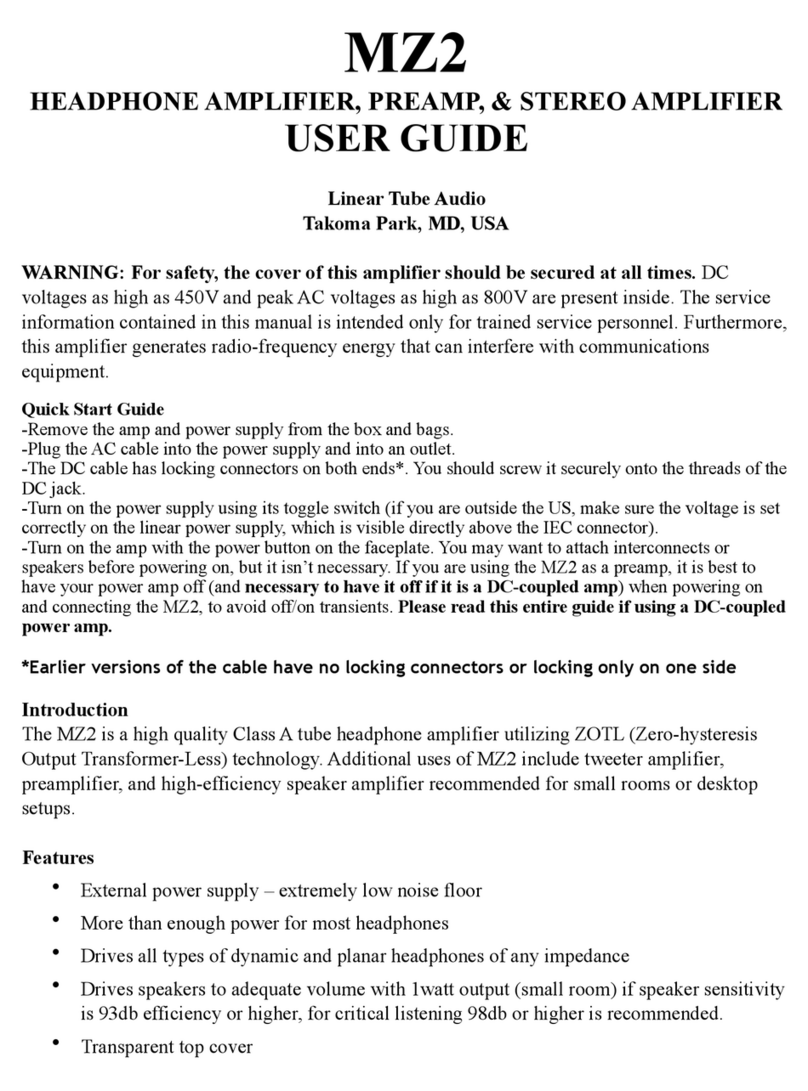
USER GUIDE: MZ2
Linear Tube Audio Takoma Park, MD, USA
301-448-1534 [email protected]
Regarding older models: While this user guide should cover the basics for
any MicroZOTL2.0, MicroZOTL2.0 Deluxe, or MZ2-S, please contact us if your
unit is different from the one described here and we can give you more
specific information.
WARNING: For safety, the cover of this amplifier should be secured at all
times.
This amplifier contains extremely high voltages and the user should not
attempt to service the amplifier. Furthermore, this amplifier generates
radio-frequency energy that can interfere with communications
equipment.
Introduction
The MZ2 is a Class A tube amplifier utilizing ZOTL (Zero-hysteresis Output
Transformer-Less) technology. The MZ2 is an evolution of the original
microZOTL designed by David Berning in 1999. It is equally exceptional as
a headphone amplifier, preamplifier, and low-wattage integrated
amplifier.
!
Limited Two-Year Warranty*
Your new product is covered by a limited two-year warranty against
defects in materials and workmanship.
Any units returned for warranty repair must be shipped prepaid after
receiving return authorization. If possible, the unit should be shipped in its
original packaging. If this is not possible, the unit should be well packed
with particular attention paid to protection of all corners and avoidance
of any looseness in the carton.
This warranty does not apply to damage resulting from physical abuse or
unauthorized alterations or repairs, or from tube rolling or adapter use, or
from the use of third-party components, or damage to exterior finish
resulting from careless use.
The warranty is void if the serial number has been removed, altered, or
defaced.
This warranty is void if improper voltage is applied to any input or output.
If Linear Tube Audio determines after receiving the unit that damage was
misrepresented and has been caused by something not covered by the
warranty, the customer must pay for any necessary repairs before the unit
is returned to the customer.
*Applicable for domestic sales only. Customers outside of the United
States have a one-year warranty and are responsible for shipping and
handling costs.
Service Note
ZOTL amplifiers use a unique circuit and even trained technicians familiar
with tube amplifiers may not know how to correctly work on LTA products.
Please contact us before attempting any alteration or repair."
Specifications
Circuit Type: Push-Pull Class A
Power Output: 1W (4 Ohm), 0.5W (8 Ohm)
Input Sensitivity: 0.6V RMS for full output
Input Impedance: 50K
Output impedance: 2 Ohms (measured at 0.5A, 60 Hz)
Preamp Output Impedance: 50 Ohms
Gain: 10.3dB (4 Ohm load)
12.4dB (8 Ohm load)!
Noise: -90dB
Frequency Response: +/- 1dB, 10Hz-20kHz (4 Ohm Load)
+/- 1dB, 5Hz-50kHz (8 Ohm Load)
THD: 1%
Power consumption: 33W!
Input Voltage with SMPS: Universal
Input Voltage with LPS+: 110/220 Selectable; 100V available
Tube Complement: (2x) 12AT7, (2x) 6SN7/12SN7
Size: Amplifier: W: 9.5” (24.1cm), H: 4.75: (12cm), D: 7.8” (19.7cm)
LPS+: L: 12” (30.5cm) W: 3.25” (8.26cm) H: 4.25” (10.8cm)
Weight: With SMPS: 5.35 lbs (2.5kg),
with LPS+: 8.94 lbs (4.1kg)
Shipping Weight: With SMPS: 11 lbs
with LPS+: 14 lbs
Quick Start
Remove amplifier, power supply, and included cables from the box.
Attach the DC umbilical to the power supply and amplifier. This has a
locking 2.5mm x 2.5mm barrel connector on both sides. Plug in completely
and tighten the locking nut.
If you have an LPS+, check that the red voltage label reflects
approximately your area’s voltage (115/220). If it does not, contact us and
we will direct you in the simple matter of adjusting it. The stock SMPS is
universal and will work with any input voltage.
Attach the power cable to the IEC connector on the power supply, and
plug into an outlet.
Hook up your sources as well as your power amp, if using the MZ2 as a
preamp. Do not turn on your power amp yet.
Once your system is set up and everything that needs to be plugged into
the MZ2 is plugged in, turn on your system starting at the source and going
down the line, making sure to turn on the MZ2 before the power amp. This
is to avoid any pops when turning the preamp on.
Enjoy your music. When turning your system off, turn the power amp off
before the MZ2.
Operation
If you prefer, you can leave the power supply on indefinitely and only use
the power button on the front panel.
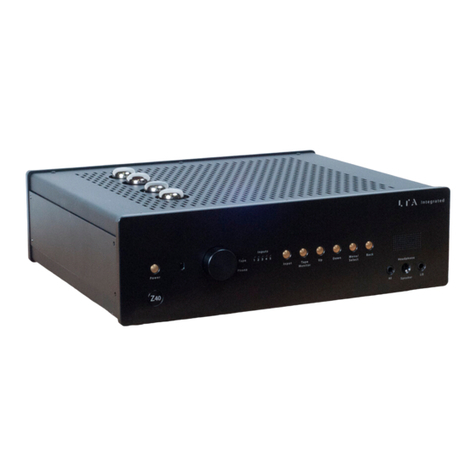
The front panel features a power button, input switch, volume knob, and
headphone jack.
There are 3 RCA pairs on the back for 3 inputs, selectable via toggle
switch on the front panel.
The RCA pair next to the speaker binding posts are for the preamp output.
While the headphone and speaker outputs are identical, the preamp
output is optimized for preamp use and has a higher output impedance.
When headphones are plugged in, the speaker and preamp outputs are
muted.
The binding posts for the speakers can be used with banana plugs,
spades, and bare wire. We recommend using very sensitive speakers (at
least 98dB) if you want to utilize the MZ2 as a speaker amplifier.
Remote Control
The optional remote control is able to adjust the volume. The MZ2 uses a
motorized Alps potentiometer, so the knob will move and reflect the
volume level when you use the remote. We provide an Apple remote. "
Tube Heater Voltage Jumper Settings
The MZ2 can use 6SN7 or 12SN7 tubes
as its output tube. When switching from
one to the other, be sure to set the
jumpers on the boards to the correct
position. A 6-volt tube like the 6SN7 will
burn out quickly if being given 12 volts.
On the circuit board, there is a small
diagram showing the correct way to
orient the jumpers. When using only a
single jumper in 6V operation, there is
also a header labeled “park” where
you can store the extra jumper. To use
6SN7s, set the jumpers to 6V by placing
a single header across the center two
pins. To use 12SN7s, set the jumpers to
12V by placing two headers across all
4 pins.
Tube Replacement/Rolling: The amplifier operates the tubes in a manner
that maximize tube life and the tubes are expected to last over 10 years
of regular use. The sockets are tight, so gently rock the tube pins until you
are able to remove the tubes. We have heard of no problems using any
6SN7 or 12AT7 equivalent in the amplifier. Instead of the 12AT7, you can
use a 12AU7 if you are looking for lower gain or a more laid-back sound,
but you should not use a 12AX7. Each set of tubes (2x 6SN7, 2x 12AT7)
should be matched pairs.
Fuses: The MZ2 has a fuse on the audio board and two fuses in the LPS+.
All are 5x20mm. There is a 2.5A Fast Blow fuse on the audio board there
are two 1.25A Slow Blow fuses in the IEC inlet of the LPS+.
Remote Control: If you’ve purchased an MZ2 with a remote control, your
unit will come paired with a standard Apple remote. You can adjust the
volume with the up and down buttons.
For more information and FAQs
please visit www.lineartubeaudio.com
or contact us at [email protected]
NOTES

This manual suits for next models

3

Other Linear Tube Audio Amplifier manuals

Linear Tube Audio ZOTL40 Reference User manual

Linear Tube Audio

Linear Tube Audio ZOTL40 Reference User manual

Linear Tube Audio ZOTL10 Mk.II User manual

Linear Tube Audio

Linear Tube Audio ZOTL10 Mk.II User manual

Linear Tube Audio Z10 Seriers User manual

Linear Tube Audio

Linear Tube Audio Z10 Seriers User manual

Linear Tube Audio microZOTL User manual

Linear Tube Audio

Linear Tube Audio microZOTL User manual

Linear Tube Audio MZ3 User manual

Linear Tube Audio

Linear Tube Audio MZ3 User manual

Linear Tube Audio Z10e User manual

Linear Tube Audio

Linear Tube Audio Z10e User manual

Linear Tube Audio MicroZOTL MZ2S User manual

Linear Tube Audio

Linear Tube Audio MicroZOTL MZ2S User manual

Linear Tube Audio Z10 Series User manual

Linear Tube Audio

Linear Tube Audio Z10 Series User manual

Linear Tube Audio Z40+ User manual

Linear Tube Audio

Linear Tube Audio Z40+ User manual

Linear Tube Audio UL+ User manual

Linear Tube Audio

Linear Tube Audio UL+ User manual

Linear Tube Audio ZOTL10 User manual

Linear Tube Audio

Linear Tube Audio ZOTL10 User manual

Linear Tube Audio Z10 Seriers User manual

Linear Tube Audio

Linear Tube Audio Z10 Seriers User manual

Linear Tube Audio ZOTL ULTRALINEAR User manual

Linear Tube Audio

Linear Tube Audio ZOTL ULTRALINEAR User manual

Popular Amplifier manuals by other brands

Sony PHA-3 reference guide

Sony

Sony PHA-3 reference guide

Bosch BLAUPUNKT BSA 80 Fitting instructions

Bosch

Bosch BLAUPUNKT BSA 80 Fitting instructions

ANK Mentor 2A/300B Construction manual

ANK

ANK Mentor 2A/300B Construction manual

Parasound ZoneMaster650 owner's manual

Parasound

Parasound ZoneMaster650 owner's manual

Atlona AT-VID18-BNC user manual

Atlona

Atlona AT-VID18-BNC user manual

Yamaha CX-1000 Service manual

Yamaha

Yamaha CX-1000 Service manual

Fenton VPA Series instruction manual

Fenton

Fenton VPA Series instruction manual

Kramer VP-350 user manual

Kramer

Kramer VP-350 user manual

DaytonAudio DA30 user manual

DaytonAudio

DaytonAudio DA30 user manual

DaytonAudio DA20T user manual

DaytonAudio

DaytonAudio DA20T user manual

Eico ST 40 instruction manual

Eico

Eico ST 40 instruction manual

Focusrite OctoPre Digital Option Operation user guide

Focusrite

Focusrite OctoPre Digital Option Operation user guide

Perreaux E110 Specifications

Perreaux

Perreaux E110 Specifications

Arcam A19 Handbook

Arcam

Arcam A19 Handbook

Boston Mobile Audio GT-475 owner's manual

Boston Mobile Audio

Boston Mobile Audio GT-475 owner's manual

Coda CSib Operation manual

Coda

Coda CSib Operation manual

JBL GT5-A604 Service manual

JBL

JBL GT5-A604 Service manual

Vocal King VK9303 user manual

Vocal King

Vocal King VK9303 user manual

manuals.online logo
manuals.online logoBrands
  • About & Mission
  • Contact us
  • Privacy Policy
  • Terms and Conditions

Copyright 2025 Manuals.Online. All Rights Reserved.