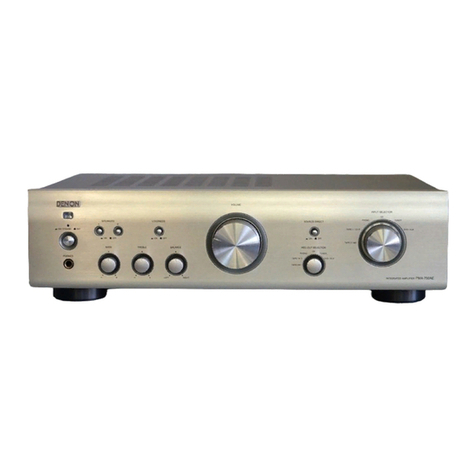
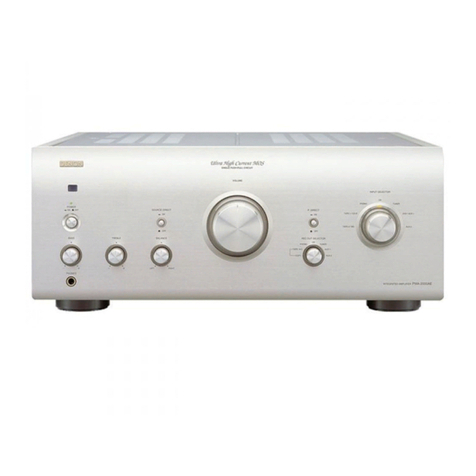
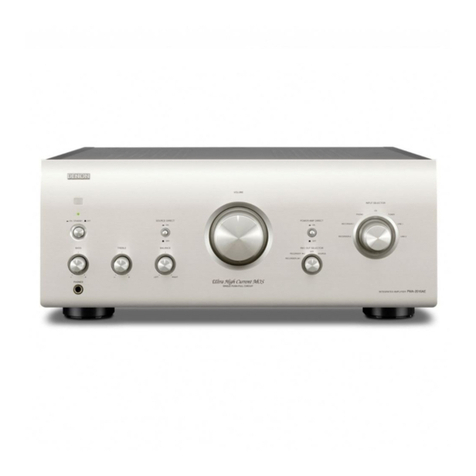
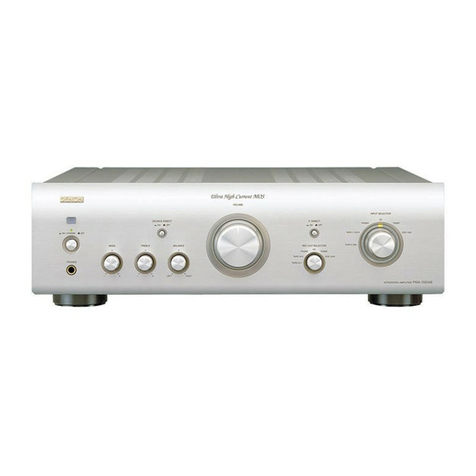
Denon PMA-A110 User manual

Accessories 4
Inserting the batteries 5
Operating range of the remote control unit 5
Part names and functions 6
Front panel 6
Rear panel 9
Remote control unit 11
Connections
Connecting speakers 14
Speaker connection 16
Connecting a playback device 17
Connecting a recording device 18
Connecting to a device with digital audio output connectors 19
Connecting a PC or Mac 20
Connecting a pre-amplifier 21
Connecting the power cord 22
Playback
Turning the power on 24
Switching the power to standby 24
Selecting the input source 25
Adjusting the volume 25
Turning off the sound temporarily (Muting) 25
Adjusting the tone and balance 25
Switching the display’s brightness 26
Playing CDs 27
Connecting and playing back from a computer (USB-DAC) 28
Connecting and playing back from a digital device (Coaxial/
Optical 1/Optical 2/Optical 3) 37
Recording 38
Settings
Setting the TV Auto Play function 39
Setting the Auto Standby mode 40
Contents Connections Playback Settings Tips Appendix
2
Front panel Rear panel
Remote control
unit
Index

Tips
Tips 42
Troubleshooting 43
Power does not turn on / Power is turned off 44
Operations cannot be performed through the remote control unit 45
Display on this unit shows nothing 45
No sound comes out 46
Desired sound does not come out 46
Sound is interrupted or noise occurs 47
Music files on PC or Mac cannot be played back 48
Audio from digital devices cannot be played back (Coaxial/
Optical) 49
The input source switches to “Optical 1”, “Optical 2”, “Optical 3” or
“Coaxial” 49
Appendix
D/A converter 50
Explanation of terms 50
Specifications 52
Index 55
Contents Connections Playback Settings Tips Appendix
3
Front panel Rear panel
Remote control
unit
Index

Thank you for purchasing this Denon product. To ensure proper operation, please read this owner’s manual carefully before using the product.
After reading this manual, be sure to keep it for future reference.
Accessories
Check that the following parts are supplied with the product.
.
R03/AAA batteries
Remote control unit
(RC-1237)
Cautions on Using Batteries
Safety Instructions
Quick Start Guide Power cord
Contents Connections Playback Settings Tips Appendix
4
Front panel Rear panel
Remote control
unit
Index

Inserting the batteries
1Remove the rear lid in the direction of the arrow and
remove it.
.
2Insert two batteries correctly into the battery
compartment as indicated.
.
Batteries
3Put the rear lid back on.
NOTE
0To prevent damage or leakage of battery fluid:
0Do not use a new battery together with an old one.
0Do not use two different types of batteries.
0Remove the batteries from the remote control unit if it will not be in use for long
periods.
0If the battery fluid should leak, carefully wipe the fluid off the inside of the battery
compartment and insert new batteries.
Operating range of the remote control
unit
Point the remote control unit at the remote sensor when operating it.
.
30°
Approx. 7 m
30°
Contents Connections Playback Settings Tips Appendix
5
Front panel Rear panel
Remote control
unit
Index

.
reqw tyuio Q0
APower operation button (X)
This turns the power on/off. (v p. 24)
BPower indicator
This is lit as follows according to the power status:
0Power on : White
0Standby : Off
0Power off : Off
CRemote control sensor
This receives signals from the remote control unit. (v p. 5)
DANALOG MODE indicator
This is lit as follows, according to the analog mode status:
0Analog mode on (ANALOG MODE 1 or 2): White
0Analog mode off: Off
EANALOG MODE button
This switchs the ANALOG MODE 1/2/off. (v p. 27)
FSOURCE DIRECT indicator
This is lit as follows according to the source direct status:
0Source direct mode on: White
0Source direct mode off: Off
GSOURCE DIRECT button
This turns source direct mode on/off. (v p. 27)
HMC/MM indicator
This is lit as follows according to the setting of the phono equalizer of
this unit:
0MC: White
0MM: Off
IMC/MM button
This switchs to MC or MM according to the type of cartridge used on
your turntable.
JVolume knob
This adjusts the volume level. (v p. 25)
Contents Connections Playback Settings Tips Appendix
7
Front panel Rear panel
Remote control
unit
Index

.
Q
5
Q
6
Q
4
Q
3
Q2
Q1
KDisplay
This displays information such as the input source name, type of digital
audio signal and sampling frequency.
LInput source select knob
This selects the input source. (v p. 25)
NOTE
0When you set this unit’s input source to “EXT.PRE”, the main unit outputs at
maximum volume. Also adjustment of the volume balance and tone on the
main unit has no effect. Adjust the volume on the inputting devices before
playback.
MHeadphones jack (PHONES)
Used to connect headphones.
When the headphones are plugged into this jack, audio will no longer
be output from the speaker terminals.
NOTE
0To prevent hearing loss, do not raise the volume level excessively when using
headphones.
NBASS control knob
This setting adjusts the volume level for the bass. (v p. 25)
OTREBLE control knob
This setting adjusts the volume level for the treble. (v p. 25)
PBALANCE control knob
This adjusts the balance of the volume output from the left and right
speakers. (v p. 25)
0d, e and f can be adjusted when 6 is off (Source direct mode is off).
Contents Connections Playback Settings Tips Appendix
8
Front panel Rear panel
Remote control
unit
Index

.
r yt ui
eqw
AAnalog audio connectors (AUDIO IN)
Used to connect devices equipped with analog audio connectors.
0“Connecting a playback device” (v p. 17)
0“Connecting a recording device” (v p. 18)
BSIGNAL GND terminal
Used to connect the ground wire of a turntable. (v p. 17)
CSpeaker terminals (SPEAKERS)
Used to connect speakers. (v p. 14)
DAUDIO OUT connectors
Used to connect the input connector of a recorder. (v p. 18)
EEXT.PRE IN connectors
Used to connect a pre-amplifier when this unit is used as a power
amplifier. (v p. 21)
The volume should be adjusted on the connected device.
FDIGITAL AUDIO IN connectors
Used to connect devices equipped with digital audio output connectors
and computer.
0“Connecting to a device with digital audio output
connectors” (v p. 19)
0“Connecting a PC or Mac” (v p. 20)
GIR CONTROL connectors
Used to connect Denon network audio players with an IR controller.
HAC inlet (AC IN)
Used to connect the power cord. (v p. 22)
Contents Connections Playback Settings Tips Appendix
10
Front panel Rear panel
Remote control
unit
Index

Remote control unit
.
t
y
r
e
w
u
i
q
The remote control provided with this unit can control a Denon CD player.
0“CD player operations” (v p. 12)
oOperating this unit
ARemote control signal transmitter
This transmits signals from the remote control unit. (v p. 5)
BPower operation button (AMPLIFIER X)
This turns the power on/off (standby). (v p. 24)
CTV AUTO-PLAY button
This switches the digital input for the TV auto play. (v p. 39)
DANALOG MODE button
This switches the analog mode 1/2/off. (v p. 27)
EMUTE button
This mutes the output audio. (v p. 25)
FVOLUME buttons (df)
These adjust the volume level. (v p. 25)
GDIMMER button
This switches the brightness of the display. (v p. 26)
HINPUT SELECT buttons
This selects the input source. (v p. 25)
Contents Connections Playback Settings Tips Appendix
11
Front panel Rear panel
Remote control
unit
Index

.
e
t
r
q
w
Q2
Q3
Q1
Q0
i
u
y
o
oCD player operations
A Denon CD player can be operated.
APower operation button (X)
BDISC LAYER button
CCursor buttons (uio p)
DENTER button
ENumber buttons (0 – 9, +10)
FRANDOM button
GREPEAT button
HSystem buttons
IDIMMER button
JMODE button
KCLEAR button
LPROGRAM button
MInformation button (INFO)
0The remote control may not operate some products.
Contents Connections Playback Settings Tips Appendix
12
Front panel Rear panel
Remote control
unit
Index

oContents
Connecting speakers 14
Connecting a playback device 17
Connecting a recording device 18
Connecting to a device with digital audio output connectors 19
Connecting a PC or Mac 20
Connecting a pre-amplifier 21
Connecting the power cord 22
NOTE
0Do not plug in the power cord until all connections have been completed.
0Do not bundle power cords together with connection cables. Doing so can result in
humming or noise.
oCables used for connections
Provide necessary cables according to the devices you want to
connect.
Speaker cable
.
Audio cable
.
R
L
R
L
Optical cable
.
Coaxial digital cable
.
USB cable
.
Contents Connections Playback Settings Tips Appendix
13
Front panel Rear panel
Remote control
unit
Index

Connecting speakers
NOTE
0Disconnect this unit’s power plug from the power outlet before connecting the
speakers.
0Connect so that the speaker cable core wires do not protrude from the speaker
terminal. The protection circuit may be activated if the core wires touch the rear
panel or if the + and - sides touch each other. (“Protection circuit” (v p. 51))
0Never touch the speaker terminals while the power cord is connected. Doing so
could result in electric shock.
0Use speakers with an impedance of 4 – 16 Ω/ohms.
oConnecting the speaker cables
Carefully check the left (L) and right (R) channels and + (red) and -
(white) polarities on the speakers being connected to this unit, and be
sure to connect the channels and polarities correctly.
1
Peel off about 10 mm of sheathing from the tip of the speaker
cable, then either twist the core wire tightly or terminate it.
.
2
Turn the speaker terminal counterclockwise to loosen it.
.
3Insert the speaker cable’s core wire to all the way into
the speaker terminal.
.
Contents Connections Playback Settings Tips Appendix
14
Front panel Rear panel
Remote control
unit
Index

Connecting a playback device
You can connect turntables, CD players and network audio players to this unit.
If you set this unit’s input source to “PHONO” and you accidentally increase the volume without having a turntable connected, you may hear a hum noise
from the speakers.
NOTE
0The earth terminal (SIGNAL GND) of this unit is not for safety grounding purposes. If this
terminal is connected when there is a lot of noise, the noise can be reduced. Note that
depending on the turntable, connecting the ground line may have the reverse effect of
increasing noise. In this case, it is not necessary to connect the ground line.
0The PHONO input terminals are equipped with a short pin-plug. Remove this plug to connect a
record player. Store the removed short pin-plug in a safe place so as not to lose it.
GND
AUDIO
OUT
L
R
AUDIO
OUT
LR
AUDIO
OUT
LR
L
L
R
R
L
L
R
R
Network audio
player
CD player
Turntable
Contents Connections Playback Settings Tips Appendix
17
Front panel Rear panel
Remote control
unit
Index

Connecting a recording device
.
LR LR
AUDIO OUT
L
L
R
R
L
L
R
R
AUDIO IN
Recording device
NOTE
0Never insert the short-circuiting pin plug into the recording output connectors (AUDIO OUT RECORDER). Doing so could result in damage.
Contents Connections Playback Settings Tips Appendix
18
Front panel Rear panel
Remote control
unit
Index

Connecting to a device with digital audio output connectors
Use this connection to input digital audio signals to this unit, and convert the signals for playback using the D/A converter of this unit. (v p. 28)
.
OPTICAL
OUT
COAXIAL
OUT
CD player /
Satellite receiver etc.
or
NOTE
0Linear PCM signals with a sampling frequency of 32 kHz, 44.1 kHz, 48 kHz, 88.2 kHz, 96 kHz, 176.4 kHz, or 192 kHz can be input into this unit.
0Do not input non-PCM signals, such as Dolby Digital, DTS and AAC. This causes noise and could damage the speakers.
Contents Connections Playback Settings Tips Appendix
19
Front panel Rear panel
Remote control
unit
Index

Connecting a PC or Mac
By connecting a computer to the USB-DAC port on the rear panel of this unit using a commercially available USB connecting cable, this unit can be used
as a D/A converter. (v p. 28)
NOTE
0Before USB connecting this unit to your computer, install the driver software in your computer. (v p. 29)
0Download the driver software from the PMA-A110 page of the Denon website.
0Use a cable that is 3 m or less to connect to the computer.
.
Ty p e A
USB 2.0 cable
(Sold separately)
Ty p e B Computer on which the driver software and audio
player software are installed
Contents Connections Playback Settings Tips Appendix
20
Front panel Rear panel
Remote control
unit
Index
Other manuals for PMA-A110
1
Table of contents
Other Denon Amplifier manuals

Denon
Denon PMA-300V User manual

Denon
Denon PMA-1510AE User manual

Denon
Denon PMA-510AE User manual
Denon
Denon PMA-380 User manual

Denon
Denon AVP-A1HD User manual

Denon
Denon HEOS Amp HS2 User manual

Denon
Denon POA-A1HD User manual

Denon
Denon PMA-60SP User manual

Denon
Denon AVC-A11XV User manual

Denon
Denon DN-A7100 - AV Surround Preamplifier User manual

Denon
Denon POA-2800 User manual

Denon
Denon DN-500AV User manual

Denon
Denon DA-10 User manual

Denon
Denon PMA-2000IVR User manual

Denon
Denon PMA-720AE User manual

Denon
Denon PMA-2500NE User manual

Denon
Denon PMA-2020AE User manual

Denon
Denon AVC-A11SR User manual

Denon
Denon AVC-A1H User manual

Denon
Denon PMA-A100 User manual