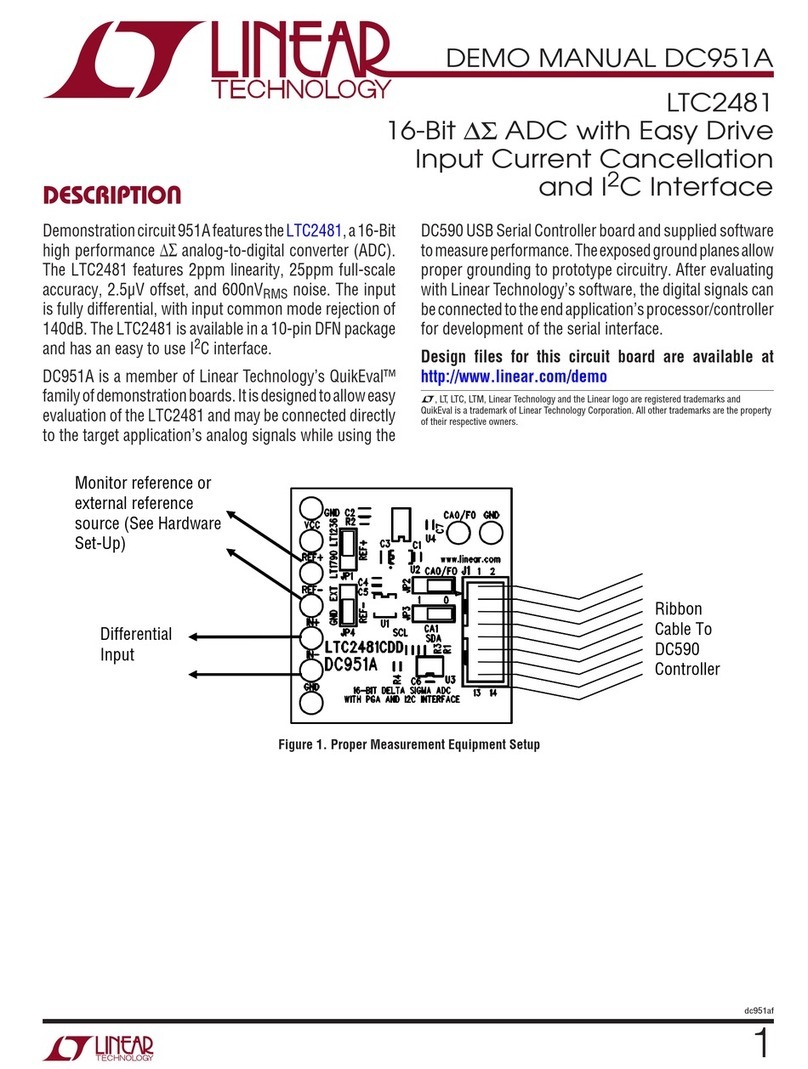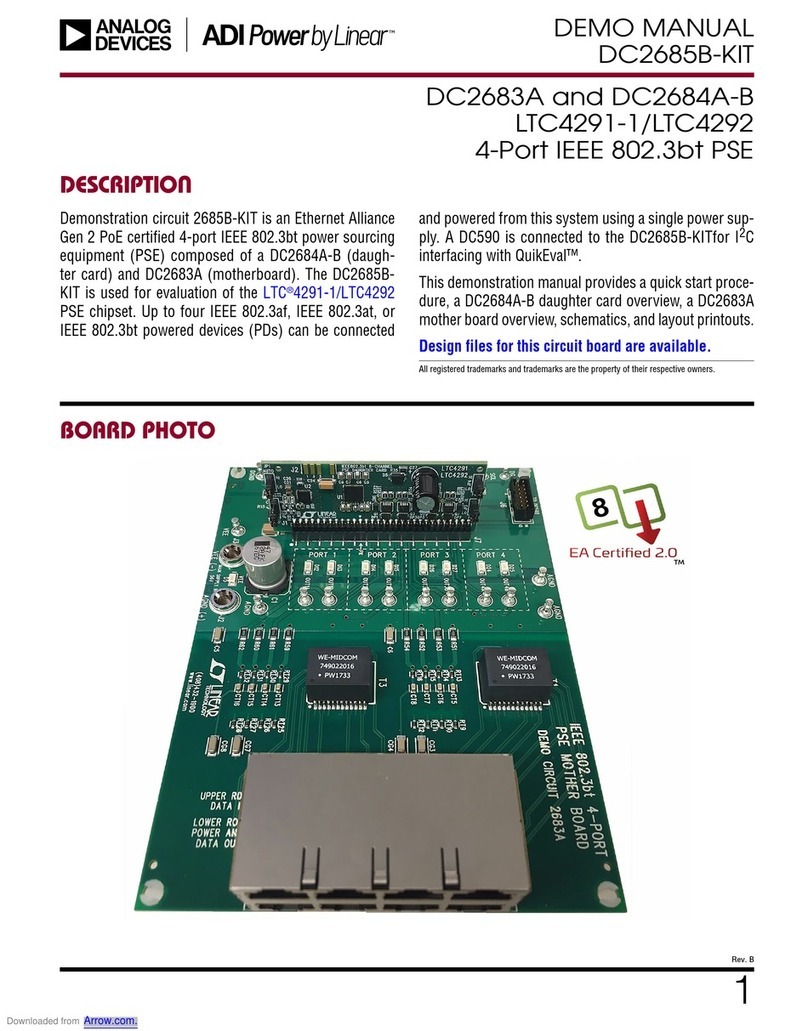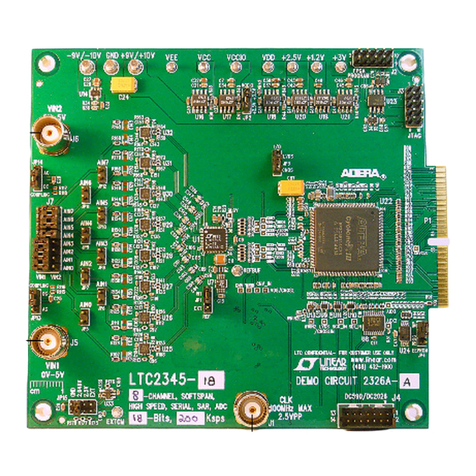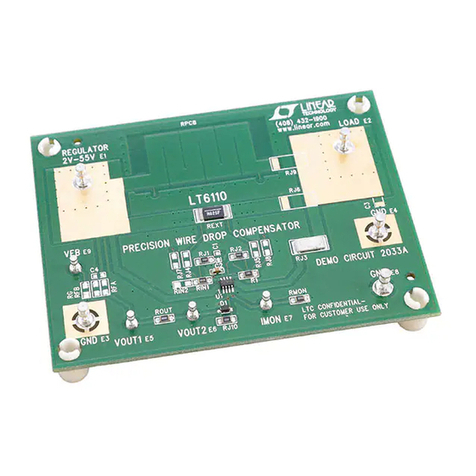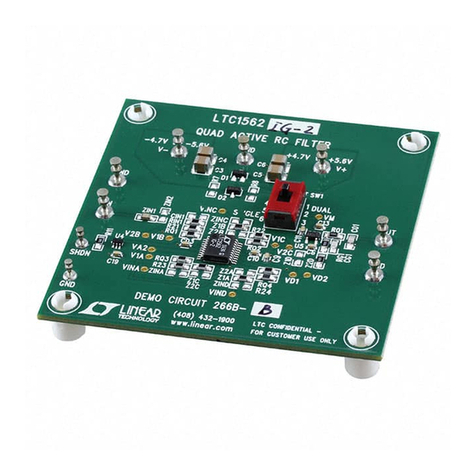
QUICK START GUIDE FOR DEMONSTRATION CIRCUIT 1339
LOW NOISE, 500KSPS, 12-BIT ADC
3
DC590B QUICK START PROCEDURE
Connect DC1339A to a DC590 USB serial
controller using the supplied 14-conductor
ribbon cable. Connect DC590 to a host PC
with a standard USB A/B cable. Run the
evaluation software supplied with DC590 or
download it from www.linear.com. The correct
control panel will be loaded automatically.
Version K73 of QuikEval or higher should be
used for this board. Click the COLLECT button
to begin reading the ADC. Change the range
(unipolar or bipolar) by right clicking over the
range indicator in the display. See Figure 5.
HARDWARE SET UP
SIGNAL CONNECTIONS
J1 SMA connector for IN+. Limit input swings
to 0V-4.096V. For optimum performance, the
input should be band limited to the frequencies
of interest. See schematic for details.
J2 FastDAACS interface to DC890B. Do not
use J4 at the same time.
J3 Conversion Clock Input. This input has a
50Ωtermination resistor, and is intended to be
driven by a 14dBm sine or square wave. To
achieve full AC performance of this part, the
clock jitter should be kept under 20ps. This
input is capacitively coupled to a clock buffer
so that level shifting is not required. To run at
maximum conversion rate, apply a 40MHz
signal to this connector. J3 is used only for
DC890B. DC590B generates its own clock
signal.
J4 Quick Eval interface to DC590B. Do not use
J2 at the same time. This connector can also
be used to drive the ADC directly. See
schematic for details.
JUMPERS
JP1 (OVDD) connects the OVDD pin of the
ADC to 5V or to an external voltage. The SDO
pin swings from ground to OVDD.
JP2 contains CONV, SDI, SCK and a buffered
SDO signal. This connector is intended to
monitor these signals. For for those who want
to drive the ADC directly use J4.
JP3 (IN-) selects whether the IN- pin of the
ADC is to be cleanly grounded near the ADC or
connected to VREF/2.
JP4 (VREF) selects onboard or external
reference for the ADC
JP5 (DIN Word) selects the channel
configuration and unipolar/bipolar settings of
the ADC. (JP5 is used by the DC890B only. It
is ignored by the DC590B.)
GROUNDING AND POWER CONNECTION
Connect a 6V to 9V power supply to the 6-
9VDC and GND posts when using DC890B. If
the DC590B is used it will provide power to the
DC1339.

