LINKED LZ8 User manual

1
0
8
0p Outdoor
Wi-Fi IP Camera
w
it
h
PI
R
S
e
ns
or
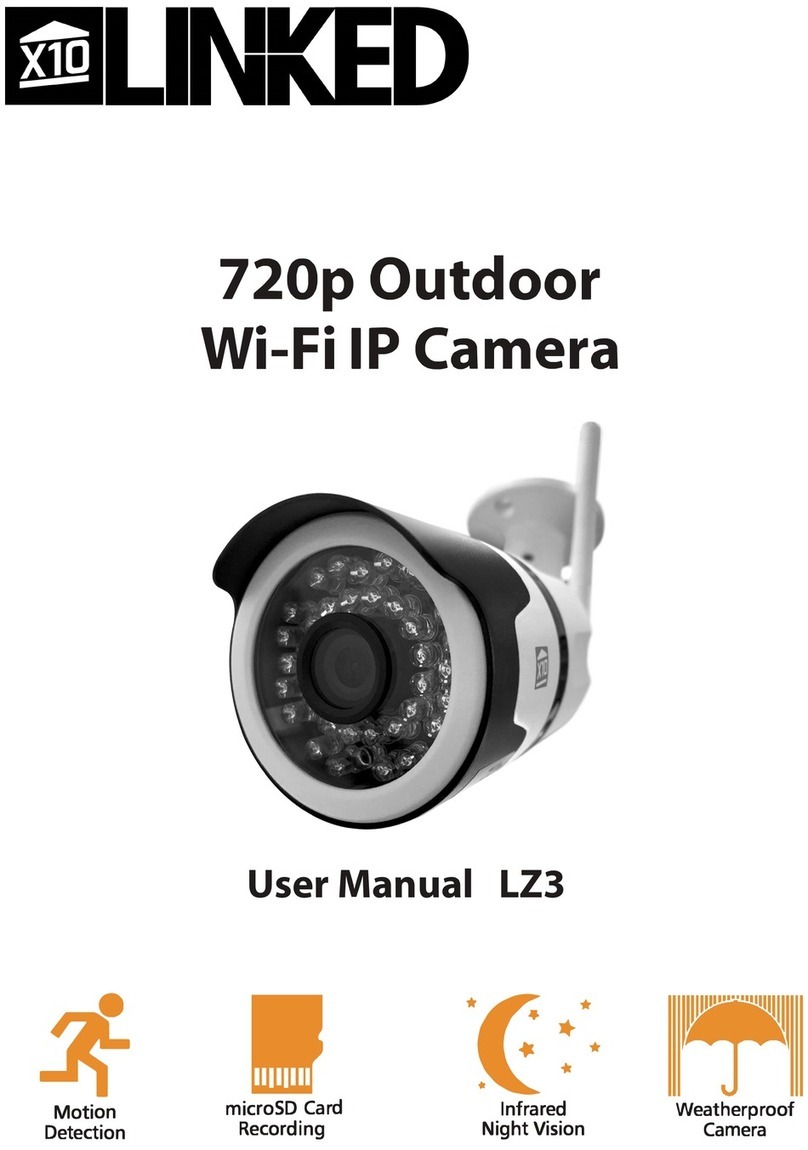
User Manual LZ8
� I
P
· *
• *
• *
.
Tw
-

Quick Guide:
▪Connect the cameras power adaptor to
a suitable 110VAC wall outlet. Plug the power
cable into the DC power socket of the Wi-Fi
camera and turn on.
▪ The microSD card (16GB) is included in the
box and is pre-installed. Should you need to
access the SD card or install another follow
the steps below:
▪Step 1: Unscrew the compartment at the bottom of
the Camer. BE CAREFUL! Do not pull out the cover too
far as the speaker wires are attached.
▪Step 2: Identify the SD Card slot. It is the small
rectangular insert in the middle of the compartment.
▪Step 3: With the SD card metal stripes facing the
mount (back of the camera), insert the SD card all the
way into the slot until you hear/feel a click and the SD
card is secured in the slot.

▪ Select your available Wi-Fi home
network and enter the correct password.
Once selected then proceed to select
your current time zone (android).
▪ Ensure the volume is all the way up on
your smartphone and place it next to
the IP camera's microphone. Once
your smartphone is next to the IP camera,
press the sound wave button to start the
signal.
▪ Once successfully paired; you
can now view the camera.
AppName: X10 Linked
▪Download the app "X10 Linked" from
Google Play or the Apple App store. Open
the app once installed.
▪
▪ Sign up to an account by entering a
username and password.
▪ Once you have signed in; press the add
camera button and follow the steps
▪All Done! Screw the back on the cover.

Box Contents:
1 x 1080p Outdoor Wi-Fi IP Camera
1 x 16GB SD Card (in box)
1 x Power Adaptor
1 x Mounting Hardware
1 x Adjustement Wrench for Mount

LED Status Indicator:
Colour
Description
Installation & Mounting:
▪The SD Card comes in the box and
will need to be installed. Please view
the instructions on page 2 of this
guide.
▪Before mounting the camera, you
may wish to complete the app setup
process first. Your smartphone is
required to be placed near the cameras
microphone to complete the app
setup. If your camera is mounted in a
high place such as a wall or ceiling; it
may be difficult to hold your
smartphone near the camera while
already installed.

▪On the very back just on the inside of
the mounting stem of the camera is a
metal plate and screws. Adjusting the
tightness of these screws will tighten the
pressure on the plate and hinge and keep
the camera in a solid position.
▪When position the camera in a location
such as a ceiling or wall and mark the
screw holes in which you want to position
the camera.
▪ Using the mounting hardware
provided; fix the camera in place with the
screws or wall plugs depending on if it's
surfaces such as brick and concrete.
▪ You may wish to adjust the angle of
the mounting bracket for the best viewing
angle; use the Allen key provided to adjust
this.

▪ Connect the mains power adapter to a
suitable wall outlet. Plug the power cable
into the DC power socket of the Wi-Fi
camera and turn on.
▪ If installed in a wall or ceiling that is
further away from a wall outlet. You can
use an extension cord to extend the reach
for power.
▪ Once the device is powered up; the LED
status indicator should display green
indicating start up.
▪Download the app "X10 Linked" from
Google Play or the Apple App store. Open
the app once installed.
App Name: X10 Linked
Setup:

▪ Once you have downloaded and installed
the app; open the app and a sign in page
should display.
▪ Press the sign up button for first time use.
▪ Enter a valid email address for the
username and press the "Send code" button
to receive a validation code to that email.
Note: Please wait at least 60 seconds before
resending the code request.

▪Enter your username and password
into the sign in screen and press the "sign
in" button to log in to your account.
▪ Enter the code that was sent to your
email .
▪Choose a password for your X10
Linked account and enter it twice (once
for verification).
▪ When ready, hit the "Register
Immediately" button

▪Press the add camera button to
connect the IP camera or the + button in
the top left hand corner.
▪ Press the "connecting my camera"
button; you will also notice a voice
prompt will guide you through the setup.

▪Connect to your local modem/router
by pressing the select button.
10. Choose your local Wi-Fi network from
the list on your smartphone. Press the scan
button if you wish to refresh the Wi-Fi list.

▪ Select your appropriate time zone
depending on which state and country
you're from.
▪ Ensure the volume on your smartphone is
turned all the way up. Place your smartphone
close to the microphone located in the
dongle of the camera so it's able to hear
the pairing sound correctly. The
LED
status
indicator will begin to flash green.

▪ Press the sound wave button to
send a pairing sound to the IP camera.
Ensure your smartphone is placed right
next to the IP camera and in you're in a
low level sound environment.

▪ The sound paring signal will now be
playing. If you can't hear the sound, make
sure your smartphone volume is all the
way up.
▪The camera will now start pairing with
your route. If the pairing is unsuccessful and
you are not directed to the next page within
5-10 minutes, some error has occurred and
you can try sending the sound wave again.

▪If pairing is successful, the camera will
switch to the connecting wifi page where
it will finalize the connection with your
router. Once complete, your camera will
be added and available to view.

Operation:

•
Playback:


Table of contents
Other LINKED IP Camera manuals
Popular IP Camera manuals by other brands
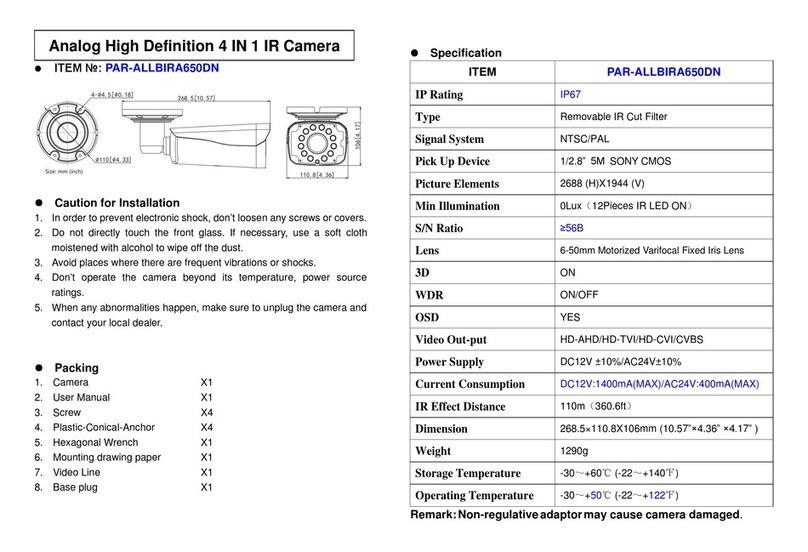
Paramont
Paramont PAR-ALLBIRA650DN quick start guide
eTIGER
eTIGER ES-CAM5B manual

Channel Vision
Channel Vision 6544 instructions
Lorex
Lorex LNC216 Series user guide

TRENDnet
TRENDnet TV-IP512WN - ProView Wireless N Internet Surveillance... user guide
Shenzhen PUAS Industrial Co., Ltd
Shenzhen PUAS Industrial Co., Ltd PUS-OHD330 user manual
