eSelect the encryption method
you want to use, TKIP or AES.
fClick Next, and go to Step H.
4 RADIUS
Select the authentication method
you want to use, EAP-TLS or EAP-PEAP.
EAP-TLS
aEnter the login name in the
Login Name field.
bEnter the name of the
authentication server in the
Server Name field.
cFrom the Certificate drop-
down menu, select the
authentication certificate.
dClick Next, and go to Step H.
EAP-PEAP
aEnter the login name in the
Login Name field.
bEnter the password in the
Password field.
cEnter the name of the
authentication server in the
Server Name field.
3 PSK + RADIUS
Select the authentication method
you want to use, EAP-TLS or EAP-PEAP.
EAP-TLS
aEnter the login name in the
Login Name field.
bEnter the name of the
authentication server in the
Server Name field.
cFrom the Certificate drop-
down menu, select the
authentication certificate.
dSelect the encryption method
you want to use, TKIP or AES.
eClick Next, and go to Step H.
EAP-PEAP
aEnter the login name in the
Login Name field.
bEnter the password in the
Password field.
cEnter the name of the
authentication server in the
Server Name field.
dFrom the Certificate drop-
down menu, select the
authentication certificate.
2
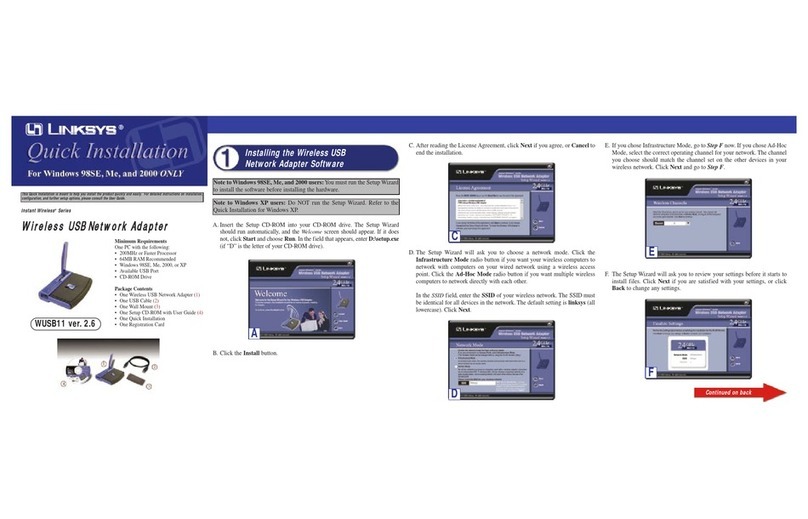
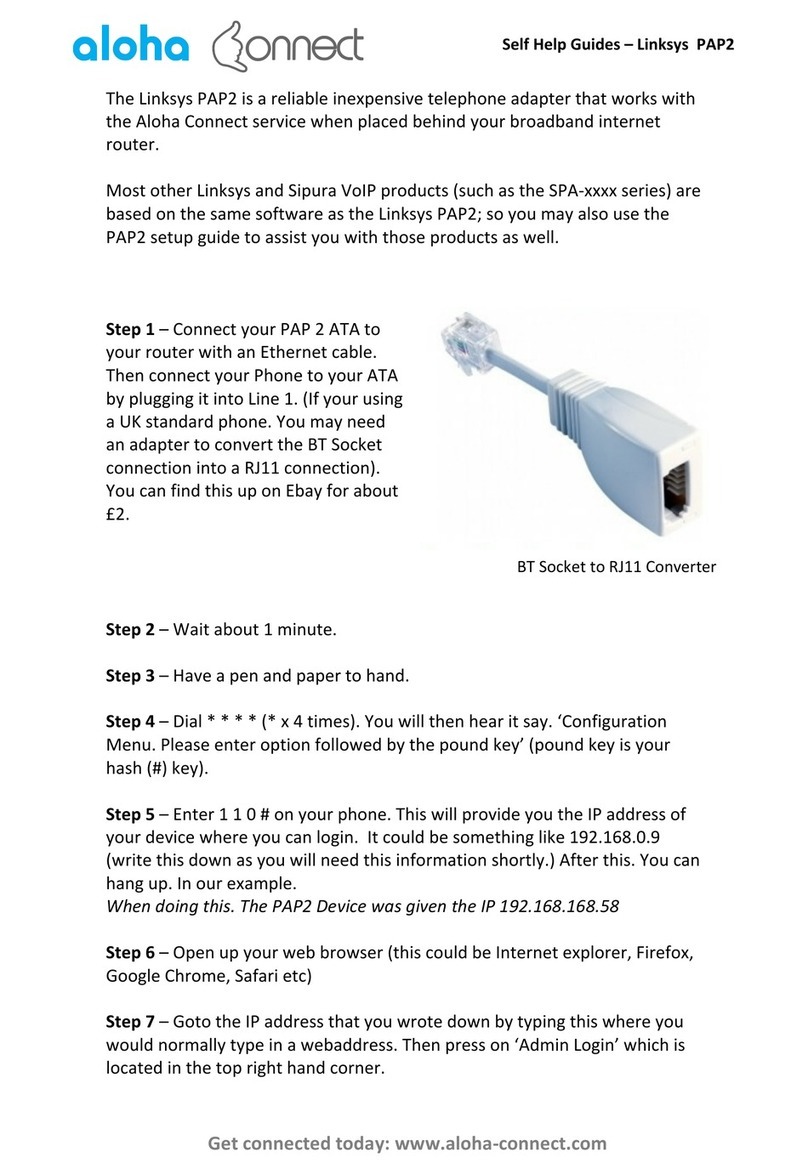
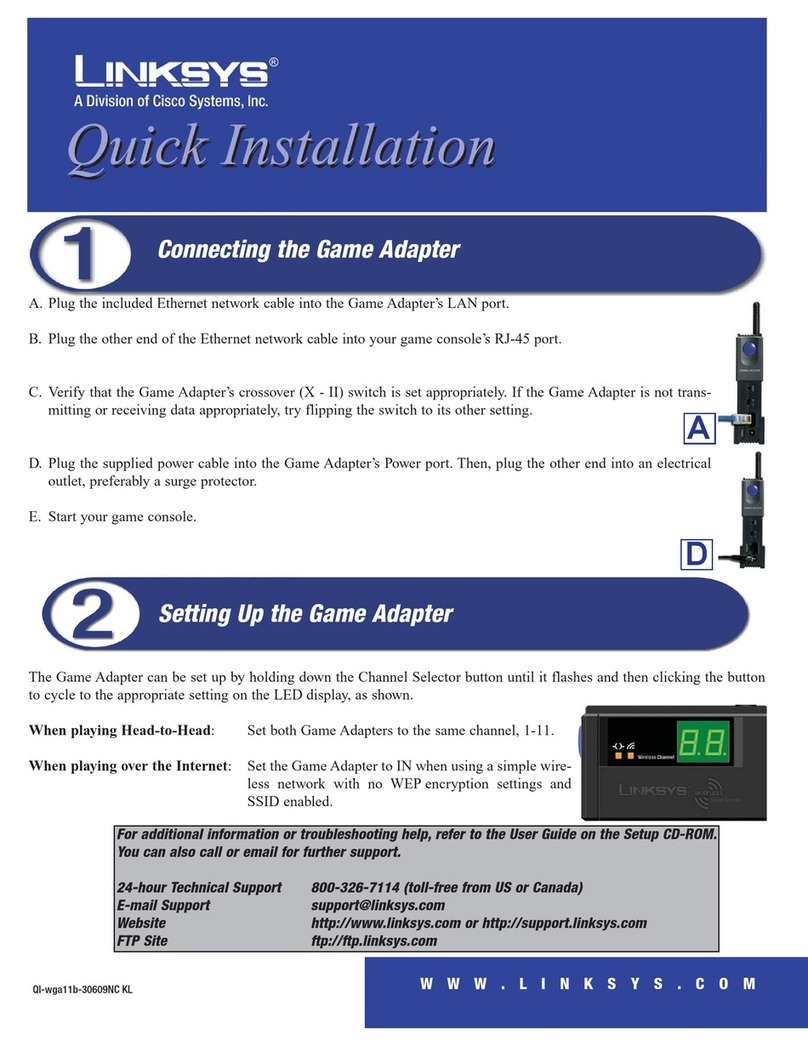
AConnect one end of the
included USB cable to the USB
port of the Adapter.
BConnect the other end to a
USB port on your PC. When the
Adapter is plugged in, the
Power LED should light up.
CFor Windows XP users, a Found
New Hardware screen may
appear. Click Next.
DYou may see a screen
indicating that a digital
signature was not found. This
software has been tested and
works properly with Windows
2000 and XP. Click the Yes or
Continue Anyway button.
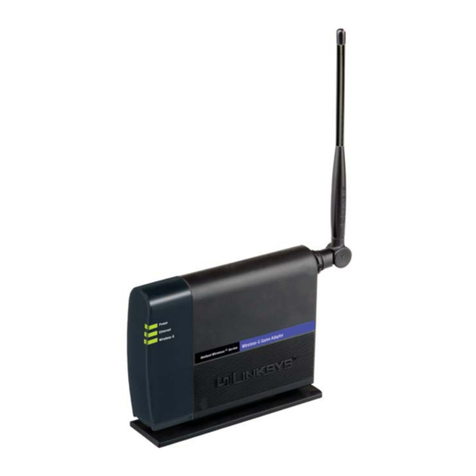
ERaise the antenna. It should
point straight up into the air, at
a 90º angle from the Adapter.
FAfter the Adapter is installed,
the Wireless Network Monitor
icon will appear in the system
tray at the bottom right-hand
corner of your screen.
Double-click the icon if you
want to check the link
information, search for
available wireless networks, or
make additional configuration
changes.
Congratulations! The installation of
the Wireless-G USB Network Adapter
with SpeedBooster is complete.
dFrom the Certificate drop-
down menu, select the
authentication certificate.
eClick Next, and go to Step H.
HThe Setup Wizard will ask you to
review your settings before it
starts to copy files. Click Next to
save these settings, or click
Back to change any settings.
IYou may see a screen
indicating that a digital
signature was not found. This
software has been tested and
works properly with Windows
2000 or XP. Click the Yes or
Continue Anyway button.
JAfter the software has been
successfully installed, the
Congratulations screen will
appear. Click Exit.
WUSB54GS-QI-40816C BW
For additional information or troubleshooting
help, refer to the User Guide on the Setup CD-
ROM. You can also call or e-mail for further
support.
24-hour Technical Support
800-326-7114
(toll-free from US or Canada)
E-mail Support
Website
http://www.linksys.com or
http://support.linksys.com
RMA (Return Merchandise Authorization)
http://www.linksys.com/support
FTP Site
ftp://ftp.linksys.com
Sales Information
800-546-5797 (800-LINKSYS)
Linksys is a registered trademark or trademark of
Cisco Systems, Inc. and/or its affiliates in the U.S.
and certain other countries. Copyright © 2004
Cisco Systems, Inc. All rights reserved.
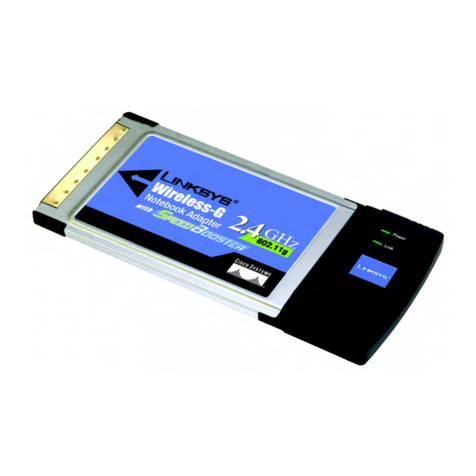
Connect the Wireless-G USB Network
Adapter with SpeedBooster
H
PSK + RADIUS
PSK + RADIUS
RADIUS
RADIUS
I
A
D
EAP-TLS
EAP-PEAP
EAP-TLS
EAP-PEAP
E
Windows 2000
Windows XP
J
