manuals.online logo
Brands
  1. Home
  2. •
  3. Brands
  4. •
  5. Linksys
  6. •
  7. Network Storage Server
  8. •
  9. Linksys NSS4000 Series Service manual

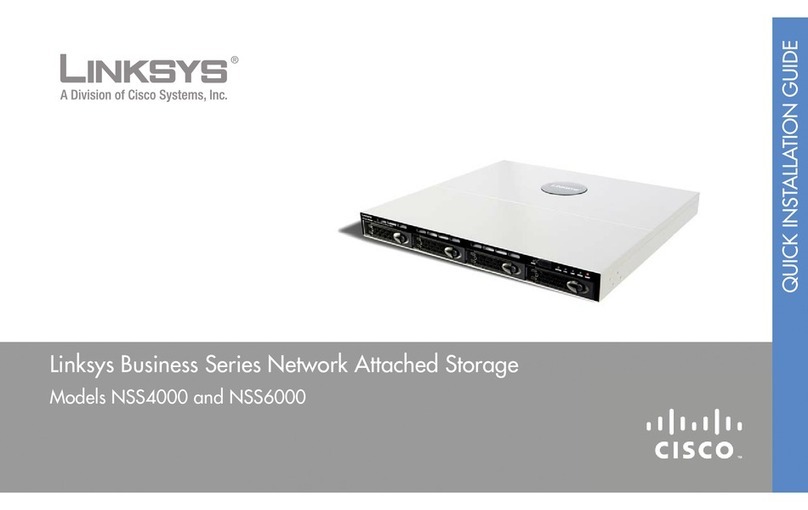
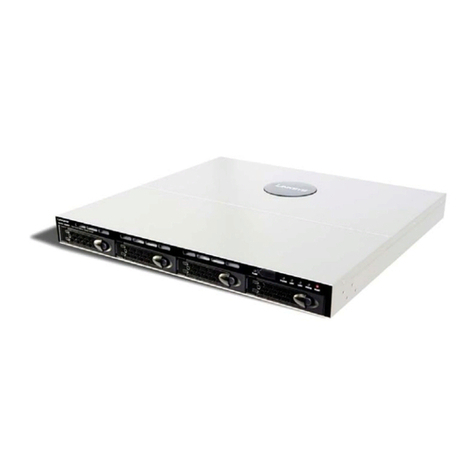
Linksys NSS4000 Series Service manual

TECHNICAL BULLETIN
Network Attached Storage System Recovery
Procedure
This document describes how to recover your Network Attached Storage (NAS) system if it has failed due to a
problem with the internal USB flash drive. It contains the following sections:
Products Affected•
Problem Description•
NAS Recovery Using an External USB Drive•
Formatting the External USB Flash Drive•
Downloading the Recovery Bootloader and Firmware Update Files•
Rebooting the NAS Using the External USB Flash Drive•
Upgrading the NAS Firmware•
Backing Up the NAS Configuration•
Products Affected
NSS4000 4-Bay Gigabit Network Storage System Chassis•
NSS4100 4-Bay Gigabit Network Storage System Chassis with 1.0 TB RAID•
NSS6000 4-Bay Advanced Gigabit Network Storage System Chassis•
NSS6100 4-Bay Advanced Gigabit Network Storage System Chassis with 1.0 TB RAID•
Problem Description
The Network Storage Server (NSS) can lock up unexpectedly during startup (for example, after a power outage,
power cycle, or a reboot required after a firmware upgrade). The System LED (light) flashes red or displays
steady red if the internal USB flash drive failed to boot in USB 2.0 mode.
NOTE: All data existing on the hard drives is secure.
NAS Recovery Using an External USB Flash Drive
You will need an external USB 2.0 flash drive to start your NAS. A USB 2.0 flash drive that is 256MB to 1 GB in
size with formatted bootable and FAT16 is required. (Linksys recommends the Kingston Data Traveler 512 MB
USB 2.0 flash drive.)
You will leave this external USB flash drive permanently inserted into the unit and it will be used every
time you start the unit.
If you are not sure that the external USB flash drive is formatted for FAT16, perform the steps in the following
section, “Formatting the External USB Flash Drive.” If your flash drive is already formatted, go to the
“Download the Recovery Bootable and Firmware Update Files” section.
Page 2
Formatting the External USB Flash Drive
Download the1. PeToUSB program (version 3.0.0.7) to format the USB flash drive. This application is a freeware program and can
be downloaded from the following URL:
http://gocoding.com/page.php?al=petousb
On your local PC, create the directory2. c:\PeToUSB.
Open the3. PeToUSB V3.0.0.7 zip file and extract the files to the c:\PeToUSB directory you created. The following files should
appear:
PeToUSB.exe
•
ReadMe.txt•
petousb_changes.txt•
Insert the USB flash drive into the USB port on the local PC.4.
Using Microsoft Windows Explorer, browse to c:\PeToUSB.5.
Double-click6. PeToUSB.exe to run the program. If the USB flash drive is inserted in the PC, the program automatically finds the
device. Click Refresh if you do not see the drive at first.
If you have more than one USB drive inserted in your PC, make sure that the correct one is selected.
Make sure7. USB Removable is selected.
Page 3
Check the8. Enable Disk Format box and enter a volume name in the Drive Label field.
Click9. Start to format the drive.
Click10. Yes to continue.
At the warning message, click11. Yes to continue.
Page 4
Click12. OK to complete the USB formatting procedure.
Downloading the Recovery Bootloader and Firmware Update Files
Go to the following URL to review the latest updates for this issue:1.
http://www.linksys.com/nssupdate
Log in to the Linksys Technical Support website to download the recovery bootloader and latest fix of firmware files. Go to the2.
following URL:
http://www.linksys.com/downloads
Do one of the following:3.
Enter the model number of your NAS (for example,•NSS4000) and click Go.
In the•Select Product Category section, under Special Products, click the arrow and scroll to choose Network Storage.
Under the picture of the NAS, click the arrow and scroll to choose the model number of your device.
In the Device Version Number section, click the down arrow and select the version number of your device.4.
Download the files for your specific NAS model.5.
For the NSS4000 system:
Download the recovery bootable filea. pmon-PM74101-B024-recovery.elf and save it to the USB flash drive as vmlinux (do
not use any file extension).
Download firmware version V1.11-4 or later to your local PC drive. The firmware filename will be in the formatb. NSS4000_
fwupgrade_xxx-x.tar.gz or pmxxxxx_x.xx-x_fwupgrade.tar.gz. (For example, the files for firmware version V1.11-4 are named
NSS4000_fwupgrade_0111-4.tar.gz.)
For the NSS6000 system:
Download the recovery bootable filea. pmon-PM74100-B024-recovery.elf and save it to the USB flash drive as vmlinux (do
not use any file extension).
Download firmware version V1.11-4 or later to your local PC drive. The firmware filename will be in the formatb. NSS6000_
fwupgrade_xxx-x.tar.gz or pmxxxxx_x.xx-x_fwupgrade.tar.gz. (For example, the files for firmware version V1.11-4 are named
NSS6000_fwupgrade_0111-4.tar.gz.)
NOTE: You must save the recovery bootable file with the name vmlinux (without any file extension) because the NAS searches for
that filename when booting from the USB drive.
Page 5
Rebooting the NAS Using the External USB Flash Drive
Power off the system.1.
Remove any USB memory devices connected to the system. The uninterruptible power supply (UPS) can remain connected.2.
Insert the external USB flash drive that contains a3. vmlinux file into the AUX-2 port on the back of the failed system. We
recommend you use the AUX-2 port for rebooting the NAS so that the USB port on the front panel can be used for saving your
configuration.
NOTE: The recovery vmlinux files for NSS4000 and NSS6000 are different; make sure you have the correct file installed on the USB
flash drive.
Power on the system. After 3-5 minutes, the power LED flashes green, indicating that the system has booted from the external4.
recovery USB flash drive. As soon as the power LED flashes green, remove the external USB flash drive.
NOTE: If you do not remove the external USB flash drive within 10 seconds after the power LED flashes green, the system fails to boot.
Return to Step 1.
Let the system boot fully (indicated by the power LED displaying steady green and the System LED turned off). This takes an5.
additional 3 to 4 minutes.
Insert the recovery USB 2.0 flash drive into the AUX-2 port again.6.
IMPORTANT: Leave the external USB flash drive permanently inserted in the unit.
Upgrading the NAS Firmware
Before performing the firmware upgrade, make sure the recovery USB flash drive is inserted into either the USB port on the front
panel or AUX-2 port on the back of the NAS.
IMPORTANT: If the recovery USB flash drive is not inserted into either the USB or AUX-2 port, the system will fail to automatically
boot after you perform Step 5.
The firmware upgrade takes about 13 minutes. To upgrade the firmware:
Page 6
Using a web browser, access the system’s administrative graphical user interface (GUI) by entering the IP address of the NAS in1.
the browser’s address field.
Click2. Admin > Maintenance.
Page 7
Click the3. Browse button next to the Firmware Image File field to select the firmware file from the local directory: (Use firmware
version 1.11-4 or higher.)
Click4. Open. The firmware file name appears in the Firmware Image File field.
Page 8
Click5. Upgrade Firmware to start the upgrade. After one to two minutes, the upgrade log messages appear as follows:
Page 9
Note to Customers Using the NAS with a Linksys One Services Router
After the firmware upgrades and the system reboots, Linksys recommends that you perform the NAS firmware upgrade procedure
a second time by repeating Step 1 through Step 5 in the “Upgrading the NAS Firmware” section.
The services router (SVR) requires that the NAS use the latest firmware that is compatible with the SVR system firmware. If you are
running an older release of the SVR system firmware, you may see the GUI from the NAS maintenance window display inactive or
grayed-out buttons. These buttons will become active as the SVR and NAS complete the upgrade process to compatible firmware. If
you have difficulty during the recovery process with the SVR or have other questions, contact Linksys Customer Support.
Backing up the NAS Configuration
You must back up the current configuration on the NAS so that you can restore it in the future.
NOTE: The configuration data can be saved on the recovery USB flash drive; however, we recommend that you use a different USB
flash drive and store it in a safe place.
Perform the following steps to back up the NAS configuration:
Using a web browser, access the system’s administrative graphical user interface (GUI) by entering the IP address of the NAS in1.
the browser’s address field.
Click2. Admin > Configuration.
In the3. Stored Configuration Location field, click the down arrow and choose the USB drive as the new location. (See note above
regarding using the recovery USB flash drive.)
Click4. Update.
Page 10
After you update the location, the5. Save and Restore buttons are enabled. Click Save to save the current configuration to the
external USB drive.
The configuration is saved onto the USB drive. Click6. OK to continue.
The backup process is complete.
To avoid similar problems, Linksys recommends that you connect the NAS to an uninterruptible power supply (UPS).

Other manuals for NSS4000 Series

3

This manual suits for next models

3

Other Linksys Network Storage Server manuals

Linksys NSS4000 Series User manual

Linksys

Linksys NSS4000 Series User manual

Linksys NSLU2 - Network Storage Link NAS Server User manual

Linksys

Linksys NSLU2 - Network Storage Link NAS Server User manual

Linksys NSS6000 Series Service manual

Linksys

Linksys NSS6000 Series Service manual

Linksys NSLU2 - Network Storage Link NAS Server User manual

Linksys

Linksys NSLU2 - Network Storage Link NAS Server User manual

Linksys NSLU2 - Network Storage Link NAS Server User manual

Linksys

Linksys NSLU2 - Network Storage Link NAS Server User manual

Linksys EFG250 - EtherFast NAS Server User manual

Linksys

Linksys EFG250 - EtherFast NAS Server User manual

Linksys NSLU2 - Network Storage Link NAS Server Original operating instructions

Linksys

Linksys NSLU2 - Network Storage Link NAS Server Original operating instructions

Popular Network Storage Server manuals by other brands

Thecus N0503 user manual

Thecus

Thecus N0503 user manual

Iomega 33252 - NAS 300R SERIES 500GB quick start guide

Iomega

Iomega 33252 - NAS 300R SERIES 500GB quick start guide

Buffalo TeraStation WSS HR WSH5000N2 Series user manual

Buffalo

Buffalo TeraStation WSS HR WSH5000N2 Series user manual

Supero SBB 937R-E2JB user manual

Supero

Supero SBB 937R-E2JB user manual

Microsoft Azure StorSimple 8100 Hardware installation guide

Microsoft

Microsoft Azure StorSimple 8100 Hardware installation guide

Cavalry CAXA Series user manual

Cavalry

Cavalry CAXA Series user manual

Encore ENNHD-NT instruction manual

Encore

Encore ENNHD-NT instruction manual

Dell PowerVault 715N user guide

Dell

Dell PowerVault 715N user guide

AIC RSC-2AT user manual

AIC

AIC RSC-2AT user manual

Cisco UCS S3260 Service note

Cisco

Cisco UCS S3260 Service note

Dell PowerEdge R815 Technical guide

Dell

Dell PowerEdge R815 Technical guide

IEI Technology NAS-4300S Service manual

IEI Technology

IEI Technology NAS-4300S Service manual

Mvix BOX user guide

Mvix

Mvix BOX user guide

Accusys ExaSAN A12S2-SJ 6Gb SAS JBOD quick start guide

Accusys

Accusys ExaSAN A12S2-SJ 6Gb SAS JBOD quick start guide

HP StorageWorks NAS e7000 v2 quick start guide

HP

HP StorageWorks NAS e7000 v2 quick start guide

American Megatrends StorTrends 2200i Specifications

American Megatrends

American Megatrends StorTrends 2200i Specifications

Dell PowerVault 745N Administrator's guide

Dell

Dell PowerVault 745N Administrator's guide

Oracle Exadata Storage Server X7-2 EF Service manual

Oracle

Oracle Exadata Storage Server X7-2 EF Service manual

manuals.online logo
manuals.online logoBrands
  • About & Mission
  • Contact us
  • Privacy Policy
  • Terms and Conditions

Copyright 2025 Manuals.Online. All Rights Reserved.