manuals.online logo
Brands
  1. Home
  2. •
  3. Brands
  4. •
  5. Linksys
  6. •
  7. Network Storage Server
  8. •
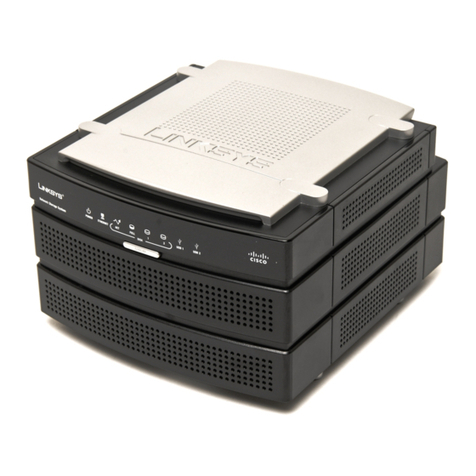
  9. Linksys NSLU2 - Network Storage Link NAS Server Original operating instructions

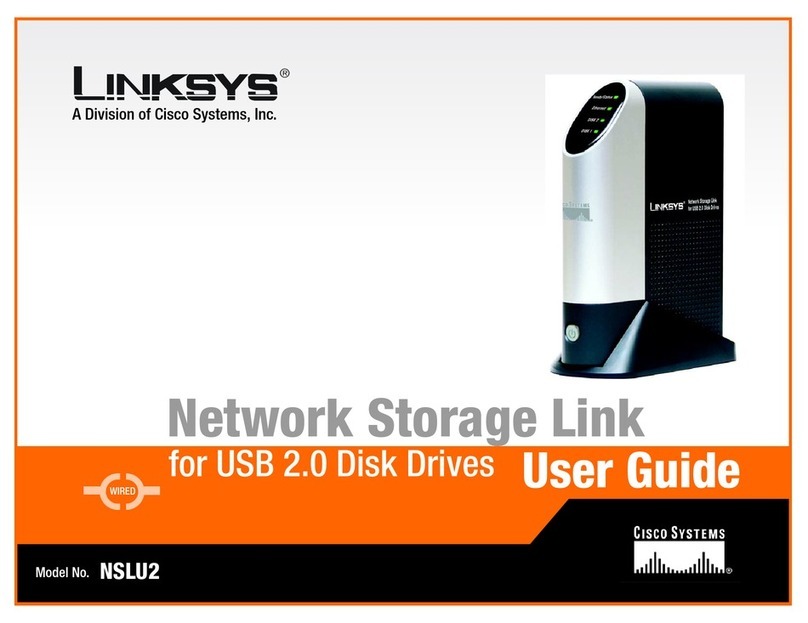
Linksys NSLU2 - Network Storage Link NAS Server Original operating instructions

Model No.
Quick Installation
Quick Installation
A Division of Cisco Systems, Inc.
®
Model No.
WIRED
NSLU2
Network Storage Link
Package Contents
• One NSLU2 - Network Storage Link
for USB 2.0 Disk Drives
• One Power Adapter
• One 6 ft. Ethernet Cable
• One Setup Wizard CD with User Guide
in PDF format
• One Quick Installation
• One Registration Card
•OneDeviceStand
1
If you are connecting a USB
hard disk drive, you can
connect it to either port;
however, Linksys recommends
that you connect the first hard
disk drive to the Disk 1 port.
CPlug the power cord into the
Network Storage Link's power
port. Then connect the other
end to an electrical outlet.
DTo power on the Network
Storage Link, press the power
button once. (It is located near
the bottom of the front panel.)
EThe Network Storage Link will
run a brief self-test (2 or 3
seconds) before actually
booting up. During the self-test,
all of the Network Storage Link's
LEDs will be lit or flashing.
When the self-test is complete,
the Ready/Status LED will flash
continuously, and the Ethernet
LED will flash occasionally as
the Network Storage Link is
booting up. This should take
approximately 1-3 minutes.
When boot-up is complete, the
Ready/Status LED and the
Ethernet LED will be
continuously lit.
Connect the Network Storage Link
• If a flash memory or USB disk
is connected to the Disk 2
port, the Disk 2 LED should
be lit.
• If a USB hard disk drive is
connected to the Disk 1 port,
the Disk 1 LED should be lit.
• If the Network Storage Link
repeatedly beeps, there is a
hardware problem. Refer to
the Troubleshooting section
of the User Guide on the CD-
ROM for possible solutions.
Proceed to Step 2.
APlug the included Ethernet
cable into the Network
Storage Link’s Ethernet port.
Then, connect the other end
to your hub or switch.
BConnect the USB storage
devices.
If you are using a USB flash
memory device (USB Key),
insert it in the Disk 2 port.
NOTE: For details about
removing or changing USB
storage devices, refer to the User
Guide on the CD-ROM.
C
for USB 2.0 Disk Drives
This Quick Installation will explain how to physically connect the Network
Storage Link to the network and how to set up the Network Storage Link for
basic operation.
Before you install the Network Storage Link, make sure these requirements
have been met:
• TCP/IP protocol is installed on your PCs
• a port is available on a hub or switch (to connect to the network)
• you have a USB flash drive and/or a USB hard disk drive (to store data)
If these requirements have been met, then proceed to Step 1.
A
B1
B2
D
NOTE: The flash drive must be inserted
into the Disk 2 port. It will not work if it
is inserted into the Disk 1 port.
IMPORTANT: The Network Storage Link
is not hot-swappable. Make sure that
the Network Storage Link is powered off
before you connect or disconnect any
USB flash or hard disk drive.
A
EThe IP Settings screen will
appear. If you already have a
router or other DHCP server
automatically assigning IP
addresses, then select
Automatically obtain an IP
address (DHCP) and click
Next. Proceed to Step F.
If you want to set the Network
Storage Link’s IP address and
network information, then
select Set IP configuration
manually and enter the
following information:
• IP Address. Enter the Network
Storage Link’s IP address, and
make sure that it is on the
same local area network
(LAN) segment as the PC
running the Setup Wizard.
• IP Mask. Enter the Subnet
Mask, which must match the
subnet mask of the other
devices on your network. The
default is 255.255.255.0.
• Gateway. This field is left
blank by default. However, if
you have a router on your
network, enter its IP address in
this field.
Click the Next button.
AInsert the Setup Wizard CD-
ROM into your PC’s CD-ROM
drive.
The Setup Wizard should
run automatically, and the
Main Menu
screen should
appear. If it does not, click
Start
and then
Run
. In the field
provided, enter
D:\SetupUtility.exe
(if “D” is the
letter of your CD-ROM drive).
BClick the Setup button.
CThe Setup Wizard will
automatically search for any
Network Storage Link that is
currently on your network or
attached to your PC. If it fails to
detect the Network Storage
Link or if an Network Storage
Link has been installed since
the Setup Wizard’s last search,
click Search Again to locate
the Network Storage Link.
Select the Network Storage Link
that you want to set up. Then
click the Yes button to change
any of the Network Storage
Link’s settings.
DYou will be asked for your
password. For security
purposes, enter the current
password for the Network
Storage Link. The default is
admin. Click OK.
JOn the Congratulations
screen, click Exit to exit the
Setup Wizard.
Congratulations! The installation of
the Network Storage Link
is complete.
FOn the Date/Time Settings
screen select your local time
zone. Then set the current date
and time. Click Next.
GReview the Network Storage
Link’s settings. If they are
correct, click Save. If you
would like to change them,
click Back to return to a
previous screen.
HA screen will appear and ask
you to confirm that you want to
save new settings. To save
these changes, click OK, or
click Cancel to return to the
previous screen.
IIf the USB hard disk drive was
not previously used with a
Network Storage Link, then its
format must be changed. The
message shown in Figure I will
be displayed. To change the
USB hard disk drive's format so
that it can be used in the
Network Storage Link, click OK.
To leave the USB hard disk drive
unchanged, click Cancel, and
you will not be able to store
data on the hard disk drive.
NSLU2-QI-40414A BW
Linksys is a registered trademark or trademark of
Cisco Systems, Inc. and/or its affiliates in the U.S.
and certain other countries. Copyright © 2004
Cisco Systems, Inc. All rights reserved.
C
F
G
For additional information or troubleshooting
help, refer to the User Guide on the Setup CD-
ROM. You can also call or e-mail for further
support.
24-hour Technical Support
800-326-7114
(toll-free from US or Canada)
E-mail Support
[email protected]
Website
http://www.linksys.com or
http://support.linksys.com
RMA (Return Merchandise Authorization)
http://www.linksys.com/support
FTP Site
ftp://ftp.linksys.com
Sales Information
800-546-5797 (800-LINKSYS)
2Set up the Network Storage Link
IMPORTANT:The Network Storage
Link’s format is NOT compatible with
Windows. You cannot swap USB hard
disk drives between Windows systems
and Network Storage Links.
D
E
H
I
J
Other manuals for NSLU2 - Network Storage Link NAS Server

4

Other Linksys Network Storage Server manuals

Linksys NSLU2 - Network Storage Link NAS Server User manual

Linksys

Linksys NSLU2 - Network Storage Link NAS Server User manual

Linksys NSS4000 Series User manual

Linksys

Linksys NSS4000 Series User manual

Linksys NSS6000 Series Service manual

Linksys

Linksys NSS6000 Series Service manual

Linksys NSS4000 Series Service manual

Linksys

Linksys NSS4000 Series Service manual

Linksys NSLU2 - Network Storage Link NAS Server User manual

Linksys

Linksys NSLU2 - Network Storage Link NAS Server User manual

Linksys NSLU2 - Network Storage Link NAS Server User manual

Linksys

Linksys NSLU2 - Network Storage Link NAS Server User manual

Linksys EFG250 - EtherFast NAS Server User manual

Linksys

Linksys EFG250 - EtherFast NAS Server User manual

Popular Network Storage Server manuals by other brands

Dell PowerVault 715N installation instructions

Dell

Dell PowerVault 715N installation instructions

Iomega 33610 - 1TB StorCenter Pro NAS 150d Server quick start guide

Iomega

Iomega 33610 - 1TB StorCenter Pro NAS 150d Server quick start guide

Cavalry CAND Series user guide

Cavalry

Cavalry CAND Series user guide

HP Proliant DL580 installation instructions

HP

HP Proliant DL580 installation instructions

HP ProLiant DL180 G Quickspecs

HP

HP ProLiant DL180 G Quickspecs

American Megatrends StorTrends 3100n Specifications

American Megatrends

American Megatrends StorTrends 3100n Specifications

Akitio NT2 LAN user manual

Akitio

Akitio NT2 LAN user manual

Thecus N0503 user manual

Thecus

Thecus N0503 user manual

Proware SN-3163S3H-QX user manual

Proware

Proware SN-3163S3H-QX user manual

D-Link ShareCenter Pro DNS-1200-05 user manual

D-Link

D-Link ShareCenter Pro DNS-1200-05 user manual

QNAP TS-464eU Quick installation guide

QNAP

QNAP TS-464eU Quick installation guide

Overland Storage SnapServer Administrator's guide

Overland Storage

Overland Storage SnapServer Administrator's guide

Dell PowerVault 725N Information update

Dell

Dell PowerVault 725N Information update

Iomega 33271 - StorCenter Network Hard Drive quick start guide

Iomega

Iomega 33271 - StorCenter Network Hard Drive quick start guide

Promise VTRAK M610i product manual

Promise

Promise VTRAK M610i product manual

InWin IW-RS424-02M user manual

InWin

InWin IW-RS424-02M user manual

Lenovo Storage N4610 User guide and hardware maintenance manual

Lenovo

Lenovo Storage N4610 User guide and hardware maintenance manual

Promise PegasusPro R8 product manual

Promise

Promise PegasusPro R8 product manual

manuals.online logo
manuals.online logoBrands
  • About & Mission
  • Contact us
  • Privacy Policy
  • Terms and Conditions

Copyright 2025 Manuals.Online. All Rights Reserved.