LiRON LiGHTING LEDPPST User manual
WARNING
PLEASE READ ALL INSTRUCTIONS
BEFORE ATTEMPTING INSTALLATION
Tools:
1. Sharp Side Cutter
2. Electric Drill
3. Level
4. Measuring Tool
5. Wire Stripper / Knife
6. Philips Screwdrivers
7. Wire Cutters
To avoid electric shock or component damage disconnect power before attempting installation
or servicing.
This product must be installed in accordance with the national electric code (NEC) and all
applicable federal, state and local
Disconnect product and allow cooling prior to servicing.
Any alteration or modification of this product is expressly forbidden as it may cause serious
personal injury, death, property damage and/or product malfunction.
To prevent product malfunction and/or electrical shock this product must be properly grounded.
This luminaire is designed to operate in ambient temperatures ranging from -40°c to 40°c and
to be horizontally mounted with th
This product is not available for several special environments, such as places with corrosive gas
liquids or high pressure water vapor
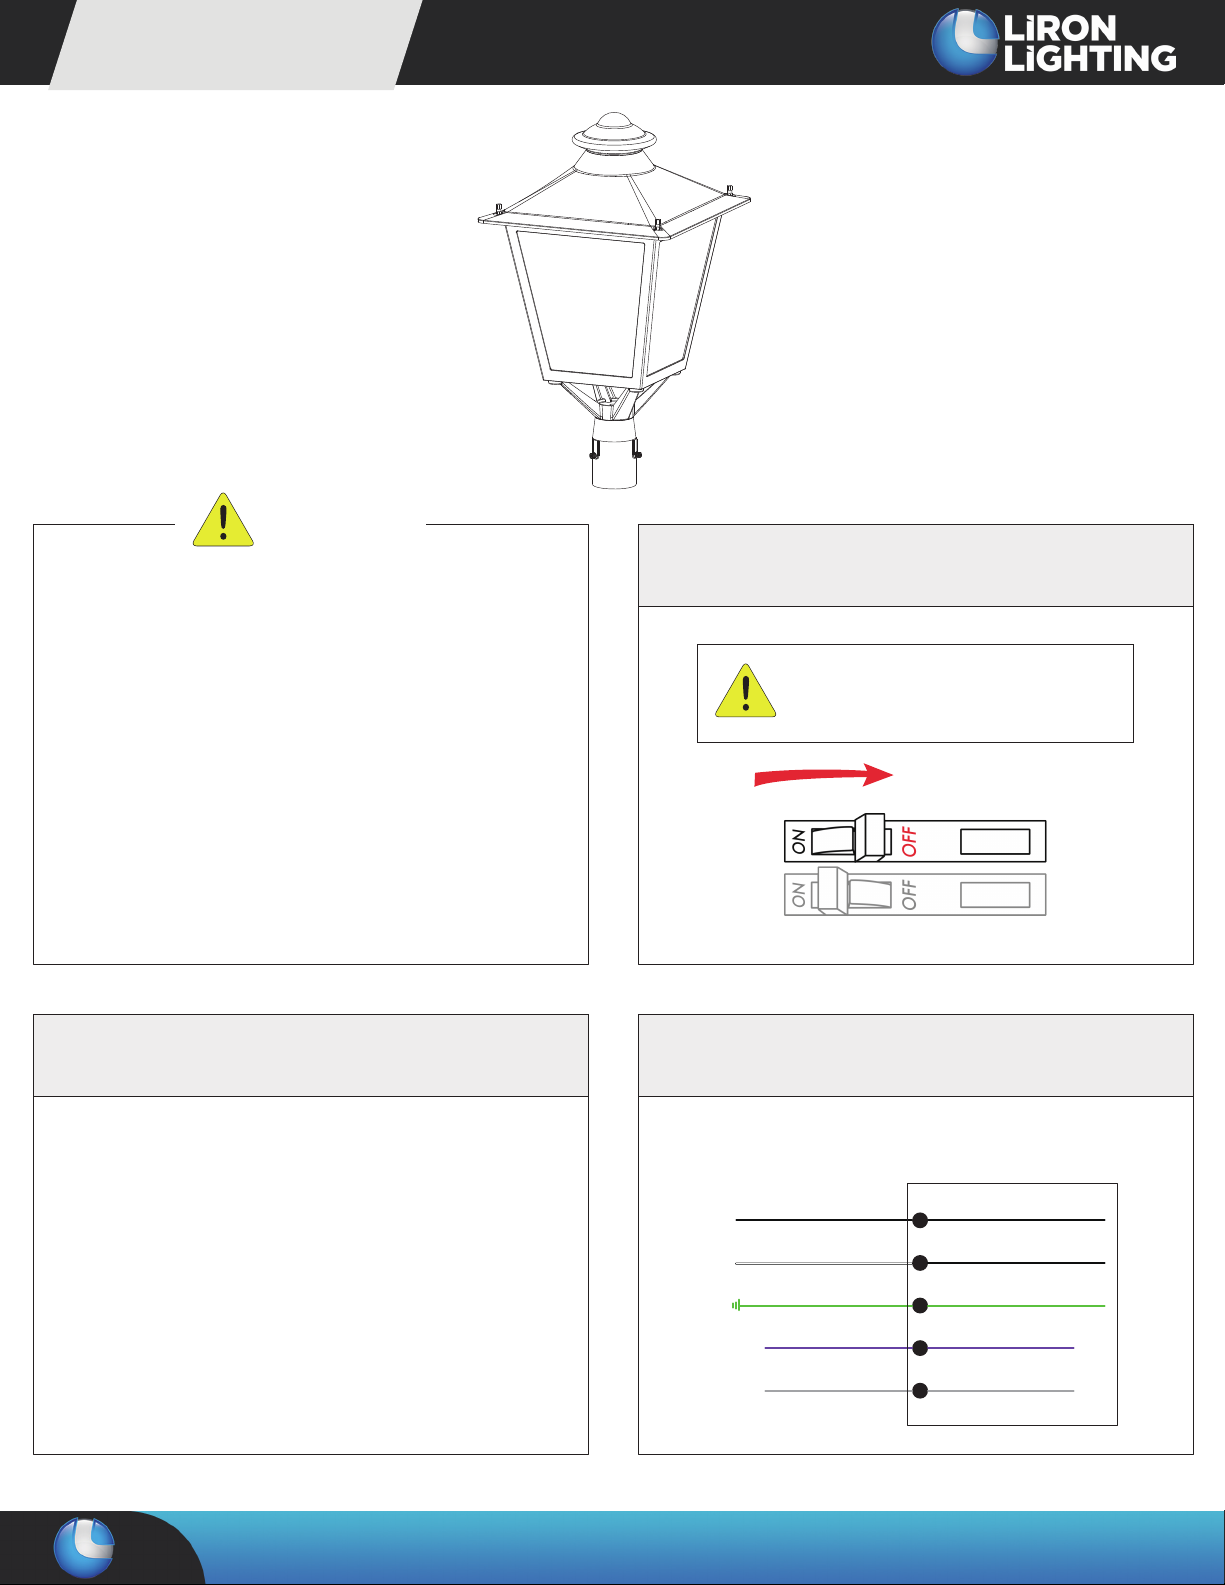
SHOCK HAZARD!
WIRINGTOOLS REQUIRED
Black
White Neutral
Green/Yellow Green
Ground
Line
Purple
DIM+
Gray
DIM-
CORD/ SUOOLY WIRING
LEDPPST
To avoid electric shock or component damage
disconnect power before attempting
installation or servicing.
LUMINAIRE
PAGE 1 of 2
Email: Sales@lironlighting.comEmail: Sales@lironli
E
10835 S Wilcrest Dr, Ste C Houston TX 77099 Customer Service : 833-875-4766 Email : Sales@lironlighting.com
Due to continuous product improvements, specifications and dimensions are subject to change without notice. Certain options have limited compatibility with some other product selections. Consult www.lironlighting.com for most current technical information.
I I

Installation Guide
1. Remove the two fixing studs of the cover with tool, open the it
and take out the internal fixing screws and bracket.
2. After removing the bracket, fix the power wire with a wire
clamp, and fix the wire clamp with screws.
3. Install the bracket to the housing, and lock the bracket with the
fixing screws removed in the first step.
4. Connect the input wire to the pole, and connect the reserved
wire with the terminal.
5. Install the fixture into the pole and use a hexagon wrench to
tighten the three fixing screws.
PAGE 2 of 2
Email: Sales@lironlighting.comEmail: Sales@lironli
E
10835 S Wilcrest Dr, Ste C Houston TX 77099 Customer Service : 833-875-4766 Email : Sales@lironlighting.com
Due to continuous product improvements, specifications and dimensions are subject to change without notice. Certain options have limited compatibility with some other product selections. Consult www.lironlighting.com for most current technical information.
I I


