Lloydspharmacy GY6000 User manual

Model - GY6000
User Manual
Digital
Pedometer
Lloyds Pharmacy Limited,
Coventry CV2 2TX
www.lloydspharmacy.com
$/%$)LOH1DPH*<,%FRYHUEDFNDL
&\DQ0DJHQWD<HOORZ%ODFN3$1721(&

TABLE OF CONTENTS
General Features P.2
LCD display P.3
Functions and mode descriptions P.3-10
Technical specification P.11
Battery Replacement P.12
Caution and Maintenance P.12

2
General Features
4 display modes
- There are 4 different modes of display :-
(i) “Step count & kcal” mode,
(ii) “Step & Target step reminder” mode ,
(iii) “Distance & Stopwatch” mode,
(iv) “Alarm & Time” mode.
7 functions pedometer
- There are 7 functions in total :-
Step counter
Calories burnt
Target step reminder
Distance travelled
Stop watch
Alarm
Time
Key description
There are 4 buttons on the unit:-
[MODE] button
[SET] button
[UP] button
[DOWN] button
MODE
UP DOWNSET
increase / decrease
Changing the sensitivity
Reset button
Battery
compartment

3
LCD Display
Function and Mode Descriptions
A) Default Settings
• When the unit is turned on, the default display screen is the STEP/KCAL screen
which are both at 0.
• The default STEP/TARGET screen is set at 0 steps and 1000 target reminder
• The default DIST/SW screen is set at 0.00Km and 00’00”00STOP
• The default ALARM/TIME screen is set at 12:00A (with the daily alarm disabled)
and 12:00:00 AM
• The default stride length is 60cm and weight default is 60kg
• Please reset the unit before initial use or after changing the battery.

4
Function and Mode Descriptions
B) “Step count & kcal” display mode
- The unit will show the step count in the first line
of display and calories (kcal) burned in the second line.
- “Step/kcal” icon will turn on.
- Press and hold [Set] key to set weight and stride length.
Weight and Stride Setting:
- Weight mode will flash for adjustment.
- Press [UP] or [DOWN] to advance/decrease the weight digits. Hold the
button for fast scrolling.
- Press [SET] key to change to the stride length setting.
- Press [UP] or [DOWN] to advance/decrease to the stride digits. Hold the
button for fast scrolling.
- Press set to confirm.

5
Function and Mode Descriptions
Weight Conversion Chart.
1 Stone = 14lbs 1 Stone = 6.350Kg
Auto- return: If no key is pressed for 90sec, the unit will auto-return to the Step
& kcal display.
To reset the step count, kcal count and distance travelled to 0, press and hold
the [UP] button for 2 seconds. This will not reset other information such as the
time, alarm and target steps. This can only be done when the unit is in the Step
/kcal mode.
- Press [MODE] button to go to step and target step reminder display mode.
STONES
8
9
10
11
12
13
14
15
16
17
POUNDS
112
126
140
154
168
182
196
210
224
238
KILOGRAMS
51
57
64
70
76
83
89
95
102
108
STONES
18
19
20
21
22
23
24
25
26
POUNDS
252
266
280
294
308
322
336
350
364
KILOGRAMS
114
121
127
133
140
146
152
159
165

6
Function and Mode Descriptions
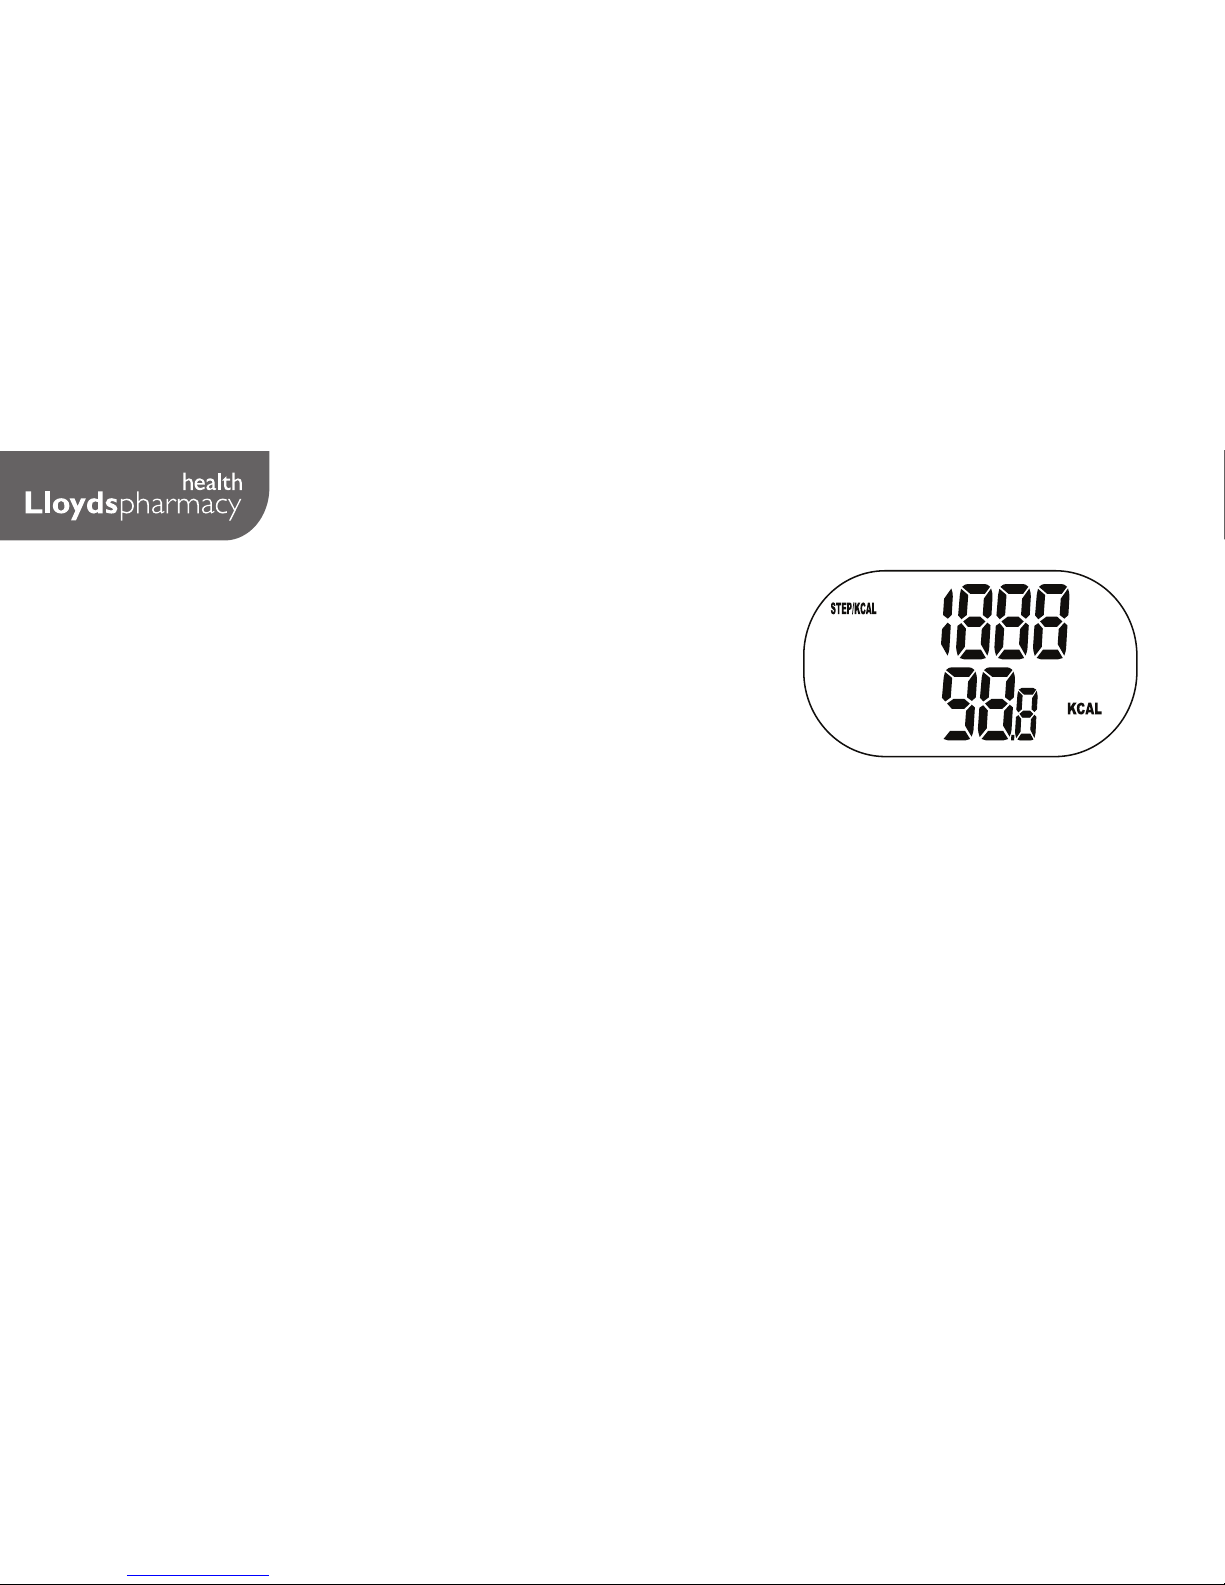
C) “Step & Target step reminder” display mode
- The unit will show the step count in the first line of
display and step reminder in the second line.
To set the Target Step Reminder.
- Press [SET] button to enter the Target step reminder
setting mode.
- Press [UP] or [DOWN] to set your desired target step reminder, using
the [SET] key to move to the next digit.
- If the user inputs “00000”, the target step reminder will be turned off
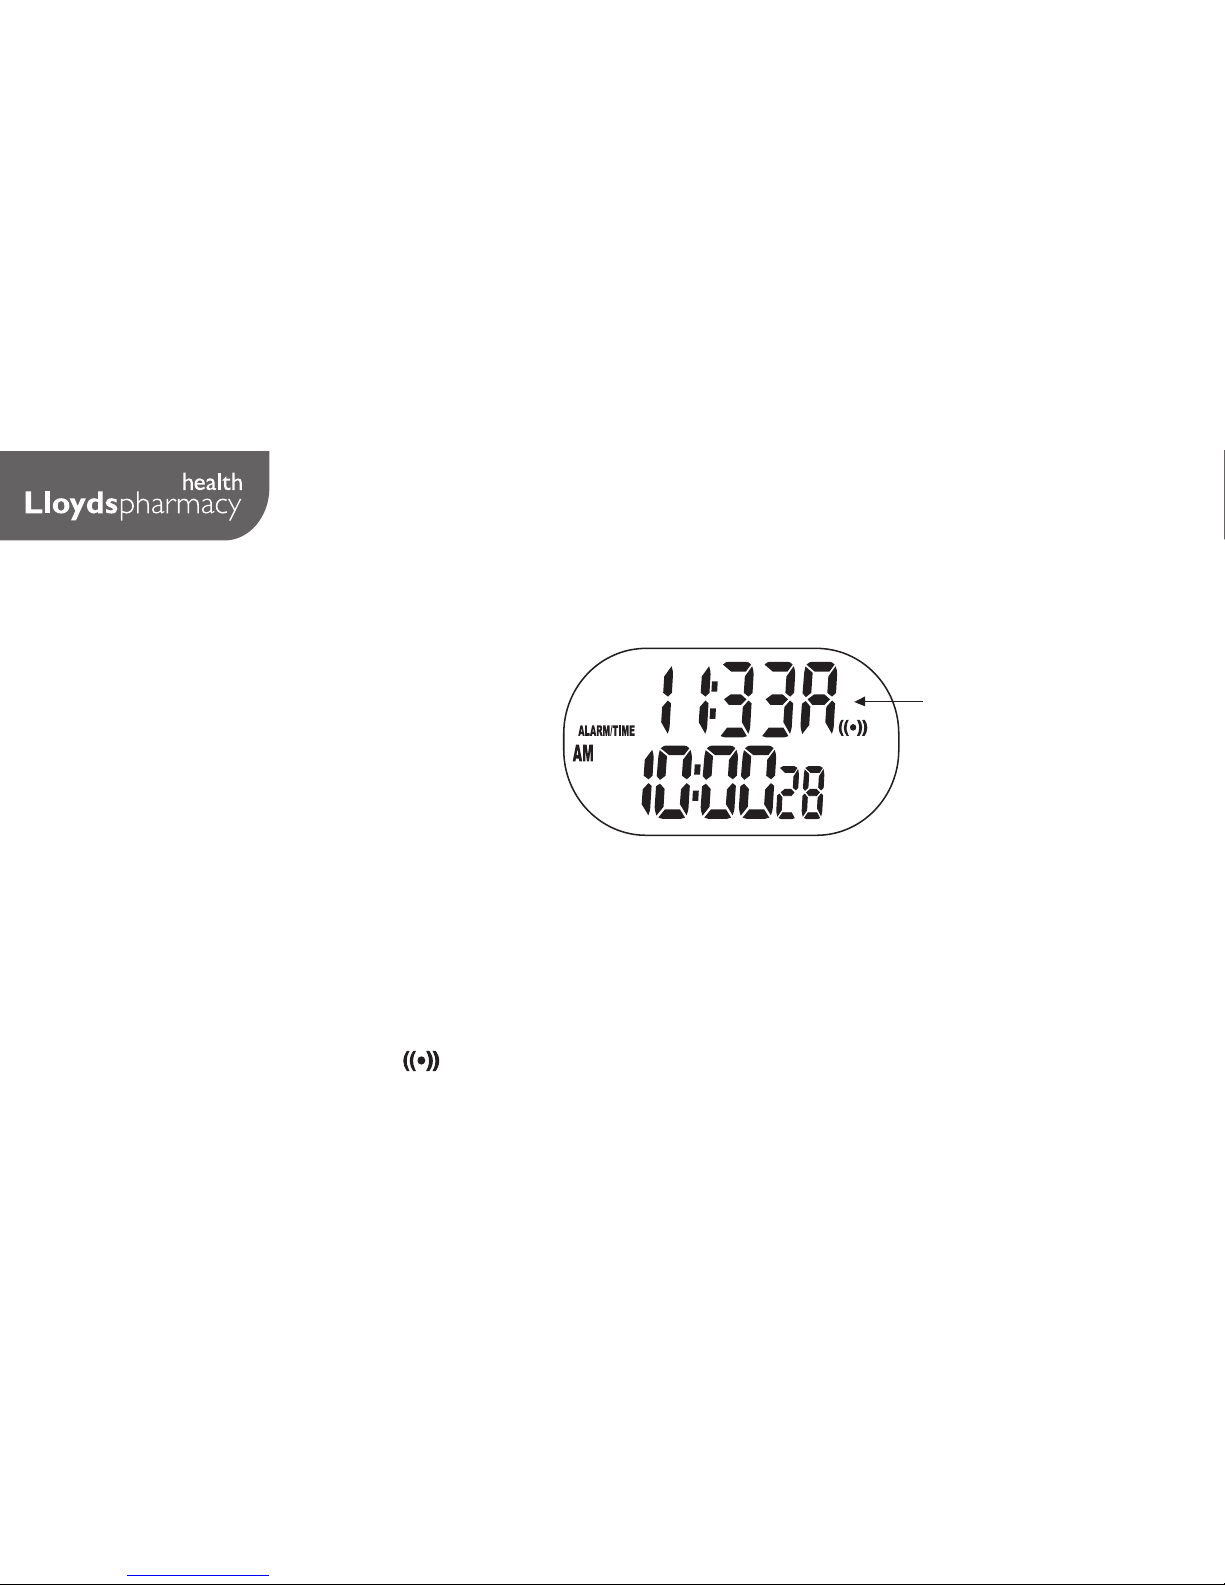
and the “ ” icon will not show.
- When the target steps are reached the alarm will sound for 5 seconds.
To switch alarm off, press the set/mode/up or down button.
- While the alarm is sounding the unit will continue to count your steps.
- Auto-return: If no key is pressed for 90 seconds, the display will return to
step & target setting.

7
Function and Mode Descriptions
Changing the sensitivity of the Digital Pedometer – Open the back of the
unit and slide the sensitivity switch to increase/decrease the sensitivity of
the pedometer. (refer to 'General Features' on page 2)
- Press [MODE] button to go to distance & Stop watch display mode.
- The distance travelled will be shown in the first line and the stopwatch in the
second line.
D) “Distance & stopwatch” display mode

8
Function and Mode Descriptions
- Using the Stopwatch.
- Press [SET] to start the stopwatch. The “ ” icon will flash on the LCD
screen.
- Press [SET] again to stop the stopwatch. The “Stop” icon will be displayed.
- Press [UP] to reset the stopwatch back to zero.
- The stopwatch counting range is from 00’00”00 to 99’59”99. Once the counter
reaches 99’59”99 it will start again from 00’00”00.
- Press [MODE] button to go to Alarm & time Mode.
- The alarm time will be displayed in the
first line and the time in the second line.
E) “Alarm & Time” display mode.

9
Function and Mode Descriptions
Alarm setting mode:
- Press and Hold [SET] key for approximately 3 seconds to enter the Set Alarm Mode.
e.g. Alarm in 12 hour format:
Alarm Time Setting:
- The hour digit will flash for adjustment.
- Press [UP] or [DOWN] to advance/decrease the hour digits.
- Press [Set] key to change to the Alarm Minute setting and use the [UP]
and [DOWN] buttons to advance/decrease the minutes.
- Press [SET] to confirm.
- Press [UP] or [DOWN] key to alternate between Alarm ON/OFF.
- When the alarm is on, will be displayed.
A: represent AM
P: represent PM

10
Function and Mode Descriptions
The Alarm will sound for 20 seconds or until the user presses [MODE], [SET], [UP]
or [DOWN].
- Auto-return: If no key is pressed for 90 seconds, the display will return to Alarm
& Time setting.
Time setting mode:
- Press [SET] key to go to Set Time mode.
- “12hr” will flash in the display.
- Press [UP] or [DOWN] Key to alternate between 12/24 hour display format. If
24 hour display format is selected, there will be no AM/PM symbol. Press [SET]
to confirm. The hour digit will flash for adjustment.
- Press [UP] or [DOWN] to adjust the hour. Hold the button for fast scrolling.
- Press [SET] to confirm. The minute digit will flash for adjustment.
- Press [UP] and [DOWN] to adjust the minute. Hold the button for fast scrolling.
- Press [SET] to confirm. The seconds digit will flash for adjustment. (Repeat step
above to adjust the seconds).
- Press [SET] to confirm and return to the Alarm & Time mode.
- Press [Mode] key to return to Step Count + kcal Mode.

11
Technical Specification
Parameters & figures for each function:-
a. Step counter: 0 to 99999 steps
b. Calories burned: up to 9999.9 kcal in 0.1 kcal increments.
c. Target step reminder: up to 99999 steps.
d. Distance travelled: up to 999.9 km in 0.01- km increments.
e. Stop watch: up to 99 minutes 59 seconds 99 with 1/100 second display.
f. Time mode has 12/24 hour display formats selectable by user.
System parameters & figures:-
Time: 12:00am to 11:59 pm
Distance: 0.00 to 999.9 km
Stride length: 25 to 200cm
Calories: 0.00 to 9999.9 kcal
Weight: 14kg to 200kg
Target Step reminder: 00000 to 99999
Accuracy: +/- 5%

12
Battery Replacement
• To open the battery compartment, unscrew and slide out the battery
compartment. (refer to picture in General Features' on page 2)
• Remove the exhausted battery and replace with a new 1x LR1130 battery,
observing correct polarity (as shown).
• Replace battery compartment cover and screw back into place.
• Batteries should be handled under adult supervision.
• Remove exhausted batteries from the unit.
• Supply terminals are not to be short circuited.
• If the battery leaks and comes into contact with the skin or eyes, wash
immediately with copious amounts of water.
• Dispose of batteries safely according to battery manufacturer’s instructions.
Caution and Maintenance
• Avoid direct sunlight
• Do not drop the unit
• Never attempt to disassemble as it contains precise electronic components
• Clean only with a damp cloth
• Keep batteries out of the reach of children. If swallowed, consult your doctor
immediately.

Model - GY6000
User Manual
Digital
Pedometer
Lloyds Pharmacy Limited,
Coventry CV2 2TX
www.lloydspharmacy.com
$/%$)LOH1DPH*<,%FRYHUEDFNDL
&\DQ0DJHQWD<HOORZ%ODFN3$1721(&
Table of contents