81
WARRANTY
Limited Warranty: Lobster Sports warrants that each Lobster Sports ball machine
purchased will be free from defects in material and workmanship for 2 years from
the date of purchase except for the battery which is warranted for 6 months.
Demonstration models and reconditioned machines have a 1 year warranty. Said
warranty to be determined by Lobster Sports at time of purchase. Any part of the
ball machine, which proves to be defective in material or workmanship within the
2year warranty period will be repaired or replaced at Lobster Sport’s option
with a new or functionally operative part. This warranty is extended only to the
original customer of the Lobster Sports ball machine and may be enforced only
by such person.
This warranty does not cover the following conditions:
A) Damage resulting from misuse, neglect, alteration, accidents, tampering,
abuse, fire, war, insurrection, civil disorder, flood, acts of God or any
other casualty;
B) Failure of Customer to properly follow operating instructions provided by
Lobster Sports at time of delivery; and
C) Damage caused by use on circuits or voltages other than indicated on the
applicable nameplate.
This limited warranty is in lieu of all other express warranties. Any implied
warranties of merchantability and fitness for a particular purpose shall
coincide in duration with the 2 year limited warranty. The exclusive remedy of
the Customer hereunder shall be repair or replacement as stated above. Under
no circumstances shall Lobster Sports be liable to the Customer or any other
person for incidental or consequential damages of any nature, including,
without limitation, damage for personal injury or damages to property; and
however occasioned, whether alleged as resulting from breach of warranty by
Lobster Sports, the negligence of Lobster Sports.
No agent, employee or representative of Lobster Sports or any other person is
authorized to modifythis warranty in any respect. This warranty gives you specific
legal rights and you may also have other rights, which vary,from state to state.
This limited warranty is void unless Customer completes and returns the enclosed
warranty response form to Lobster Sports within 30 days of receipt of the
ball machine.
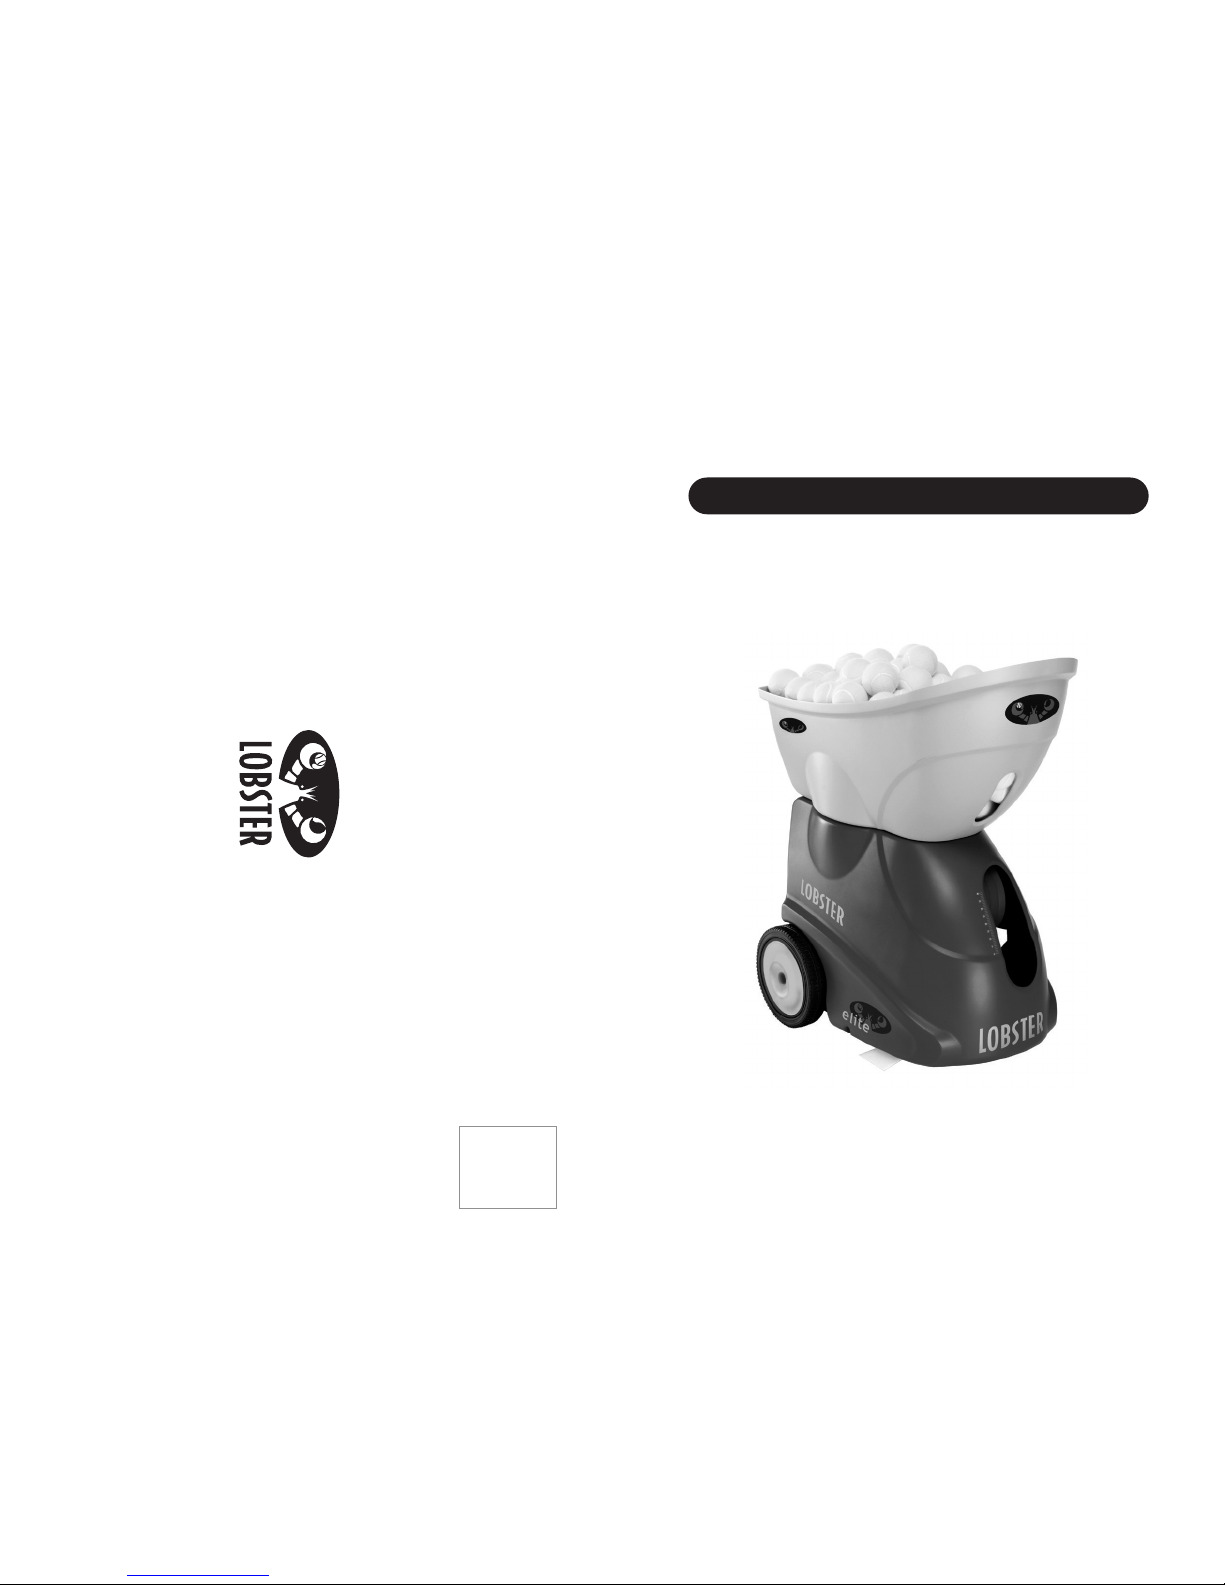
MACHINE SETUP
Intended Use
The tennis ball machine is to be used in a dedicated tennis facility. The tennis
player must stand on the opposite side of the tennis net at a minimum of 35 feet.
The tennis ball machine is designed to throw tennis balls only.
Unpack and Assembly
Remove the machine from the box. Keep the box along with the packing materials
in case the machine needs to be shipped back to the factory. The machine is packed
with the folding handle in the down or folded position. Remove the machine from
the box and lift up on the handle. The handle will be locked when it is in the upright
position and the lock-buttons are clicked into place. The lock-buttons are located on
the outside of each handle hinge. Detach the hopper. Then, flip and reattach by
pushing the hopper on to the case knobs. Do not remove the wire deflectors.
Transporting
The handle is provided to push or pull the machine. Tilt the machine back slightly
when pushing or pulling the machine. Be aware of small steps or rough surfaces
that could bend or damage the underside of the machine.
Totransport the machine in your vehicle, fold the handle down over the machine.
This can be done by standing behind the machine and placing hands on each outer
side of the handle hinges. Using your two index fingers push the two lock-buttons in
simultaneously while pushing forward on the handle using your forearms. Invert the
hopper over the machine casing. The machine weighs approximately 44 lbs. and
may be lifted into a vehicle by 1 or 2 people. Use the molded handholds on the
underside to liftand carry the machine.
MAINTENANCE
Storage
Store the machine in a clean, drylocation. Never store the machine in a closed
car trunk where temperatures can reach 180 degrees. Extreme temperatures and
conditions can affect the machine’s electronic board and battery. Exposure to rain
and snow will damage the electronics.
Cleaning
Turnthe power OFF when cleaning the machine. The outside of the machine
may be wiped down with a mild detergent. The inside of the machine may be
vacuumed to remove tennis ball fuzz. The Lobster storage cover is an ideal way to
protect your machine from the elements.