PHENOM
OPERAT NG NSTRUCT ONS CONT NUED
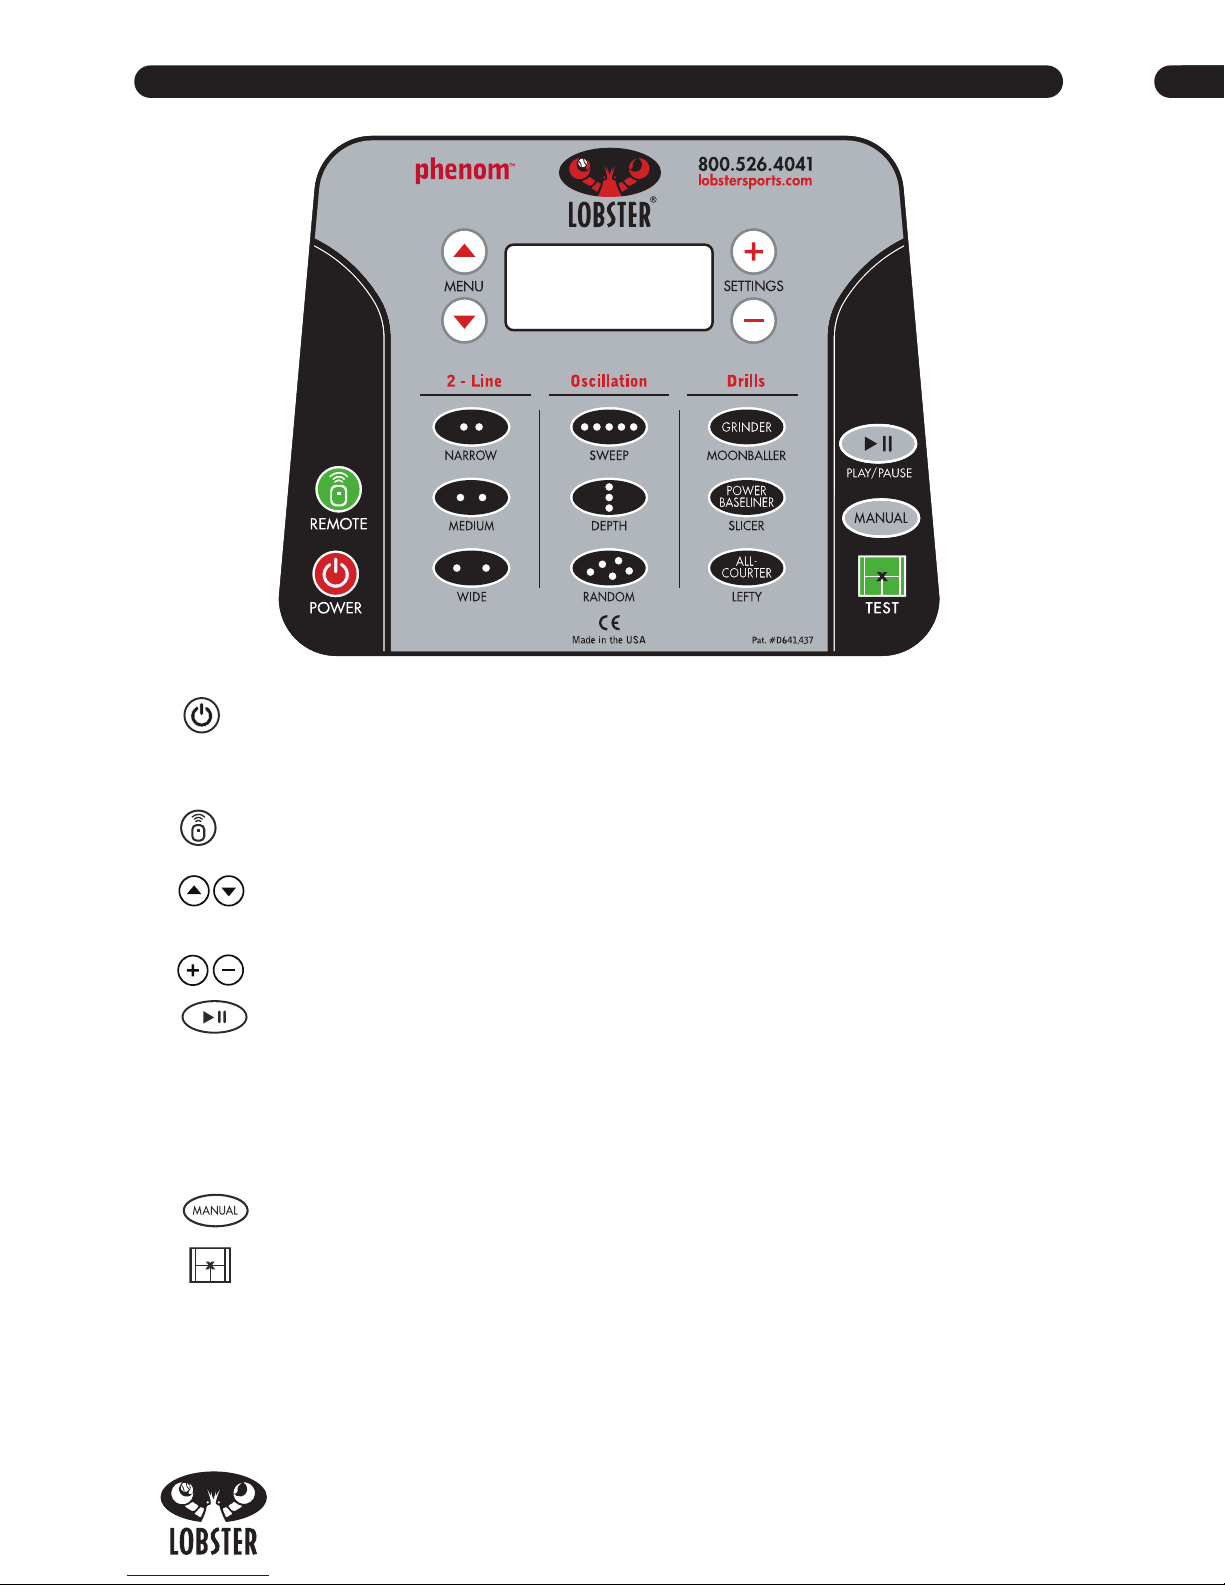
Presets
Main preset options are selected by pressing one of the nine buttons in the center of
the control panel. The machine will automatically pause until you are satisfied with
the settings. Press the play/pause button to begin play. Use / menu buttons to
scroll through locations and shot parameters. Use / buttons to increase or
decrease value of the selected menu option.
PLEASE NOTE: To keep all shots in
the court, some options are not available in conjunction with each other.
2-L NE
Narrow –
Practice forehand and backhand strokes at the center of the court.
Medium – Practice forehand and backhand strokes midway between
center court and sideline.
Wide – Practice forehand and backhand strokes at the sidelines.
• Speed – Choose from 40 to 80 MPH in 5 mph increments.
• Spin – Increase and decrease top and back spin up to three levels.
• epth – eep,Mid,Short,or Random settings.
• Feed – Adjust between 2-9 second intervals, or scroll down to random.
OSC LLAT ON: Throws balls the entire court - left, right, short, & deep using a
fixed speed.
Sweep – Throw balls randomly across the width of the court. Shot
parameters are adjustable and include:
• epth – eep,Mid,Short,or Random settings.
• Speed – Choose from 40 to 80 MPH in 5 mph increments.
• Spin – Increase and decrease top and back spin up to three levels.
• Feed – Adjust between 2-9 second intervals, or scroll down to random.
Depth –
balls thrown randomly from short to deep. Shot parameters include:
• Position – At the top of the LC , choose balls to be thrown the Left,
Center, or Right side of the court.
• Speed – Choose from 40 to 80 MPH in 5 mph increments.
• Spin – Increase and decrease top and back spin up to three levels.
• Feed – Adjust between 2-9 second intervals, or scroll down to random.
Random – Machine randomly throw balls using variations of speed, spin
and trajectory.
• Feed – Adjust between 2-9 second intervals, or scroll down to random.
® ®
PHENOM TWO OPERAT NG NSTRUCT ONS CONT N
UED
Program
The program function allows you to create your own drills, up to six personal
programs, and set up your own training exercises. You may create sequences of
shots with anywhere from 1 to 6 balls that will cycle. This allows for many more
combinations that will always give you new challenges. There are limitations to what
the machine can do…please read this carefully.
• The serving wheels can speed up faster than they can slow down. Fast shots
followed by slow shots or drastic changes in spin will produce shots out the
back of the court if used with fast feed rates. If you wish to use faster feed
rates, keep your changes in speed and spin incremental. A good guide is not to
change the speed more than your feed rate times 5 in miles per hour (treat
each level of spin as 5 MPH).
As an example : A feed rate of 4 sec will let you have up to 20 mph of
change or 4 levels of spin.
• Certain combinations of speed and spin will not stay within the court. If a
setting will not produce a viable shot, the display will blink to tell you that the
shot is not possible and remain at the previous setting.
• When you have filled up the 6th shot in a program, selecting next will
automatically take you to the overall program screen.
To Create Your First Personal Program
1. Press the button.
2. The screen will prompt you to select a location
for your first shot. Press any of the 1 to 18
buttons to advance to the
shot parameters screen.
3. The machine will be programmed to throw one ball
to the location selected. You may now adjust the
shot parameters for this shot:
• Speed – Chose from 40 to 80 MPH in
5 mph increments.
• Spin – Increase and decrease top and back spin up to three levels.
• Feed – Adjust between 2-9 second intervals, or scroll down to random
setting.
4. When the shot is satisfactory, use the menu buttons / to highlight the
“Next + Back –“ line. Press to choose the location and shot parameters
for the next shot in your drill or to return to overall program screen.
P#1 SHOT#1 LOC?*
SPEED: 70 MPH
Spin :0 FEED: 4
Next + Bac -
SHOT PARAMETERS SCREEN
P#1 SHOT#1 LOC ?
Press a location
To prgrm shot, or
Press – to erase
SHOT LOCATION SCREEN
*will display your selected location