Lockdoor ZTGD800 User manual

Chain/Belt Drive Garage Door Opener
To reduce the risk of injury to persons or damage to property
Please use this opener only with a one-piece or sectional residential door
INSTALLATION AND OPERATION MANUAL
Please save this manual for future reference
WARNING
Read all instructions and warnings before use. Failure to follow all instructions
may result in serious personal injury or product damage.

2
CONTENTS
1,User Information
1-1,Safety Notes…………………………………………………………………..3
1-2,Important Safety Instructions………………………………………………..3
1-3, Important Safety Requirements and Regulations……………………...3-4
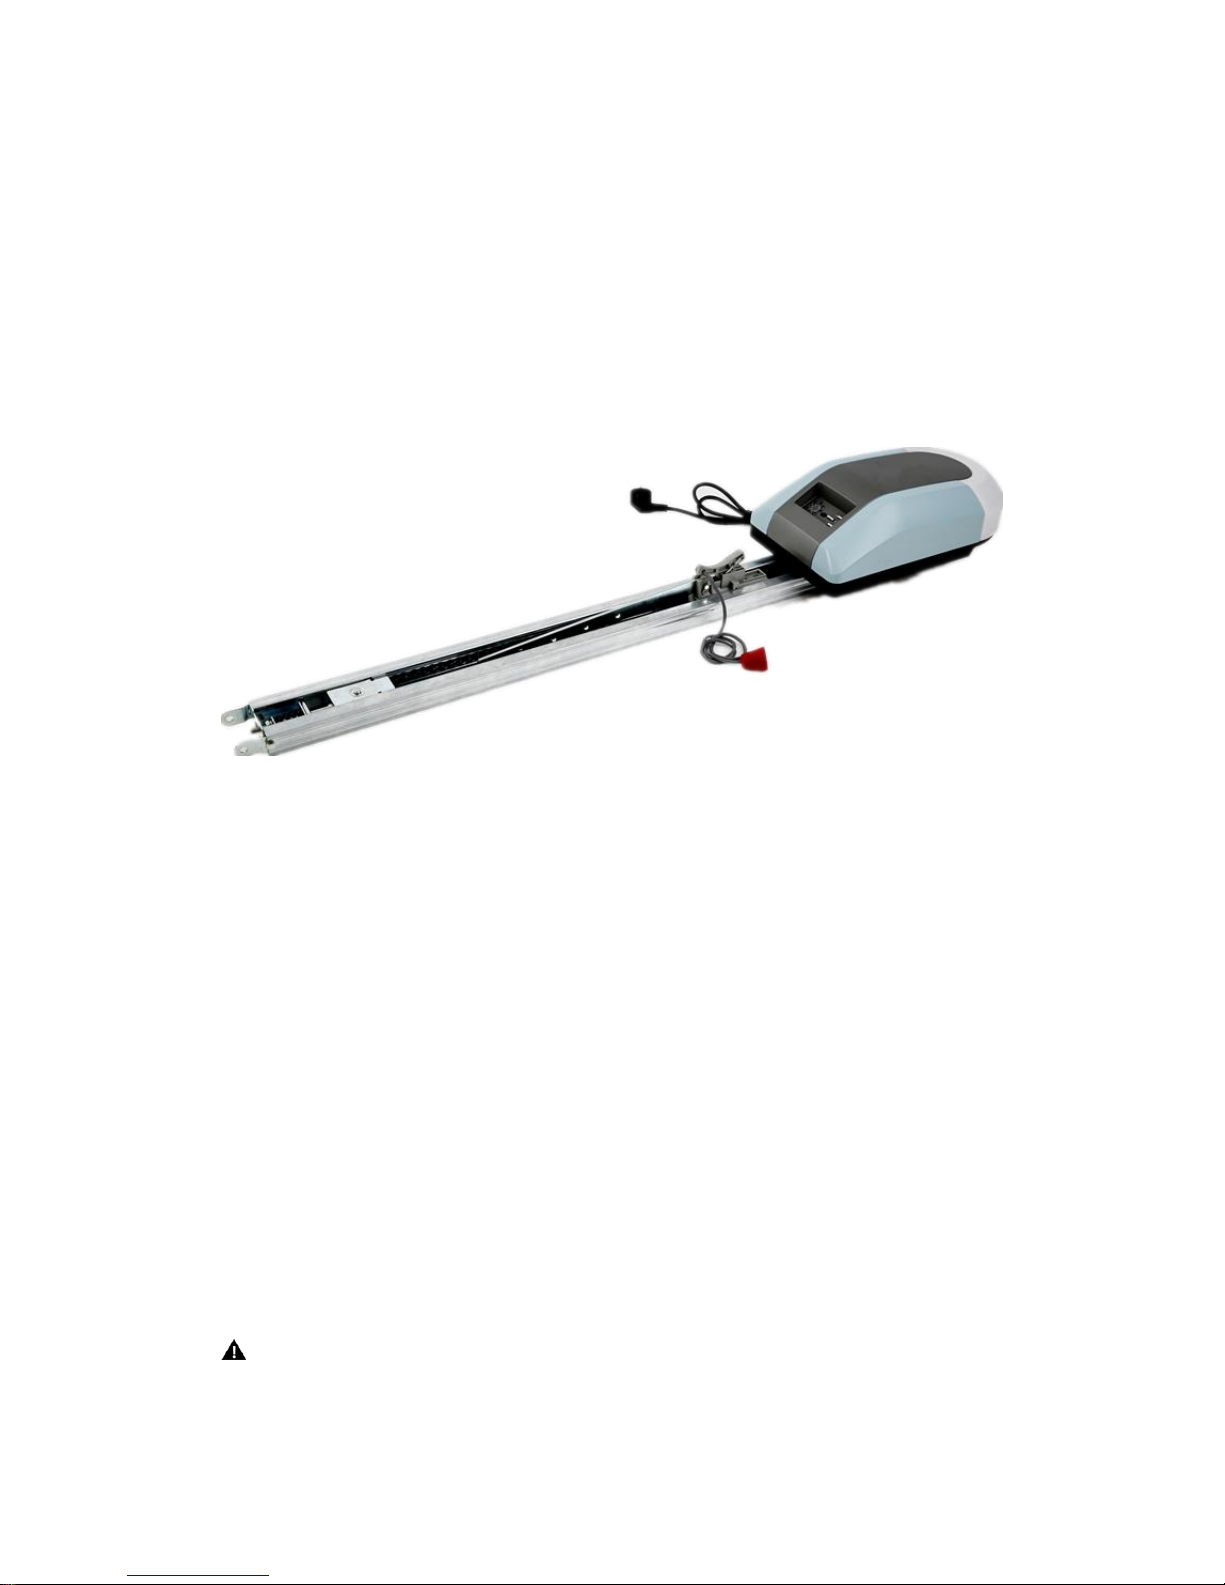
2,Package Contents……………………………………………………………..…5
3, Features and Benefits
3-1,Technical Parameters………………………………………………………..6
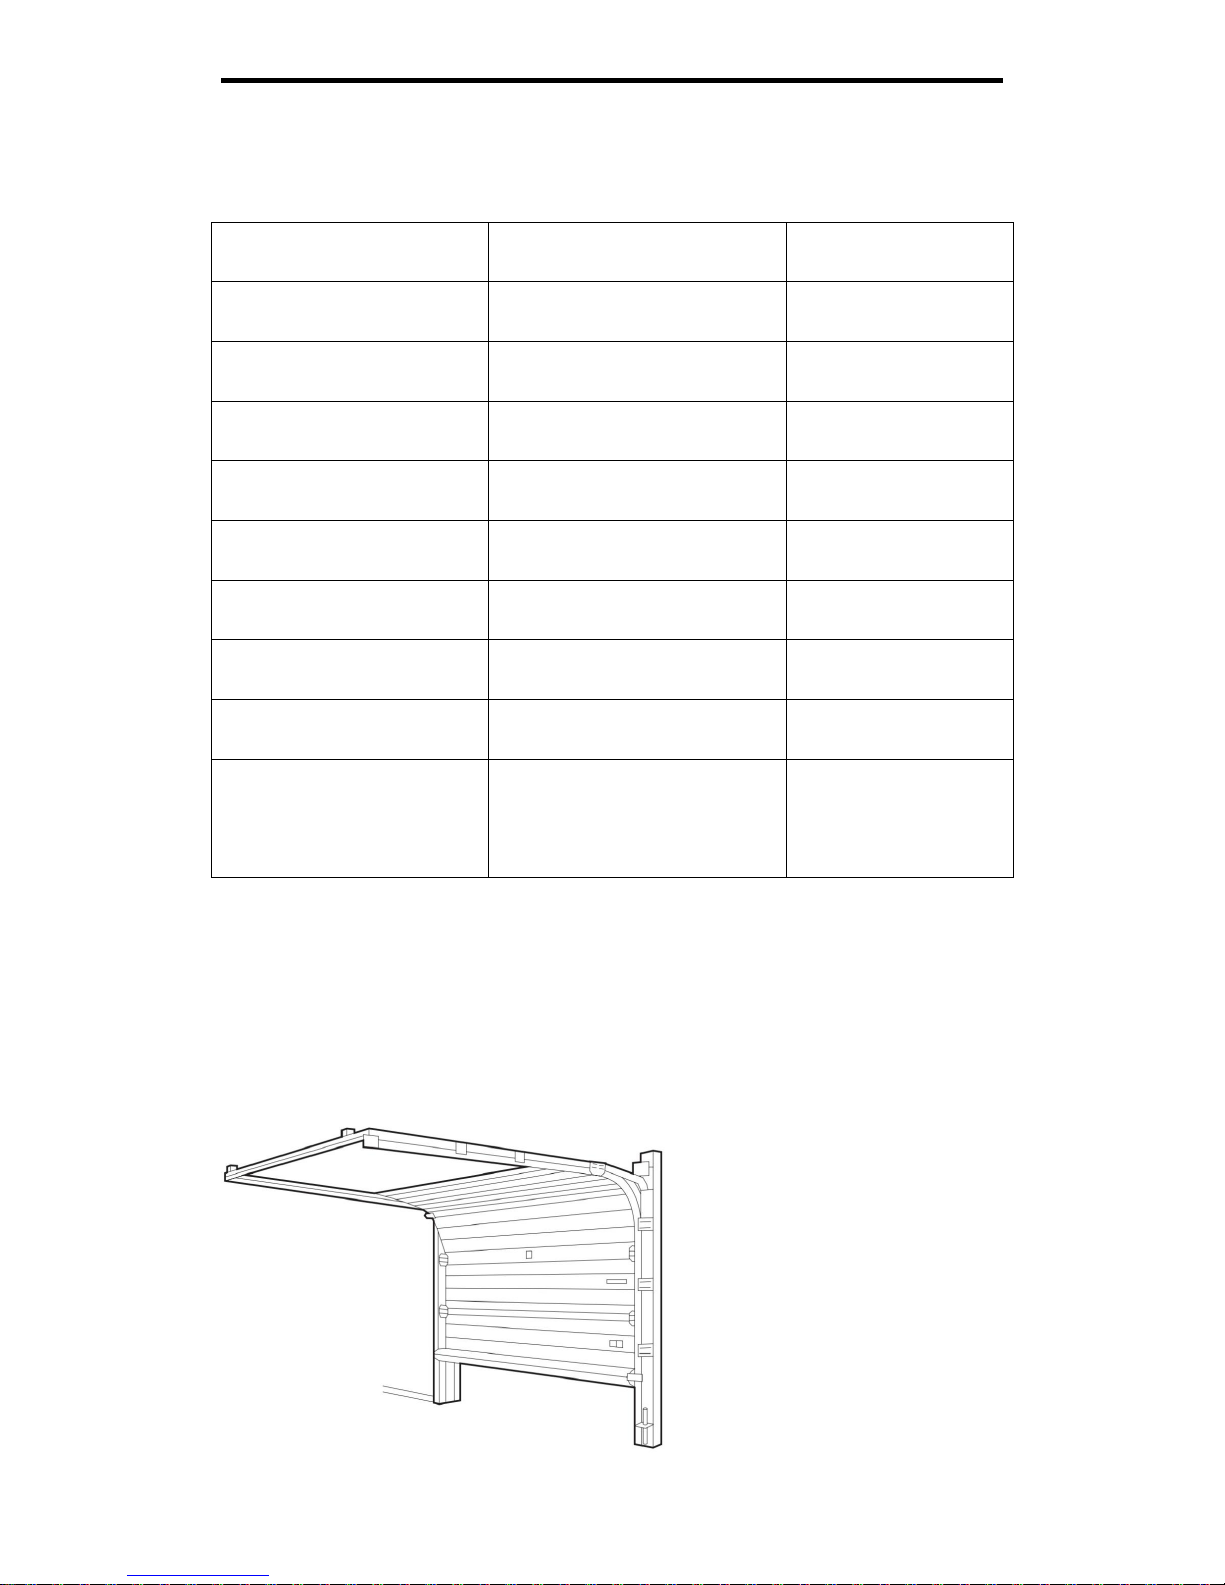
3-2,Using Door Type……………………………………………………………6-7
3-3,Function Instruction…………………………………………………………..7
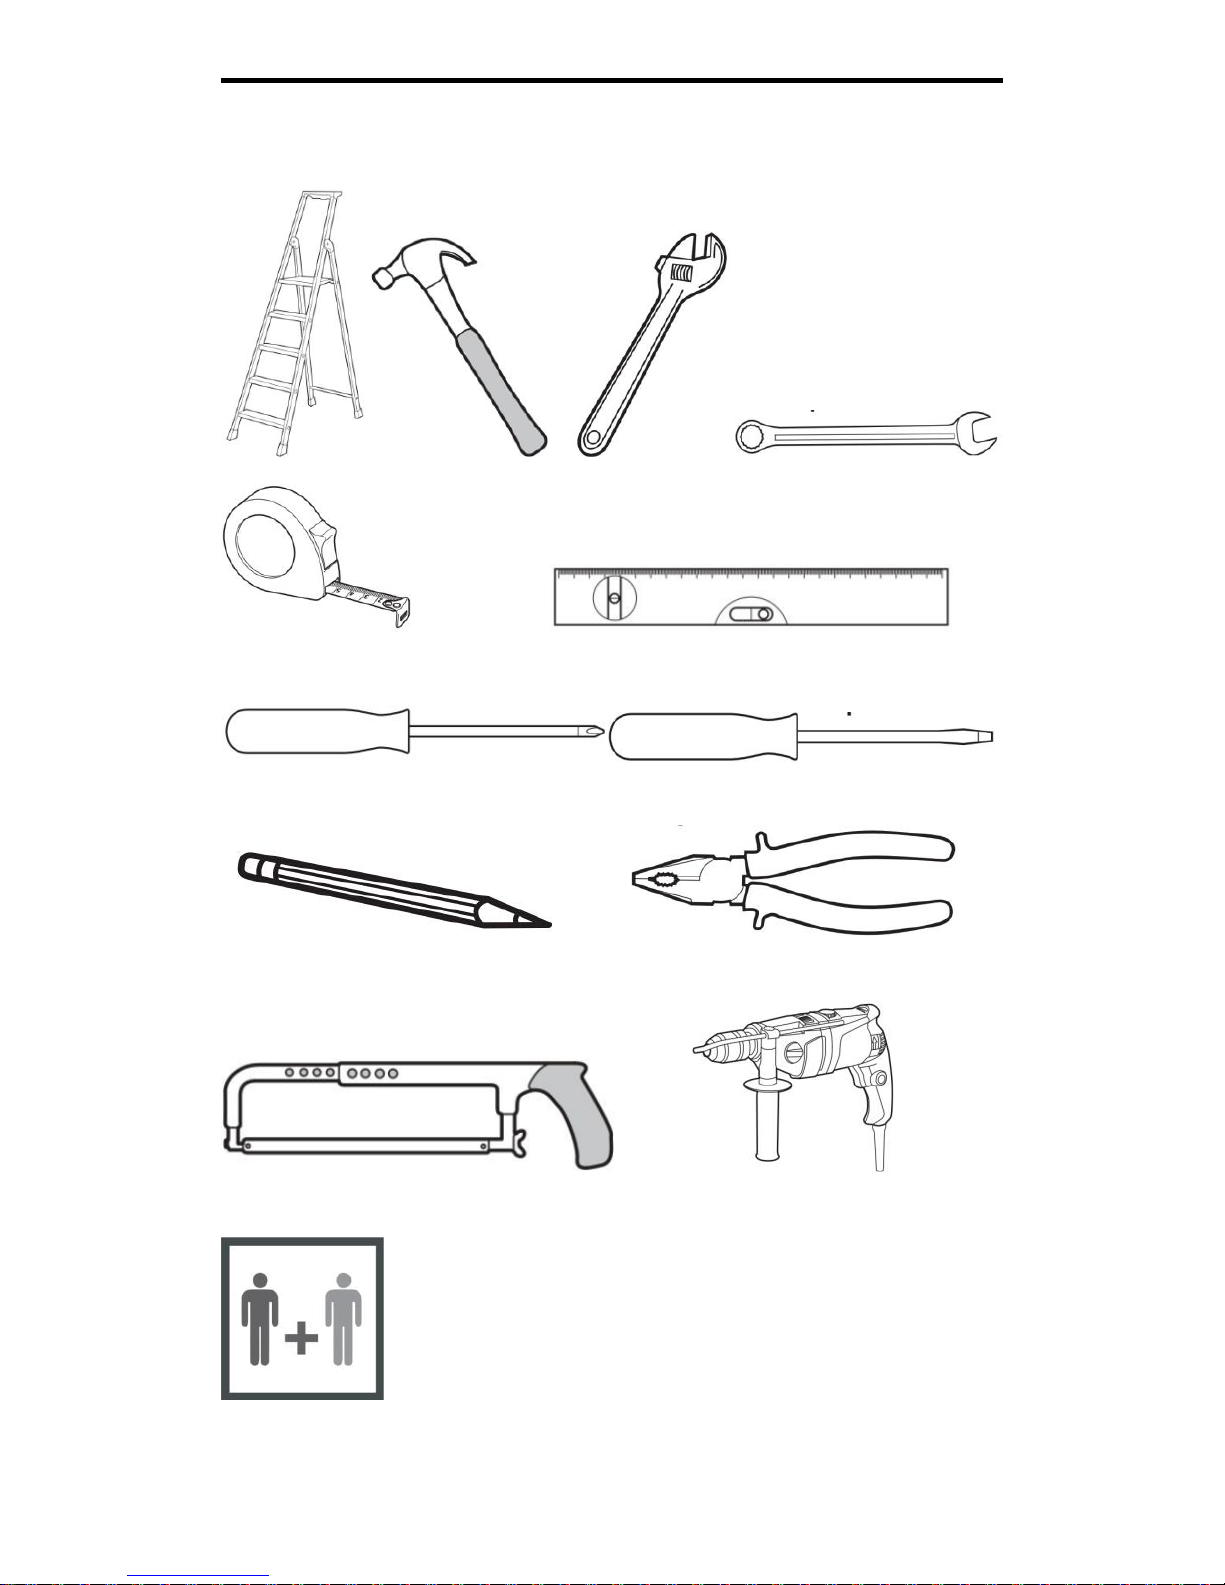
4, Tools Needed…………………………………………………………………….8
5, Assembly
5-1,Assemble the rail and trolley(for a multi-part rail)………………………..9
5-2,Install the straight door arm/curved door arm…………………………...10
5-3,Position and secure the chain(for a multi-part rail)….……………….10
5-4,Tighten the chain(for a multi-part rail)…………………………………...11
5-5,Fasten the rail to the power head…………………………………………11
6 Installation
6-1,Determine the header bracket location………………………………12-13
6-2,Install the header bracket……………………………………………...13-14
6-3,Attach the rail to the header bracket………………………………….14-15
6-4,Position the garage door opener……………………………………...15-18
6-5,Install the door bracket………………………………………………...18-20
6-6,Connect the door arm to the trolley…………………………………..20-23
6-7, Install the Protector System…………………………………………..23-25
7,Adjustments
7-1, Introduction…………………………………………….…………………...26
7-2, Symbols Introduction………………………………………………………27
7-3, Setting the UP(Open) Travel Limit……………………………………27-28
7-4, Setting the DOWN(Close) Travel Limit…………………………………..28
7-5, Adjust the Operating Force……………………………………………28-29
7-6, Test the Safety Reversal System…………………………………………30
7-7, Test the Protector System…………………………………………………30
8, Programming
8-1, Programming Remotes and Wireless Wall Mounted Remote..............31
8-2,Replacing Battery in Remote and Wireless Wall Mounted
Remote……………………………………………………………………………...32
8-3, Programming Wireless Keypad……………………………...……….32-35
9, Clearing Remotes……..……………………………………………………...36
10, Trolley User Manual………………………………………………………….37
11, Troubleshooting……..……………………………………………………….38
12, Warranty……………………………………………………………………….39
13, Accessories and Repair parts………………………………………….40-41
READ AND FOLLOW ALL INSTRUCTION

3
1, User Information
1-1,Safety Notes:
Garage doors are the largest automated moving object in most homes. Care needs to be
taken when using this system. Since moving objects, springs under tension, and electric
motors can cause injuries, your safety and the safety of others depend on you reading the
information in this manual.
1-2,Important Safety Instructions:
READ AND FOLLOW ALL SAFETY, INSTALLATION AND OPERSTION INSTRUCTIONS.
- Only operate the garage door when in full view to ensure people remain away from the
door while door is moving
- Keep all controls away from children and do not allow them to play with the door
opener
- Regularly check the door and when required have it repaired or serviced.
- Safety beam must be installed to close door.
CAUTION: This garage door opener is designed to operate only at 110V-120V,
60HZ to avoid malfunction and damage.
1-3, Important Safety Requirements and Regulations
FAILURE TO COMPLY WITH THESE SAFETY REQUIREMENT AND LOCAL
SAFETY REGULATIONS MAY RESULT IN SERIOUS INJURY, DEATH OR DAMAGE
TO PROPERTY.
PLEASE READ CAREFULLYAND ENSURE THATALL SAFETY RECOMMENDATIONS
and REQUIREMENTS ARE CONSIDERED ADHERED TO.
- The appliance is not to be used by children or persons with reduced physical, sensory
or mental capabilities, or lack of experience and knowledge, unless they have been
given supervision or instruction.
- Children being supervised not to play with the appliance.
- WARNING: Important safety instructions. It is important for the safety of persons to
follow all instructions. Save these instructions.
- Frequently examine the installation, in particular check cables, springs and mountings
for signs of wear, damage or imbalance. Do not use if repair or adjustment is needed
since a fault in the installation or an incorrectly balanced door may cause injury.
- Each month check that the drive reverses when the contacts a 40mm high object
placed on the floor.Adjust if necessary and recheck since an incorrect adjustment
may present a hazard.
- Before installing the drive, remove all unnecessary ropes or chains and disable any
equipment, such as locks, not needed for powered operation.
- Before installing the drive, check that the door is in good mechanical condition,
correctly balanced and open and closes properly.
- Install the actuating member for the manual release at a height less than 1.8m.
- Install any fixed control at a height of at least 1.5m and within sight of the door but

4
1, User Information (Continued)
away from moving parts.
- Permanently fix the label warning against entrapment in a prominent place or near any
fixed controls.
- Permanently fix the label concerning the manual release adjacent to its actuating
member.
- After installation, ensure that the mechanism is properly adjusted and that the drive
reverses when the door contacts a 40mm high object placed on the floor.
- Necessary information for the safe handling of a drive weighing more than 20kg. This
information shall describe how to use the handling means, such as hooks and ropes.
- The drive must not be used with a door incorporating a wicket door (unless the drive
cannot be operated with the wicket door open).
- After installation, ensure that parts of the door do not extend over public footpaths or
roads. It the supply cord is damaged, it must be replaced by the manufacturer, its
service agent or similarly qualified persons in order to avoid a hazard.

5
2, Package Contents

6
3, Features and Benefits
3-1,Technical Parameters
3-2,Using door type
This Garage Door Opener is use only with residential sectional or one piece overhead
garage doors.
Sectional overhead garage door: Maximum height 7’
Model Number
ZTGD800
ZTGD1000
Pull and Push Force
800N
1000N
Motor Voltage
24V DC
24V DC
Voltage
240V, 50HZ
240V, 50HZ
Speed
120mm/s
120mm/s
Temperature Range
-20℃~ +45℃
-20℃~ +45℃
Remote Control Code
433.92MHZ
433.92MHZ
Remote Battery Voltage
12V,27A
12V,27A
Coding Format
Rolling Code
Rolling Code
Remote Distance
(In Open Area)
50M
50M

7
3, Features and Benefits (Continued)
One piece overhead garage door: Maximum height 7.3’
3-3,Function Instruction
Opens door smoothly with soft starts and stops
Electronic limit setting provides precise door travel control
Easy programming with control panel
Door will reverse automatically if be obstructed during close
Emergency manual release handle
Bulb lighting system supplies light for safer evening exits and entries.
Turns on when door is activated and automatically turns off four minutes
later

8
4,Tools Needed
The tools illustrated below may be used during installation and adjustment of your opener
(items not supplied):
time assistance for certain tasks

9
5, Assembly
5-1, Assemble the rail and trolley( for a multi-part rail)
CAUTION: To prevent injury from pinching, please keep hands and fingers
away from the joints while assembling the rail

10
5, Assembly (Continued)
5-2, Install the straight door arm/curved door arm
5-3, Position and secure the chain( for a multi-part rail)
WARNING: To avoid possible serious injury to fingers from moving garage
door opener:
- Always keep hand clear of sprocket while operating opener
- Securely attach chain spreader before screwing

11
5, Assembly(Continued)
5-4, Tighten the chain( for a multi-part rail)
NOTES: During future maintenance, please always pull the emergency release handle to
disconnect the trolley before adjusting the chain. Sprocket noise can result if the chain is
too loose. Check for proper tension and readjust chain if necessary.
5-5, Fasten the rail to the power head
CAUTION: To avoid serious damage to garage door opener, please only use those
bolts/fasteners mounted in the top of the opener.
You have now finished assembling your garage door opener.

12
6, Installation
Please read the following warnings before proceeding to the installation section.
IMPORTANT INSTALLATION INSTRUCTIONS
WARNING: To reduce the risk of severe injury or death:
- Please read and follow all installation warnings and instructions.
- Please install garage door opener only on properly balanced and lubricated garage
door. An improperly balanced door may not reverse when required and could result in
severe injury or death
- All repairs to cables, spring assemblies and other hardware must be made by a
trained door systems technician before installing opener.
- Disable all locks and remove all ropes connected to garage door before installing
opener to avoid entanglement.
- Please install garage door opener 7 feet floor.
- Please never wear watches, rings or loose clothing while installing or servicing
opener. They could be caught in garage door or opener mechanisms.
- Please never connect garage door opener to power source until instructed to do so.
- Please place manual release/safety reverse test label in plain view on inside of
garage door.
- To avoid serious personal injury or death from electrocution, please disconnect all
electric power before performing any service or maintenance.
6-1, Determine the header bracket location

13
6, Installation(Continued)
6-2, Install the header bracket
You can attach the header bracket either to the wall above the garage door, or to the
ceiling. Please follow the instructions which will work best for your particular requirements.
Please do not install the header bracket over drywall. If installing into masonry, use
concrete anchors(not provided)

14
6, Installation(Continued)
6-3, Attach the rail to the header bracket
Align the rail with the header bracket. Insert the clevis pin through the holes in the
header bracket and rail. Secure with the R fastener

15
6, Installation(Continued)
6-4, Position the garage door opener
CAUTION: To prevent damage to garage door, with help of another person.
Step1, Attach the “U”bracket on the rail, connect with short angle iron with screws.

16
6, Installation(Continued)
Step2, Position the rail horizontally and measure the distance there between motor and
ceiling. Make sure the garage door opener is aligned with the header bracket. Measure
the distance from each side of the garage door opener to the ceiling. Cut two long angle
irons accordingly, and connect with two short angle irons with same screws.
Step3, With the help of another person, attach the rail to ceiling with anchors and
screws(not included)

17
6, Installation(Continued)
Step4,Attach the middle of rail to ceiling with hanging bracket, anchors , screws, and
angle irons( not included, should be applied by door suppliers)
WARNING: To avoid possible serious injury from a falling garage door
opener, fasten it securely to structural supports of the garage. Concrete
anchors must be used if installing any brackets into masonry
If at the beginning of step2, when you position the rail horizontally, your
engine is found stuck to the ceiling, Only “U”bracket(without hole) and
below mounting are needed.

18
6, Installation(Continued)
6-5, Install the door bracket
CAUTION: Fiberglass, aluminum or lightweight steel garage doors will
require reinforcement before installation of door bracket. Please contact your
door manufacturer for reinforcement kit.
OPTION A SECTIONAL DOORS
Step1, Center the door bracket on the previously marked vertical centerline used for the
header bracket installation. Note correct up placement, as stamped inside the bracket.

19
6, Installation(Continued)
Step2, Position the top edge of the bracket 2”-4”(5-10cm) below the top edge of the door,
or directly below any structural support across the top of the door.
Step3, Mark, drill holes and install as follow

20
6, Installation(Continued)
OPTION B ONE-PIECE DOORS
Center the door bracket on the top of the door, in line with the header bracket as shown.
6-6, Connect the door arm to the trolley
Installation will vary according to the garage door type. Follow the instructions
which apply to your door.
OPTION A SECTIONAL DOORS
Step1, Close the door. Disconnect the trolley by pulling the emergency release handle
Step2, Attach the curved door arm to the door bracket using the clevis pin. Secure with
the R fastener.
This manual suits for next models
1
Table of contents
Popular Garage Door Opener manuals by other brands

DITEC
DITEC CROSS 5E-7E-7EH-8E Installation and maintenance manual

Chamberlain
Chamberlain 8550 owner's manual

Chamberlain
Chamberlain MotorLift500 instructions

Chamberlain
Chamberlain EVOLUTION LM60EVFA Assembly and operating instructions

Chamberlain
Chamberlain 4000UK instructions

Chamberlain
Chamberlain C2405 user guide