manuals.online logo
Brands
  1. Home
  2. •
  3. Brands
  4. •
  5. LockTech
  6. •
  7. Lock
  8. •
  9. LockTech ACCUREADER KW14 User manual

LockTech ACCUREADER KW14 User manual

KW14
by
LockTech
www.accureader.com
[email protected]
Thank you for purchasing the AccuReader
wafer reading syste by LockTech. This syste will
allow you to read the KW14 keyways co pletely and
accurately without the re oval of the ignition.
Following a few si ple steps it takes only inutes to
read the depths for each cut in each position for a
co plete key.
The AccuReader works on the process of
eli ination to decipher the correct depths of the lock.
By checking the deepest cut first you eli inate what
the cuts are not. Therefore it is essential to always
read depth slide #4 first.
KW14 keyways are usually 6 space, but
so e utilize 7 spaces. This KW14 AccuReader will
read both 6 space and 7 space locks. Use the
reference guide to find out if your lock is 7 space or 6
space and follow the appropriate directions.
The AccuReader key is designed to be used
for wafer positions 4-7(7 space locks) or 3-6(6 space
locks) on one side of the key and wafer positions
1-3(7 space locks) or 1-2(6 space locks) on the
opposite side of the key. All the positions can be
read fro one side of the key, however it is
reco ended to flip the key over and use the other
side. This allows for reading the 1-3 or 1-2 wafer
positions with a fully or al ost fully inserted key,
increasing the accuracy.
Please take the ti e to fa iliarize yourself
with the tools and verify all pieces are accounted for
fro the list of contents below:
Package Contents:
1-AccuReader key
1-insertion/release slide
1-depth slide #4
1-depth slide #3
1-depth slide #2
1-Tube storage container
1-Tube Cap
USING THE ACCU-READER (7 space system)
1) Always thoroughly clean the lock with a electronics
safe cleaner to free any potentially stuck wafers.
2) Use the align ent holes through the AccuReader
key to assist in judging the distance fro one wafer
position to the next.
3) Place the insertion/release slide in the slot on the
AccuReader key on the #4-7 side. Fully insert the
AccuReader key into the keyway and re ove the
slide. The AccuReader key is now ready to read the
#7 wafer. (Note: If the AccuReade t apped a
wafe sho tly afte inse ting it into the keyway,
use the elease slide on the opposite side of the
key to elease the AccuReade . This happens
when wafe s fall into the t ap slot fo the 1-3 side,
since these locks have wafe s only on one side.
Flip the AccuReade ove and esta t step 2).
4) Always sta t eading with the #4 depth slide
tool, then p oceed to #3 & #2 in o de , if
necessa y. Fully insert the depth slide into the Accu-
Reader key. The align ent ark on the depth slide
will line up with the (Y) Yes ark or it will line up with
the (N) No ark.
a) If the #4 depth slide lines up with the Y
then the depth for the #7 wafer is a 4. If the depth
slide lines up with a N, then you ust
proceed to the #3 depth slide.
b) If the #3 depth slide lines up with the Y
then the depth for the #7 wafer is a 3. If the depth
slide lines up with a N, then you ust
proceed to the #2 depth slide.
c) If the #2 depth slide lines up with the Y
then the depth for the #7 wafer is a 2. If the depth
slide lines up with a N, then the depth for
wafer #7 is a 1.
d) Repeat steps a through c for each wafer
position until you have recorded the depth for wafer
position 7, 6, 5, & 4.
e) Using the insertion/release slide re ove
the AccuReader key fro the keyway and flip it over.
Insert the insertion/re oval slide on the #1-3 side of
the AccuReader and fully insert the AccuReader
key back into the keyway. You are now ready to read
wafer position #3.
f) Repeat steps a through c for each wafer
position until you have recorded the depth for wafer
position 3, 2, & 1.
g) You now have recorded all the positions to
ake a co plete key.
USING THE ACCU-READER (6 space system)
1) Always thoroughly clean the lock with a electronics
safe cleaner to free any potentially stuck wafers.
2) Use the align ent holes through the AccuReader
key to assist in judging the distance fro one wafer
position to the next.
3) Place the insertion/release slide in the slot on the
AccuReader key on the #3-6 side. Fully insert the
AccuReader key into the keyway and re ove the
slide. The AccuReader key is now ready to read the
#7 wafer. (Note: If the AccuReade t apped a
wafe sho tly afte inse ting it into the keyway,
use the elease slide on the opposite side of the
key to elease the AccuReade . This happens
when wafe s fall into the t ap slot fo the 1-2 side,
since these locks have wafe s only on one side.
Flip the AccuReade ove and esta t step 2).
4) Always sta t eading with the #4 depth slide
tool, then p oceed to #3 & #2 in o de , if
necessa y. Fully insert the depth slide into the Accu-
Reader key. The align ent ark on the depth slide
will line up with the (Y) Yes ark or it will line up with
the (N) No ark.
a) If the #4 depth slide lines up with the Y
then the depth for the #6 wafer is a 4. If the depth
slide lines up with a N, then you ust proceed to the
#3 depth slide.
b) If the #3 depth slide lines up with the Y
then the depth for the #6 wafer is a 3. If the depth
slide lines up with a N, then you ust
proceed to the #2 depth slide.
c) If the #2 depth slide lines up with the Y
then the depth for the #6 wafer is a 2. If the depth
slide lines up with a N, then the depth for
wafer #7 is a 1.
d) Repeat steps a through c for each wafer
position until you have recorded the depth for wafer
position 6, 5, 4, & 3.
e) Using the insertion/release slide re ove
the AccuReader key fro the keyway and flip it over.
Insert the insertion/re oval slide on the #1-2 side of
the AccuReader and fully insert the AccuReader
key back into the keyway. You are now ready to read
wafer position #2.
f) Repeat steps a through c for each wafer
position until you have recorded the depth for wafer
position 2 & 1.
g) You now have recorded all the positions to
ake a co plete key.
TIPS& SUGGESTIONS
1) Always clean the keyway thoroughly before
starting.
2) Use the diagra on the protective case to identify
the YES line and the NO line when reading a lock.
3) Watch the de onstration video online at:
www.locktech.biz
KW14 compatibility list rev. 3-31-09
MAKE MODEL YEARS SPACES
Kawasaki Vulcan 2000, 1600 Noma , 1600 Classic, Mean Streak 2002+ 7
Kawasaki KLR650 2008+ 7
Kawasaki Vulcan 500, 800, 1500, KLR, KLX, Eliminator 125 (Can be KW14 or KW14R) 1987-2001 6
Kawasaki Ninja 750 1991-1992 6
Kawasaki KLX 650 1993-1996 6
Ducati Most Mo els 1991-2002 6
Suzuki Marau er 1600 2004+ 7
Suzuki Boulevar M95 2004+ 7
Victory Most mo els 1999+ 6
MV Augusta Most mo els 1996+ 6
Cagiva Mito 500 2007+ 6

Other LockTech Lock manuals

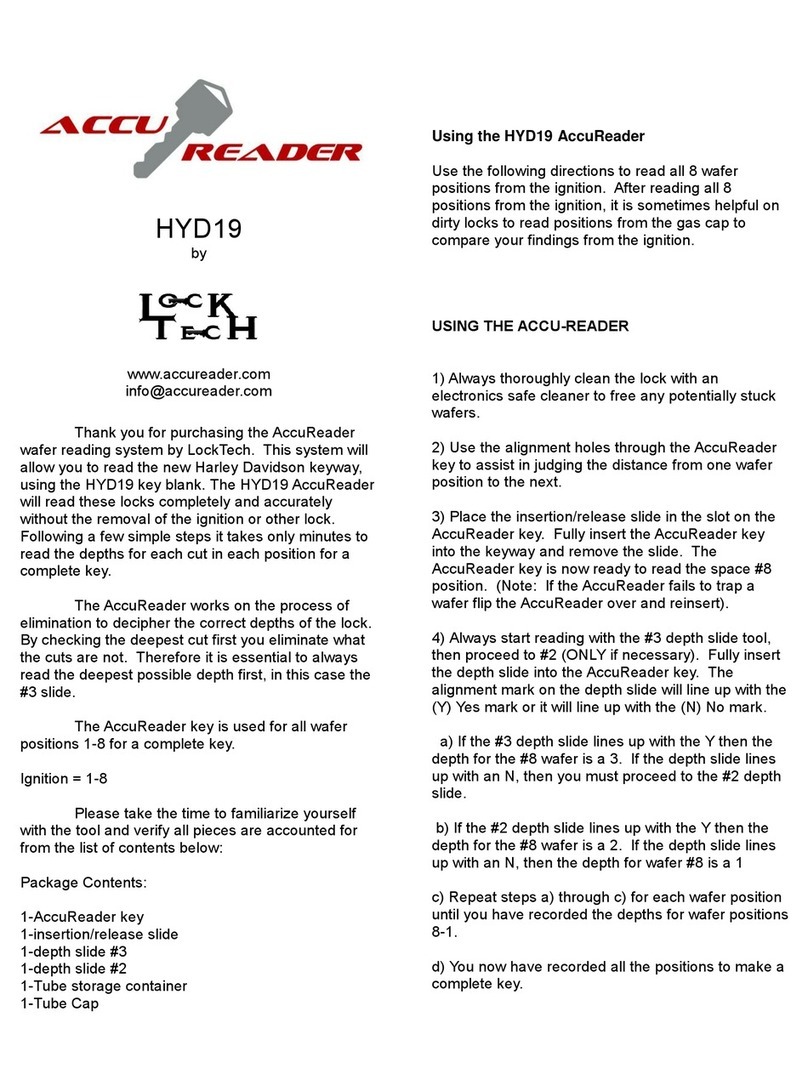
LockTech AccuReader HYD19 User manual

LockTech

LockTech AccuReader HYD19 User manual

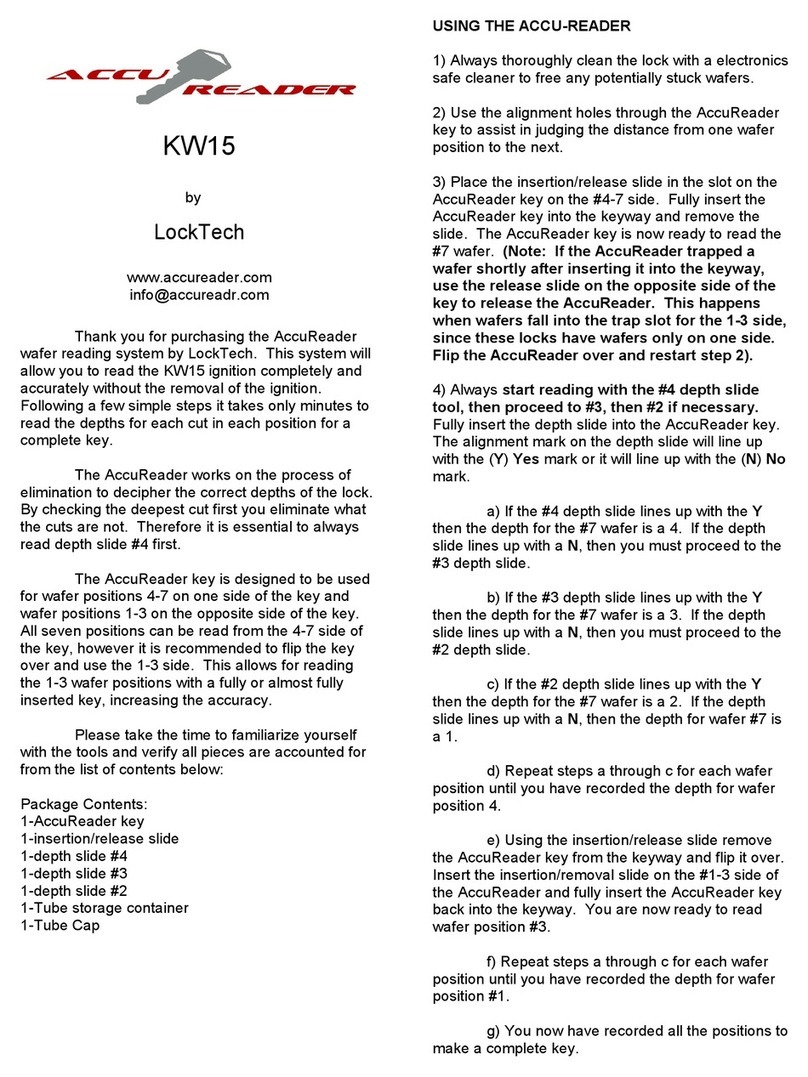
LockTech AccuReader KW15 User manual

LockTech

LockTech AccuReader KW15 User manual

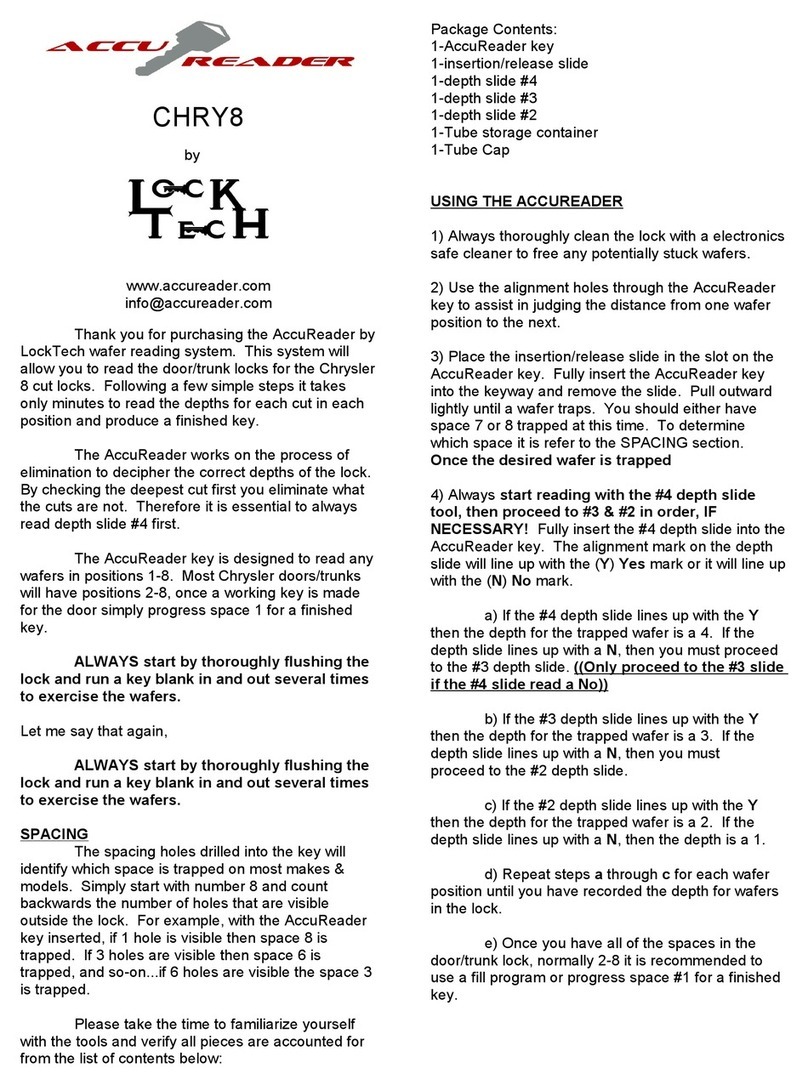
LockTech ACCU READER CHRY8 User manual

LockTech

LockTech ACCU READER CHRY8 User manual

LockTech LTTCE User manual

LockTech

LockTech LTTCE User manual

Popular Lock manuals by other brands

Kaba LA GARD 1985 operating instructions

Kaba

Kaba LA GARD 1985 operating instructions

Siegenia KFV Assembly instructions

Siegenia

Siegenia KFV Assembly instructions

Gianni Handle Lock Series Installation instruction

Gianni

Gianni Handle Lock Series Installation instruction

idatastart HCX Product guide

idatastart

idatastart HCX Product guide

Schlage L9000 Series installation instructions

Schlage

Schlage L9000 Series installation instructions

WSS ATELIER F Assembly instruction

WSS

WSS ATELIER F Assembly instruction

Motormate Honda 10-401-SS installation instructions

Motormate

Motormate Honda 10-401-SS installation instructions

Stock Loks CB-191 instruction sheet

Stock Loks

Stock Loks CB-191 instruction sheet

Hama Cable lock and key operating instructions

Hama

Hama Cable lock and key operating instructions

Stock Loks C8714 instruction sheet

Stock Loks

Stock Loks C8714 instruction sheet

COLFERT MANIGLIE KATA VELA Assembling instructions

COLFERT

COLFERT MANIGLIE KATA VELA Assembling instructions

ZKTeco PL10 Series user manual

ZKTeco

ZKTeco PL10 Series user manual

Omlet Eglu Cube manual

Omlet

Omlet Eglu Cube manual

Olympus Lock CR25LM installation instructions

Olympus Lock

Olympus Lock CR25LM installation instructions

D&D Technologies MagnaLatch MLSPS2 installation instructions

D&D Technologies

D&D Technologies MagnaLatch MLSPS2 installation instructions

Mottura ASTABLOCK 36 Series Assembly instructions

Mottura

Mottura ASTABLOCK 36 Series Assembly instructions

LOX EM5700D installation manual

LOX

LOX EM5700D installation manual

CDVI C3S11 manual

CDVI

CDVI C3S11 manual

manuals.online logo
manuals.online logoBrands
  • About & Mission
  • Contact us
  • Privacy Policy
  • Terms and Conditions

Copyright 2025 Manuals.Online. All Rights Reserved.