manuals.online logo
Brands
  1. Home
  2. •
  3. Brands
  4. •
  5. Mottura
  6. •
  7. Lock
  8. •
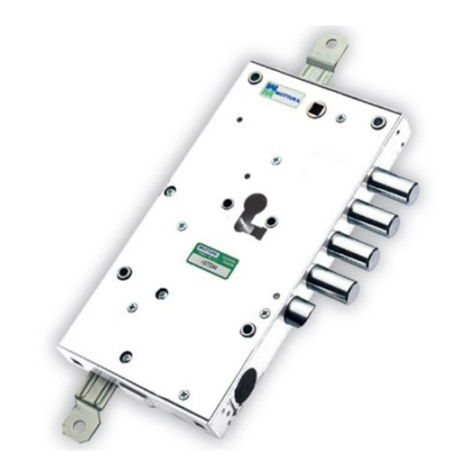
  9. Mottura ASTABLOCK 36 Series User manual

Mottura ASTABLOCK 36 Series User manual

BLOCCAGGIO ASTE PER SERRATURE DI PORTE BLINDATE
BLOCAGE BARRES POUR SERRURES DE PORTES BLINDEES
BAR LOCKING SYSTEM FOR ARMORED DOOR LOCKS
FIJACIÓN DE LAS VARILLAS PARA LAS CERRADURAS DE PUERTAS
ASTABLOCK
®
ISTRUZIONI DI MONTAGGIO VERSIONE CILINDRO EUROPEO E TIPO “SERRABLOCCA”
INSTRUCTIONS DE MONTAGE VERSION CYLINDRE EUROPEEN ET VERSION “SERRABLOCCA”
ASSEMBLY INSTRUCTIONS EUROPEAN CYLINDER VERSION AND “SERRABLOCCA” VERSION
INSTRUCCIONES DE MONTAJE VERSIÓN CILINDRO EUROPEO Y VERSION “SERRABLOCCA”
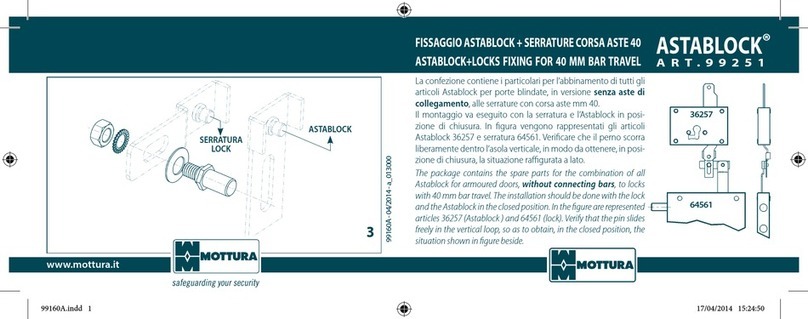
1 - Vericare la compatibilità tra ASTABLOCK e la serratura già esistente o da installare in abbinamento all’ASTABLOCK: la corsa aste della serratura deve
essere compresa tra 17 e 23 mm. Per corsa di 40 mm adoperare Art. 99251 (optional). Per serrature serie 50555/85555 adoperare Art.99253 (optional).
2 - ASTABLOCK può essere collegato alla serratura direttamente con il perno di aggancio (g. 1) oppure con l’astina di collegamento art. 93316, disponibile
a parte (g. 2).
3 - Chiudere ASTABLOCK (catenacci fuori), agganciarlo alla serratura chiusa (catenacci fuori) e posizionarlo sulla struttura interna della porta seguendo uno
degli esempi di montaggio sottoindicati.
4 -
Tracciare i fori da eettuare e ssare ASTABLOCK utilizzando le boccole o gli attacchi laterali, vericando il parallelismo con la serratura rispetto al lo dell’anta.
ASTABLOCK blocca l’asta soltanto quando la serratura è chiusa (catenacci fuori). Alcuni articoli con catenaccio laterale hanno la funzione di semiapertura al
primo giro (con catenacci serratura rientrati) e di chiusura al 2° giro (con catenacci serratura fuori). Evitare di azionare ASTABLOCK con la serratura aperta.
1 - Vérier la compatibilité entra ASTABLOCK et la serrure déjà existante ou à installer en accouplement avec ASTABLOCK: la course des barresde la serrure
doit être comprise entre 17 et 23 mm. Pour course pênes 40 mm utiliser art. 99251 (pas compris). Pour serrure 50555/85555 utiliser art. 99253 (pas compris).
2 - ASTABLOCK peut être relié à la serrure directement avec le pivot d’accrochage (g. 1) ou bien avec la barre de raccordement art. 93316, disponible à part (g. 2).
3 - Fermer ASTABLOCK (verrous dehors), l’accrocher à la serrure fermées (verrous dehors) et le positionner sur la structure intérieure de la porte en suivant l’un des exem-
ples de montage indiqués ci-dessous.
4 - Tracer les trous et xer ASTABLOCK en utilisant le douilles de xation ou les raccords lateraux, en vériant le parrallélisme avec la serrure par rapport au bord du
vantail. ASTABLOCK bloque la barre seulement lorsque la serrure est fermée (verrous dehors). Des modèles avec pêne latéral servent de semi-ouverture au premier tour
(avec verrous serrure rentrés) et de fermeture au deuxième tour (avec verrous serrure dehors). Ne pas actionner ASTABLOCK à serrure ouverte.
1 -
Check that ASTABLOCK is compatible with the existing lock or the lock to be installed in combination at the same time; the bar travel must be between
17 and 23 mm. For 40 mm bolt travel use art. 99251 (not included). For lock 50555/85555 use art. 99253 (not included).
2 -
ASTABLOCK can be connected directly to the lock using the connecting pin
(g. 1) or using the connecting bar art. 93316, available separately (g. 2).
3 - Lock ASTABLOCK (bolts extended), connect it to the lock which should also be
closed (bolts extended) and place it on the inside structure of the door in accordan-
ce with one of the assembly alternatives illustrated below.
4 - Mark the holes to be made and x the ASTABLOCK using all of the fasteners (side
attachments or bushings), checking that it is parallel with the lock in relation to
the edge of the door. ASTABLOCK only locks the bar when the lock is closed (bolts
extended). Some items with lateral locking with side bolt operate at the rst turn for
door ajar (with the bolts retracted) and for locking at the second turn (with the lock
bolts extended). Do not operate ASTABLOCK with open lock.
1 -
Comprobar la compatibilidad entre ASTABLOCK y la cerradura ya existente o la que
se ha de instalar en combinación con ASTABLOCK: el recorrido de las varillas de la cerra-
dura ha de ester comprendida entre 17 y 23 mm. Por recorrido pestillos 40 mm utilizar
art. 99251 (no incluido). Por cerraduras 50555/85555 utilizar art. 99253 (no incluido).
2 - ASTABLOCK puede acoplarse a la cerradura directamente con el perno de enganche
(g.1) o con la varilla de acoplamiento art. 93316, que se ofrece a parte (g. 2).
3 -
Cerrar ASTABLOCK (cerrojos fuera), engancharlo a la cerradura cerrada (cerrojos fuera)
y colocarlo en la estructura interior de la puerta siguiendo uno de los ejemplos de mon-
taje indicados a continuación.
4 - Marcar lor oricios a realizar y jar ASTABLOCK utilizando para ello los correspon-
dientes elementos de jación (conexiones laterales/casquillos), comprobando el para-
lelismo con la cerradura respecto al borde de la puerta. ASTABLOCK bloquea la varilla
sólo cuando la cerradura está cerrada (cerrojos fuera). Unos modelos con pestillo lateral
tienen la función de semiapertura a la primera vuelta (con cerrojosde la cerradura den-
tro) y de cierre a la 2 vuelta (con cerrojos cerradura fuera). No accionar ASTABLOCK con
cerradura abierta.
ESEMPIO DI MONTAGGIO • EXEMPLES DE MONTAGE
ASSEMBLY EXAMPLES • EJEMPLOS DE MONTAJE
FIG.1 FIG.2
S E R I E 3 6
www.mottura.it
VITE DI BLOCCO - da rimuovere ad installazione conclusa. Vericare il corretto funzionamento della serratura e di ASTABLOCK.
VIS DE BLOCAGE - à retirer au terme de l’installation. Contrôler le bon fonctionnement de la serrure et de ASTABLOCK.
LOCKSCREW – remove when installation is done. Check correct functioning of the lock and of the ASTABLOCK
.
TORNILLO DE BLOQUEO- quitar una vez concluida la instalación. Vericar el correcto funcionamiento de la cerradura y de ASTABLOCK.
POSSIBILITÁ DI FISSAGGIO PER TUTTE LE VERSIONI
ASTABLOCK può essere ssato utilizzando due diversi sistemi:
1. CON LE BOCCOLE FRONTALI “A” di serie.
2. CON ATTACCHI LATERALI MEDIANTE 6 DADI IN GABBIA “B” forniti a richiesta.
Si raccomanda questa soluzione di montaggio, che permette di usufruire del-
lo spazio normalmente occupato dalla piastra di ssaggio per l’applicazione
di piastre di rinforzo a protezione della serratura.
”C” Piastra a saldare - “D”Vite 6MA - “E” Piastra al manganese.
I particolari C, D, E NON SONO COMPRESI NELLA CONFEZIONE.
INSTALLATION SUGGERES
ASTABLOCK peut être instalée en utilisant deux methodes dierents:
1. AVEC BOUCLE FRONTALE STANDARD.
2. AVEC ATTACHES LATERALES AU MOYEN DE 6 ECROUS EN CAGE “B” fournis
sur demande. Il estreccomandé cette deuxième solution qui permet d’utiliser
l’espace habituellement occupé parla plaque de xage pour appliquer les pla-
ques de renforcement de protection de la serrure.
”C” plaquette à souder - “D”vis 6MA -“E” plaque au manganèse.
Les accessoires C, D, E ne sont pas compris dans l’emballage.
SUGGESTED INSTALLATIONS FOR ALL VERSIONS
ASTABLOCK can be mounted by two dierent methods:
1. WITH THE STANDARD FRONT FASTENERS “A”.
2. WITH LATERAL FASTENERS THROUGH 6 CAGE NUTS“B” supplied on request.
We highly recommend this second solution which releases the space usually
taken by the fastening plates and allows the use of strengthening plates for
lock case protection.
VERSIONE A CILINDRO EUROPEO • VERSION CYLINDRE EUROPEEN
EUROPEAN CYLINDER VERSION • VERSIÓN CILINDRO EUROPEO
Vengono forniti a parte e quindi non sono compresi nella confezione, i seguenti compo-
nenti: cilindro (2), rosone interno (5), rinforzo esterno (6), viti passanti (7), mostrine (8) e (9),
pomolo (10). La sequenza di montaggio, sia per ASTABLOCK con doppia chiave (esempio A)
che con predisposizione pomolo (esempio B) è la stessa:
-Avvitare e stringere la vite a testa esagonale (1) sul cilindro (2), dal lato corrispondente allo
scasso predisposto sulla serratura e inserire il cilindro nel suo alloggiamento.
-Calzare la piastrina di ssaggio (3), dal lato interno della serratura, con il perno (4) rivolto
verso la vite (1).
-Applicare il rosone interno (5) e ssare il rinforzo esterno (6) con le viti passanti (7).
-Applicare la mostrina interna (8), la mostrina esterna (9) ed il pomolo (10).
Les pièces suivantes sont fournies à part et ne sont donc pas comprises dans l’emballage:
cylindre (2), rosace intérieure (5), renfort extérieur (6), vis traversantes (7), plaquettes (8) e (9), bou-
ton (10). La séquence de montage, tant pour ASTABLOCK avec double clé (exemple A) qu’avec
prédisposition bouton (exemple B), est la même:
-visser et serrer la vis à tête hexagonale (1) sur le cylindre (2) du côté correspondant àl’enfoncement
prédisposé sur la serrure, insérer le cylindre dans son logement.
-Introduire la plaquette de xation (3) du côté intérieur de la serrure, avec le pivot (4) tourné vers
la vis (1).
-Appliquer la rosace intérieure (5) et xer le renfort extérieure (6) avec les vistraversantes (7).
-Appliquer la plaquette intérieure (8), la plaquette extérieure (9) et le bouton (10).
The cylinder (1), internal plate (5), external reinforcement (6), through screws (7), key covers
(8) and (9) and knob (10) are supplied separately and are therefore not included in the pack.
The assembly sequence, both for ASTABLOCK with double key (example A) and for the type
with knob provision (example B) is the same:
-Screw in and tighten the bolt (1) on the cylinder (2) from the side of the housing provided
on the lock, t the cylinder into its housing.
-Fit the xing plate (3) from the inside of the lock, with the pin (4) facing to wards the screw (1).
-Fit the internal plate (5) and x the external reinforcement (6) using the through screws (7).
-Fit the inside key cover (8), the outside key cover (9) and the knob (10).
Se suministran a parte y por lo tanto no están incluidos en el embalaje, los componentes siguien-
tes: cilindro (2), arandela interior (5), refuerzo exterior (6), tornillos pasantes (7), chapitas (8) y (9),
pomo (10). La secuencia de montaje, tanto para ASTABLOCK con doble llave (ejemplo A) como con
pre-instalación del pomo (ejemplo B) es la misma:
-enroscar y apretar el tornillo de cabeza hexagonal (1) en el cilindro (2), por el lado correspondien-
te al hueco realizado en la cerradura, introducir el cilindro en su alojamiento.
-Calzar la chapita de jación (3), por el lado interior de la cerradura, con el perno (4) dirigido hacia
el tornillo (1).
-Aplicar la arandela interior (5) y jar el refuerzo exterior (6) con los tornillos pasantes (7).
-Aplicar la chapita interior (8), la chapita exterior (9) y el pomo (10).
A
B
”C” soldering plate - “D” screws 6MA - “E” mangan plate.
The accessories C, D, E are not delivered in the packing.
OSIBILIDADES DE MONTAJE
ASTABLOCK puede ser instalado utilizando dos sistemas diferentes:
1. CON LA TUERCAS FRONTALES “A”de serie.
2. CON EL MONTAJE LATERAL MEDIANTE 6 TUERCAS PRISIONERE “B” fabrica-
das bajo pedido. Esta solution permite hacer uso del espacio normalmente
ocupado por la placa de jacion y ensu lugar aplicar placas de refuerzo que
proteja la cerradura.
”C” Plaquita para soldar - “D”Tornillo 6MA - “E” Placa al manganeso.
Los accessorios C, D, E no estan incluidos en la composicion.
B
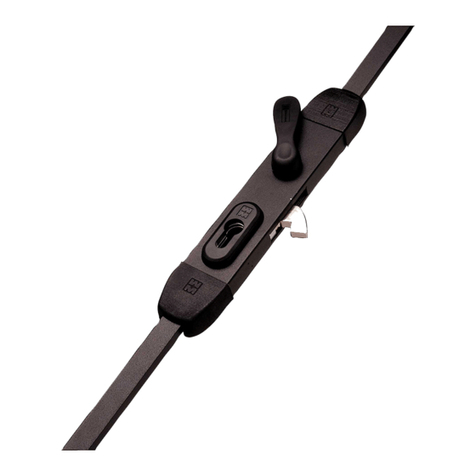
POMOLO CON INNESTO A MOLLA - L’apertura interna con pomolo assicura lo sblocco
rapido in caso di necessità. Per garantire alla serratura il perfetto funzionamento occor-
re accertarsi che il montaggio del pomolo sulla porta sia eettuato correttamente e che
quindi possa girare liberamente senza frizionamenti o impedimenti nella sua completa
rotazione. Misurare la distanza tra l’esterno pannello e l’inizio inserimento del quadro “A”
nella boccola. Fissare il quadro alla misura rilevata + 1 mm. e bloccarlo mediante la vite
“B”, in modo che laparte cilindrica del quadro sia inserita in “C”.
IMPORTANTE: con il pomolo disinserito il quadro non deve essere in presa diretta con
la serratura. Fissare il pomolo ai due perni “D” della serratura utilizzando le viti “E”. Per
inserire il quadro e quindi aprire o chiudere la serratura, spingere e ruotare il pomolo.
BOUTON AVEC EMBRAYAGE ARESSORT - L’ouverture intérieure avec bouton assure le
deblocage rapide en cas de nécessité. Pour garantir le parfait fonctionnement il fauts’assurer
que le montage du bouton soit eectué correctement et qu’il puisse tourner librement dans
sarotation complète. Mesurer la distance entrel’extérieur de la porte etl’insertion du carré “A”
dans la bogue. Ajouter 1 mm à la distance mesurée et bloquer le carré à cette distance au
moyen de la vis “B” ainsi que l’extremité cylindrique du carré soit insérée dans la bogue “C”.
IMPORTANT: avec lapoignée déclanchée le carré ne doit pas être en prise directe avec la ser-
rure. Abloquer la poignée aux pivots “D” avec les vis “E”. Pousser et tourner la poignée pour
insérer le carré et donc ouvrir ou fermer la serrure.
KNOB WITH SPRING CLUTCH - The internal opening with the knob ensures quick exit
in case of an emergency while maintaining full security. Perfect operation of the lock is
ensured by correct mounting of the knob on the door face. The knob should operate
freely without any friction during its rotation. Measure the distance between the out-
side of the door panel and the insertion of the square”A”in the bushing. Add 1 mm. to
this distance and block the square by using the screw “B” so that the cylindricalending
of the square is inserted in the bushing “C”.
IMPORTANT: when the knob is disconnected, the square is not to be in direct mesh with
the lock. Fix the knob to the two pins “D” of the lock by using the screws “E”. Push and
rotate the knob to insert the square and open or close the lock.
BOTON CON ACOPLAMIENTO DE RESORTE - La apertura interior con botón asegura el
desbloqueo rápido en caso de necesidad. Para garantizar un funcionamiento perfecto a la
cerradura hay que cerciorarse de que el montajedel botón en la puerta se ha realizado cor-
rectamente y que por tanto puede girar libremente sin roce o impedimento en su rotación.
Medir la distancia entre el panel exterior y la introducion del cuadro inicial “A” en el casquillo.
Fijar el cuadro a la medida registrada + 1 mm. y bloquearlo con el tornillo “B”, para que la
parte cilíndrica del cuadro se introduzca en “C”.
IMPORTANTE: con el botón extraído el cuadro no ha de estar acoplado directamente a la
cerradura. Fijar el botón en los dos pernos “D” de la cerradura utilizando los tornillos “E”. Para
introducirel cuadro y por tanto abrir o cerrar la cerradura, empujar y girar el botón.
VERSIONE TIPO “SERRABLOCCA” • VERSION “SERRABLOCCA”
“SERRABLOCCA”VERSION • VERSION “SERRABLOCCA”
ATTENZIONE - Vericare che il rosone interno faccia pressione sulla piastrina di ssaggio, in modo tale che il cilindro risulti bloccato
nel corpo serratura e che non abbia gioco. Se il cilindro si muove, occorre installare un rosone interno con distanziali più lunghi no
ad ottenere la massima pressione sulla piastrina di ssaggio.
ATTENTION - Vérier que la rosace intérieure fasse pression sur la plaquette de xation, de façon à ce que le cylindre soit bloqué dans le
corps de laserrure et qu’il n’y ait aucun jeu. Si le cylindre bouge, il convient de monter une rosace intérieure avec des entretoises plus longues
pour obtenir une pression maximale sur la plaquette de xation.
CAUTION - Make sure that the internal plate presses against the xing plate, so that the cylinder is locked into the lock body with no
play. If the cylinder moves, t an internal plate with longer spacers, to ensure the maximum pressure on the xing plate.
ATENCIÓN - Comprobar que la arandela interior presione la chapita de jación, de manera que el cilindro quede bloqueado en el cuerpo
de la cerradura y no tenga holgura. Si el cilindro se mueve, es preciso instalar una arandela interior con separadores más largos hasta
obtener la presión máxima en la chapita de jación.
AVVERTENZA PER L’UTILIZZATORE - MOTTURA si congratula per la scelta di questo prodotto e raccomanda di vericare che
l’installazione sia eseguita in modo da avere il cilindro stabile e bloccato nel suo alloggiamento a garanzia dei requisiti di sicurezza
della serratura. Per il buon funzionamento di ASTABLOCK si consiglia di usare i cilindri MOTTURA. In alternativa utilizzare cilindri a
prolo europeo corrispondenti alle misure riportate sul disegno.
AVVERTISSEMENT POUR L’UTILISATEUR - MOTTURA vous félicite d’avoir choisi ce produit et vous reccomande de contrôler que l’instal-
lation soiteectuée de telle sorte que le cylindre soit stable et bloqué dans son siège an que votre serrure vous garantisse le maximum de
sécurité. Pour obtenirun bon fonctionnement de ASTABLOCK, nous conseillons d’utiliser les cylindres MOTTURA. En alternative, utiliser les
cylindres à prol européen correspondant aux dimensions indiquées sur le dessin.
INSTRUCTIONS FOR THE USER - MOTTURA congratulates you on the choice of the product and stresses the importance of che-
cking the installation has been carried out in such a way as to have a stable cylinder locked in its housing to guarantee the security
requirements of the lock. To ensure that ASTABLOCK operates correctly, use MOTTURA cylinders, or cylinders with European prole
with the dimensions shown in the diagram.
ADVERTENCIA PARA EL USUARIO - MOTTURA le da su enhorabuena por elegir este producto y le recomienda que la instalación se ha realizado demanera que el
cilindro sea estable y esté bloqueado en su alojamiento para garantizar los requisitos de seguridad de la cerradura. Para el buen funcionamiento de ASTABLOCK se
aconseja los cilindros MOTTURA, como alternativa utilizar cilindros de perl europeo correspondientes a las medidas indicadas en el diseño.
MOSTRINE E ACCESSORI - Vengono forniti di serie il pomolo interno e la mostrina esterna. A parte sono disponibili ulteriori tipi di mostrine (piatte, concave,
a botte) che consentono l’installazione anche su porte di notevole spessore. Per una maggiore protezione della serratura, si consiglia di applicare piastre di
ssaggio e piastre di rinforzo in acciaio al manganese, disponibili a parte.
PLAQUETTES - Sont fournies de série, la poignée intèrieure et la plaque extérieure et en option d’autres typesde plaques (plates, concaves, à boîte) pouvant être in-
stallées sur des portes de forte épaisseur.Pour une meilleure protection de la serrure, il est conseillé d’appliquer des plaques de xationet des plaques de renfort en acier
au manganèse, disponibles en option.
ESCUTCHEINS AND ACCESSORIES - The inside knob and outside keyhole cover are supplied as standard items. Dierent types of keyhole covers (at, con-
cave, barrel type) which enable the lock to be installed on thicker doors are available on request. In order to protect the lock more eectively, it is advisable to
mount the xing and backing plates in manganese steel which are available on request.
BOCALLAVE Y ACCESORIOS - Se suministran de serie el botón esférico interior y el tapabocas exterior. A parte se ofrecenotros tipos de tapabocas (planos, cóncavos,
de tambor) que permiten su instalación tambiénen puertas de gran espesor.Para más protección de la cerradura, se aconseja aplicar placas de jación y placas de
refuerzode acero al manganeso, que se suministran a parte.
GARANZIA - Questa serratura è garantita per la sua ecienza e funzionalità secondo la normativa vigente italiana. Non sono coperti da garanzia eventuali
inconvenienti di funzionalità dovuti all’uso improprio o ad una installazione non convenzionale. NON LUBRIFICARE IL MECCANISMO INTERNO.
Per assicurare una migliore qualità, le chiavi vengono cifrate (sagomate) dopo aver subito il trattamento di nichelatura. Pertanto il metallo a vista (giallo), nelle
parti tagliate, è assolutamente normale.
GARANTIE - L’ecacité et le fonctionnement de la présente serrure sont garantis conformément à lalégislation italienne en vigueur. Sont excluses de cette garantie les
irrégularités de fonctionnement dues à l’utilisation impropre ou a une installation non conventionelle. NE PAS LUBRIFIER.
WARRANT - This lock is guaranteed ecient and in good working order according to the italian current laws. No liability will be accepted for inecient ope-
ration due to misuse or unconventional istallation. DO NOT LUBRICATE.
GARANTIA - Esta cerradura està garantiza da respecto a su eciencia y funcionalidad según lo establecidopor las leyes italianas vigentes. La garantia no cubre posibles
inconvenientes de funcionalidad debidos a mal uso o unainstalacion no convencional. NO REQUIERE ENGRASE.
CHIAVI - Anche le chiavi sono disponibili con gambo di diversa lunghezza in funzione dello spessore della porta.
Per orire la massima garanzia di sicurezza, la confezione delle chiavi viene sigillata direttamente dalla MOTTURA.
Ogni confezione contiene anche una tessera personale numerata che deve essere esibita ai Centri Autorizzati in
caso di necessità di duplicati.
CLEFS - Aussi les clés sont disponibles avec tige de dierent longueur en fonction de l’epaisseur de la porte. Pour orir le
maximum desecurité la confection à été scellée directement par le producteur. Chaque confection contient aussi la carte
personnelle qui doit êtreexhibée aux Centres Autorisés pour obtenir le double de la clef.
KEYS - Also the keys are available in dierent stem lenghts depending on the door thickness. In order to provide
the maximum security the keys are sealed into separate packing at the factory. Each pack contains a personal
security card which must be presented to the Authorised Centers when requiring duplicate keys.
LLAVES - Para ofrecer la maxima garantia de seguridad, el juego de llaves de cada cerradura, vienen presentadas en un
sobre plasticado con el nombre de MOTTURA. Cada cerradura va acompañada de un certicado numerado, indispen-
sable para presentar al Centro Autorizado en caso que se preciseun duplicado de la llave.
ESEMPI DI MONTAGGIO • EXEMPLES DE MONTAGE • ASSEMBLY EXAMPLES • EJEMPLOS DE MONTAJE
A
Basso sinistro con
asta di collegamento
En bas à gauche
avec barre de
raccordement
Bottom left which
connecting bar
Bajo izquierdo con
varilla de
acoplamiento
B
Alto destro con
asta di collegamento
En haut à droite
avec barre de
raccordement
Top right with
connecting bar
Alto derecho con
varilla de
acoplamiento
C
Alto sinistro senza
asta di collegamento
En haut à gauche
sans barre de
raccordement
Top left without
connecting bar
Alto izquierdo sin
varilla de
acoplamiento
D
Basso destro senza
asta di collegamento
En bas à droite
sans barre de
raccordement
Bottom right without
connecting bar
Bajo derecho sin
varilla de
acoplamiento
www.mottura.it
99265 - 04/2014 - a_012994

Other Mottura Lock manuals

Mottura Forza 7 37 Series User manual

Mottura

Mottura Forza 7 37 Series User manual

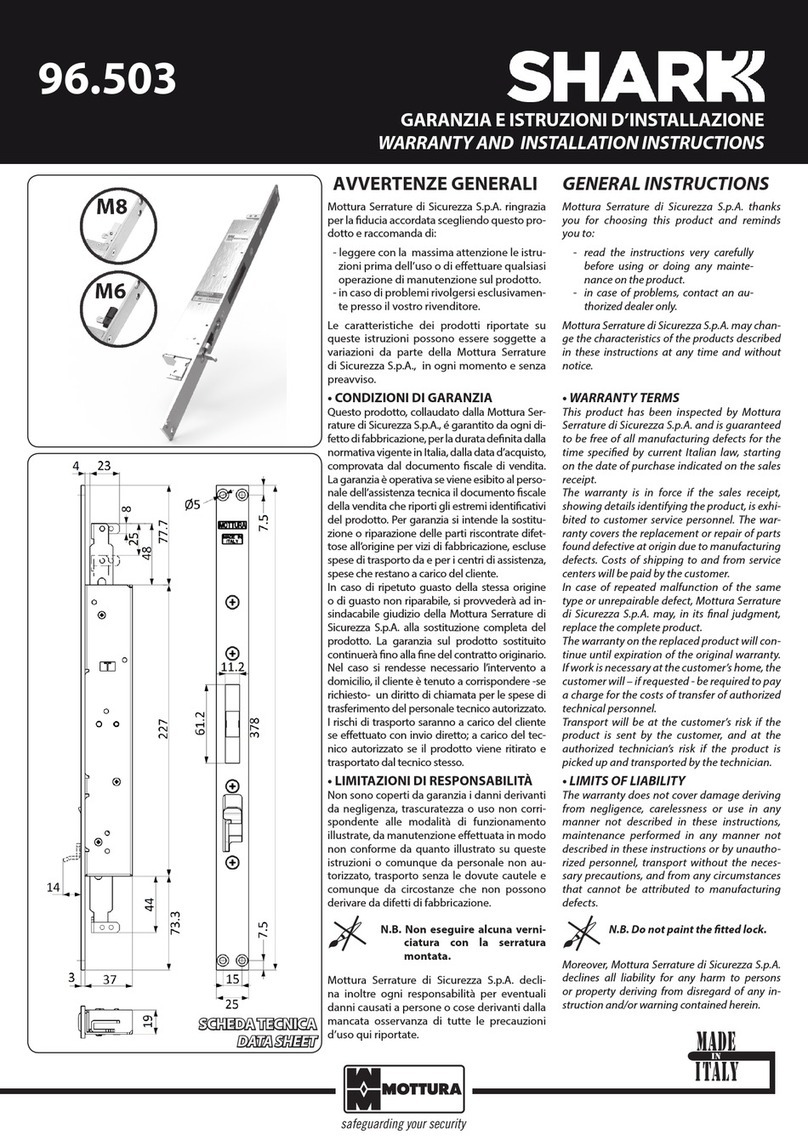
Mottura Shark 96.503 User manual

Mottura

Mottura Shark 96.503 User manual

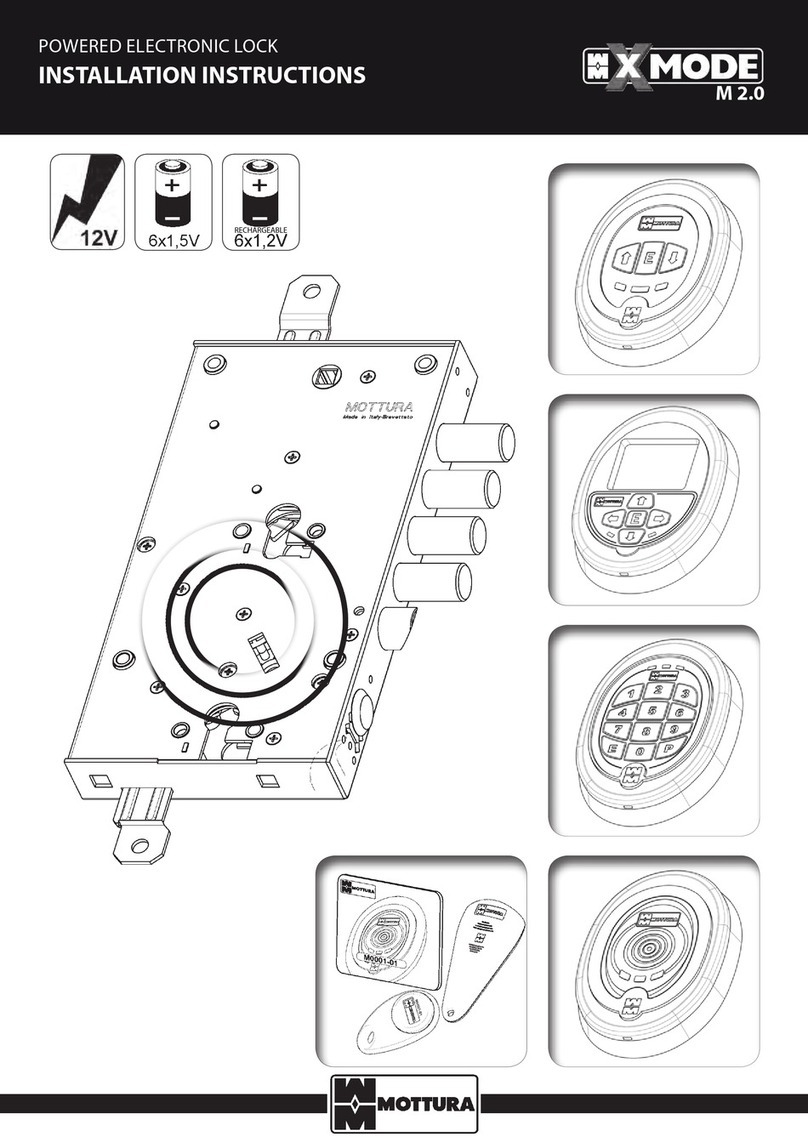
Mottura X MODE M2.0 User manual

Mottura

Mottura X MODE M2.0 User manual

Mottura Gorilla Automatic 86510D/SA Quick start guide

Mottura

Mottura Gorilla Automatic 86510D/SA Quick start guide

Mottura CHAMPIONS User manual

Mottura

Mottura CHAMPIONS User manual

Mottura XNOVA Series User manual

Mottura

Mottura XNOVA Series User manual

Mottura 35 Series User manual

Mottura

Mottura 35 Series User manual

Mottura Xmode M 2.0 User manual

Mottura

Mottura Xmode M 2.0 User manual

Mottura POWER 541 Instructions for use

Mottura

Mottura POWER 541 Instructions for use

Mottura XMoto XMP01 Series User manual

Mottura

Mottura XMoto XMP01 Series User manual

Mottura 72.14ELE User manual

Mottura

Mottura 72.14ELE User manual

Mottura 3D5 Series User manual

Mottura

Mottura 3D5 Series User manual

Mottura 20 Series User manual

Mottura

Mottura 20 Series User manual

Mottura ASTABLOCK 99251 User manual

Mottura

Mottura ASTABLOCK 99251 User manual

Mottura XFREE 49 P24 Series User manual

Mottura

Mottura XFREE 49 P24 Series User manual

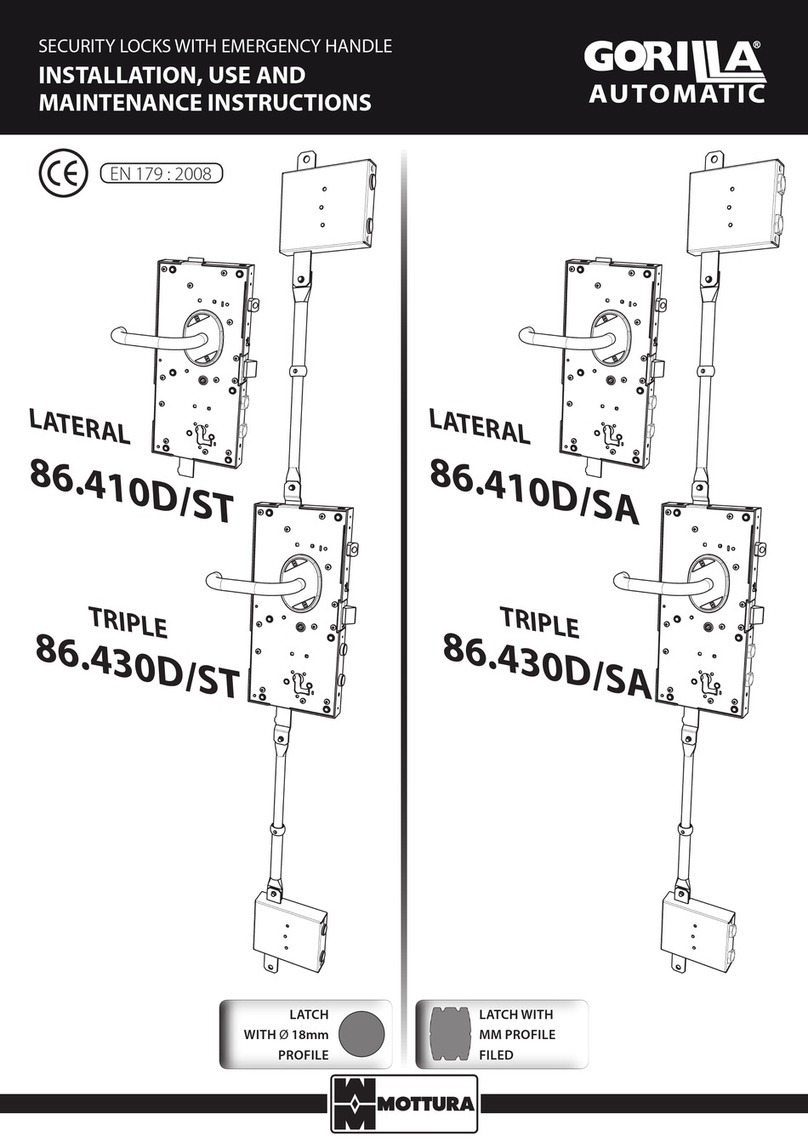
Mottura Gorilla Automatic 86.410D/ST Quick start guide

Mottura

Mottura Gorilla Automatic 86.410D/ST Quick start guide

Mottura 3D Key 3D100 Series User manual

Mottura

Mottura 3D Key 3D100 Series User manual

Mottura 87 Series User manual

Mottura

Mottura 87 Series User manual

Popular Lock manuals by other brands

inVue Smart Lock PL501 manual

inVue

inVue Smart Lock PL501 manual

Assa Abloy OneSystem 309N Quick manual

Assa Abloy

Assa Abloy OneSystem 309N Quick manual

Burtonsafes BURTON PULSE User instructions

Burtonsafes

Burtonsafes BURTON PULSE User instructions

Purpleline Fullstop Security Saracen FHL300-KA user manual

Purpleline

Purpleline Fullstop Security Saracen FHL300-KA user manual

Masterlock 4400EURENT user manual

Masterlock

Masterlock 4400EURENT user manual

Masterlock 4697D instructions

Masterlock

Masterlock 4697D instructions

Abus Touch 57 instructions

Abus

Abus Touch 57 instructions

gebatronic TCS-Cody-T4 Instructions for assembly and use

gebatronic

gebatronic TCS-Cody-T4 Instructions for assembly and use

HAMPTON BAY Array Revive installation guide

HAMPTON BAY

HAMPTON BAY Array Revive installation guide

ABA 2909 operation instruction

ABA

ABA 2909 operation instruction

wink haus BlueMatic EAV3 Installation, operating and maintenance instructions

wink haus

wink haus BlueMatic EAV3 Installation, operating and maintenance instructions

Label EVOLUS manual

Label

Label EVOLUS manual

Key Safe C500 Code change guide

Key Safe

Key Safe C500 Code change guide

Sentrilock REALTOR RAD Getting started guide

Sentrilock

Sentrilock REALTOR RAD Getting started guide

Untethered Labs GATEKEEPER HALBERD Faq

Untethered Labs

Untethered Labs GATEKEEPER HALBERD Faq

IPWatch IPLock Easy PT Assembly, operating and safety instructions

IPWatch

IPWatch IPLock Easy PT Assembly, operating and safety instructions

Samsung shs-2920 instruction manual

Samsung

Samsung shs-2920 instruction manual

National Cabinet Lock RC4841-2 supplementary guide

National Cabinet Lock

National Cabinet Lock RC4841-2 supplementary guide

manuals.online logo
manuals.online logoBrands
  • About & Mission
  • Contact us
  • Privacy Policy
  • Terms and Conditions

Copyright 2025 Manuals.Online. All Rights Reserved.