manuals.online logo
Brands
  1. Home
  2. •
  3. Brands
  4. •
  5. Logik
  6. •
  7. Dishwasher
  8. •
  9. Logik LID45W18 User manual

Logik LID45W18 User manual

Other Logik Dishwasher manuals

Logik LID45W20 Service manual

Logik

Logik LID45W20 Service manual

Logik LDWTT15E Parts list manual

Logik

Logik LDWTT15E Parts list manual

Logik LDW2PB19N Service manual

Logik

Logik LDW2PB19N Service manual

Logik LDW45S10 User manual

Logik

Logik LDW45S10 User manual

Logik ldw60s11 User manual

Logik

Logik ldw60s11 User manual

Logik LID45W13N Service manual

Logik

Logik LID45W13N Service manual

Logik LDW60W11N Service manual

Logik

Logik LDW60W11N Service manual

Logik LS474W User manual

Logik

Logik LS474W User manual

Logik LDW45S11 Service manual

Logik

Logik LDW45S11 Service manual

Logik LDW60W16N Service manual

Logik

Logik LDW60W16N Service manual

Logik LDW45S10 User manual

Logik

Logik LDW45S10 User manual

Logik LDW45W15N Service manual

Logik

Logik LDW45W15N Service manual

Logik LDW60W15N Service manual

Logik

Logik LDW60W15N Service manual

Logik LID60W20 Service manual

Logik

Logik LID60W20 Service manual

Logik LDW60W20N User manual

Logik

Logik LDW60W20N User manual

Logik LDW60W12N Service manual

Logik

Logik LDW60W12N Service manual

Logik LID60W16N Service manual

Logik

Logik LID60W16N Service manual

Logik LF674WN User manual

Logik

Logik LF674WN User manual

Logik LID45W16N Service manual

Logik

Logik LID45W16N Service manual

Logik LDWTT13E Service manual

Logik

Logik LDWTT13E Service manual

Logik LDW45W12N Service manual

Logik

Logik LDW45W12N Service manual

Logik LDW60W11N Operating manual

Logik

Logik LDW60W11N Operating manual

Logik LDW45S12 Service manual

Logik

Logik LDW45S12 Service manual

Popular Dishwasher manuals by other brands

Samsung DW-FN320T user manual

Samsung

Samsung DW-FN320T user manual

LG LDS 5811WW Service manual

LG

LG LDS 5811WW Service manual

Elba EDW-B1462D owner's manual

Elba

Elba EDW-B1462D owner's manual

VESTEL NOVUS Series Service manual

VESTEL

VESTEL NOVUS Series Service manual

Bosch SMS4EMW00E Instructions for use

Bosch

Bosch SMS4EMW00E Instructions for use

Global-Tek GT-CR 2 manual

Global-Tek

Global-Tek GT-CR 2 manual

Smeg Dishwasher 85028 Instructions for installation and use

Smeg

Smeg Dishwasher 85028 Instructions for installation and use

LG LD-4080W Service manual

LG

LG LD-4080W Service manual

Bauknecht GCF 625 operating instructions

Bauknecht

Bauknecht GCF 625 operating instructions

Sharp QW-HX13F47EI-EU user manual

Sharp

Sharp QW-HX13F47EI-EU user manual

Asko D5536XLFI operating instructions

Asko

Asko D5536XLFI operating instructions

Modena WP 7134 WVM User manual book

Modena

Modena WP 7134 WVM User manual book

Beko DFN39340X instruction manual

Beko

Beko DFN39340X instruction manual

AEG FAVORIT 65050 VI1P user manual

AEG

AEG FAVORIT 65050 VI1P user manual

Siemens SN23HI37VE user manual

Siemens

Siemens SN23HI37VE user manual

Maytag MDB4651AWB - Tall Tub Dishwasher User instructions

Maytag

Maytag MDB4651AWB - Tall Tub Dishwasher User instructions

Hotpoint Ariston LL 42 Instruction book

Hotpoint Ariston

Hotpoint Ariston LL 42 Instruction book

Siemens SN45ZW56CS user manual

Siemens

Siemens SN45ZW56CS user manual

manuals.online logo
manuals.online logoBrands
  • About & Mission
  • Contact us
  • Privacy Policy
  • Terms and Conditions

Copyright 2025 Manuals.Online. All Rights Reserved.

(Aesthetic door not included)
Integrated Dishwasher
Instruction Manual
LID45W18
Logik Integrated Diswasher LID45W18 Manual.indd 1 07/12/2018 12:12
Logik Integrated Diswasher LID45W18 Manual.indd 2 07/12/2018 12:12
Contents
Safety Warnings...................................................................................................................................................... 5
Unpacking............................................................................................................................................................... 8
location ....................................................................................................................................................................................................... 9
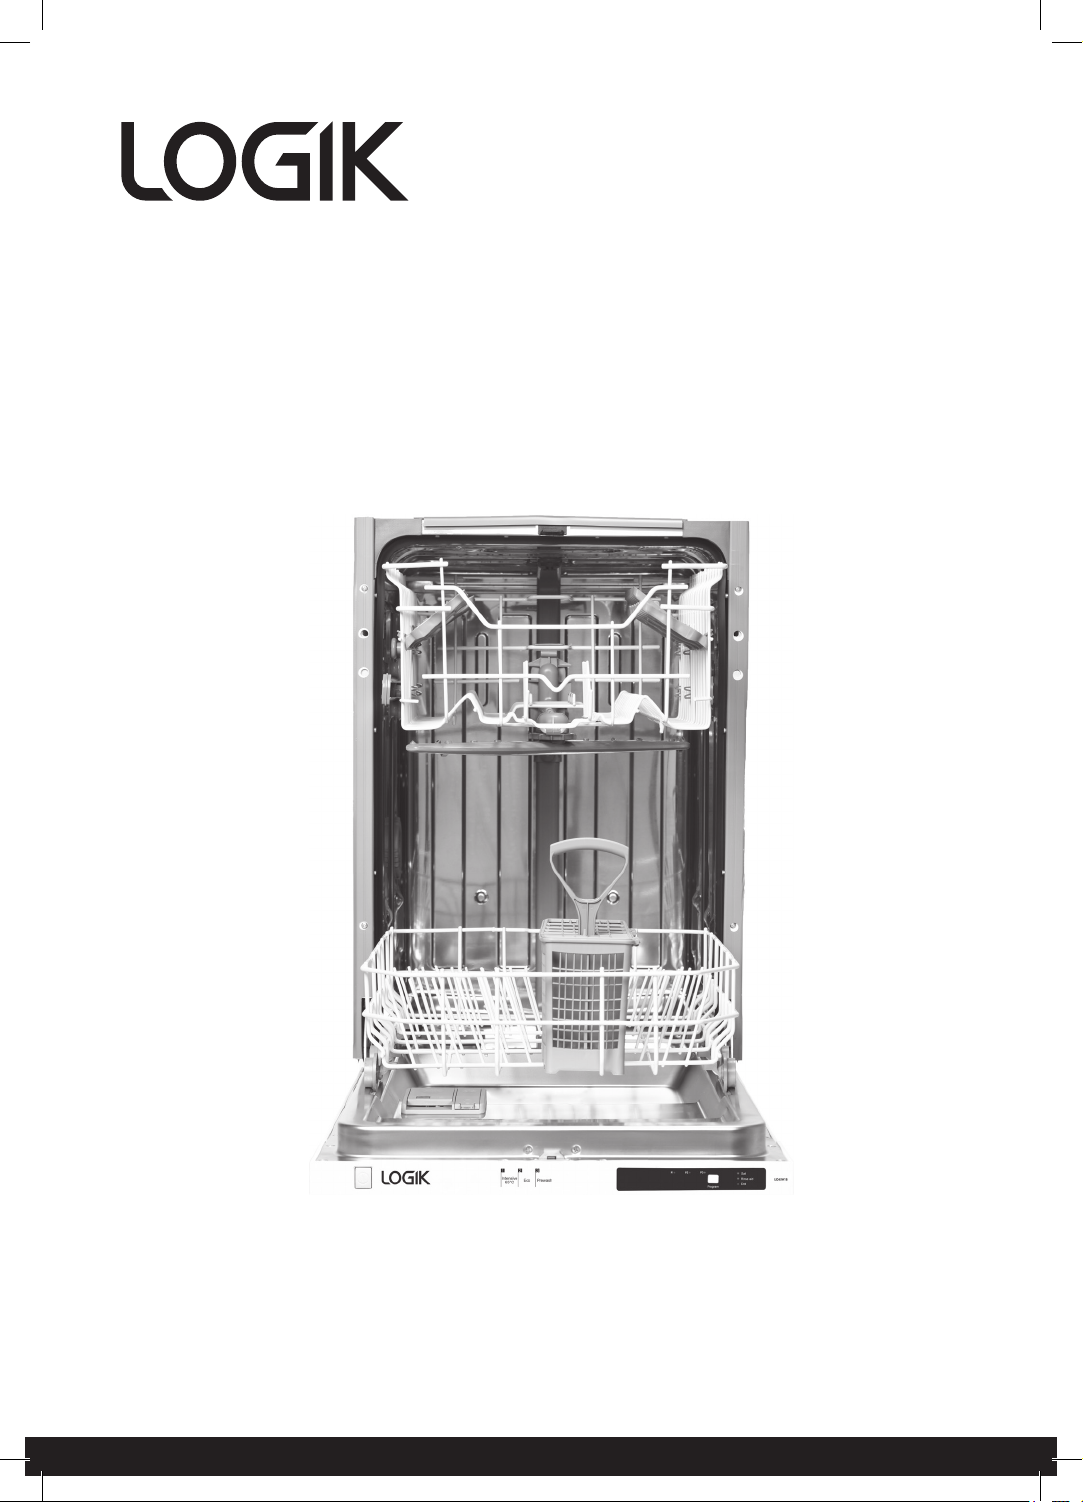
Product Overview................................................................................................................................................. 16
Front view ................................................................................................................................................................................................16
Rear view..................................................................................................................................................................................................16
Upper basket...........................................................................................................................................................................................16
Lower basket...........................................................................................................................................................................................16
Cutlery basket.........................................................................................................................................................................................16
Internal view ...........................................................................................................................................................................................16
Control panel ﹠ display window......................................................................................................................................................17
Before Operating.................................................................................................................................................. 18
Opening the door .................................................................................................................................................................................18
Closing the door....................................................................................................................................................................................18
Items not suitable for use in the dishwasher ..............................................................................................................................18
Adding Detergent................................................................................................................................................. 19
Adding Rinse Aid .................................................................................................................................................. 20
Adjusting The Rinse Aid Setting.......................................................................................................................................................21
Testing Your Water Hardness.............................................................................................................................................................22
Adjusting Salt Consumption.............................................................................................................................................................23
Adding Salt............................................................................................................................................................ 24
Loading The Dishwasher...................................................................................................................................... 25
Before Loading The Dishwasher ......................................................................................................................................................25
Upper Basket...........................................................................................................................................................................................26
Adjusting The Upper Basket..............................................................................................................................................................26
Loading The Upper Basket.................................................................................................................................................................26
Hinged Cup Rack...................................................................................................................................................................................27
Lower Basket...........................................................................................................................................................................................28
Loading The Lower Basket.................................................................................................................................................................28
Cutlery Basket.........................................................................................................................................................................................28
Loading The Cutlery Basket ...............................................................................................................................................................28
Wash Cycle Table................................................................................................................................................... 29
Using The Dishwasher .......................................................................................................................................... 30
Changing The Programme................................................................................................................................... 30
At The End Of The Programme ............................................................................................................................ 30
Switching The Dishwasher O............................................................................................................................. 31
Unloading The Dishwasher.................................................................................................................................. 31
Cleaning The Dishwasher..................................................................................................................................... 32
External Care...........................................................................................................................................................................................32
The Door And The Door Seal.............................................................................................................................................................32
The Control Panel..................................................................................................................................................................................32
Internal Care............................................................................................................................................................................................33
Filtering System .....................................................................................................................................................................................33
Spray Arms...............................................................................................................................................................................................34
Frost Precaution ................................................................................................................................................... 34
Moving The Dishwasher....................................................................................................................................... 34
Maintenance for a Prolonged Period of Non-operation.................................................................................... 34
Hints And Tips ....................................................................................................................................................... 35
Disposal Of The Dishwasher ................................................................................................................................ 38
Logik Integrated Diswasher LID45W18 Manual.indd 3 07/12/2018 12:12
Disposal Of Packing Material .............................................................................................................................. 38
Energy Label ......................................................................................................................................................... 38
Product Fiche And Specications........................................................................................................................ 39
Logik Integrated Diswasher LID45W18 Manual.indd 4 07/12/2018 12:12
5
Safety Warnings
General Use
• Switch off and unplug before fitting or removing tools/attachments,
after use and before cleaning.
• Keep your fingers away from moving parts and fitted attachments.
• Never use a damaged machine.
• Keep the mains cable out of reach from children.
• Keep power unit, mains cable and plug away from water.
• Never exceed the maximum capacities.
• When using an attachment, read the safety instructions.
• Take care when lifting this appliance.
• This appliance can be used by children aged from 8 years and above
and persons with reduced physical, sensory or mental capabilities or
lack of experience and knowledge if they have been given supervision
or instruction concerning use of the appliance in a safe way and
understand the hazards involved. Children shall not play with the
appliance. Cleaning and user maintenance shall not be made by
children without supervision.
• Only use the appliance for its intended domestic use. The company
responsible for this product, DSG Retail Limited, will not accept any
liability if the appliance is subject to improper use, or failure to comply
with these instructions.
• This appliance is intended to be used in households and similar places
such as:
-Staff kitchen areas in shops, offices and other work places.
-By clients in motels, hotels and Bed ﹠ Breakfast establishments.
• For the dimensions and position, for supporting, fixing and installing
the appliance see the ‘Installation’ section of this manual.
WARNING!
• Improper connection of the equipment-earthing conductor could
result
in a risk of electric shock.
• The wires in the cord are coloured as follows:
Green and Yellow = Earth
Blue = Neutral
Brown = Live
Logik Integrated Diswasher LID45W18 Manual.indd 5 07/12/2018 12:12
6
• Check with a qualified electrician or service representative if you are in
doubt whether the appliance is properly earthed or the plug does not
fit correctly.
• Never modify the plug provided with the appliance.
• The mains plug must remain accessible to allow disconnection or an
all pole switch must be incorporated in the fixed wiring in accordance
with the wiring rules.
Proper Use
• Do not sit or stand on the door or dish rack.
• Do not touch the heating element during or immediately after use.
• Do not operate your dishwasher unless all enclosure panels are
properly in place. Open the door very carefully when there is a
programme running as there is a risk of hot water spraying out of the
appliance.
• Do not place any heavy objects on the open door. The appliance could
tip over.
• When loading items to be washed (refer to the ‘Loading the Dishwasher
section of this manual):
1. Locate sharp items so that they will not damage the door seal;
2. Warning: Knives and other utensils with sharp points must be loaded
in the basket with the points downwards or placed horizontally.
• Do not allow plastic items to come into contact with the heating
element.
• Check that the detergent receptacle is empty after completion of the
wash cycle.
• Do not wash plastic items unless they are marked dishwasher safe
or equivalent.
• Use only detergent and rinse aids designed for an automatic dishwasher.
• Other means for disconnection from the mains power supply must be
incorporated in the fixed wiring with at least 3mm contact separation
in all poles.
• Keep children away from detergents and rinse aids. These may cause
chemical burns in the mouth, throat and eyes or asphyxiation.
• Keep children away from the dishwasher when the door is open.
• The door should not be left in the open position since this could
present a tripping hazard.
Logik Integrated Diswasher LID45W18 Manual.indd 6 07/12/2018 12:12
7
• For energy saving, always remember to switch the dishwasher off
when you have finished using it. The dishwasher should not be left
unattended when in use.
• If the mains cable is damaged, it must be replaced by the manufacturer
or its service agent in order to avoid a hazard.
• Remove the door to the washing compartment when removing an old
dishwasher from service or discarding it.
• During installation, the mains cable must not be excessively or
dangerously bent or flattened.
• Do not tamper with controls.
• The appliance is to be connected to the water mains using new hose sets.
• The maximum number of place settings to be washed is 10.
• The maximum permissible inlet water pressure is 1Mpa, and the
minimum permissible inlet water pressure is 0.03Mpa.
• Product dimensions - 820 mm - 870 mm (H) x 448 mm (W) x 570 mm (D)
• Aperture dimensions - 820 mm - 870 mm (H) x 450 mm (W) x 620 mm (D)
• For supporting and fixing the appliance see the Installation section.
Earthing Instructions
WARNING: THIS APPLIANCE MUST BE EARTHED.
• This appliance is equipped with a mains cable having an
equipment-earthing conductor and an earthing plug.
• The plug must be plugged into an appropriate mains socket
that is installed and earthed in accordance with local standards
and requirements.
Logik Integrated Diswasher LID45W18 Manual.indd 7 07/12/2018 12:12
8
Installation
Unpacking
Remove all packaging from the unit. Retain the packaging. If you dispose of it please do so according to
local regulations.
The following items are included:
Thank you for purchasing your new Logik Dishwasher.
These operating instructions will help you use it properly and safely.
We recommend that you spend some time reading this installation/instruction manual
in order that you fully understand all the operational features it offers.
Read all the safety instructions carefully before use and keep this installation/
instruction manual for future reference.
The Main Unit
Fittings Iron for Bench X 2
Instruction Manual x 1Door Template x 1
Fitting Screw for Wood
X 2
Condensation Strip X 1
Spring adj.mec hole cap X 4 Self-Adhesive Rubber
Stopper X 2
U-shape Hose Holder X 1 Self-Adhesive
Rubber Spacer X 2
Water Supply Hose X 1
Cutlery Basket
(Aestheticdoor not included)
Integrated Dishwasher
Instruction Manual
LID45W18
4x42.5 Screws X 6 4x15 Screws X 2
* All images are for reference only; please refer to your individual unit for actual item.
If items are missing or damaged please contact Partmaster (UK only).
Tel: 0344 800 3456 for assistance.
This product has been wet tested to ensure correct operation. As a result some water may remain
inside the unit. This is normal and safe. Remove any water droplets from the exterior if necessary.
Logik Integrated Diswasher LID45W18 Manual.indd 8 07/12/2018 12:12
9
Installation
1. Please ensure the dishwasher is installed by a
qualified technician. Refer to the tools required
(not included).
location
When selecting a position for your dishwasher you
should make sure the installation surface
is flat and firm, and the room is well ventilated. Avoid
locating your dishwasher near a heat source, eg.
cooker, boiler or radiator. Extreme cold ambient
temperatures may also cause
the appliance to not perform properly. This
dishwasher is not designed for use in a garage
or outdoor installation.
2. Ensure there is sufficient clearance on
each side of the unit to allow slight sideways
movement for servicing when required.
Good levelling is essential for correct closure and
sealing of the door. When the unit is correctly
levelled, the door should not catch the inner liner
on either side of the cabinet. The adjustable feet
may be loosened or tightened in order to obtain
the optimum levelling of the unit.
* All images are for reference only; please refer to your individual unit for actual item.
All parts removed must be saved to do
the reinstallation in the future. Ensure
the dishwasher is unplugged and empty.
We recommend that 2 people handle the
dishwasher during installation.
The supplied door template contains
installation information which will
assist installation.
450450
5050
570598
448
448
815-870
820-850
unit in mm level level
level
level
min.100min.100
815-870820-870 570570
Logik Integrated Diswasher LID45W18 Manual.indd 9 07/12/2018 12:12
10
Installation
4. The condensation strip must be fitted
to the underside of the worktop above
your dishwasher to help protect it against
moisture. Its purpose is to protect your
worktop’s underside from steam rising
from the dishwasher.
Remove the backing paper from the
condensation strip.
3. Do not connect the unit to the mains socket
before installation. Ensure you are not
installing the unit right in front of the mains
socket. This is to avoid potential damage
to the back of the unit.
Leave some space
Stick the Condensation Strip
under the worktop, where you
want to install the dishwasher.
5. Stick the condensation strip to the underside
of the worktop.
* All images are for reference only; please refer to your individual unit for actual item.
Failure to attach the condensation strip
could result in damage to the underside
of your worktop!
Ensure the surface is clean prior to
sticking the condensation strip to the
underside of the worktop.
Logik Integrated Diswasher LID45W18 Manual.indd 10 07/12/2018 12:12