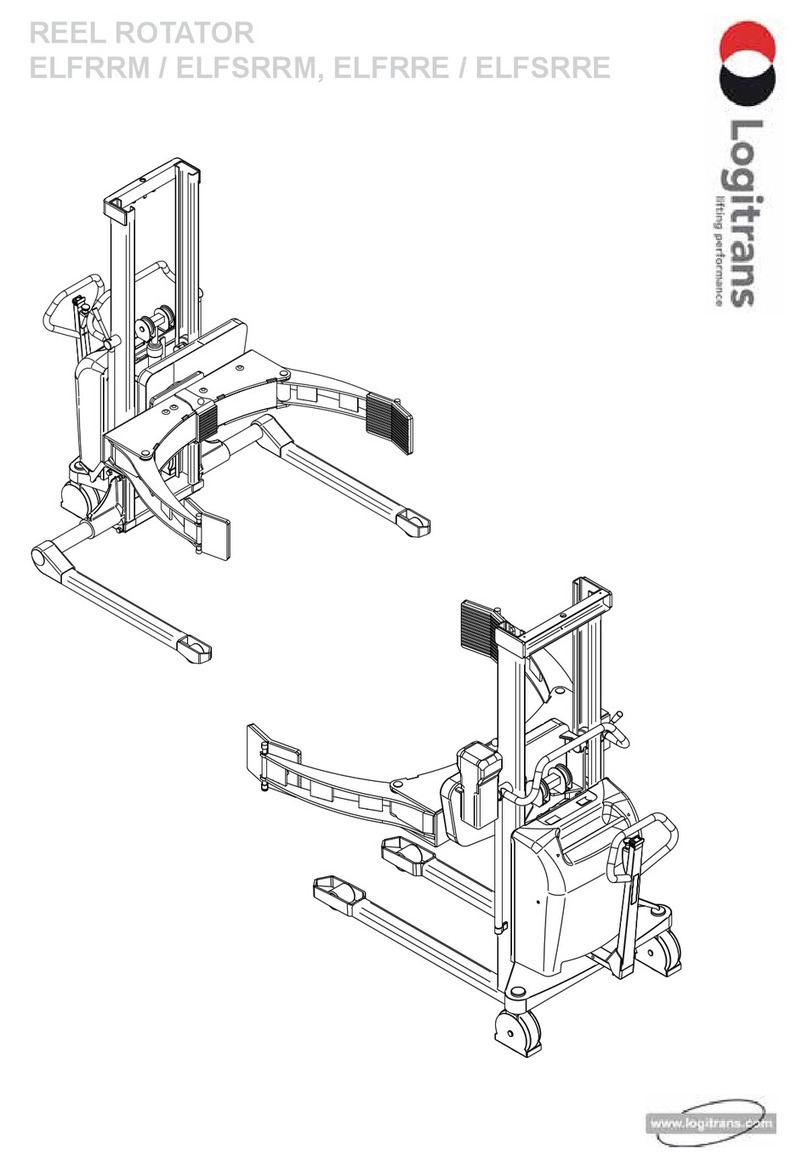
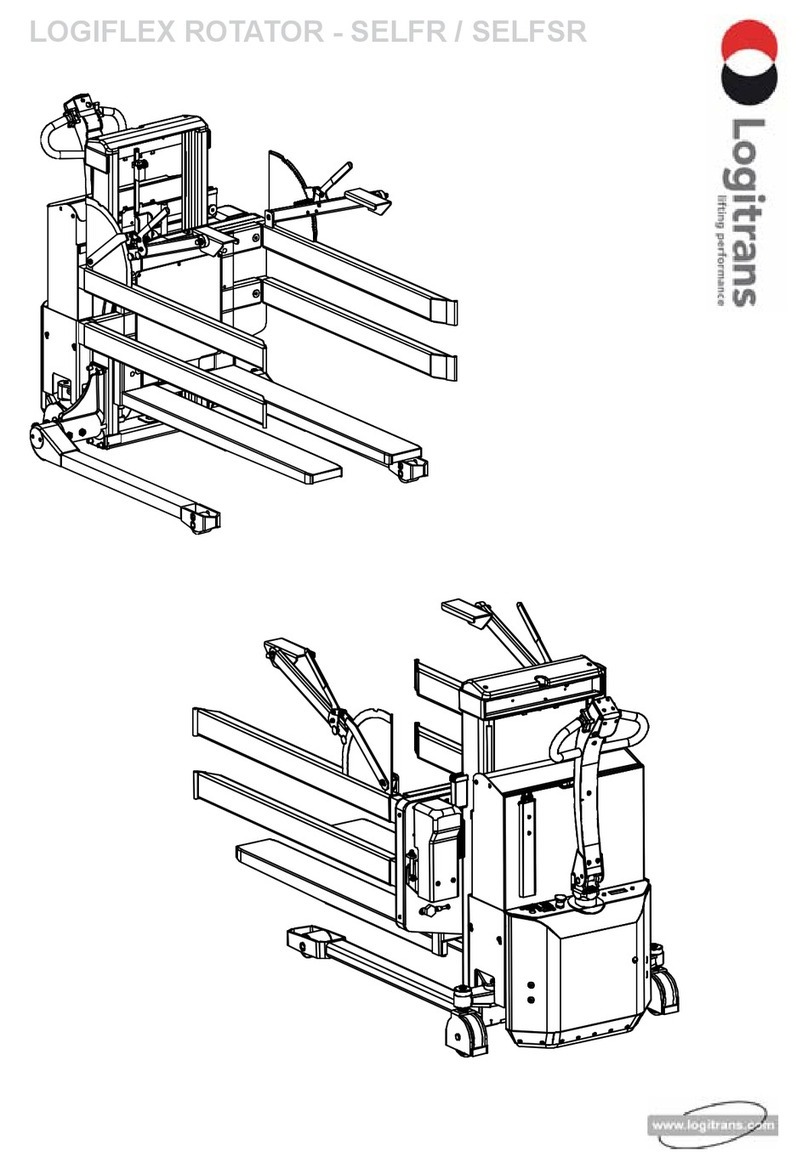
logitrans LOGITILT LT1001 User manual

LOGITILT LT / LTS

B148
EU DECLARATION CONFORMANCE
Manufacturer: Logitrans A/S
Address:Hillerupvej 35
6760 Ribe
Danmark
hereby declares that:
machine: Product group: Logitilt
Type: LT1001 / LTS1001
Production year/
Serial no:
a) has been manufactured in conformance with the stipulations of the:
• Directive no. 2006/42/EC
• Directive no. 2014/30/EC
• Directive no. 2014/35/EC
b) has been manufactured in conformance with the stipulations of the standard:
• EN ISO 3691-5
Responsible for the technical dossier:
Name: Gitte Kirkegaard
Address: Hillerupvej 35, DK-6760 Ribe
Signature:
Gitte Kirkegaard, CEO, Logitrans A/S Ribe, 20.04.2020.
D177-4

3
Contents
1.0 Before the first lift... ............................................................................................. 4
2.0 Functions and identifications.......................................................................... 5
3.0 How to operate the Logitilt............................................................................... 6
3.1 Pallet handling..................................................................................................................... 6
3.2 Handle ................................................................................................................................. 7
3.3 Brake ................................................................................................................................... 7
3.4 Remote control MR-1 / Lifting-Lowering-Tilting ................................................................... 8
3.5 Remote control / Lift and Lower / Tilt ................................................................................... 8
3.6 Setting of stop for tilting angle ............................................................................................ 9
4.0 Optimum safety ..................................................................................................... 10
4.1 Safety regulations...............................................................................................................11
4.2 Avoid overloads ..................................................................................................................11
4.3 Avoid oset loads ...............................................................................................................11
4.4 Marking ............................................................................................................................ 12
4.5 Driving loaded.................................................................................................................... 12
4.6 Emergency braking............................................................................................................ 13
4.7 Emergency stop ................................................................................................................ 13
5.0 There must be a current supply... ................................................................14
5.1 Fuses - replacement.......................................................................................................... 14
5.2 Wiring connections ............................................................................................................ 14
6.0 Long live Logitilt... ............................................................................................... 15
6.1 Lubrication and hydraulic oil ............................................................................................. 15
6.2 Oil change ......................................................................................................................... 15
6.3 Bleeding the hydraulic system........................................................................................... 15
6.4 Fork adjustment................................................................................................................. 16
7.0 Good service after purchase ..........................................................................17
7.1 Ordering spare parts.......................................................................................................... 17
7.2 Warranty/Compensation.................................................................................................... 17
7.3 Service and repair ............................................................................................................. 17
7.4 Warranty ............................................................................................................................ 17
7.5 Liability exemption............................................................................................................. 17

4
• Proper application
• Physical limitations of the product
• Risks with improper use
The Logitilt is manufactured in accordance with safety directives.
Among the subjects dealt with in this Instruction Manual are:
Therefore please read this Instruction Manual carefully!
1.0 Before the first lift...

5
6
9
2
1
5
3
4
7
8
1. Handle
2. Lift / Lower
3. Emergency stop
4. Brake
5. Remote control
6. Setting of stop for tilting angle
7. Battery indicator
8. Fuses
9. Name plate, serial number
2.0 Functions and identifications

6
LTS
LT
The Logitilt has assisted steering on one wheel to make manoeuvring easy.
Note! The functions can be operated independently of each other. Lift/lower can be
operated simultaneously with tilt.
When handling closed pallets....
... use Logitilt with straddle legs!
Push/pull
Raise/lower
Tilt up/tilt down
3.1 Pallet handling
For proper operation, stand behind the handle.
3.0 How to operate the Logitilt

7
3.3 Brake
When the Logitilt is tilted, Logitilt must be standing on a rm and even oor with
brake activated.
3.2 Handle
When Logitilt is tilted, the handle can be turned to the side to make access to the
crate easier.
3.0 How to operate the Logitilt

8
3.5 Remote control / Lift and Lower / Tilt
Lift / Lower
Press cto lift.
Press dto lower.
3.4 Remote control MR-1 / Lifting-Lowering-Tilting
The remote control is used for:
• Lifting/lowering the forks/load
• Tiltning the forks/load
3.0 How to operate the Logitilt

9
3.6 Setting of stop for tilting angle
Increase tilting angle:
Turn the ring towards the forks.
Reduce tilting angle:
Turn the ring away from the forks..
NOTE! If the tilting function does not
work, turn the ring towards the forks.
ATTENTION
Check that the load is placed correctly and is evenly distributed, before
tilting the load.
Tilt
Press for tilt in the direction of the arrow.
3.0 How to operate the Logitilt

10
Operation position
ATTENTION
Moving parts
4.0 Optimum safety

11
4.2 Avoid overloads
The maximum load must not be exceeded. Remember, the Logitilt is designed for
evenly distributed load, - goods on pallets etc. If the forks are point-loaded on one
side there is a risk of bending.
4.3 Avoid oset loads
The load must be placed evenly and squarely. The maximum distance from
fork bracket front to centre of gravity must not be exceeded. If this distance
is exceeded, safety is reduced and there is a risk of toppling. Goods in crates,
boxes, etc. must be secured so that they cannot fall o during running, or when
Logitilt is in its tilted position.
4.1 Safety regulations
• Never walk under a tilted load!
• Do not exceed the permitted capacity of the product.
• Before lowering the forks, make certain that no foreign
elements can hinder the free lowering of the forks.
• The Logitilt is designed for use on even and level oor.
• During transport the forks shall be raised as little as possible.
• Transport with tilted forks should be made over the shortest
possible distances and at low speed.
4.0 Optimum safety

12
4.5 Driving loaded
The Logitilt is designed for use on even and level oor. During transport the forks
shall be raised as little as possible. Transport with raised forks should be made over
the shortest possible distances and at low speed.
4.4 Marking
The centre of gravity distance of the fork bracket is given on the data plate on the
top of the bracket.
Note that the centre of gravity does not remain in the
same place.
Its position varies as the forks are lowered or tilted.
4.0 Optimum safety

13
!
4.7 Emergency stop
The product has an emergency stop. When activating the emergency stop, the main
current supply is switched o:
• The movement of the forks stops immediately
If it becomes necessary to use the load as a brake to prevent the Logitilt running
loose, activate the DOWN button quickly until the load reaches the ground.
4.6 Emergency braking
4.0 Optimum safety

14
5.1 Fuses - replacement
The Logitilt has three fuses. Two are placed on the left side of the battery bracket.
The main fuse is placed under the battery cover.
Replacement:
Before replacing fuse, disconnect battery + pole. The old fuse can then be removed
and replaced by a new one of the same size.
Find out why fuses blow!
5.2 Wiring connections
Much operational disturbance is caused by poor connections in the electrical
circuit. Make sure connections are in order.
Check connections regularly for damage at insulating caps or looseness at plugs, etc.
Verdigris must be removed from lead plugs. Keep all screw/nut connections tight.
5.0 There must be a current supply...

15
6.0 Long live Logitilt...
Regular inspection and the replacement of worn or defective parts in good time will
prolong the life of the Logitilt.
“Prevention is better than repair”, therefore ensure:
• Correct usage
• Regular cleaning
• Periodic safety and service inspection
6.1 Lubrication and hydraulic oil
Under normal conditions the Logitilt requires no lubrication.
All ball bearings are sealed and lubricated for life and moving parts
have selubricating bearings or are treated with molybdenum disulphide
grease. The hydraulic system is lled with hydraulic oil of viscosity
class ISO VG 15. An additive is added to the oil. The concentrate
reduces friction and wear and protects against corrosion. Pre-mixed hydraulic oil
with additive is available from the distributor.
The oil is suitable for use in the temperatures range - 10° to +50° C. A thinner oil
is recommended for temperatures lower than -10° C (if necessary, contact your
distributor).
The hydraulic oil must be changed every second year.
6.2 Oil change
• Remove the hydraulic motor and pour the oil out of the lling hole.
or
• Remove the oil by suction.
Oil lling:
Fil through the oil hole.
Oil quantity = 0,9 litre
6.3 Bleeding the hydraulic system
With a load of 50-100 kg, proceed as follows:
Lift to top position, tilt forks up and down, lower forks to bottom position.
Repeat this procedure 2-3 times.

16
6.4 Fork adjustment
Two of the rollers on the fork bracket are tted on eccentric pins so that they can be
adjusted.The adjustable rollers are uppermost.
1.Loosen set screw pos. 1 (5 mm key width).
2.Eccentric pin pos. 2 (6 mm key width) can now be turned to give the necessary
fork adjustment.
3.Adjustment must be made on both sides to ensure uniform loading of the rollers.
6.0 Long live Logitilt...

17
7.1 Ordering spare parts
The correct spare parts are obtainable from your dealer.
When ordering, please state:
• Serial number of the product
• Type and width/length of the product
• Spare part no. Please nd spare part no. on www.logitrans.com
7.2 Warranty/Compensation
Spare parts delivered during the warranty period will be invoiced. A credit note will
be sent immediately after we have received and tested the defective parts and
found that the warranty conditions have been met.
7.3 Service and repair
You should be able to make adjustments and perform minor repairs on the spot.
However, major repairs should be left to the dealer who has well-trained personnel
and the necessary special tools.
7.4 Warranty
The warranty covers material and assembly defects which, subject to inspection by
us or our representative, are deemed to be faults or deciencies that prevent normal
use of the parts concerned. Such aected parts shall be sent to your Logitrans dealer
carriage paid within the warranty period in force at the time in question, together with a
copy of the documentation for the service performed (B0284 - see the back page).
The warranty does not cover normal wear and adjustments. The warranty period is
based on singleshift working.
The warranty shall no longer apply if
• the product has been used incorrectly,
• the product is used in environments for which it was not designed,
• the product has been overloaded,
• replacements of parts have been made incorrectly or original parts have not been
used and consequential damages have arisen,
• the product is changed or accessories, not being approved by Logitrans, are used.
• it can not be proved that a qualied technician has performed the service check
according to the requirements stated in the instruction manual (see the back page).
7.5 Liability exemption
The manufacturer accepts no responsibility for personal injury or material damage
arising from deciencies, defects or improper usage. The manufacturer accepts
no responsibility for lost earnings, operating losses, lost time, lost prots or similar
indirect losses incurred by the purchaser or a third party.
7.0 Good service after purchase

18

19

S982
20042020/02
LT/LTS-EN
Periodic service and safety inspection
Service check is required once each year.
Safety inspection should be performed by the dealer or other qualied
persons at least once each year, unless local regulations state otherwise.
The inspections are to be performed on the basis of form no. B0278 and
proved on form no. B0284. Forms and instructions for the inspections are
available at your dealer.
This manual suits for next models
1
Table of contents
Other logitrans Lifting System manuals
Popular Lifting System manuals by other brands

AUTOLIFT
AUTOLIFT ONDA OB Series instruction manual

Dhollandia
Dhollandia DH-L Series Maintenance & Repair Manual

Global Lift
Global Lift ROTATIONAL Series owner's manual

Atlas
Atlas PV-10PX Installation & operation manual

Still
Still LiftRunner B frames Original instructions

AJ
AJ 31078 operating instructions

Titan Lifts
Titan Lifts HD2P-9KCL Installation, operation & maintenance manual

Ergotron
Ergotron StyleView SV22 Assembly instructions

morse
morse 400AM-72-124 Operator's manual

StrongHandTool
StrongHandTool BUILDPRO TDSL4830 instruction manual

HENNESSY INDUSTRIES
HENNESSY INDUSTRIES coats 4TV21NSR1 manual

Vestil
Vestil FTTM-2 Instruction manua