www.loosnaples.com Toll Free: 800-321-LOOS (5667)
OPERATING INSTRUCTIONS
1. Insert the plug end into 120V power source. The LED indicator will be
steady green indicating the charger is now in “stand-by” mode and
ready to charge the battery. Do not plug the charger into a generator as
this will likely cause the fuse in the charger to short, and will not operate.
2. To charge a drained battery, insert the battery into the charger until the
LED indicator shows a steady amber. This indicates the battery is be-
ing charged and will be completed in
approximately 90 minutes. The LED
indicator will show a Steady Green
(100%).
3. If the indicator shows a ashing am-
ber LED light when the battery is
inserted, the battery is too hot to be
charged and must be cooled to room tem-
perature before charging. Do not leave the battery in the charger to
cool as the charger will not recognize the battery is inserted and will not
charge.
4. If the LED indicator goes out or is ashing quick amber, this could be a
possible short in the battery circuit, or a problem with the charger itself.
It is best to consult the factory for service if such a condition occurs.
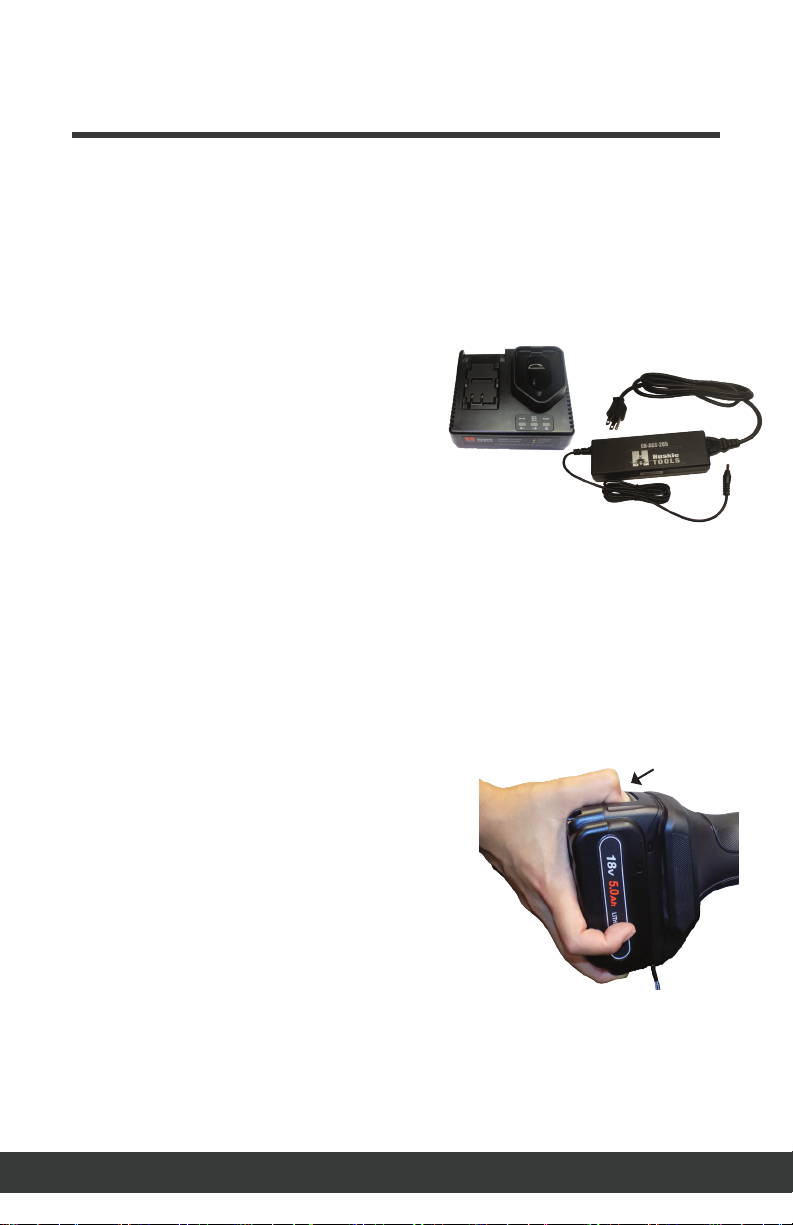
CHARGING THE BATTERY
1. While pressing the latch, pull up and
out the battery cartridge. To replace the
battery cartridge, push the new cartridge
rmly into place.
2. After inserting a battery cartridge, check
that it is securely in place by pulling gen-
tly. Do not press the latch when replacing
the cartridge.
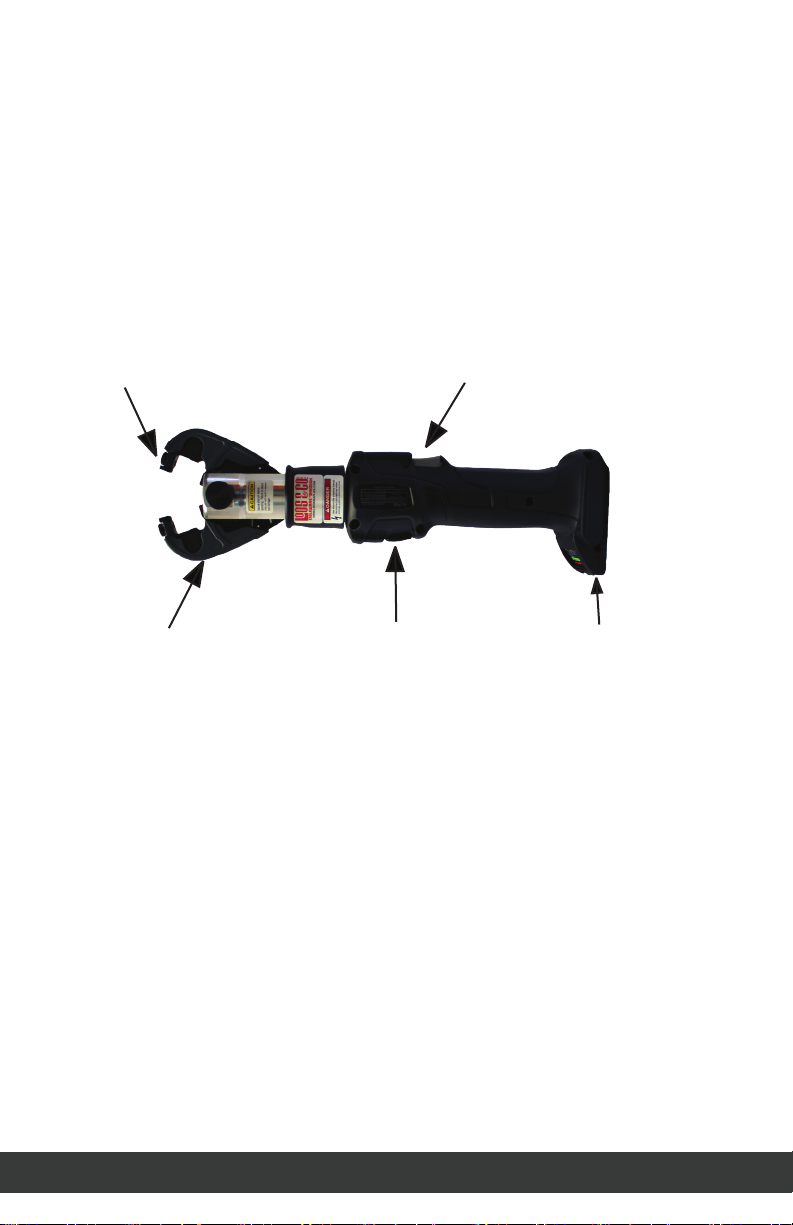
1. The ram advances when the trigger is pressed and stops when the
trigger is released.
2. To retract the ram, push the release button. The ram continues to
retract while the release button is pressed.
ATTACHING THE BATTERY CARTRIDGE
TRIGGER AND RELEASE BUTTON
3
Latch Securely