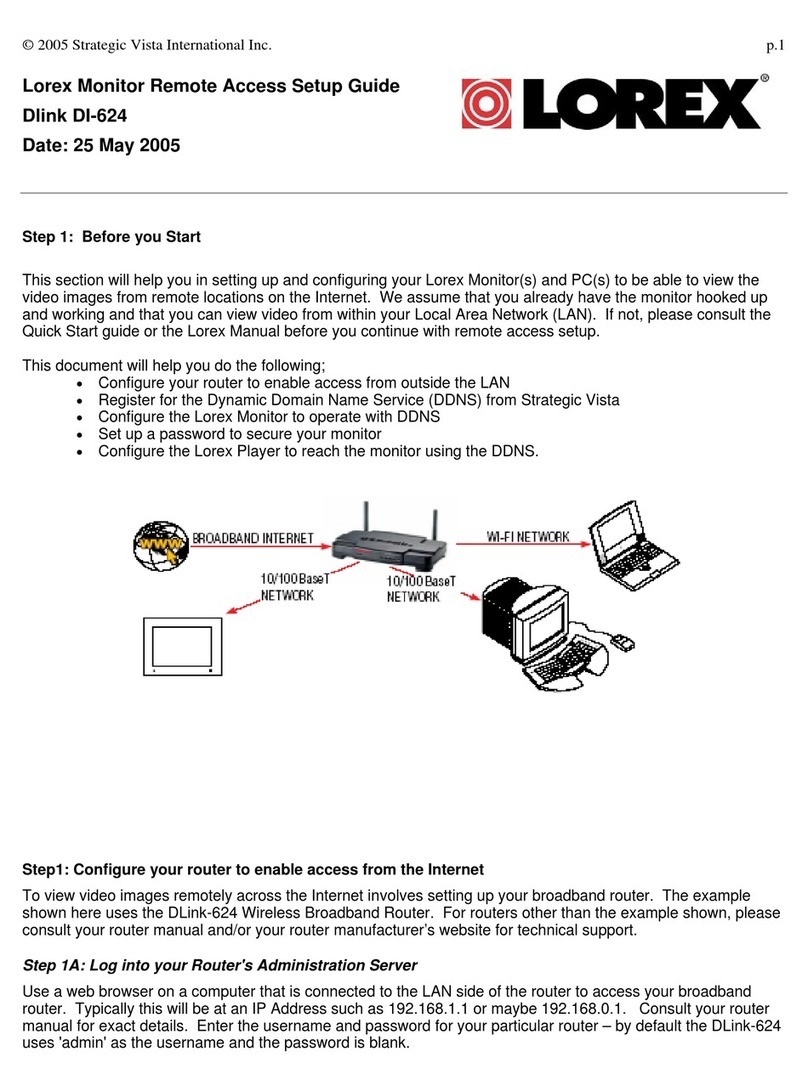
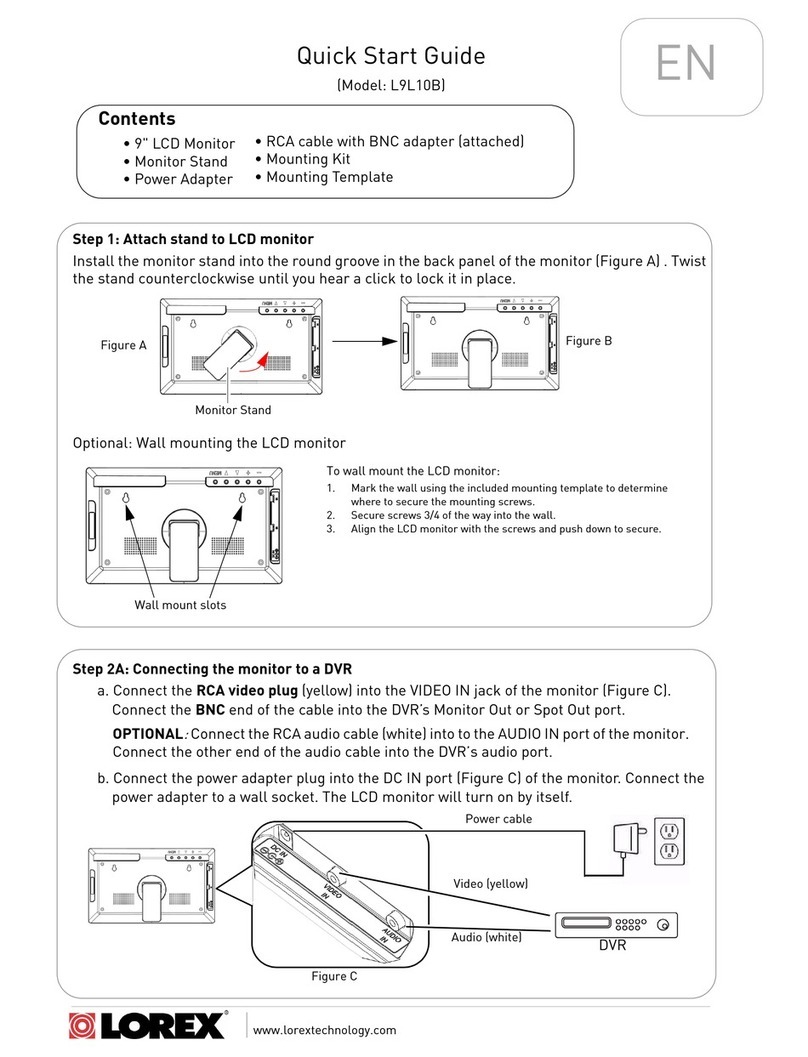
Lorex SG17TM5500 User manual


TFT LCD TV
User’s Manual
CCTV COLOR MONITOR
Part No.11900000


LCD Monitor User’s Manual
1
Important Safety Instructions
. . . . . . . . . . . . . . . . . . . . . . . . . . . . . . . . . . . . . . 2
Safety Notices
. . . . . . . . . . . . . . . . . . . . . . . . . . . . . . . . . . . . . . . . . . . . . . . . . . . . . . . . . . . . . . . .4
Location controls
. . . . . . . . . . . . . . . . . . . . . . . . . . . . . . . . . . . . . . . . . . . . . . . . . . . . . . . . . . 6
Functions and control methods
. . . . . . . . . . . . . . . . . . . . . . . . . . . . . . . . . . . . . 7
To connect the power
. . . . . . . . . . . . . . . . . . . . . . . . . . . . . . . . . . . . . . . . . . . . . . . . . . . . . 10
Possible connections
. . . . . . . . . . . . . . . . . . . . . . . . . . . . . . . . . . . . . . . . . . . . . . . . . . . . . . 11
Troubleshooting Tips
. . . . . . . . . . . . . . . . . . . . . . . . . . . . . . . . . . . . . . . . . . . . . . . . . . . . . 12
Specifications
. . . . . . . . . . . . . . . . . . . . . . . . . . . . . . . . . . . . . . . . . . . . . . . . . . . . . . . . . . . . . . . . . 13

LCD Monitor User’s Manual
2
Shock Hazard Marking and Associated Graphical Symbols
Explanation of Safety Related Symbols
CAUTION
RISK OF ELECTRIC SHOCK
DO NOT OPEN
CAUTION
RISK OF ELECTRIC SHOCK
DO NOT OPEN
CAUTION : TO REDUCE THE RISK OF
ELECTRIC SHOCK, DO NOT REMOVE
COVER (OR BACK).
NO USER-SERVICEABLE PARTS
INSIDE. REFER SERVICING TO
QUALIFIED SERVICE PERSONNEL.
This symbol is intended to alert the user to the presence of uninsulated
"dangerous voltage" within the product's enclosure
that may be of sufficient
magnitude to constitute a risk of electric shock to persons.
This symbol is intended to alert the user to the presence of important
operating and maintenance (servicing) instructions in the literature
accompanying the appliance.
WARNING
-
To Reduce The Risk Of Fire Or Electric Shock, Do Not Expose This Apparatus To
Rain Or Moisture.

LCD Monitor User’s Manual
3
Before connecting the AC power cord to the DC adapter outlet,make sure the voltage designation of
the DC adapter corresponds to the local electrical supply.
Never insert anything metallic into the cabinet openings of the Liquid Crystal Display LCD Monitor:
doing so may create the danger of electric shock.
To avoid electric shock,never touch the inside of the LCD Monitor.Only a qualified technician should
open the case of the LCD Monitor.
Never use your LCD Monitor if the power cord has been damaged.Do not allow anything to rest on
the power cord,and keep the cord away from areas where people can trip over it.
Be sure to hold the plug,not the cord,when disconnecting the LCD Monitor from an electric socket.
Openings in the LCD Monitor cabinet are provided for ventilation.To prevent overheating,these
openings should not be blocked or covered.Also,avoid using the LCD Monitor on a bed,sofa,rug,or
other soft surface.Doing so may block the ventilation openings in the bottom of the cabinet.
If you put the LCD Monitor in a bookcase or some other enclosed space,be sure to provide adequate
ventilation.Put your LCD Monitor in a location with low humidity and a minimum of dust.
Do not expose the LCD Monitor to rain or use it near water,
(in kitchen,near swimming pool,etc.).If the LCD Monitor accidentally gets wet,unplug it and contact
an authorized dealer immediately.You can clean the LCD Monitor with a damp cloth when necessary,
but be sure to unplug the LCD Monitor first.
Place the LCD Monitor on a solid surface and treat it carefully.
The screen is made of thin glass with a plastic front surface and be damaged if dropped,hit or
scratched.
Do not clean the front panel with keton-type materials (e.g., acetone),ethyl alcohol,toluene,eth-
ylacid,methyl,or chloride -these may damage the panel.
Locate your LCD Monitor near an easily accessible AC outlet.
CAUTION
RISK OF ELECTRIC SHOCK
DO NOT OPEN
CAUTION : TO REDUCE THE RISK OF
ELECTRIC SHOCK, DO NOT REMOVE
COVER (OR BACK).
NO USER-SERVICEABLE PARTS
INSIDE. REFER SERVICING TO
QUALIFIED SERVICE PERSONNEL.

LCD Monitor User’s Manual
4
SAFETY NOTES
1. Use at the rated power voltage.
Use of non-rated voltage may cause fire,electric shock and breakdown.
2. Do not open the cabinet and external cover.
The voltage inside of this product may cause electric shock.
3. Do not remodel or dissemble this product.
Remodeling or disassembling incorrectly may cause fire,electric shock or malfunction.
4. Do not insert any foreign substance into the ventilation holes.
If a foreign substance is inserted inside of this product,turn off the power,remove the power plug
from the socket and contact customer service.
5. Do not place this product in or near water.If water gets into the product it may cause fire,electric
shock or breakdown.If water does get into the product,turn off the power immediately,pull the
plug out of the socket and contact customer service.
6. Never touch the antenna lie or power plug if it starts to thunder.
7. Avoid hitting and or dropping this product.Impact may cause damage to the unit and result in mal-
function.
8. Keep power plug clean.A dirty or dusty power plug may cause poor insulation and result in a fire.
9. Do not destroy,place near heating device,bend or twist forcibly,place any heavy object on nor bind
the power cord or power plug.If it is used in damaged condition,it may cause fire or electric shock.
10. Do not touch the power plug with wet hands.If you insert or remove the power cord with wet
hands it may cause electric shocks.
11. Insert the power plug firmly.Putting the plug incompletely may cause electric shock or fire.
12. Do not use any non-rated power socket or socket with numerous devices attached.Using a wire of
non-designated capacity may cause fire due to the generation of heat.
13. In case of malfunction,turn off the power switch immediately and remove the power plug.
If this product is used in a state of disrepair it may lead to breakdown,fire or electric shock.
14. Place the product 10cm or more from the wall to ensure proper ventilation of the device.
15. Do not install the unit in an unstable location.
Unit may tip over and be damaged.

SAFETY NOTES
16.
D
o not expose to moisture or dust.
17. Do not install in a location with continuous vibration.
This may cause the monitor to fall over and be damaged.
18. Do not install near strong magnetic field or current.Exposure to a strong magnetic field or current
may lead to a deterioration of the picture by electromagnetic radiation in electromagnetic environ-
ment.
19. Exposure to high temperatures may distort the cabinet and damage the parts inside.
20. Do not place near fire.
21. Do not place heavy objects on this product.
22. Do not transport monitor with power cord or connection cables attached.This can damage the
cords.
23. Do not use outdoors.
24. Two or more people should be used to move this device which is heavier than 18kg.
25. Use the power cord and connection cables included with this product,or those which are indicated
on the user's manual.
26. Turn off the power switch when connecting the power cord or connection cable.
27. Do not use any chemical such as paint thinner or benzene to clean the cabinet.
28. Clean the cabinet with 5-6time diluted neutral detergent water on a smooth cloth.
LCD Monitor User’s Manual
5

LCD Monitor User’s Manual
6
1. POWER
2. POWER LED LAMP (STAND BY)
3. PC
4. S-VIDEO
5. VIDEO 2
6. VIDEO 1
7. VOLUME DOWN/UP
8. SELECT
9. MENU
10. CONTRAST
11. BRIGHT
12. COLOR
13. TINT
14. VIDEO IN (CH1)
15. VIDEO OUT (CH1)
16. VIDEO IN (CH2)
17. VIDEO OUT (CH2)
18. AUDIO IN (CH1)
19. AUDIO OUT (CH1)
20. AUDIO IN (CH2)
21. AUDIO OUT (CH2)
22. S-VIDEO
23. PC
24. AC INLET
25. KENSINGTON LOCK HOLE
7"

LCD Monitor User’s Manual
7
1. POWER BUTTON
:
Press to turn the LCD monitor ON. The POWER LAMP above the switch will illuminate.
2. POWER LED LAMP
: When SET is normally operated, a green lamp is turned on. The green lamp flickers in the status of STAND-BY.
STAND BY : ON/OFF BUTTON is off
3. PC BUTTON
: When you press this button, PC mode is selected.
4. S-VIDEO BUTTON
: When you press this button, S-VIDEO mode is selected.
If you want to see a clean and clear video through S-VIDEO input, select this.
5. V2 BUTTON
: When you press this button, VIDEO2 mode is selected.
Select this button to insert the camera input or video input into VIDEO CH2 terminal.
6. V1 BUTTON
: When you press this button, VIDEO1 mode is selected.
Select this button to insert the camera input or video input into VIDEO CH1 terminal.
7. VOLUME +, - BUTTON
: Adjust the volume up and down.
8. SEL BUTTON
: When you want to select the desired item in menu, press this button to move.
9. MENU BUTTON
: When you press this button, the menu window appears. When you press this button again, the menu window disappears.
10. CONTRAST
: Adjust the screen s contrast. (Operate in VIDEO1 mode, VIDEO2 mode, and S-VIDEO mode)
11. BRIGHT
: Adjust the screen s brightness. (Operate in VIDEO1 mode, VIDEO2 mode, and S-VIDEO mode)
12. COLOR
: Adjust the screen s color. (Operate in VIDEO1 mode, VIDEO2 mode, and S-VIDEO mode)
13. TINT
: Adjust the screen s tint. (Operate in VIDEO1 mode, VIDEO2 mode, and S-VIDEO mode)
14. 15. 16. 17 VIDEO IN/OUT
: This is the terminal to receive the video from the camera. It is used to connect the video, to connect & record the video, or
to connect many monitors.
18. 19. 20. 21 AUDIO IN/OUTPUT
: It is the terminal to receive the audio from the camera.
It can be used by connecting the external audio equipment.
22. S-VIDEO JACK
: When you want to see a high definition S-VIDEO, use the S-VIDEO input of this monitor. You can enjoy the clean and
clear video.
23. PC JACK
: When you use this monitor as PC monitor, you can use it by connecting the PC Cable to PC Jack of this monitor.
24. POWER INLET
: Inlet the AC power (AC100~240V, 50/60Hz)
25. KENSINGTON LOCK HOLE
Used to lock the monitor.

LCD Monitor User’s Manual
8
MENU Operation
When you press the MENU button, the MENU window appears on screen.
Press SEL BUTTON to move to the desired item.
Press VIO+ key to select the desired item.
To close the MENU window, press MENU button again or wait for the window to close.
MENU in VIDEO1, VIDEO2, and S-VIDEO
It shows the MOVE button, SEL button, and EXIT button on a bottom of MENU window.
COLOR TEMP
9300/6500
You can select a temperature of desired color.
(9300 K / 6500 K)
UTILITY
ALL BLUE : OFF/ON
When you select ON of ALL BLUE, a full screen is blue.
OVER SCAN : 0%, 5%, 10%
You can select 0% (original screen), 5% (zoom-in screen), or 10% (zoom-in screen) by
selecting OVER SCAN.
OSD
OSD TIMEOUT
You can select the time when OSD window appears on screen in 5 seconds units up to 5~60
seconds.
OSD TRANSPARENCY
You can select the OSD Transparency in the unit of 20% up to MIN ~ MAX.
LANGUAGE
ENGLISH, FRANÇAIS, DEUTSCH, ESPAÑOL, DANISH, ITALIANO
The above six languages are offered. You can select one of above languages
COLOR TEMP
UTILITY
OSD
LANGUAGE
:MOVE +:SEL. :EXIT
MAIN MENU

LCD Monitor User’s Manual
9
MENU in PC / DV1
When you press the MENU Button, the MENU screen appears.
It shows a resolution, vertical and horizontal frequency of current monitor on the bottom of MENU Window.
AUTO ADJUST
Adjust the screen s status in PC mode automatically.
SCREEN
BRIGHTNESS
Adjust the screen s brightness
CONTRAST
Adjust the screen s contrast
H.POSITION
Adjust the screen s horizontal position
V.POSITION
Adjust the screen s vertical position
PHASE ADJUST
Adjust the screen s phase
CLOCK ADJUST
Adjust the screen s horizontal size through a increase/decrease in the
number of Pixel.
COLOR
COLOR TEMP
Select the temperature of desired color
(USER / 9300 K / 6500 K)
RED
Adjust the red tint of screen
GREEN
Adjust the green tint of screen
BLUE
Adjust the blue tint of screen
UTILITY
RECALL
Go back to a basic default to be delivered from a factory
FULL AUTO
Optimize the screen status in PC mode automatically and set the color
value by re-measuring it
OSD
Same as the operation in VIDEO1, VIDEO2, and S-VIDEO
LANGUAGE
Same as the operation in VIDEO1, VIDEO2, and S-VIDEO
AUTO ADJUST
SCREEN
COLOR
UTILITY
OSD
LANGUAGE
:MOVE +:SEL. :EXIT
MAIN MENU

LCD Monitor User’s Manual
10
Be sure to connect the conversion plug to the power plug by the outlet!
This monitor can be available both in AC 110V / 220V 60Hz
Various input voltage (within a range of AC100~240V) can be available.
(Do not use it in the voltage higher than a rated voltage)
110V/220V selector switch is not necessary.This monitor can be operated directly without a special operation.
CAUTION
Make sure to operate this monitor in the rated voltage described in the user s manual or the monitor.
(When the voltage higher than the rated voltage is supplied,it may give damage to a receiver.
If you do not use the monitor for a long time,you must pull out the power plug from the inlet for safety.
TThhiissmmoonniittoorrccaann
bbeeaavvaaiillaabbllee
rreeggaarrddlleessssooff
111100VV//222200VV..
Plug
Outlet
Conversion plug

LCD Monitor User’s Manual
11
Video camera
Video Monitor
AUDIO IN
Audio signal cable
VIDEO IN
AUDIO OUT
(through out)
VIDEO OUT
(through out)
Video signal cable
Video camera
Video Monitor
Video camera
VCR or DVD
VCR or DVD
VCR or DVD
S-VIDEO IN
D-SUB 15 PIN
(Analog RGB)
AUDIO OUT
(through out)
VIDEO OUT
(through out)
AUDIO IN
Audio signal cable
VIDEO IN
Video signal cable
PC
S-VIDEO / D-SUB 15PIN connection (Select input S-VIDEO,PC button)
Read the installation/operation manual thoroughly before connecting equipment.
Turn off the power source before connecting the monitor and external equipment.
VIDEO 1 Connection (Select input VIDEO 1 button)
VIDEO 2 Connection (Select input VIDEO 2 button)

LCD Monitor User’s Manual
12
The screen doesn't appear and
the sound is not heard.Is the power cord pulled out?
Is the power turned off?
Is this monitor connected with the
external equipment erroneously?
Is the contrast and brightness
wrongly controlled?
Is this monitor connected with the
external equipment erroneously?
Is the external equipment correctly
connected?
Is the volume turned down?
Is this monitor connected with the
external equipment erroneously?
Is the tint and color correctly
adjusted?
Is the external equipment correctly
connected?
Connect the power cord correctly
Press the power button.
Check the cord and then connect it
correctly.
Adjust the contrast and brightness
correctly.
Check the cord and then connect it
correctly.
Check the cord and then connect it
correctly.
Adjust the volume.
Check the cord and then connect it
correctly.
Adjust the contrast and brightness
correctly.
Check the cord and then connect it
correctly.
The sound is heard but the
video doesn't appear.
The video appears but it is
interrupted by static.
Not the sound is heard.
The screen color is not clear
and clean.
The screen is shaken and is
affected by static.
If your monitor is out of order, check up the below problems firstly.

LCD Monitor User’s Manual
13
This monitor has received the EMI (Electromagnetic interference) test for the business.
Accordingly, a seller or user needs to know about it. If you purchase the erroneous monitor, be sure to
exchange it into non-business monitor in the shop where you buy it.
Table of contents
Other Lorex Monitor manuals

Lorex
Lorex Vantage L27LE10B User manual

Lorex
Lorex Vantage L19LE10B User manual

Lorex
Lorex L13LE10B User manual

Lorex
Lorex L14Q684C User manual

Lorex
Lorex L9L10B User manual

Lorex
Lorex L14Q684C User guide

Lorex
Lorex Vantage L24LE10B User manual

Lorex
Lorex L24LE11B User manual

Lorex
Lorex l12le10b User manual

Lorex
Lorex Vantage L22LET10B User manual