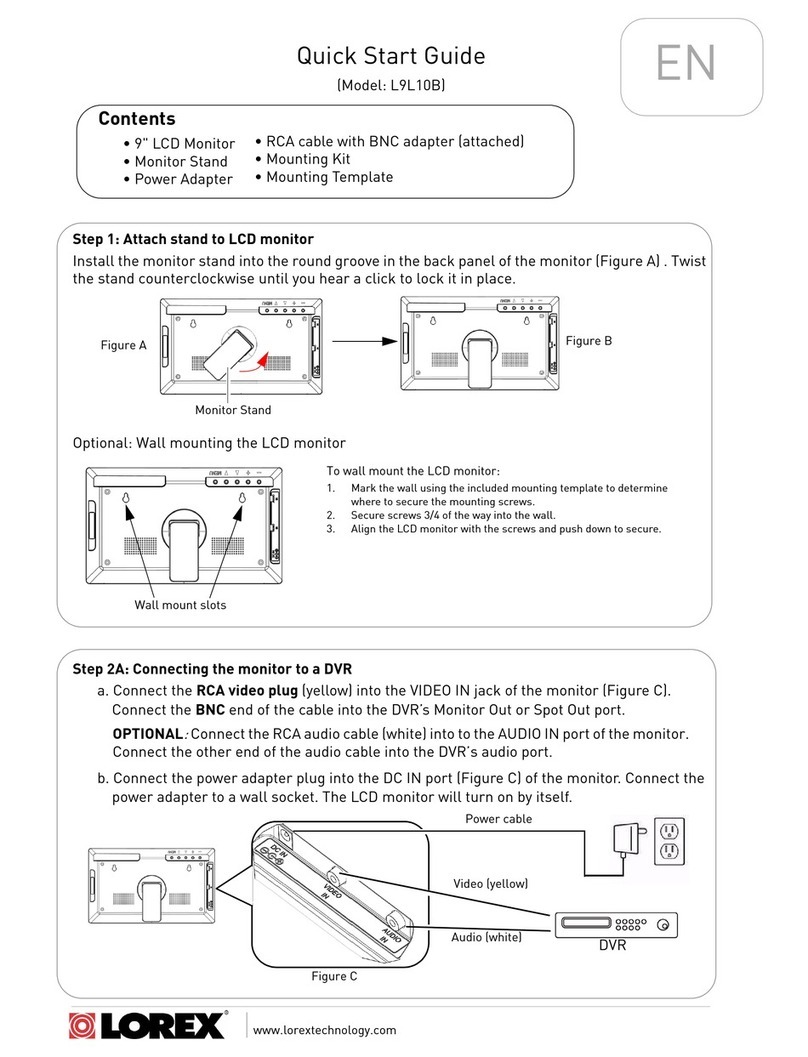
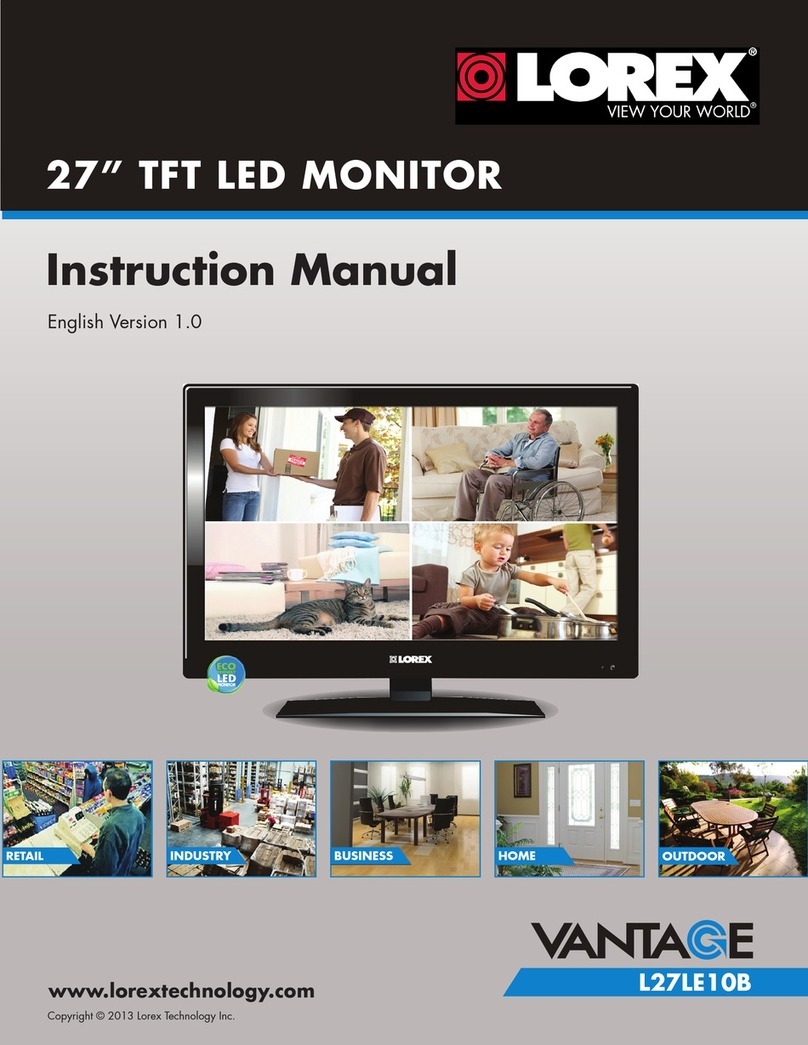
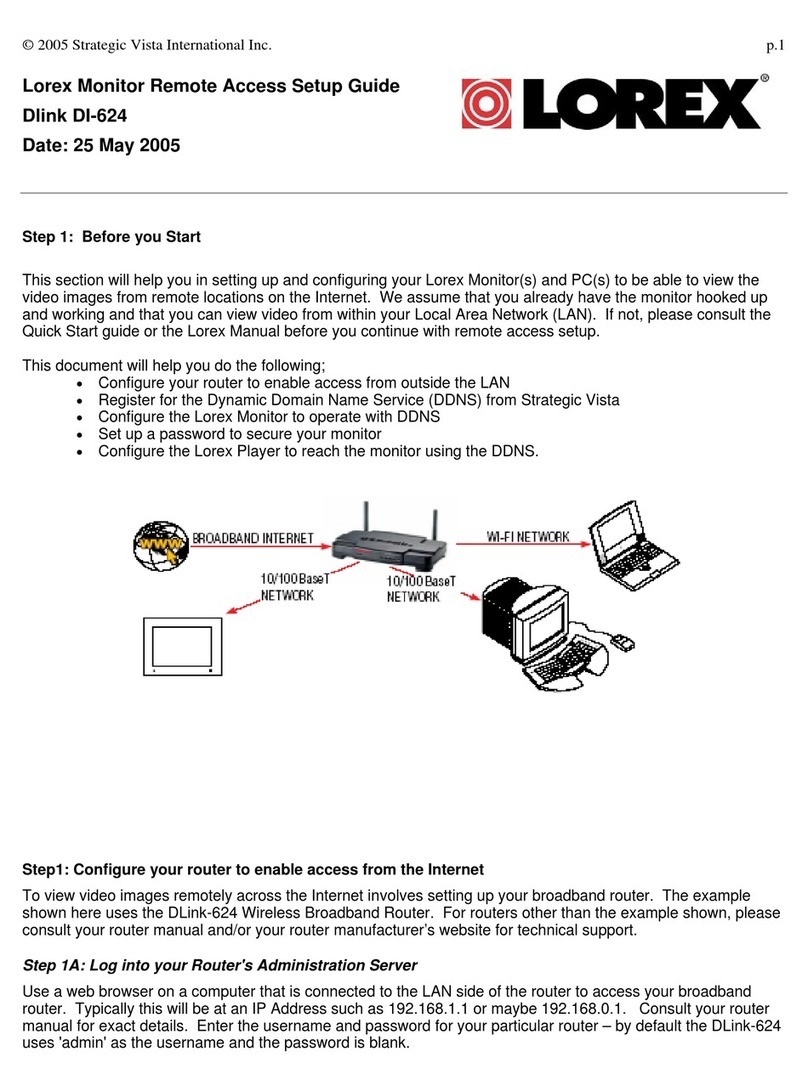
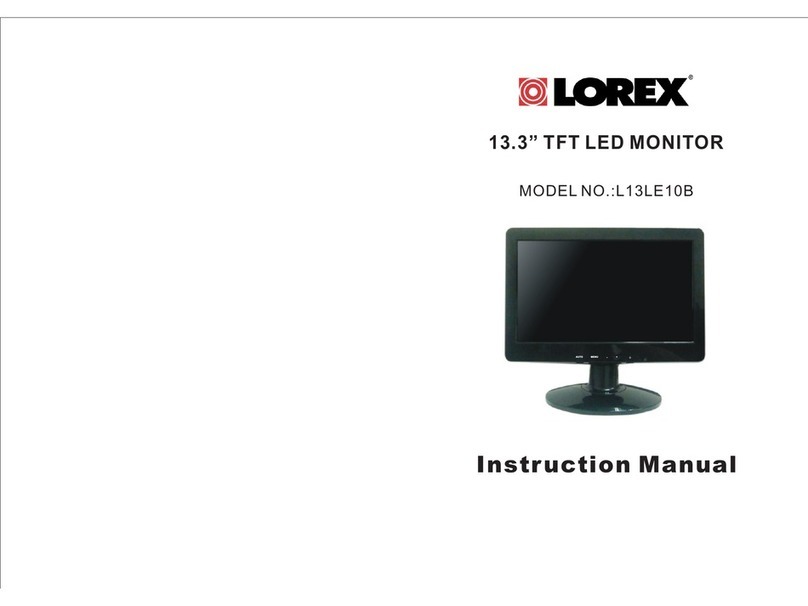
Lorex L14Q684C User guide

© 2006Lorex Technology Inc. p.1
Lorex Monitor Network Setup Manual
Version 1.0
Table of Contents
Setting up the LOREX Monitor..............................................................................................................2
Using IP Edit ............................................................................................................................................3
Changing the IP Address and Gateway..........................................................................................4
Changing the port numbers ..............................................................................................................4
Accessing Video using a Web Browser...............................................................................................5
Configuring the web browser............................................................................................................5
Camera Window.................................................................................................................................6
View Log ..............................................................................................................................................7
Configuration.......................................................................................................................................8
System.............................................................................................................................................8
User..................................................................................................................................................9
Motion Detection..........................................................................................................................10
Network..........................................................................................................................................11
Audio..............................................................................................................................................12
DDNS.............................................................................................................................................13

© 2006Lorex Technology Inc.. p.2
Setting up the LOREX Monitor
This section will help you in setting up and configuring your LOREX Monitor to be able
to view the video images from within your Local Area Network (LAN).
Step 1A:
Connect one or more cameras to the Monitor's video input sockets.
Step 1B:
Connect your LOREX Monitor to a spare LAN port on your Broadband Router or
network switch using the network cable supplied with the device ( or an equivalent cat5
network cable).
Step 1C:
Connect the power cable into the Monitor and plug the other end into a 110V AC socket.
Press the on/off button on the front panel to turn the unit on.
You should verify a few things at this point:
•The Screen lights up.
•The Video images appear on the screen.
•The yellow and/or green leds under the network socket are flashing
If these are not correct, check your cabling and power connections.

© 2006Lorex Technology Inc. p.3
Using IP Edit
Insert the LOREX Monitor CD into CD-reader of your Windows 2000 or Windows XP
computer. Wait for the CD to start automatically.
Select the 'LOREX IP Edit' option from the screen. (If it does not start automatically you
can run the ipedit.exe program found in the LOREX Utility directory on the CD).

© 2005 Lorex Technology Inc. p.4
This screen will display the IP address of the LOREX Monitor. Click on the item in the
left-hand pane and the details will be displayed to the right. To change any of the
parameters, enter in the new values and click 'Submit'.
Changing the IP Address and Gateway
You must have a valid IP address for the Monitor to work properly. However, if you are
not sure which numbers to use and the current configuration appears to be working then
leave the configuration as it is.
If required, you can set the static IP address and gateway parameters to match your
network configuration. If you only have a static IP network (i.e. there is no dhcp server)
, then you must assign a unique IP address to the unit or contact your network
administrator to have one assigned. The gateway address, which is set by the network
gateway/router, is used by outgoing messaging features like DDNS and e-mail
notification, and is required for these features to work.
Changing the port numbers
The port numbers are defined for web access and video streaming access. It is
advisable to leave these unchanged unless you have a very good reason to change
them. In that case the numbers should be changed to values above 1024.
Before you Exit the program, make a note of the IP address and port numbers.

© 2006Lorex Technology Inc. p.5
Accessing Video using a Web Browser (Internet Explorer)
Configuring the web browser.
The following setting in the web browser may be necessary.
Temporary Internet Files
- Make sure that browser checks the content of web page every time
(Tools -> Internet Options -> Temporary Internet Files -> Settings...)
Security Level (Internet Explorer):
- Set to allow the browser to execute the ActiveX control object;
Tools -> Internet Option -> Security -> Setting -> Custom Level

© 2006Lorex Technology Inc. p.6
Camera Window
Start up your web browser and enter the network IP address of the Lorex Monitor. The
following screen will appear;
The following settings can be controlled from the Camera window;
Quality – this sets image quality, from Highest(least compressed) to Lowest
(most compressed).
Resolution – The following resolutions are available;
160 x 120, 176 x 144, 320 x 240, 352 x 288, 640 x 480
Frequency – This setting reduces flickering under the following conditions;
Outdoors, Indoor(50Hz), Indoor(60Hz)
Advanced – Control the values of;
Brightness, Contrast, Saturation, Hue and Sharpness
Display Modes
ActiveX mode – The browser must be Internet Explorer 5.5 or higher.
Java Applet mode – Microsoft Internet Explorer, Netscape and other
browsers are supported.
In ActiveX mode, you can right-click on the image to bring up a menu of options;

© 2006Lorex Technology Inc. p.7
View Log
Most operations are recorded in the log file. View Log page displays the log data of the
selected monitor.

© 2006Lorex Technology Inc. p.8
Configuration
System
–Server Name: This is displayed on the monitor window.
–Server Time: This allows the internal clock to be set and also updated using
Network Time Protocol (NTP).
–Lorex Monitor supports two ports simultaneously. Set the HTTP port-1 to 80 to
allow the IPedit application to search for the monitor on intranet.
–Firmware Update: This enables the user to install firmware in the monitor.
Select the update file from the local computer using the 'Browse' button. Click
'Update' to install this file.

© 2006Lorex Technology Inc. p.9
User
–Enable or disable login authorization
–Administrator can set up user accounts, which permit different users to access
the monitor.
–Default administrator’s name: admin
–Default administrator’s password: 1234

© 2006Lorex Technology Inc.
Motion Detection
–When the Monitor detects any movement in a video picture, it sends the image
to the administrator by e-mail or ftp.
–There are 3 sensitivity level in motion detect – High, Medium, Low.
–Mail settings: destination e-mail address
–FTP settings: destination ftp upload location

© 2006Lorex Technology Inc.
Network
–IP Assignment : Set up the Monitor's IP address to be static or acquired via
DHCP.
–Mail : Set the mail address and configuration for sending to the administrator.

© 2006Lorex Technology Inc. p.12
Audio
This screen allows the user to control the use of audio.

© 2006Lorex Technology Inc. p.13
DDNS
Residential broadband Internet services assign IP addresses that are dynamic, and
change from time to time. Therefore, in order to access the Lorex Monitor from the
Internet this dynamic IP address must be registered with a Dynamic Domain Name
Server (DDNS). In addition, a DDNS account must be set up with the DDNS Service
Provider, ddns.lorexcctv.net, before configuring DDNS.
For information on accessing your LOREX Monitor from a remote location on the
Internet, please visit our web site:
www.lorexcctv.com/ips110
Other manuals for L14Q684C
3
This manual suits for next models
1
Table of contents
Other Lorex Monitor manuals

Lorex
Lorex LW2310 Series User manual

Lorex
Lorex Vantage L24LE10B User manual

Lorex
Lorex SG17TM5500 User manual

Lorex
Lorex L9L10B User manual

Lorex
Lorex l12le10b User manual

Lorex
Lorex L14Q684C User manual

Lorex
Lorex DI-624 User manual

Lorex
Lorex MTR434KB User manual

Lorex
Lorex Vantage L27LE10B User manual

Lorex
Lorex SV-01-MON User manual