7
CONTROLS AND FUNCTIONS
10
INSTALLATION
Ensure the power switch on the monitor and camera are set to
the OFF position before proceed following steps.
Try to position both the Camera and Monitor as high off the ground as possible for
better picture reception.
NOTE
Camera
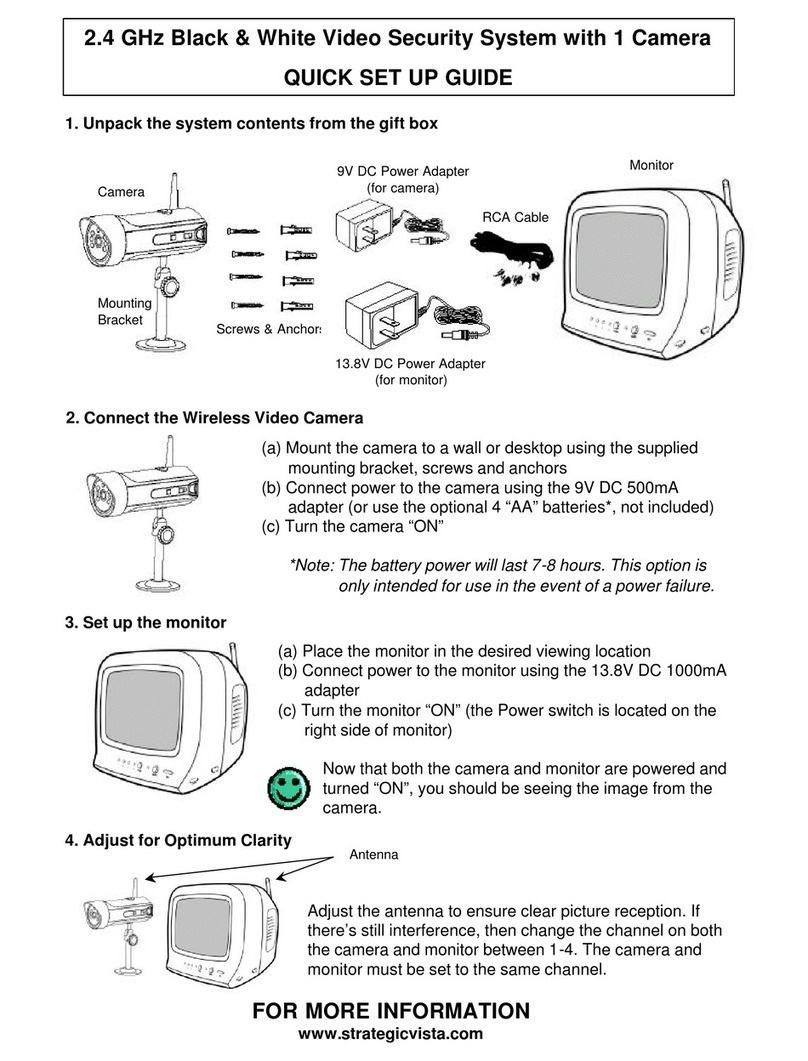
(1) Connect the power adapter to the camera power input and ensure the camera is turned
‘ON’ Ensure the camera is set to channel 1
Monitor
(1) Connect the supplied power adapter to the power input of the monitor OR connect the
DC plug from the battery box to the DC input jack at the back of the monitor
(2) Use the channel selection switch button and ensure the monitor is set to the same channel
as the camera to view the picture. Note: If you experience transmission reception
problems (eg. poor picture), you may need to select another channel on the camera and
monitor and/or adjust the antennas on the monitor and camera to ensure they are pointing
at each other.
(3) Adjust the volume to the desired level. You may also mute the audio option by pressing
the mute button which is located at the front of the monitor.
(4) Adjust the brightness and contrast levels as required
NOTE
MONITOR
CAMERA
WIRELESS CAMERA – INSTALLATION
1. Attach the stand base to the wall or ceiling where you want to
install the camera. Locate a wall stud or ceiling joist and secure bracket using the
three supplied screws.
2. Attach the camera to the stand and firmly tighten the swivel.
3. Attach the camera with the stand to the stand base and firmly tighten the joint knob
on the stand base.
4. Connect the supplied 12V 500mA AC adapter to the DC IN jack at the rear of the
camera and plug it into the electrical outlet.
Your wireless camera has both AC or battery option. When using the AC option with
rechargeable batteries, your camera will automatically switch to back up battery feature
during a power outage providing you with uninterrupted power to the camera. The
battery option also provides you the flexibility to move the camera from room to room.
WIRELESS CAMERA - AC OPTION ONLY
1. Ensure the power switch on the camera is turned OFF.
2. Connect one end of the power supply to the DC IN jack located at the back of the
camera. Plug the other end into an electrical outlet
WIRELESS CAMERA - USING RECHARGEABLE BATTERIES
1. Insert 8 rechargeable ‘AA’ batteries (not included) into the camera battery
compartment. WARNING: TO PREVENT INJURY AND/OR DAMAGE TO THE
UNIT, ENSURE THE BATTERIES ARE ALIGNED PROPERLY AND BATTERY
TYPES ARE NOT MIXED.
2. Ensure the slide switch labeled Recharge/Alkaline is set to the ‘Rechargeable’
setting.
3. Carefully slide the battery compartment into the camera
4. Ensure the power switch on the camera is turned OFF.
5. Connect one end of the power supply to the DC IN Jack located at the back of the
camera. Plug the other end into an electrical outlet.
WIRELESS CAMERA - USING ALKALINE BATTERIES
1. Insert 8 alkaline ‘AA’ batteries (not included) into the camera battery compartment.
WARNING: TO PREVENT INJURY AND /OR DAMAGE TO THE UNIT, ENSURE
THE BATTERIES ARE ALIGNED PROPERLY AND BATTERY TYPES ARE NOT
MIXED
2. Ensure the slide switch labeled Rechargeable/Alkaline is set to the ‘Alkaline’
setting.
3. Carefully slide the battery compartment into the camera
4. Ensure the power switch on the camera is turned OFF.
5. Connect one end of the power supply to the DC IN Jack located at the back of the
camera. Plug the other end into an electrical outlet
