4
EN
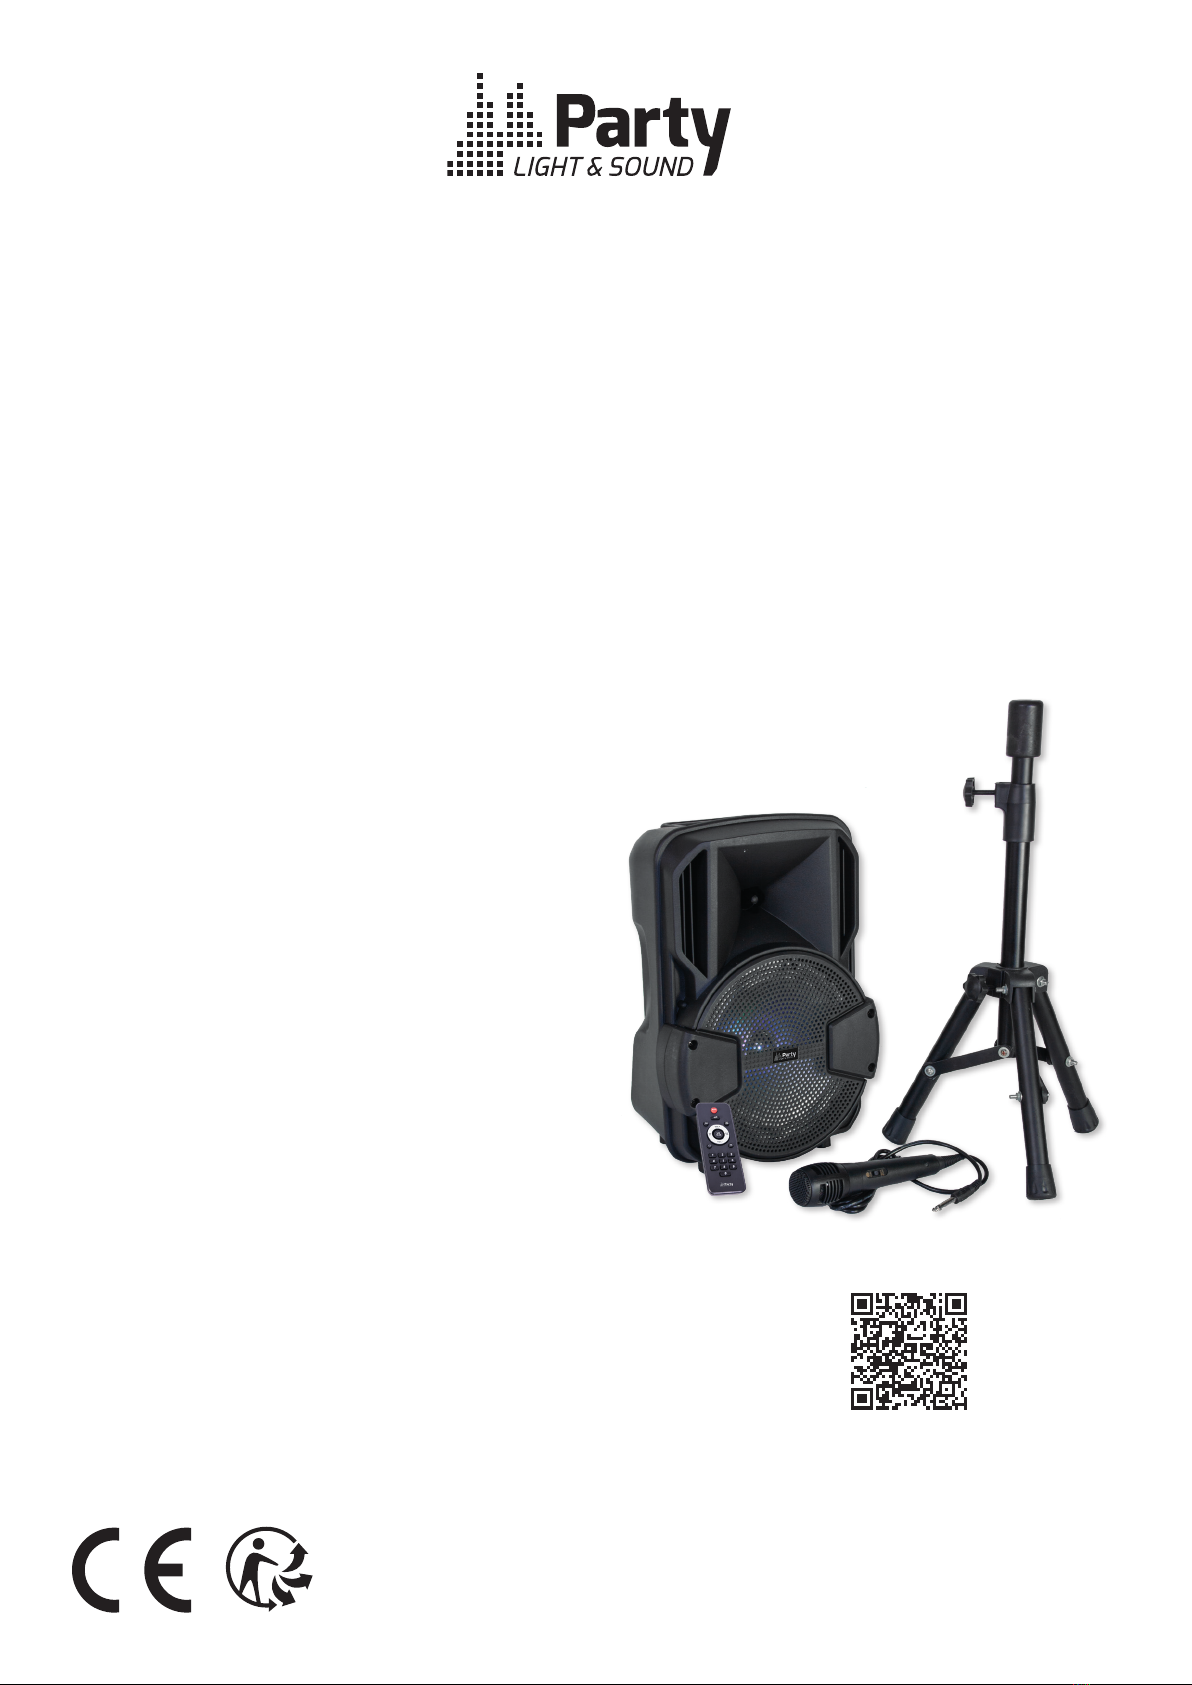
LED-ILLUMINATED ACTIVE BOX WITH STAND + MIC
INSTRUCTION MANUAL
Please read the manual carefully and keep it for future reference.
The lightning ash with arrowhead symbol, within an equilateral Triangle, is intended to alert the user to
the presence of not insulated dangerous voltages within the product’s enclosure that may be of sucient
magnitude to constitute a risk of electric shock to persons.
The exclamation point within an equilateral triangle is intended to alert the user to the presence of impor-
tant operating and maintenance (servicing) instructions in the literature accompanying the appliance.
Important Safety instructions and danger warnings
⠗All safety instructions and warnings must be adhered to. They are part of the manual and must be kept with
the manual.
⠗Any guarantee claims are rendered invalid if damage occurs due to non-observance of these operating instruc-
tions. We assume no liability for any consequent damage.
⠗We assume no liability for personal injury or damage to property caused by incorrect handling or non-obser-
vance of the safety instructions. Any guarantee claims expire in such cases.
⠗Unauthorized conversions and/or modications of the appliance are not permitted for safety and licensing
reasons (CE).
⠗The appliance is approved for operation in dry, closed rooms only . Do not operate the device nearby wa-
ter, such as in bathrooms or nearby swimming pools.
⠗The appliance may not be exposed to extreme temperatures (< +5°C / > +35°C) in operation.
⠗The appliance may not be subjected to strong vibrations or heavy mechanical strain.
⠗The appliance may not be exposed to excessive moisture (due to dripping or sprayed water, for example).
⠗Do not place any recipients lled with liquids, such as glasses or vases, on top of or directly next to the ap-
pliance. They could fall over, causing water to enter the appliance. Never pour out liquids above the appliance.
Do not place any small objects, such as coins or paper clips, on the appliance since they could fall inside the
appliance. You run a high risk of causing a re or life-threatening electrocution!
⠗Electrical appliances must be kept out of the reach of children. Be particularly careful if children are present.
Children are not aware of the hazards involved in handing electrical appliances improperly. Children could
attempt to poke objects into the appliance. There is a life-threatening danger of electrocution.
⠗Do not leave the appliance unattended while operating it.
⠗Never place the appliance on an unstable or movable surface. Persons could be injured or the appliance da-
maged by it falling down.
⠗When using a rack, make sure it is in a stable position and is transported securely. Installation on uneven,
slanted surfaces or stopping the rack abruptly during transport can result in the rack overturning or appliances
falling from or out of the rack and injuring people.
⠗Live components can be exposed by opening covers or removing components (unless this can be done without
tools). Contact points can also be live. If the appliance has to be opened in order to calibrate, service, repair or
replace components or assemblies, all of its poles must be disconnected from all sources of voltage rst. If the
appliance has to be kept open and under voltage during maintenance or repairs, this work may only be carried
out by a specialist who is familiar with the risks involved and the relevant regulations.
⠗Never connect the appliance directly after transferring it from a cold to a warm room. The condensation water
that forms could destroy the appliance or result in an electric shock. Allow the device to reach room tempera-
ture before connecting it. Wait until the condensation water has evaporated. This can take some hours.
⠗Do not place any naked ames such as those of burning candles on or next to the appliance.
⠗Do not place the appliance on soft surfaces such as carpets or beds. Do not cover the air vents of the ap-
pliance. Do not obstruct the air circulation with objects such as magazines, table cloths or curtains. This pre-
vents the dissipation of heat from the appliance and can result in overheating.
⠗Only use the appliance in a moderate climate, not in tropical environments.
⠗All persons involved in operating, installing and servicing the appliance and putting it into service must be
trained and qualied accordingly and observe these operating instructions.