The “Six in One” beeper can be programmed
for regular , grouse , point only , and you can
add a hawk scream for the point signal. It can
also be programmed to eliminate the point
signal altogether and will beep every 4 or 8
seconds for keeping track of non-pointing
breeds.
Our term regular through the years has
referred to a beeper with 8 seconds between
run beeps and 8 seconds delay (from the time
the dog stops) until the beeper changes
rhythm. This has been the most popular
timing sequence because the longer delay to
point allows the dog to piddle a little without
the hunter hearing too many false point beeps.
When programmed in grouse mode, the run
beep intervals and the delay to point are
shortened to 4 seconds. Since grouse cover is
generally thicker some like to keep closer track
of the dog and less silence aids in this aspect.
Hence the name grouse model.
This is purely a matter of preference, you can
program the unit to a combination regular or
grouse model which could be 8 seconds
between run beeps and a 4 second delay to
point, or 4 seconds between run signals and
an 8 second delay to point (refer to
programming instructions.
The point only feature allows the user to shut
off the running signals. The only time the
beeper will sound is if the dog is motionless
for 4 or 8 seconds, depending on how the unit
is programmed. This also allows the use of a
bell in combination with the beeper.
The hawk scream point signal can make birds
hold tighter and can be very useful to
reinforce the “whoa” command. Dogs can
more easily differenciate between the sound of
the hawk scream and a beep verses just
changing intervals of the same tone of beeps.
Thus when used along with the “whoa”
training, the hawk scream can be the same to
the dog as a verbal “whoa” command, making
the birds hold tighter and the dog more
staunch.
The LTHbeeper collar was created especially
for those who have a hard time hearing high-
pitched sounds.
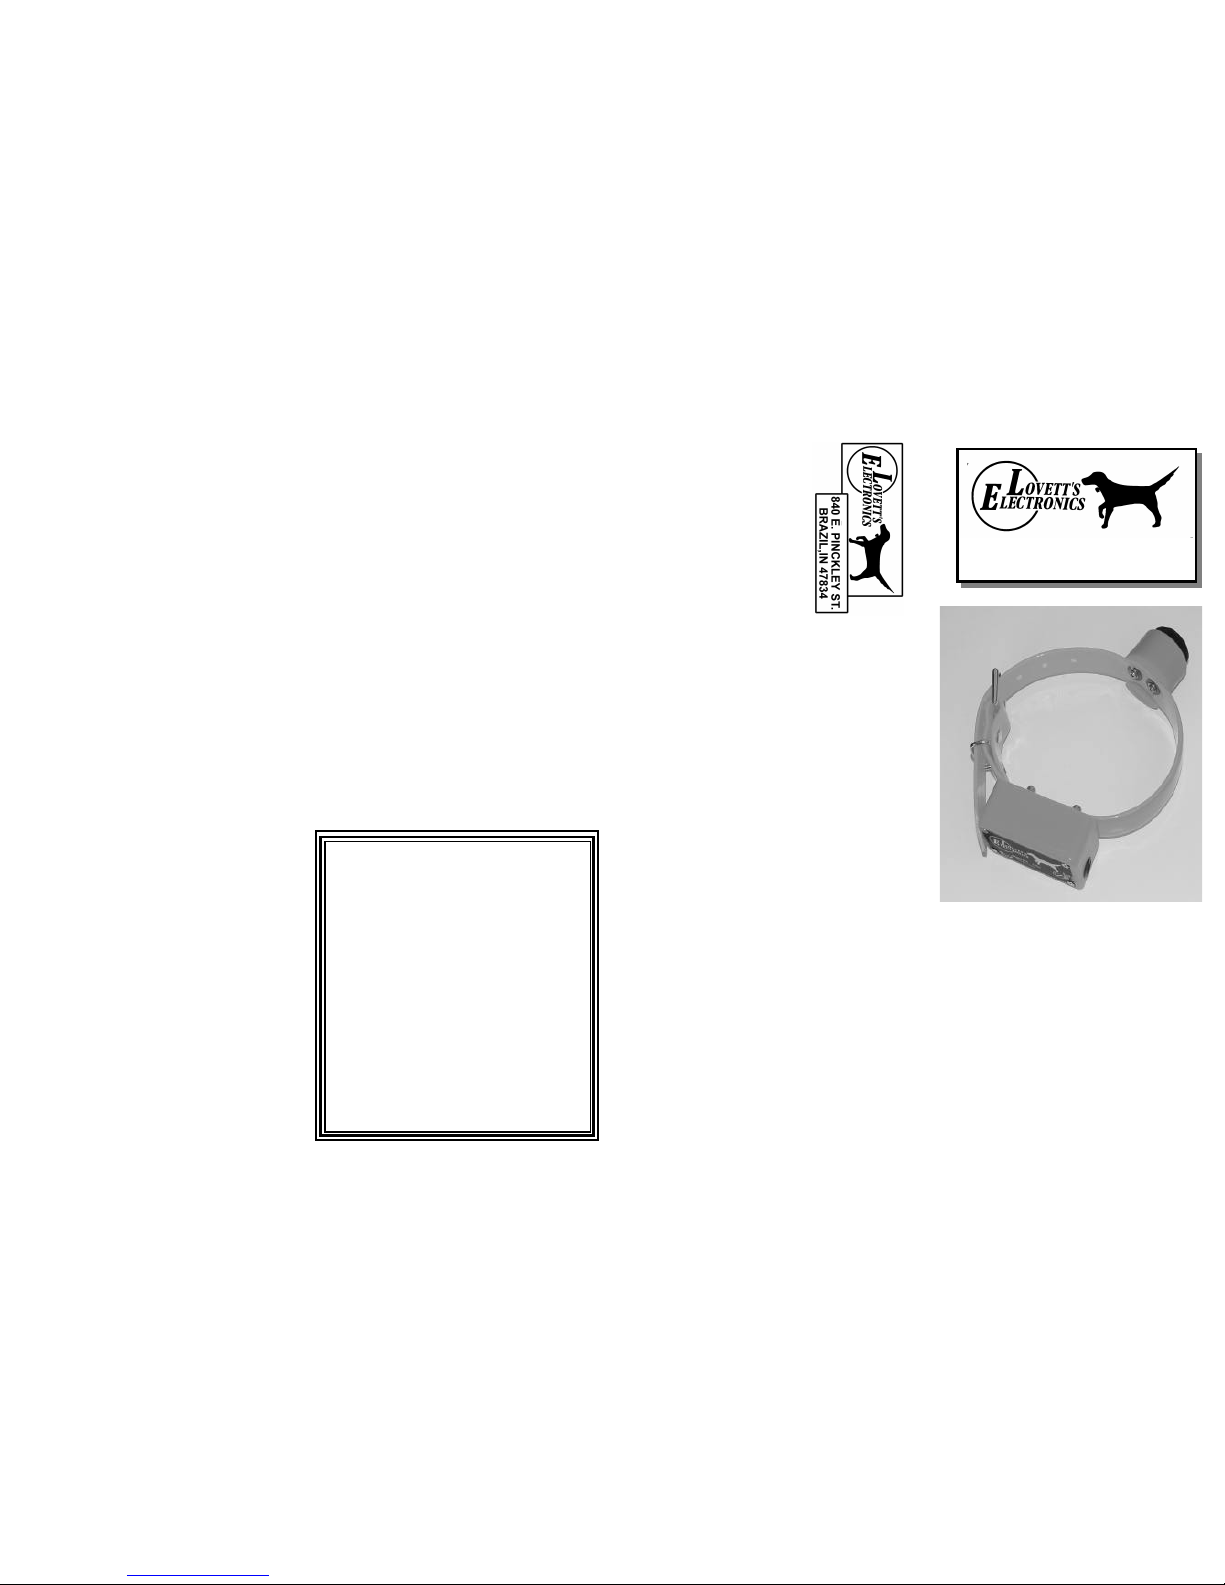
“Six in One” Beeper
Features
* Waterproof,rotating, coin operated on/off switch
molded in the side to eliminate accidental turn
offs. Can be turned on or off in the field without
turn on plugs or magnets. (See figure 1).
* Speaker is mounted on the collar to ride on top
of the dog’s neck. This will make the beeper
easier to be heard by the hunter, easier on the
dog’s ears and will help keep it out mud and
snow.
* The wires are embedded in the collar which
reduces or eliminates the chance of broken wires.
* Around the rim of the battery compartment is a
molded O-ring to insure the compartment is
watertight when the bottom plate is installed.
.
* For convenience of programming in the field,
abbreviated instructions are printed on the bottom
of the battery cover.
* If two dogs are put on the ground at the same
time, it is easy to set the beepers on different
programs to distinguish between the dogs.
* The entire case is made of molded
polyurethane. It has no sharp edges to cut or
bruise the dog. It is completely waterproof.
* The beeper is mounted on a duralon collar.
The hunter orange collar has high visibility.
The duralon collar is soil and odor risistant and
water repellant. The collar can be cut and
holes added without burning or melting like
conventional nylon.
Testing the Beeper
1.) Turn the beeper ON by rotating the knurled
slotted dial on the side of the beeper body. It
was designed to use a dime or quarter. Usually
a half turn clockwise is enough to do it. This
really depends on how far you turned it
counterclockwise to turn it off. We ship them so
a half a turn or so will turn it on.
(See figure 1)
2.) Hold the beeper as if it were hanging on the
dogs neck. Shake it up and down, simulating
a running dog. You will hear the run beeps.
The next step is to stop shaking, holding it still
until the point beeps start. Easier yet, turning
the unit upside down accomplishes the same
as shaking it. Upside down gives you run
beeps, rightside up gives you point beeps. All
beepers are shipped in dual mode regular, with
a battery. If reprogramming is required, refer to
the programming instructions.
3.) For battery replacement and access to the
programming switch, remove the four screws in
the bottom cover plate using a #1 phillips
screwdriver and remove the bottom plate.
Remove the battery.
4.) Reprogram unit (see programming
instructions).
5.) Insert ALKALINE (only) battery, terminal
end first, then push on the rear of battery until
firmly seated. If you unscrew the switch dial
part of the way the battery can be installed
straight in.
(See figure 2)
figure 1.
Rotate On/Off switch clockwise 1\2 turn
for ON and then back 1\2 turn counter
clockwise to turn OFF
figure 2.
_
+
Spare Screws
Programming switch
Important Note!
When to replace the battery? The battery
voltage is directly proportional to the
volume of the beeper. If you notice a
dramatic reduction in volume or loudness,
replace the battery then. A battery will last
for 100 to 150 hours.If you use a quality
ALKALINE battery, a weekend hunter can
go all season using the same battery. The
Duracell battery was the brand chosen
when the molds were designed, therefore
they fit the best.
6.) Reinstall bottom plate and four screws. Inside
the battery compartment you will find two spare
screws, size 4-40 #1 phill
ips, for the bottom plate.
These are there for your convenience in the event
a screw is dropped and lost. The bottom plate
must have all four screws installed to insure
watertightness.
Not only does this beeper emit a lower pitched
sound, but its decibel output is higher as well.
The result is a beeper that can be heard by nearly
everyone. It uses proven state of the art microchip
electronics and the best hardware available today.
Yet each unit is built by hand in the USA under
close inspection and tight quality control.