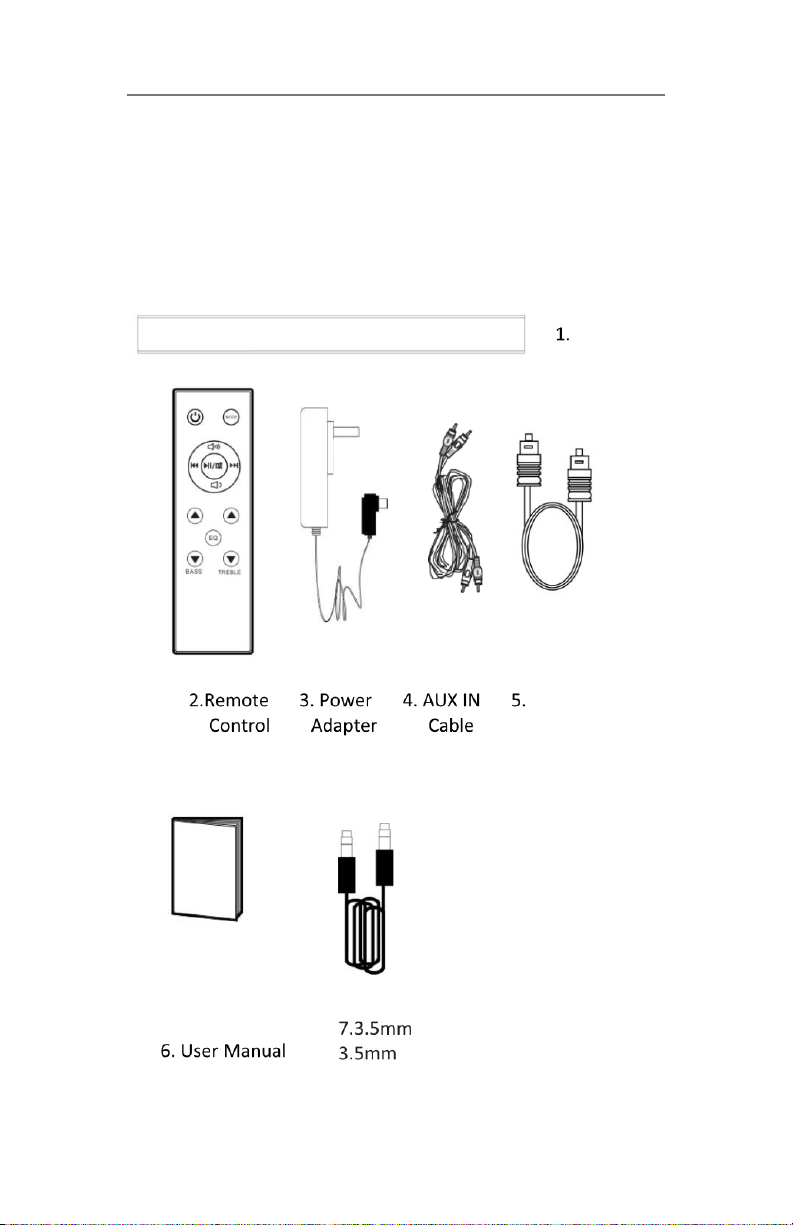
What’s in the box
Getting Started
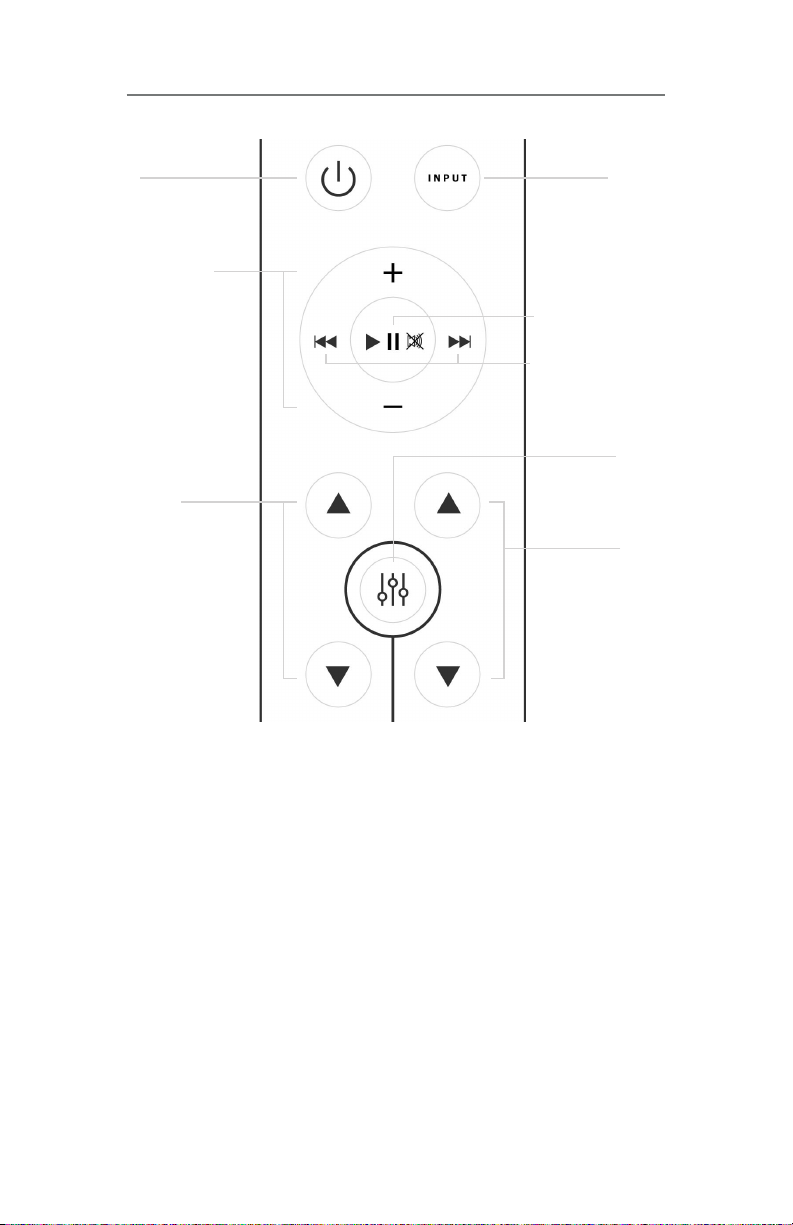
Remote Control Overview
Remote Control Operation
Using the Remote
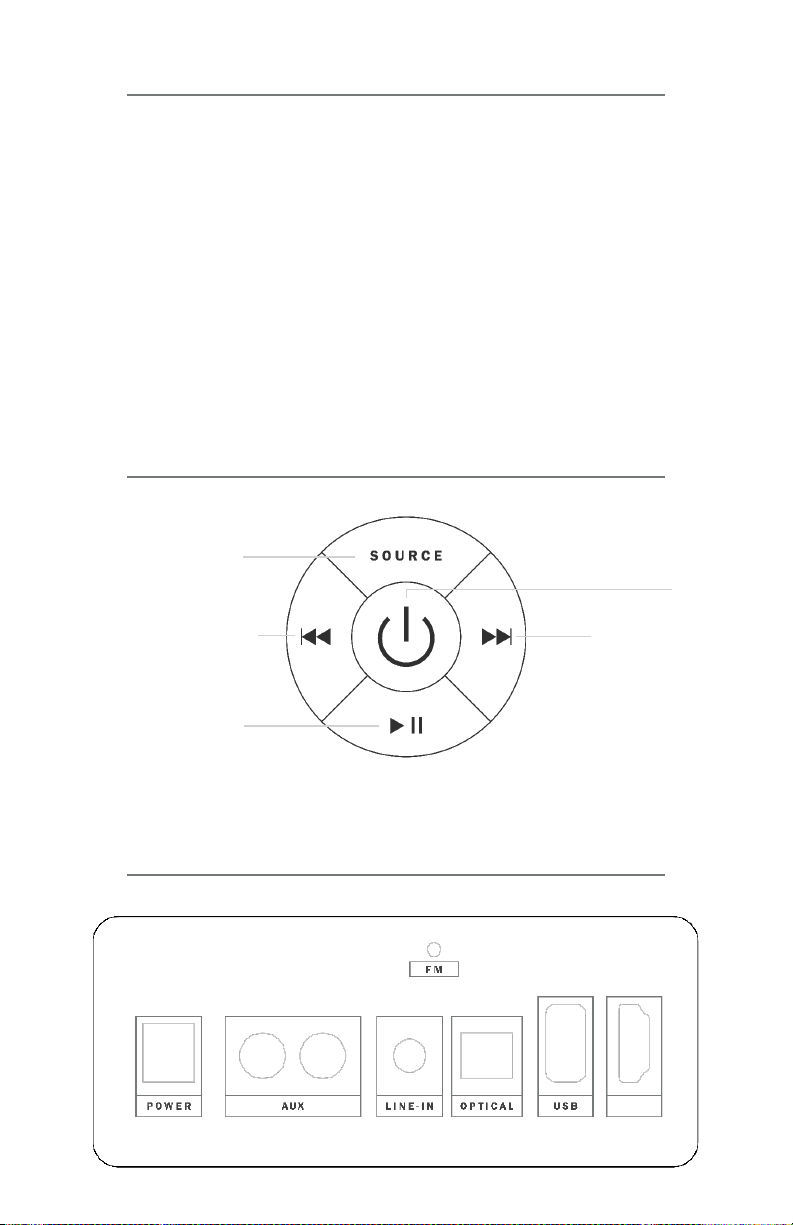
Using the Onboard (Side or Soundbar) Controls
Rear Input Panel Overview
General Use
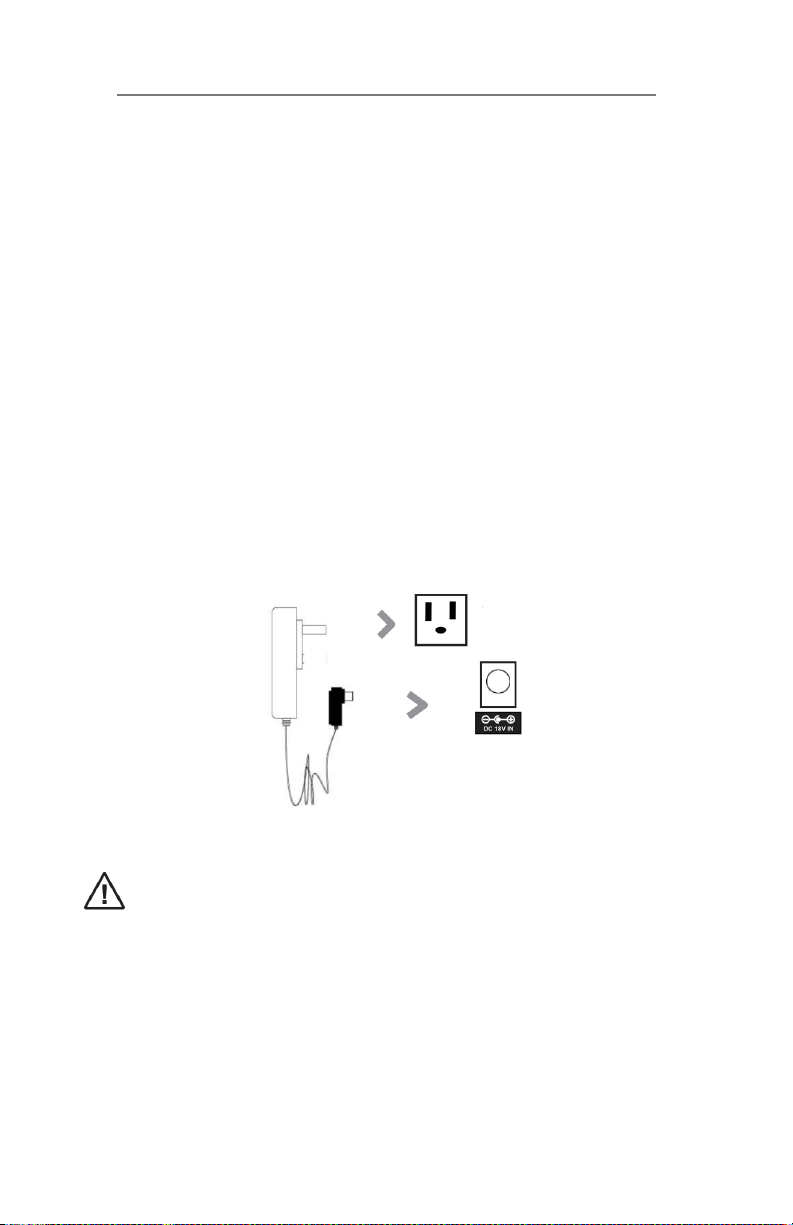
Connecting to Power
LED Indicators
Connection Modes
Using ARC Input
Using the Optical Input
Using AUX In Audio Cables
Using MP3 Line In
Using Bluetooth Connection
Using USB Flash Drive Input
Using FM Radio
Troubleshooting
Wall Mounting
Specifications
Safety Information
FCC Statement
..............................................................3
..................................................................4
..................................................5
.................................................6
..............................................................7
................7
................................................7
.......................................................................8
..........................................................9
.................................................................10
.....................................................10, 11
...........................................................12
................................................13
...........................................14
........................................................15
.........................................16
........................................16
............................................................16
...............................................................17
.................................................................18
.................................................................24
..........................................................25
................................................................26
CONTENTS
2