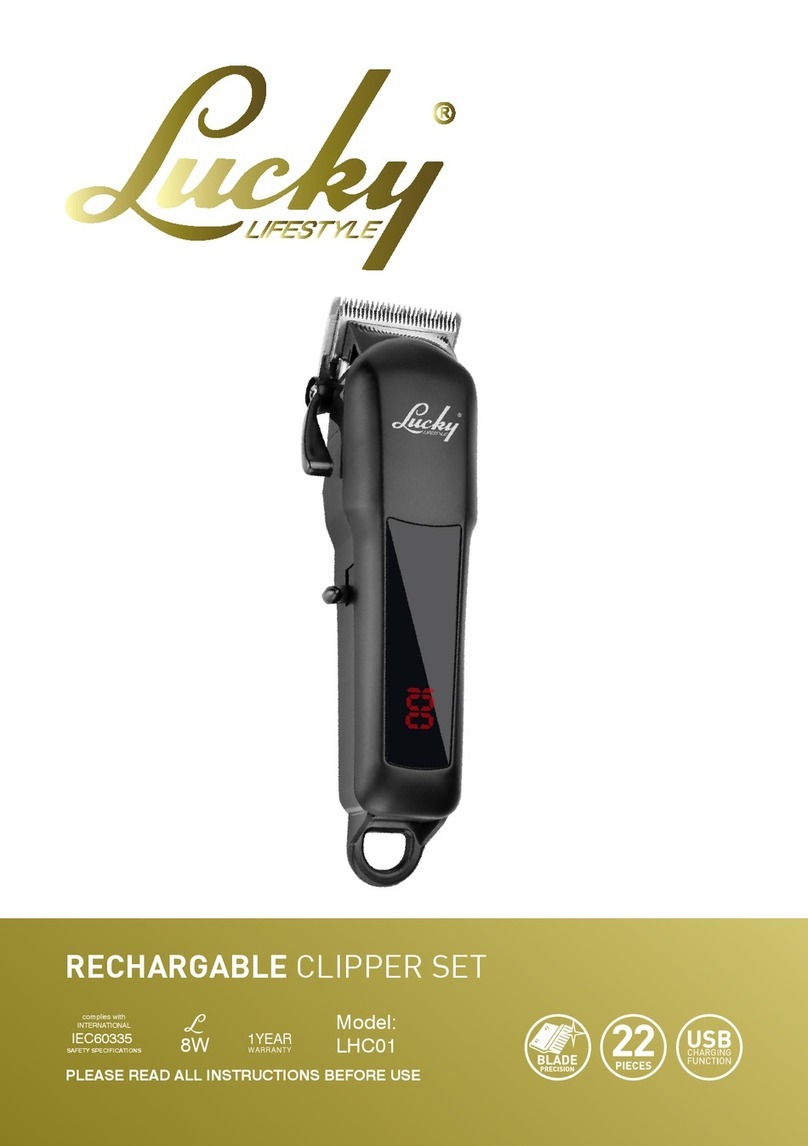
Lucky Lifestyle MAGICUT HC51 User manual

Model:
HC51
complies with
INTERNATIONAL
IEC60335
SAFETY SPECIFICATIONS
PLEASE READ ALL INSTRUCTIONS BEFORE USE
10W
MAGICUT ELECTRICAL CLIPPER

Important:
• Carefully read all instructions before using this
appliance.
• Do not immerse in water or other liquids - do not
use whilst bathing or with wet hands or over a
sink lled with water. If the appliance falls into
water, disconnect the power plug immediately
before removing appliance from the water.
• If the power supply cord is damaged, it must be
replaced by the manufacturer or its designated
service agent.
• Do not leave the appliance unattended when it is
plugged in.
• This appliance is not intended for use by persons
(including children) with reduced physical, sen-
sory or mental capabilities, or lack of experience
and knowledge, unless they have been given su-
pervision or instruction concerning use of the ap-
pliance by a person responsible for their safety.
• Use the appliance for its intended use of cutting
human hair only.
• Do not carry, lift or unplug this appliance by pull-
ing the power supply cord.
• Make sure the power supply cord is not twisted
or kinked.
• Do not use this appliance outdoors.
• Do not use the appliance if the blades are broken
or damaged.
• Do not operate this appliance where aerosol
spray products are being used, or where oxygen
is being administered. To clean your appliance
after use, disconnect from power supply and
wipe with a slightly damp cloth and wipe dry.
• Children should be supervised at all times to en-
sure they do not play with the appliance.
• Do not place or store the appliance where it can
fall or be pulled into a bath or sink.
• Use this appliance only for its intended use as
described in this manual. Do not use attach-
ments not recommended by the manufacturer.
• Keep the cord away from rough, sharp or heated
surfaces.
• Do not pull, twist, or wrap the cord around the
appliance.
• Do not place the appliance on any surface while
it is switched on.
• Do not use this appliance with a damaged or
broken comb nor with teeth missing from the
blades as injury may occur.
• How to use:
• The correct lubricating oil must be used, apply
the oil each time after use. “Lucky” clipper oil is
recommended for use on this clipper.
• Before connecting the appliance to the mains,
ensure that the voltage on the rating label cor-
responds to the voltage of the mains outlet.
How to use the power screw:
• The blade track is set to the optimum setting
in production; however, the blade track can be
changed as a result of the voltage uctuations.
• You can set this blade track if necessary, use the
key (included with your pack) or screwdriver. Do
the following in order to adjust it:
• Switch the clipper on.
• Turn the adjusting screw clockwise until hear a
loud noise.
• Then turn the adjusting screw anti-clockwise un-
til the loud noise stops. This is the optimum point
for the clipper to operate, leave the screw in this
position.
• Cutting with attachment combs:
• Depending on the desired hair cut, the clipper
can be operated with or without an attachment
comb.
• There are four attachment combs (3, 6, 9 and
12mm) included with this product.
• To attach a comb, hold comb with the teeth
showing upward and slide it onto and along the
clipper blade until the front of the comb rmly
clicks into the clipper blade and push the back
of the comb down until it is clipped into position.
• To remove the comb, simply pull the comb up-
ward and away from the clipper blade.
How to change the blades:
• Switch off the clipper and disconnect from the
mains.
• Undo both screws on the blades; remove the
bottom blade and top blade.
• When assembling, the bottom blade and top
blade should be aligned as follows:
• Raise the adjustable taper control lever to the
shortest cutting length.
• The distance between the front edge of the bot-
tom blade and the front edge of the top blade
should be between 0.8mm and 1.5mm.
• The sides of the two blades should be parallel to
each other.
• The rst tooth of the top blade (from the left)
must cover the rst tooth of the bottom blade.
• The tooth on the far right of the top blade must
touch the outermost large tooth of the bottom
blade.
• Once aligned tighten both screws.
How to use the blade lever:
• The lever is conveniently located above the on/
off switch so it can easily be adjusted while the
clipper is in your hand.
• The lever adds versatility to the clipper by allow-
ing a gradual change to the length of a cut with-
out an attachment comb.

• When the lever is in the uppermost position, the
blades will give the closest cut leaving the hair
very short. Pushing the lever gradually down-
ward increases the cutting length.
• In its lowest position, the lever will leave the hair
approximately the same length as a #1 comb.
• The lever will also extend the blade’s life as a lon-
ger cut requires less work from the blades.
• While the clipper is running, move the Lever from
“close cut” to “longer cut” a number of times.
This will help keep cut hair away from the blades.
If the clipper stops cutting, and the method
above does not help, then the blades are blunt
and need to be replaced.
Cleaning:
• Wipe the appliance with a damp cloth and then
dry thoroughly.

Lucky guarantees that this product has been thoroughly inspected and tested before being dispatched and is free from
mechanical and electrical defects and complies with the applicable safety standards. However, should defects due to
faulty material or workmanship develop, under normal domestic use, within 6 months from the date of purchase please
return the product to the store from where it was purchased for a full refund or replacement.
The following conditions apply:
1) Please ensure you retain your receipt as this must be presented when making a claim under the terms of the
guarantee. It is impossible to determine the guarantee period without proof of purchase, so please keep this in a safe
place.
2) If a refund or exchange is required the product must be complete with all accessories, parts and packaging. Missing
parts will render the guarantee void.
3) Upon receipt of your appliance check it for any transport damage to ensure it is safe for use. Return it to the store as
soon as possible for exchange if damaged. The guarantee is void if products are damaged after use, so please do
not use the damaged product.
4) Your product is designed for normal domestic household use. Failure to read and comply with the instructions
for use, cleaning and maintenance will render your guarantee void, so please read these instructions carefully to
ensure your safety, and get the most effective use from the product. (e.g. lime scale; water deposits; and/or insect
infestation)
5) Any abuse, negligent, improper or accidental use or care will render the guarantee void and Creative Housewares
(Pty) Ltd will not be liable for any loss or damage.
6) Any attempted repair, or replacement of unauthorised parts will render the guarantee void, so please contact an
authorised service centre or agent for any service or repair requirements.
Extended 12 Month Limited Guarantee
Lucky offer an extended 12 month limited guarantee from the date of purchase to offer the consumer peace of mind on
their purchase. Should defects due to faulty material or workmanship develop, under normal domestic use, within 12
months from the date of purchase, please return the product to the store from where it was purchased for replacement.
Before returning your product, check for the following:
1) Your household mains supply socket is working and switched on.
2) The mains supply circuit is not overloaded (White trip switch on your DB board is off).
3) You have read the trouble shooting guide in your Instructions for Use.
4) All accessories and parts are present.
If service or repair becomes necessary outside the guarantee period, this service is still available however all transport/
postage, spares and labour costs will be paid by the consumer. All chargeable repairs will require the consumers’
approval in writing once the quote is accepted. Once the go-ahead has been received Lucky will undertake to conduct
the repair within a reasonable time and maintain the condition of the product as received.
All repairs carry a 3 month guarantee. Lucky will attempt to conduct repairs within reasonable industry standards but
cannot be held responsible or liable for any circumstances not under their direct control.
1 year guarantee
Cape Town
20 Tekstiel Street, Parow, Cape
Town, 7493, South Africa •P.O. Box
6156 Parow East, 7501, South Africa
Tel: +27 21 931 8117
Fax: +27 21 931 4058
Durban
35 Adrian Road, Windermere,
Durban, South Africa, 4001
Tel: +27 31 303 3465
Fax: +27 31 303 8259
Johannesburg
U n i t 2 5 & 2 6 S a n C r o y
O f f i c e p a r k, D i e A g o r a R o a d ,
C r o y d o n , 1 6 1 9
Tel: +27 11 392 5652
Fax: +27 11 392 1694

Other Lucky Lifestyle Commercial Food Equipment manuals
Popular Commercial Food Equipment manuals by other brands

Silver King
Silver King SKFCB50H-EDUS1 Technical manual and replacement parts list

Fri-Jado
Fri-Jado STG8 P Service manual

Lotus
Lotus FT-94ET Series Installation and operating instructions

Bartscher
Bartscher Melamin A122300 instruction manual

KoolMore
KoolMore CFW-4T user manual

LRS
LRS Table Tracker Implementation guide

Roller Grill
Roller Grill TPR 60 Instructions and installation guide

Hupfer
Hupfer Incounter EBR-TE 19-26 operating instructions

Winston foodservice
Winston foodservice 7 Series owner's manual

Mobishear
Mobishear GTS-2013 instruction manual

Manufacturas Lenin
Manufacturas Lenin MLR Operator's manual

Hallde
Hallde RG-400i User instructions