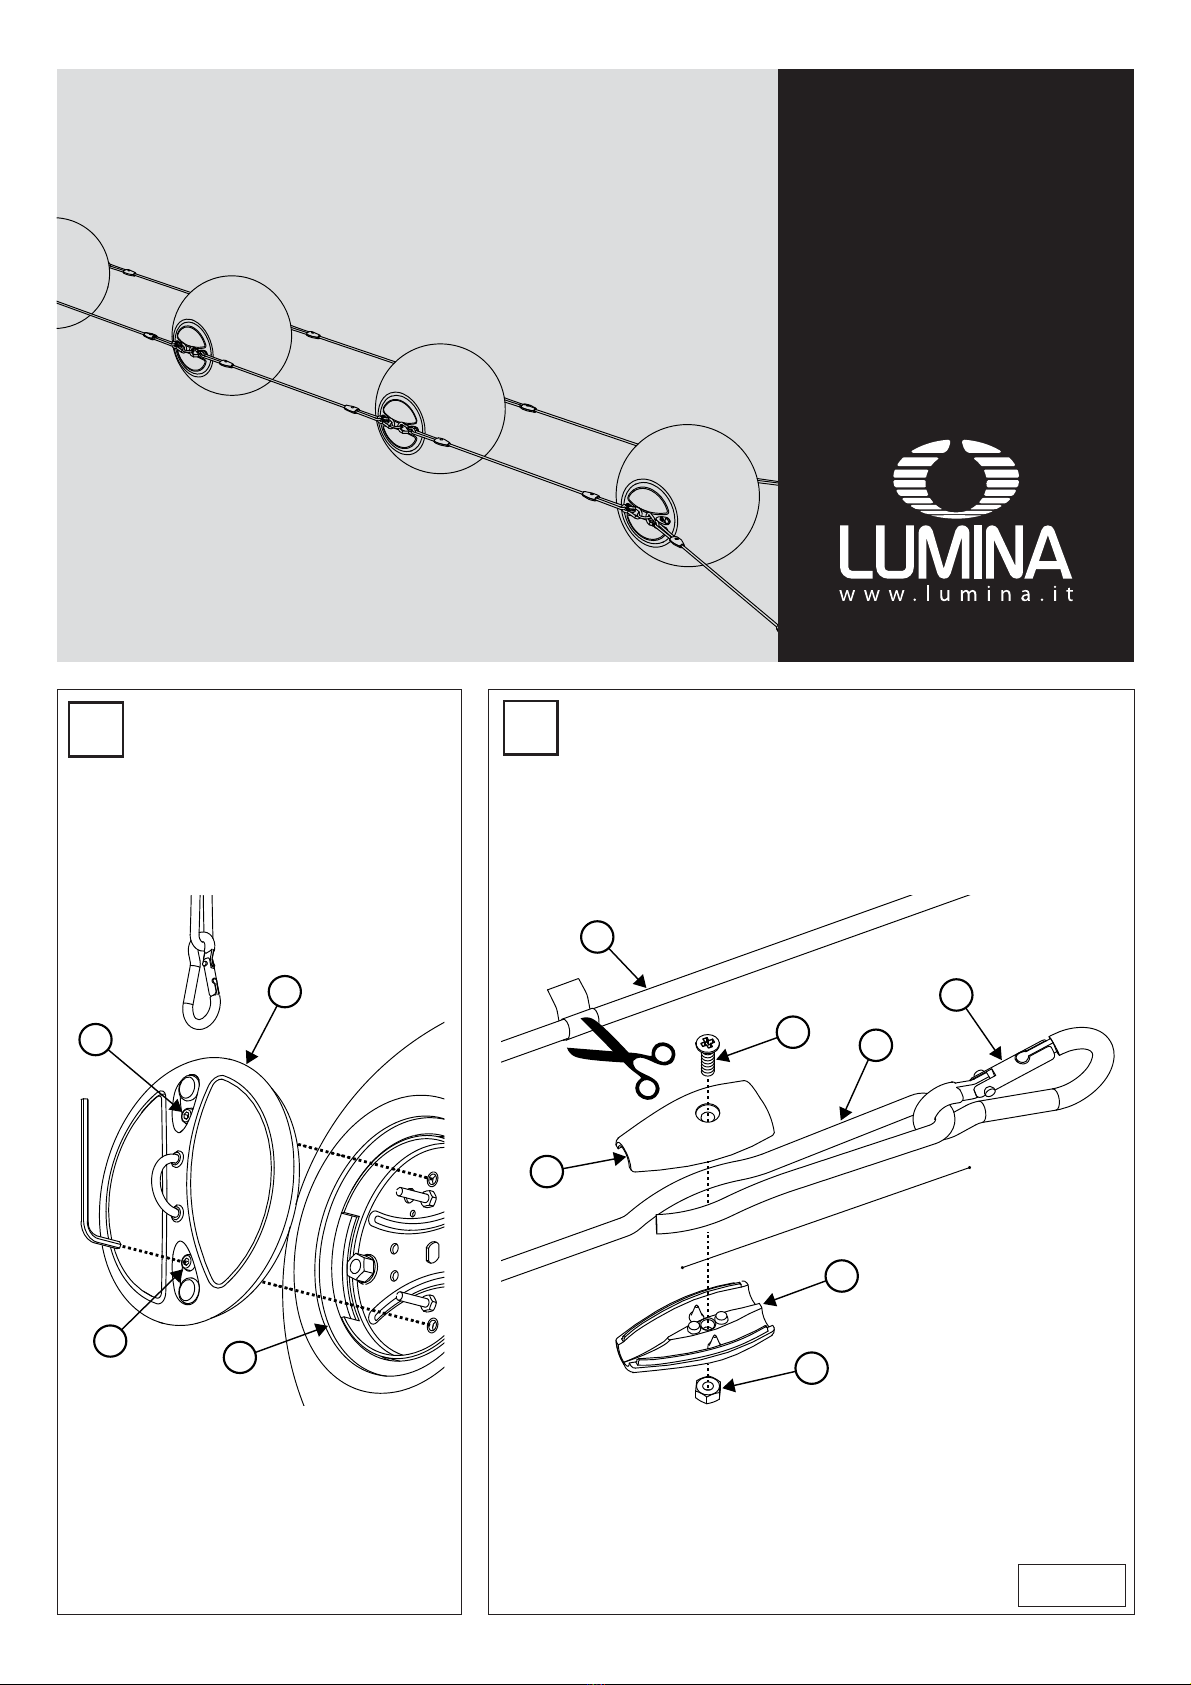
I
Apparecchio d’illuminazione a sospensione da interni ed esterni a luce
diffusa in alluminio pressofuso, diffusore in polietilene, cavo elettrico in
neoprene. Ampliabile in un sistema a cascata (fig. 5-6) il quale prevede la
possibilità di connessione elettrica ad un punto luce singolo per più sor-
genti luminose con regolazione verticale ed orizzontale a mezzo di funi,
cavi ed altri accessori di semplice uso. Molteplici tipi di istallazione per
uno o più apparecchi.
Lampadina: E27 - max 30W fluorescente compatta - max 60W alogena.
Grado di protezione:IP65
ATTENZIONI - CONSIGLI PER L’INSTALLAZIONE
Il simbolo indica la distanza minima da rispettare verso l’ogget-
to illuminato.
In caso di montaggio o sostituzione della lampadina alogena utilizzarne
una alogena autoprotetta .
Attenzione:si raccomanda di seguire attentamente le istruzioni e far ese-
guire il montaggio da personale specializzato.
Attenzione: togliere la tensione di alimentazione prima di effettuare
qualsiasi operazione sull’apparecchio.
Attenzione:per il cablaggio sequenziale è obbligatorio rispettare le diret-
tive che impone la normativa europea,utilizzando i componenti in dotazi-
one (passacavi, bloccacavi, morsetti, ecc).
Attenzione: in ambienti esterni, per la connessione della lampada all’im-
pianto elettrico, utilizzare componenti (cavo elettrico, bloccacavi, scatole
di derivazione, spine, ecc.) con adeguato grado IP (IP44 min.). Per il mo-
dello Perla Garden 35 M - cod. 861 utilizzare un cavo H05RN-F 2x075, Ø
5,5 - 6,5 mm con marchio di conformità HAR.
Attenzione: il sistema per alimentazione elettrica cablato in cascata da
singolo punto luce è previsto per una potenza massima di 600W.
Attenzione: per l‘installazione utilizzare tasselli, ganci o altri sistemi di
fissaggio adatti al tipo di parete, soffitto o punto di aggancio ed al peso
totale degli apparecchi installati: N°1 Perla Garden 35 = 3,5kg.In ambienti
esterni tenere conto anche del movimento dovuto al vento.
Attenzione: per il modello Perla Garden 35 M - cod. 861 si consiglia di
utilizzare i kit di montaggio cod.820 (fig.2) e cod. 821 (fig.3).
Attenzione: nella tipologia di montaggio in tesata orizzontale come in
fig. 5 è consigliato l’utilizzo di tenditori in acciaio (non in dotazione al pro-
dotto).
Per la pulizia dell’apparrecchio non effettuare l’operazione a lampada cal-
da, usare solo prodotti neutri.
MONTAGGIO / SOSTITUZIONE LAMPADINA - MANUTENZIONE
LAMPADA SINGOLA - Perla Garden 35 M (cod.861)
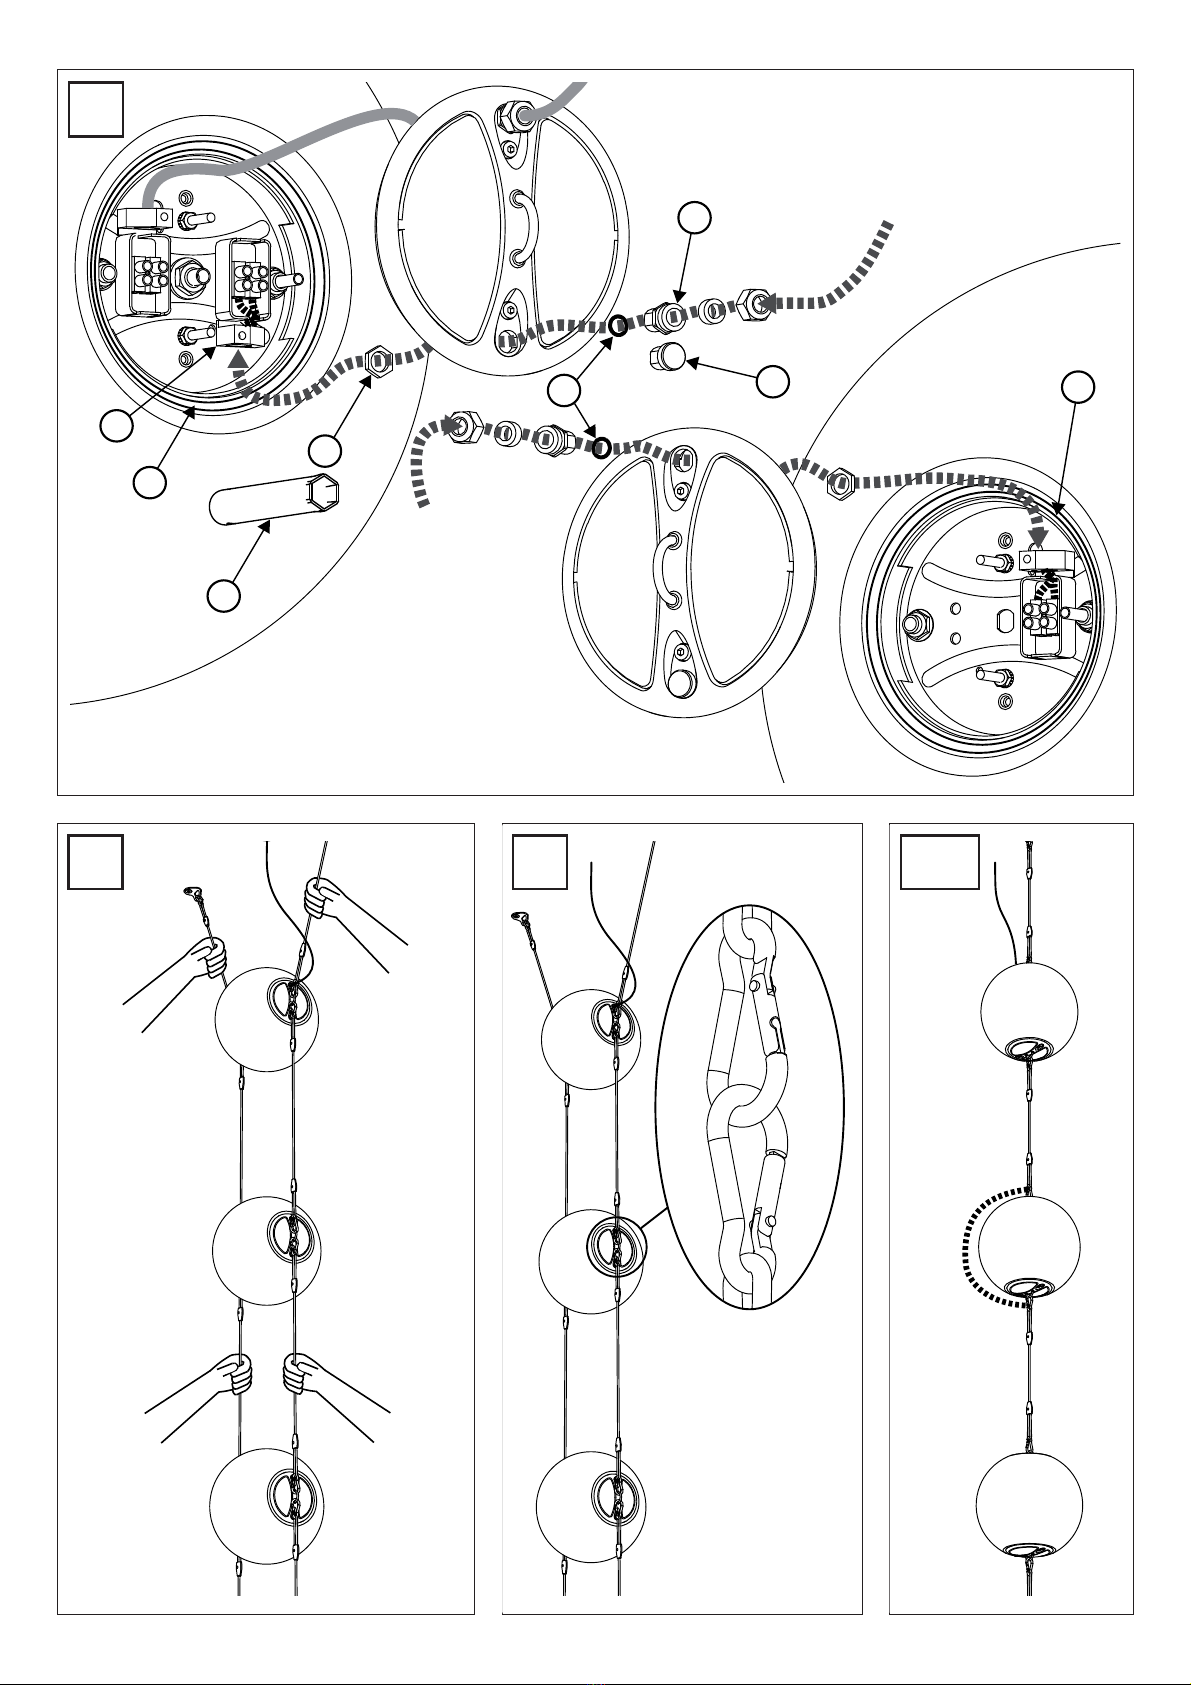
(Fig.1) •Dalla parte opposta al cavo di alimentazione, svitare le viti (A) dal
coperchio (B),usando la chiave a brugola in dotazione.
•Togliere il diffusore ed eseguire la manutenzione (montaggio o sostitu-
zione della lampadina, pulizia ecc.).
•Montare a soffitto o parete due ganci per tasselli adatti al peso della lam-
pada (3,5kg) ed al tipo di soffitto o parete.
(Fig.7) •Inserire il cavo di alimentazione elettrica attraverso il passacavo
(O) e collegarlo al morsetto, serrandolo con il pressa cavo incorporato al
contenitore (P).
•Avvitare a fondo la ghiera del passacavo (O).
•Rimettere il diffusore in posizione e stringere le viti (A). Attenzione: veri-
ficare che le guarnizioni (C) siano nella loro sede.
•Collegare il cavo di alimentazione all‘impianto elettrico.
MONTAGGIO / SOSTITUZIONE LAMPADINA - MANUTENZIONE
LAMPADA SINGOLA - Perla Garden 35 (cod.860)
(Fig.1) •Dalla parte opposta al cavo di alimentazione, svitare le viti (A) dal
coperchio (B),usando la chiave a brugola in dotazione.
•Togliere il diffusore ed eseguire la manutenzione (montaggio o sostitu-
zione della lampadina, pulizia ecc.).
•Rimettere il diffusore in posizione e stringere le viti (A). Attenzione: veri-
ficare che le guarnizioni (C) siano nella loro sede.
MONTAGGIO - FUNI DI SOSTEGNO
1) Montare a parete/soffitto i ganci (I) (fig.3) o altri supporti adatti al tipo
di parete/soffitto ed al peso totale della composizione da effettuare.
2) Predisporre le funi (D) con la lunghezza desiderata (fig.2), nota: per un
taglio netto avvolgere la fune nel punto di taglio con nastro adesivo.
•Predisporre le asole come mostrato e chiudere i due gusci (E) avvitando
la vite (F) al dado (G).
•Agganciare i moschettoni (H) alle asole.
(Fig. 4) •Agganciare i moschettoni (H) ai ganci (I) ed ai punti di attacco (L).
•Collegare il cavo di alimentazione all‘impianto elettrico.
MONTAGGIO CON ALIMENTAZIONE SEQUENZIALE
(Fig. 4) •Agganciare tutte le lampade nella loro posizione,senza collegarle
elettricamente,al fine di stabilire la giusta lunghezza dei cavi elettrici che
devono essere piuttosto abbondanti (almeno 40cm più lunghi rispetto
alla distanza tra gli apparecchi).
•Agganciare i moschettoni (H) ai punti di attacco (C) ed ai ai ganci (I).
É consigliata tra gli apparecchi una distanza minima di 70cm.
•Se la disposizione è soddisfacente, tagliare il cavo elettrico in eccesso di
tutti gli apparecchi. Attenzione: non tendere le funi oltre la portata MAX:
50kg.
•Sganciare le lampade ed adagiarle (a terra o su un piano) così da poterle
collegare elettricamente con facilità. Nota: se le lampade sono collegate
elettricamente tramite lo stesso coperchio smontare quello opposto ciò
semplificherà la sostituzione della lampadina e la pulizia del diffusore.
3) (fig.1) svitare le viti (A) con la chiave a brugola in dotazione.
•Smontare il coperchio (B), dal lato dell’alimentazione elettrica, oppure
dalla parte opposta a secondo di dove si vuole entrare con il cavo della
sfera successiva (fig.7).
•Spostare il diffusore e montare la lampadina, riposizionare il diffusore
senza rimontare il coperchio.
4) Svitare il dado (M) con la chiave a tubo (Q) in dotazione e togliere il
tappo (N) da dove si vuol far entrare il cavo di alimentazione (fig.7).
•Montare il passacavo (O) in dotazione,con tutti i suoi componenti, come
mostrato.
•Inserire il cavo di alimentazione elettrica attraverso il passacavo (O) e col-
legarlo al morsetto, serrandolo con il pressa cavo incorporato al conteni-
tore (P). Avvitare a fondo la ghiera del passacavo (O).
(fig.1) •Chiudere il coperchio (B) avvitando le viti (A). Attenzione: verifica-
re che le guarnizioni (C) siano nella loro sede.
5) Ripetere i punti 3e 4per collegare tutti gli apparecchi.
6) Con le lampade concatenate (fig.8) e con l’aiuto di uno o più operatori,
agganciare il sistema ai supporti (I) o ad altri preventivamente fissati alle
pareti o al soffitto.
7) Collegare il cavo di alimentazione all‘impianto elettrico.
MANUTENZIONE E SOSTITUZIONE LAMPADINA
ALIMENTAZIONE SEQUENZIALE
1) Agganciare i moschettoni come mostrato in fig.9 o munirsi di una fune
ausiliaria di sostegno come in fig.9a, per bypassare la sfera sulla quale
operare ed agganciarla al gancio successivo per sorreggere gli apparecchi
sottostanti, mettendola leggermente in tensione.
2) Vedi fig.1. •Dalla parte opposta al cavo di alimentazione, svitare le viti
(A) dal coperchio (B),usando la chiave a brugola in dotazione.
•Togliere il diffusore ed eseguire la manutenzione (montaggio o sostitu-
zione della lampadina, pulizia del diffusore, ecc.).
•Rimettere il diffusore in posizione e stringere le viti (A).
Attenzione: verificare che le guarnizioni (C) siano nella loro sede.
La sicurezza dell’apparecchio è garantita dalla osservanza di queste
istruzioni pertanto si raccomanda di conservarle.
GARANZIA Per questo apparecchio valgono le condizioni di garanzia valide
nella rispettiva nazione.La garanzia viene riconosciuta soltanto se accompa-
gnata dal documento giustificativo dell’acquisto.
AVVERTENZE PER LA SICUREZZA D’UTILIZZO
L’apparecchio di illuminazione che avete acquistato è costruito secondo le
vigenti normative di sicurezza europee ed è stato collaudato e certificato
da un Istituto qualificato per il marchio di qualità.
L’utilizzo sicuro di apparecchi elettrici con parti ad elevata
temperatura richiede, oltre alla normale prudenza, l’osservanza
delle seguenti istruzioni.
Leggere attentamente e conservare le istruzioni allegate
all’apparecchio per future necessità.
Si consiglia di far installare l’apparecchio da personale specializzato.
Non usare l’apparecchio per usi impropri non previsti dal normale utilizzo
secondo la tipologia per la quale è stato progettato.
Non montare lampadine di potenza superiore o diverso tipo da
quelle indicate nelle istruzioni di montaggio e sulle etichette apposte
sull’apparecchio stesso.
Per sostituire la lampadina o pulire l’apparecchio SI DEVE:
a) staccare la spina se l’apparecchio ne è munito o togliere la tensione
elettrica dell’impianto;
b) lasciare raffreddare completamente la lampadina e l’apparecchio
prima di toccarlo con mani.
NON PULIRE MAI l’apparecchio acceso o ancora caldo.
NON UTILIZZARE liquidi infiammabili per la pulizia.
Tenere presente che le parti in vetro, lampadina compresa, possono
rompersi costituendo frammenti taglienti, pertanto usare molta cautela
nel maneggiarli.
Non installare apparecchi in zone ove possano facilmente essere urtati,in
particolar modo tenereli lontano dalla portata dei bambini.
Non montare l’apparecchio troppo vicino a materiali facilmente
infiammabilicometendeoaltroenoncoprirel’apparecchioimpedendone
il raffreddamento.
Non consentire ai bambini di giocare con l’apparecchio.
Se il cavo di alimentazione risultasse danneggiato o si verificassero altri
guasti o funzionamenti anomali, far riparare l’apparecchio da un punto
vendita Lumina.