LUMINESS AIR | 15
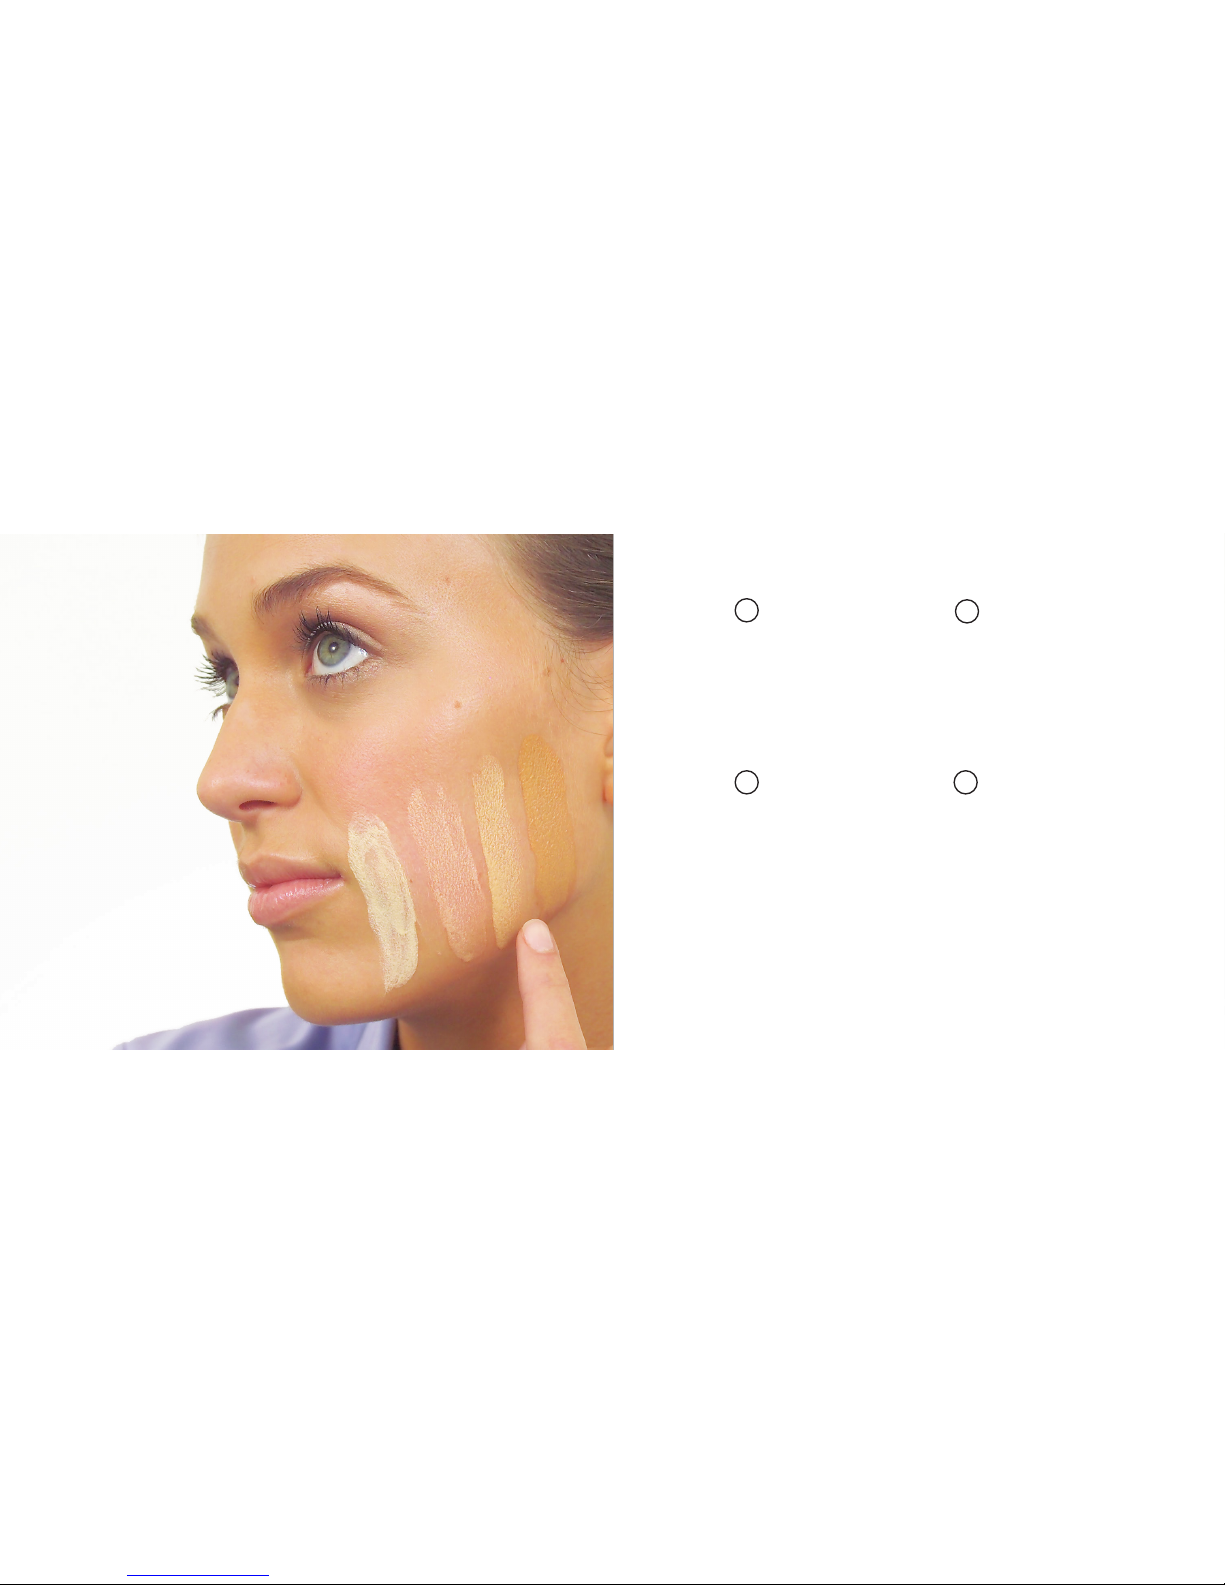
The “Airbrushed Look” is achieved
by spraying lightly. Your best
spray application results will be
obtained when you pull back on
the button between the rst and
middle line. Only spray past the
third line when CLEANING OUT
the stylus.
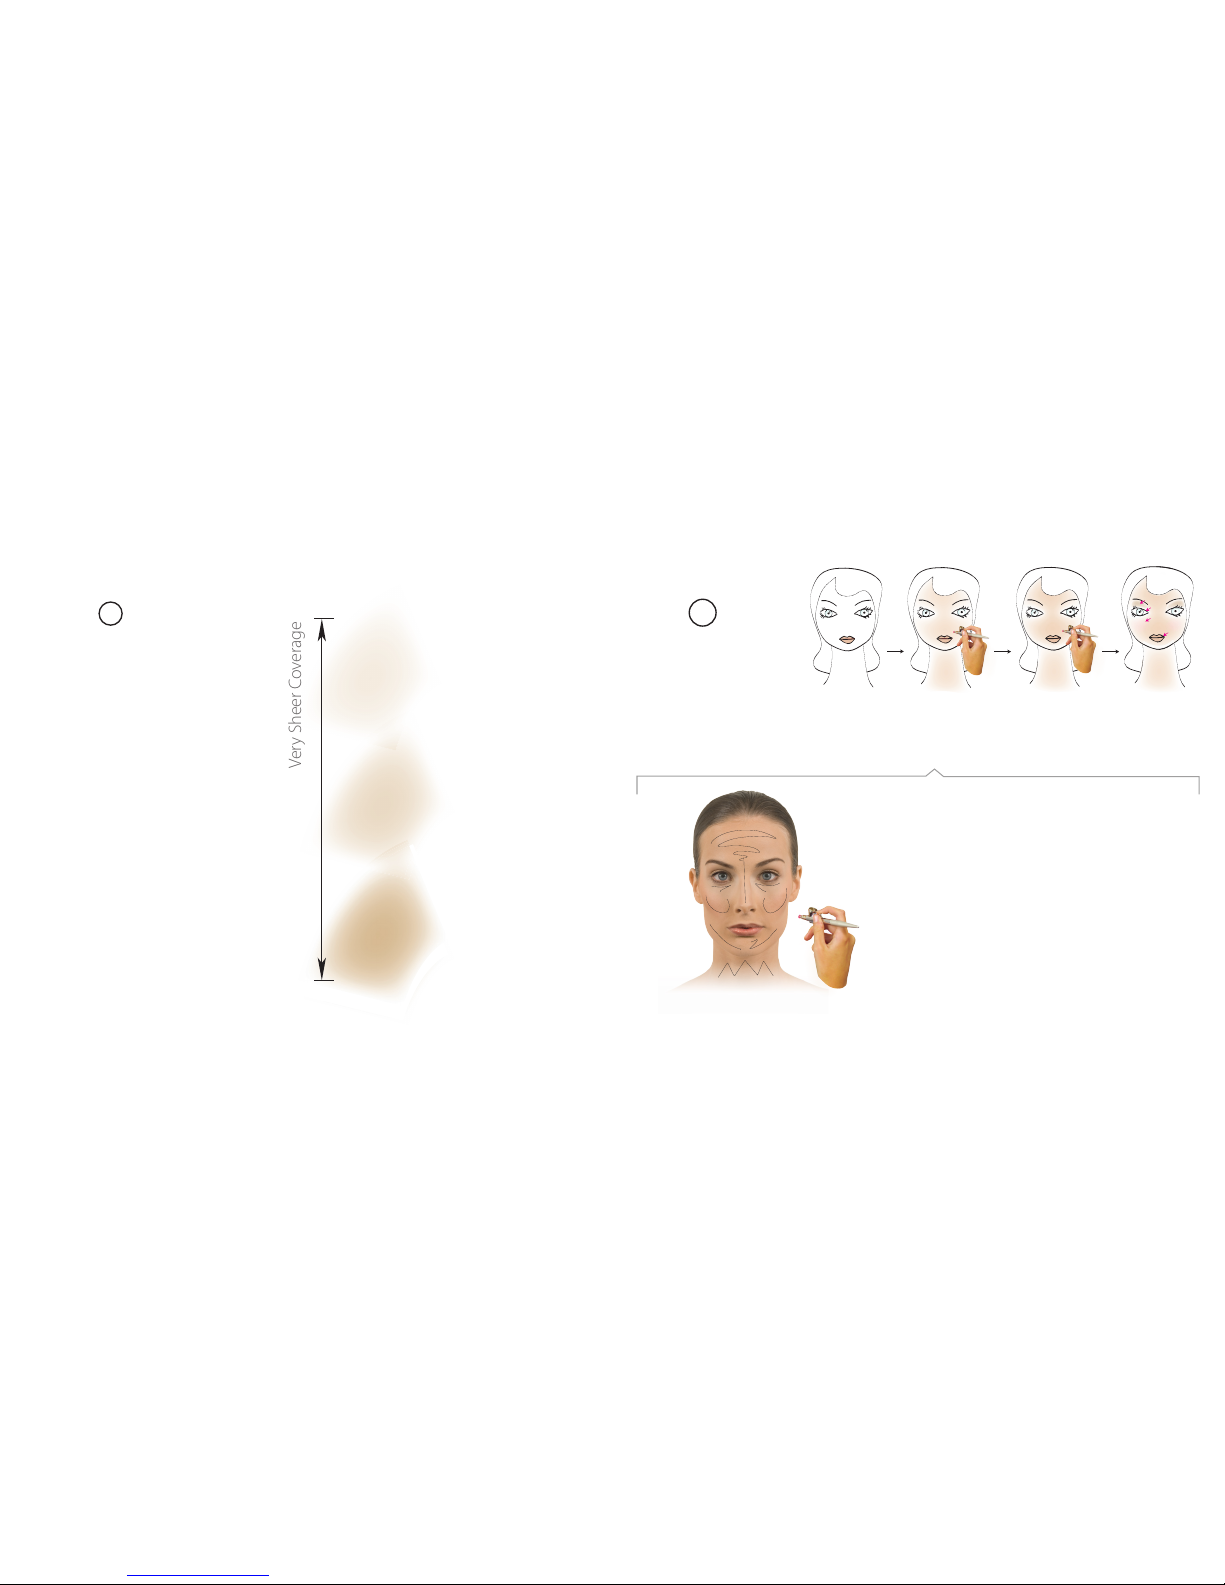
Tip: Spray multiple light coats for
fuller coverage!
USEFUL TIPS
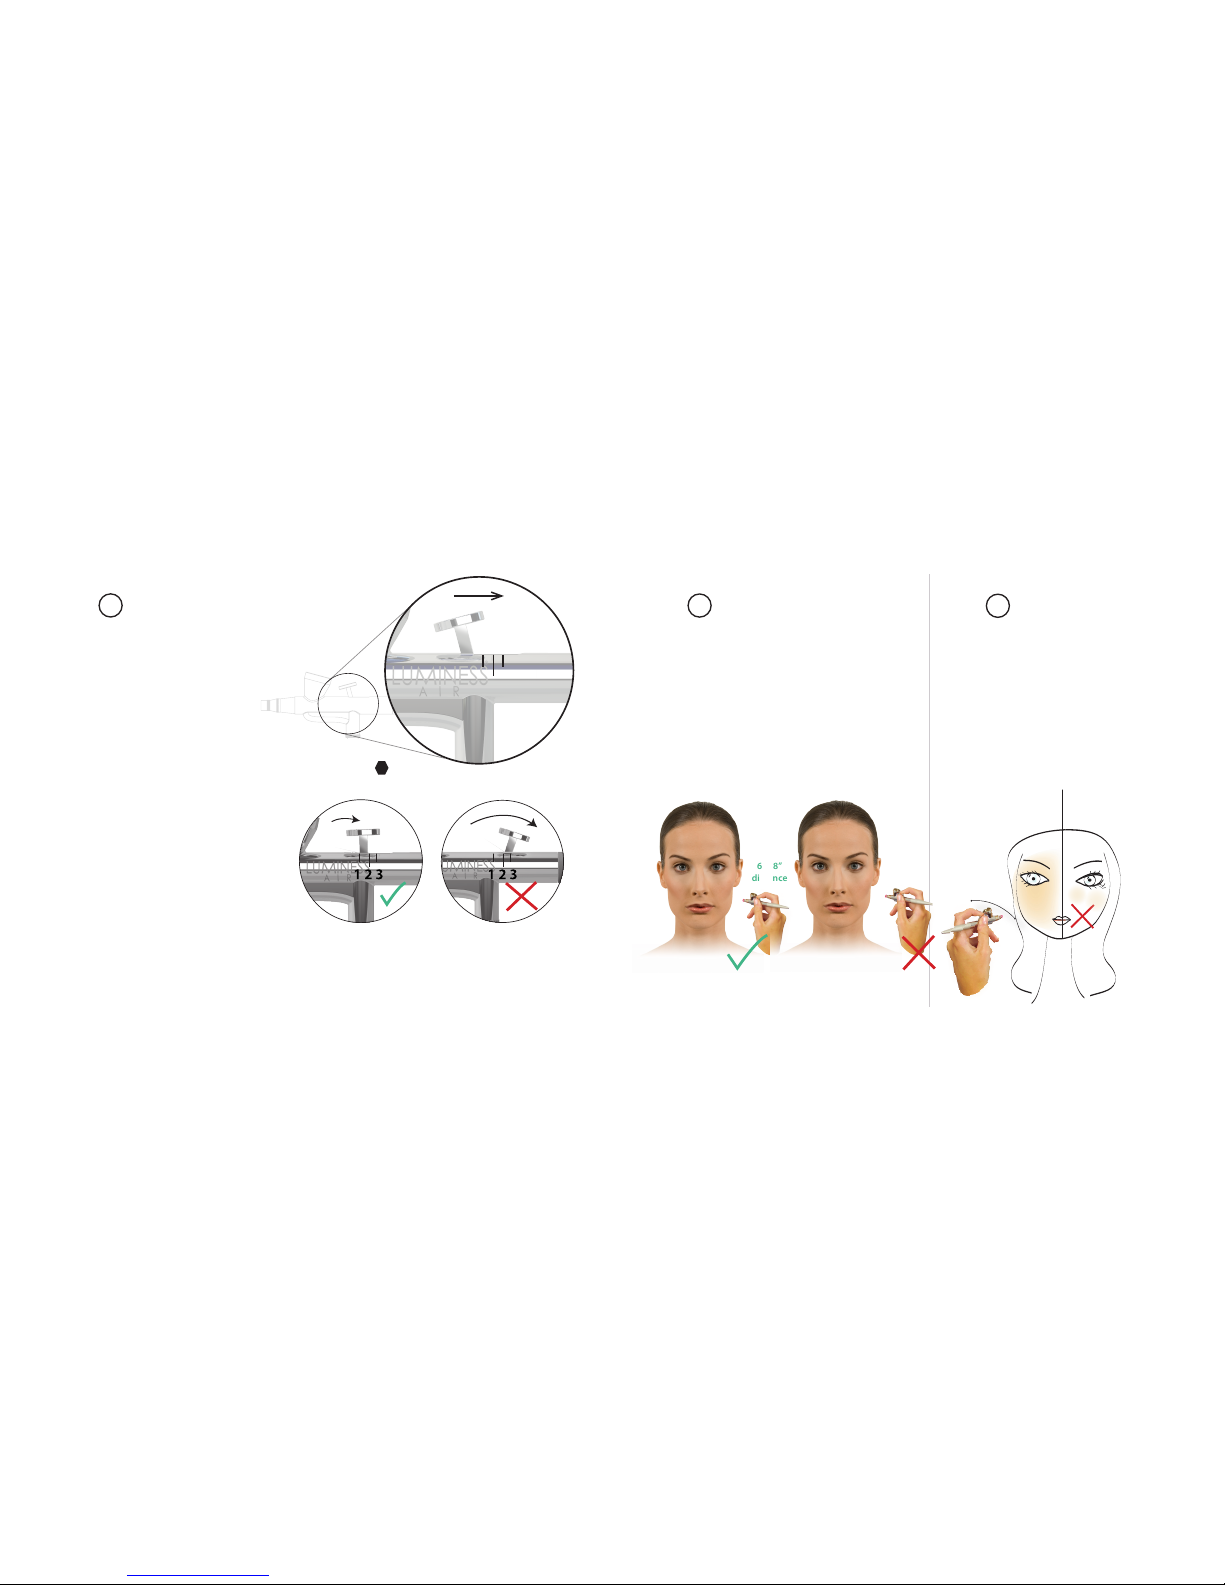
TIP 1
Spray Lightly Keep a Good Distance Keep Your Hand Moving
We recommend holding the airbrush
approximately 6 - 8 in. from the face.
Spraying too close will cause the makeup
to look blotchy and caked-on.
Airbrushing is achieved by constantly moving
the hand and always spraying lightly. Always
keep the hand moving in a circular motion to
obtain that natural and awless look. The lack
of hand movement will cause makeup to cake
on in one area.
The 6-8 in. distance allows the
airbrush to diuse and feather
makeup on the face properly.
6” - 8”
distance
Try not to hold the airbrush too
close to the face. Results will look
very blotchy and spotty.
Keep the hand moving and
spraying lightly in circular
motion.
Spraying in a stop and go motion
will cause spots and blotchiness.
Correct Correct Correct
Incorrect (heavy spray) Incorrect Incorrect
For best results, spray
lightly by pulling the
throttle between mark
1 and 2 on the stylus.
Only pull back your lever all the
way to the 3rd position when
cleaning, never when applying
makeup. A heavy, thick spray will
look very unattractive.
TIP 2TIP 3
1 2 3
LUMINESS AIR | 14