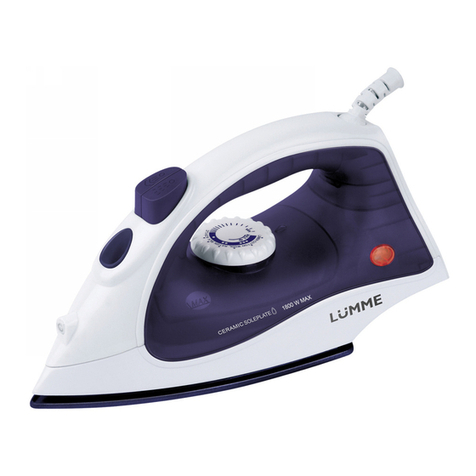
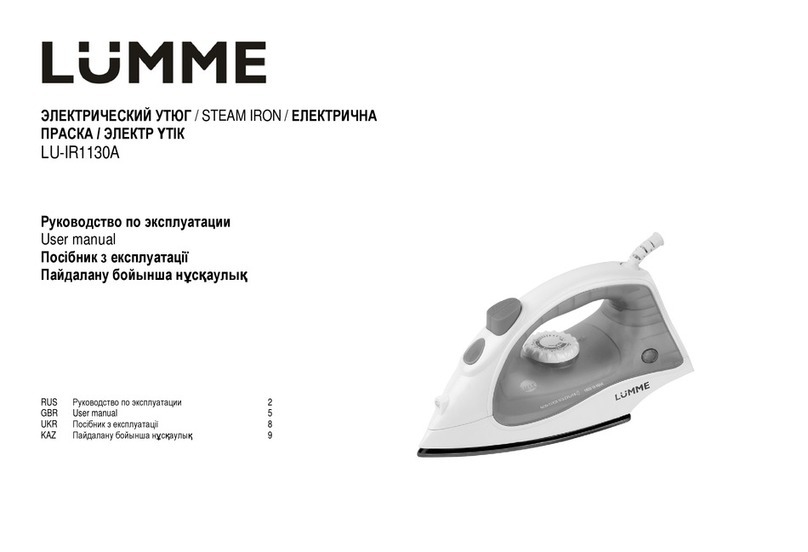
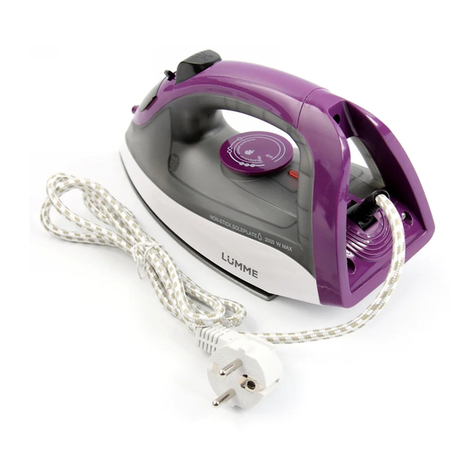
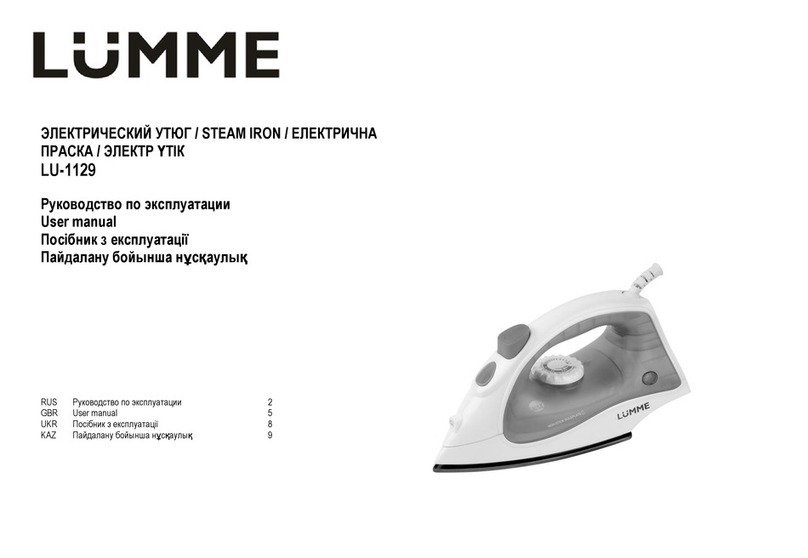
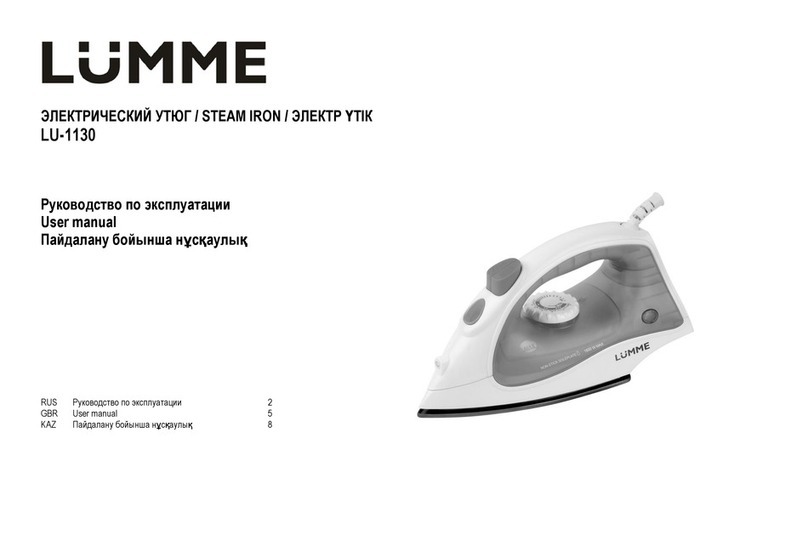
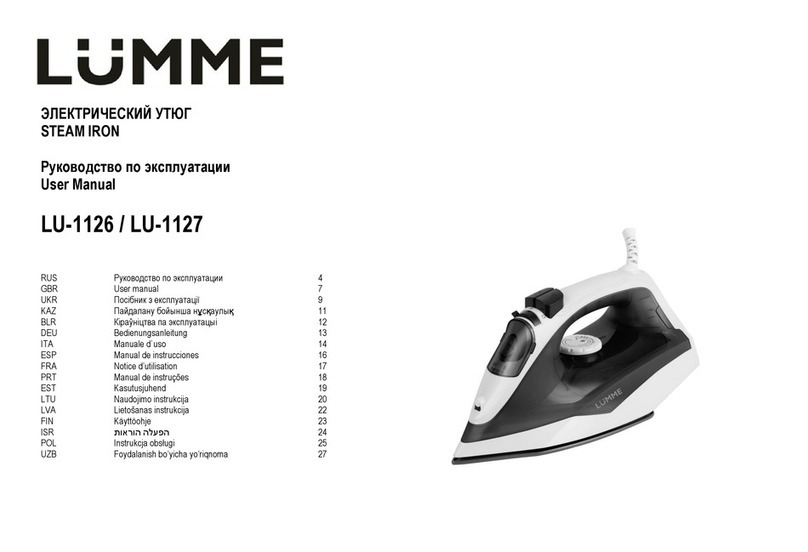
Lumme LU-1125 User manual

STEAM IRON
User Manual
LU-1125
RUS
4
GBR
User manual
7
UKR
10
KAZ
12
BLR
13
DEU
Bedienungsanleitung
15
ITA
Manuale d`uso
17
ESP
Manual de instrucciones
18
FRA
20
PRT
21
EST
Kasutusjuhend
23
LTU
Naudojimo instrukcija
25
LVA
26
FIN
28
ISR
29
POL
31
UZB
33

/ DESCRIPTION / /
RUS
1.
2.
3.
4.
5.
6.
7.
8.
9.
10.
11.
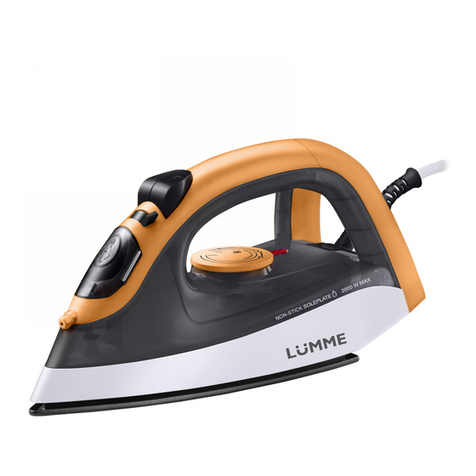
GBR Parts list
1. Soleplate
2. Water tank
3. Spray nozzle
4. Water filler
5. Steam controller/Self-
clean
6. Spray button
7. Steam button
8. Handle
9. Cord protection
10. Light indicator
11. Temperature controller
BLR
1.
2.
3.
4.
5.
6.
7.
8.
9.
10.
11.
UKR
1.
2.
3.
4.
5.
6.
7.
8.
9.
10.
11.
DEU Komplettierung
1.
2. Wassertank
3.
4.
5. Dampfmengenregler/
Knopf zur
Selbstreinigungsfunktion
6.
7.
8. Handgriff
9. Schutzvorrichtung gegen
Kabelverdrehung
10. Kontroll-Leuchte des
Aufheizens
11. Temperaturregler
ITA Componenti
1. Piano di lavoro
2. Serbatoio dell'acqua
3. Spruzzatore
4. Apertura di riempimento
con acqua
5. Regolatore della
Commutatore della
funzione d'autopulizia
6. Pulsante di
spruzzamento.
7. Pulsante del vapore
8. Maniglia
9. Protezione del cavo
contro attorcigliamenti
10. Spia di riscaldamento
11. Termoregolatore
ESP Lista de equipo
1. Superficie de trabajo
2. Tanque de agua
3. Pulverizador
4. Orificios de llenado con
agua
5. Regulador del grado de
planchado al vapor/
auto-limpieza
6.
7.
8. Asa
9.
torcido
10. Luz indicadora de
calentamiento
11.
FRA Lot de livraison
1. Semelle
2.
3.
4.
5. ulateur
vapeur / conjoncteur de la
-nettoyage
6.
7. Bouton du jet de vapeur
8.
9. Protection du cordon contre
la torsion
10.
11.
PRT Conjunto complete
1. Plano de trabalho
2.
3. Pulverizador
4.
5. Regulador da quantidade de vapor /
-
6.
7.
8.
9.
10. Luz de aquecimento
11. Regulador de temperature

3
EST Komplektis
1.
2. Veereservuaar
3. Pihusti
4.
5. Pressimistaseme
regulaator /
isepuhastumisfunktsiooni
6. Vee pihustamise
7. klahv.Auruklahv
8.
9. Juhtme kaitse
keerdumise eest
10. Soojendamise
valgusindikaator
11. Termoregulaator
LTU
1.
2. Vandens talpykla
3.
4.
5.
ratukas/ Savaiminio
jungiklis
6.
mygtukas
7.
mygtukas
8. Rankena
9. Laido apsauga nuo
persisukimo
10. Signa
11. Termoreguliatorius
LVA Komplektcija
1. Darba virsma
2.
3.
4.
5.
6.
poga
7. Tvaiku padeves poga
8. Rokturis
9. Vad
10.
indikators
11.
FIN Kokoonpano:
1.
2.
3. Vesisuihke
4.
5.
itsepuhdistuksen
K
6. Vesisuihkepainike
7.
8.
9. Virtajohdon kiertymissuoja
10. Kuumennuksen merkkivalo
11.
ISR
..3
POL Opis
1. Powierzchnia robocza
2.
3. Rozpryskiwacz
4.
5. Regulator stopnia
samooczyszczania
6. Przycisk rozpylacza wody
7. Przycisk doprowadzenia
pary
8. Uchwyt
9. Zabezpieczenie
przewodu przed
10.
nagrzewania
11. Termoregulator
UZB Shamlash
1. Ishchi sirt
2. Suv uchun rezervuar
3. Purkagich
4.
tirqish
5.
-
tozalash funksiyasi
vklyuchateli
6. Suv purkash tugmasi
7.
8. Dasta
9. Shnurni ortiqcha
burashlardan
himoyalash
10.
indikatori
11. Termoregulyator
KAZ
1.
2.
3.
4.
5.
/ -
6.
7.
8.
9.
10.
11.
RUS
GBR Real set of the appliance could be different from listed in the User manual. Check once buy.
g angegebenen Ausstattung abweichen.
ompletezza alla
consegna del prodotto dal venditore.
.
.
PRT A integridade efectiva do produto pode variar de que consta neste manual. Verifique cuidadosamente a integridade do produ
entregue pelo vendedor.
UKR
FIN Kyseisen tuotteen todellisen pakkauksen kokoonpano voi erota tssohjeessa esitetystkokoonpanosta. Tarkista huolellisesti
ssa.
eillez de bien
al presente. Compruebe atentamente la
jums izsniedz preci.
UZB Ushbu tovarning amaldagi majmuasi uchbu qo'llanmada ko'rsatilganidan farq qilishi mumkin. Tovar sotuvchi tomonidan berilayotgan
vaqtda majmuaning to'liqligini diqqat bilan tekshiring.
towaru od sprzedawcy.

4
RUS
-
.
.

5
, .
:
:
,
:
MIN

6
:
:

7
x x
LU-1125
220 240
2200
0, / 0,
269 x 118 x
(, , , . .)
----
:
MARTA TRADE INC
c/o Commonwealth Trust Limited, P.O. Box 3321, Road Town, Tortola, United Kingdom,
:
NINGBO JIONGCHI ELECTRICAL APPLIANCE CO.,LTD
Tannan village, Tianyuan Town, Cixi, Ningbo, China
, .
-2334
: -
GBR USER MANUAL
CAUTION
Read this manual carefully before using the appliance and save it for future reference.
Before the first use, check the device specifications and the power supply in your network.
It is not intended for industrial use.
For indoor use only. Use only for domestic purposes according to the instruction manual.
Do not use with damaged cord, plug or other injuries.
Keep the power cord away from sharp edges and hot surfaces.
Do not pull the cord. Always take the socket. Do not reel the cord around the device housing.
Never attempt to frame and repair the appliance by yourself. If you meet problems, please contact the nearest customer service center.
Using accessories or replacement parts that are not recommended or sold by the manufacturer may cause damage to the appliance.
Always unplug the appliance and let it cool down before cleaning and removing parts. Keep unplugged when not in use.
To avoid electric shock and fire, do not immerse in water or other liquids. If this occurs, immediately unplug it and contact service center for inspection.
8
This appliance is not intended for use by persons (including children) with reduced physical, sensory or mental capabilities, or lack of experience and knowledge, unless they have been given supervision
or instruction concerning use of the appliance by a person responsible for their safety.
Place steam iron on the ironing board carefully.
Be careful do not touch metal parts of working surface and water tank during operation.
Avoid of ironing zippers, rivets, etc., as they can scratch soleplate.
Do not place steam iron on the metal or rough surface.
Move steam iron carefully to avoid burns, because of there could be hot water leakage, as well as hot steam.
USING THE APPLIANCE
SETTING TEMPERATURE
Sort the fabric: wool with wool, cotton with cotton, etc. Start ironing the fabrics requiring the lowest temperature and progress to the higher ones, because the steam iron heats up quicker than it cools
down.
If the fabric consists of various kinds of fibers, start ironing the fabrics requiring the lowest temperature (e.g. article consisting of 60% polyester and 40% cotton should be ironed at the temperature
Turn the temperature control dial round until it is opposite the setting pointer.
LABEL
TYPE OF TEXTILE
Do not iron this article
Synthetics, Nylon, Acrylics, Polyester, Silk
Wool, Rayon
Cotton, Linen
FILLING THE WATER TANK
Unplug the steam iron before filling.
Switch-off the steam control, setting the steam controller in OFF position
Hold the steam iron in the horizontal position.
Slowly pour water into the water fill opening with the help of plastic beaker.
If you have to refill while ironing, unplug the appliance from the power supply before filling.
EMPTYING THE WATER TANK
The water tank should be emptied after each use.
Unplug the steam iron from the power supply.
While the steam iron is still warm, hold the steam iron over a sink and allow the steam iron to drain by tipping the point of the steam iron down
Gently shake the steam iron to loosen any water drops that may be trapped. The warmth of the iron should dry out any remaining water.
NOTE: If you empty the water tank after the steam iron has cooled down, set the steam iron in an upright position on its heel rest, plug it in and set the temperature to the maximum, heat for 2 minutes. Unplug
the steam iron from the power supply.
SPRAYING
As long as there is enough water in the water tank, you may use the spray button at any temperature setting either on steam or dry ironing.

9
Press the spray button several times to activate the pump while you are ironing.
STEAM IRONING
With the unit unplugged, fill the steam iron with water.
Stand the steam iron on its heel rest in an upright position on an iron-safe surface and plug in.
Set the temperature to the maximum.
Switch-on the steam control, setting the steam controller in steam position
When the light indicator is off, the steam iron has reached the desired temperature.
When finished, unplug the appliance from the power supply.
CAUTION: Avoid coming in contact with escaping steam.
DRY IRONING
The steam iron can be used on the dry setting with or without water in the water tank, however it is best to avoid having the water tank too full of water while dry ironing.
Stand the steam iron on its heel rest in an upright position on an iron-safe surface and plug it in.
Select the temperature best suited for the fabric to be ironed.
When the light indicator is off, ironing may commence.
When finished, unplug the appliance from the power supply.
CAUTION: If the steam iron has been used for a long time, is hot and there is no water, do not refill it with water until the steam iron has cooled down.
STEAM BURST
Make sure that there is enough water in the water tank.
Stand the steam iron on its heel rest in an upright position on an iron-safe surface and plug it in.
Set the maximum temperature.
Set the steam controller to off position.
Press the steam button
CAUTION: Hold the steam button pressing not more than 5 seconds to avoid hot liquid leakage.
CLEANING
Before cleaning the steam iron ensure it is unplugged from the power supply and has completely cooled down.
Clean the exterior with a damp cloth and wipe dry.
Do not use abrasive cleaners.
SELF-CLEANING
It is important to apply the self-cleaning function at least every two weeks to remove impurities, etc.
The harder the water the more the iron should be self-cleaned.
position.
Stand the iron on its rear side.
Set the maximum temperature by thermoregulator.
Insert the main plug into the wall socket.
Allow the iron to heat up until the light indicator is off.
Hold the iron horizontally over the sink then turn Steam controller for Self-clean position.
Boiling water and steam will now be ejected from the holes in the soleplate. Impurities are washed with it. Move the iron forwards and backwards while this happened.

10
water reservoir has become empty.
Repeat self-cleaning if you notice that much impurity or others has been washed out.
Move the iron over a (preferably) old piece of cloth.
Unplug and allow the iron to cool down before storing it.
Make sure that the soleplate is completely dry before storing it.
STORAGE
Unplug the steam iron from the power supply and allow cooling down completely.
Empty the water tank after each use, and then wrap the cord around the heel rest.
To protect the soleplate, place the steam iron in an upright position on its heel rest.
SPECIFICATION
Model
Power supply
Power, W
Soleplate
Net / Gross
Weight, kg
Gift box dimension (L x W x
H),mm
LU-1125
220 240 V, 50 Hz
2200
Ceramic
0,720 / 0,850
269 x 118 x 148
Manufacturer:
NINGBO JIONGCHI ELECTRICAL APPLIANCE CO.,LTD
Tannan village, Tianyuan Town, Cixi, Ningbo, China
WARRANTY DOES NOT APPLY TO CONSUMABLES (FILTERS, CERAMIC AND NON-STICK COATING, RUBBER SEALS, ETC.)
Production date is available in the serial number located on the identification sticker on the gift box and/or on sticker on the device. The serial number consists of 13 characters, the 4th and 5th characters
indicate the month, the 6th and 7th indicate the year of device production.
Producer may change the complete set, appearance, country of manufacture, warranty and technical characteristics of the model without notice. Please check when purchasing device.
Made in China
UKR
: , , .

11
-
.
-
0.
,
,
LU-1125
220 240
2200
0,720 / 0,850
269 x 118 x 148

12
:
NINGBO JIONGCHI ELECTRICAL APPLIANCE CO.,LTD
Tannan village, Tianyuan Town, Cixi, Ningbo, China
----
KAZ
.
.
. .
.
.
, .
, .
. .
- , .
.
: , .
. , ,
.
, ( ) .
.
.
, .
. , .
ס , .. , .
- .
, , .
, . .
, .
.
, .
. .
-

13
- .
, - .
“” .
.
“”
.
.
, . - .
, “0” .
, - .
.
.
.
- , .
()
LU-1125
220 240
2200
0,720 / 0,850
269 x 118 x 148
:
NINGBO JIONGCHI ELECTRICAL APPLIANCE CO.,LTD
Tannan village, Tianyuan Town, Cixi, Ningbo, China
(, , ) .
/ . 13 , 4- 5-
, 6- 7- .
.
BLR
-

14
.
: , , .
.
0.

15
LU-1125
220 240
2200
0,720 / 0,850
269 x 118 x 148
:
NINGBO JIONGCHI ELECTRICAL APPLIANCE CO.,LTD
Tannan village, Tianyuan Town, Cixi, Ningbo, China
----
DEU BEDIENUNGSANLEITUNG
SICHERHEITSMASSNAHMEN
Lesen Sie die vorliegende Bedienungs
r Stromversorgung in Ihrem lokalen Netz entsprechen.
Achten Sie darauf, dass die Netzschnur k
Versu-Zentrum an.
mer aus dem Stromnetz aus vor der Reinigung oder wenn sie es nicht benutzen.
-
Lassen Sie das E
verbunden ist.
auhen Unterlagen ab.

16
VOR DER ERSTEN ANWENDUNG
ntfernen Sie die ganze Verpackung und alle Aufkleber
Bei einigen Metallteilen werden Schmiermittel verwendet, deswegen kann evtl. ein spezifischer Geruch beim ersten Gebrauch auftreten. Das ist normal.
Vor dem ersten Gebrauch entfernen Sie einen Kunststoff-
REINIGUNG UND PFLEGE
t.
Reinigen Sie das
ohle verwenden Sie keine abrasiven Reinigungsmittel.
SELBSTREINIGUNG
Zur Schmutz- und Kalkentfernung verwenden Sie mindestens einmal pro 2 Wochen die Selbstreinigungsfunktion.
Stecken Sie den Stecker in die Steckdose.
Warten Sie, bis die Kontroll-Leuchte ausgeht.
t
Wenn der Wassertank leer ist, stellen Sie den Dampfmengenregler auf die Position 0.
Bei der Feststellung der starken Verschmutzung und Verkalkung wiederholen Sie den Vorgang.
Ziehen Sie den Stecker aus der Steckdose.
TECHNISCHE CHARAKTERISTIKEN
Modell
Strom
Leistung,
W
Netto- /
Bruttogewicht, kg
H),mm
LU-1125
220 240 V, 50 Hz
2200
Keramisch
0,720 / 0,850
269 x 118 x 148
Hersteller:
NINGBO JIONGCHI ELECTRICAL APPLIANCE CO.,LTD
Tannan village, Tianyuan Town, Cixi, Ningbo, China
Hergestellt in China
Seriennummer besteht von 13 Zeichen, 4. und 5. Zeichen bezeichnen den Monat, 6. und 7. Zeichen -
ngsland, Garantiefrist und technische Charakteristiken des Models

17
ITA MANUALE D`USO
PRECAUZIONI
Prima di collegare l`apparecchio alla fonte di alimentazione, controllare che le caratteristiche tecniche del prodotto indicate nella marcatura corrispondino a quelle della Vostra rete elettrica.
esso l`uso dell`apparecchio con il cavo di alimentazione danneggiato o nel caso di presenza di ogni altro difetto.
Controllare che il cavo di alimentazione non contatti gli oggetti affilati e superficie riscaldate.
Non tirare, non attorcigliare e non avvolgere il cavo di alimentazione al corpo dell`apparecchio.
Al disinserimento dell`apparecchio dalla rete, non tirare il cavo di alimentazione, ma operare con la spina.
Non manomettere nell`apparecchio. Nel caso di malfunzionamento rivolgersi al servizio assistenza tecnica locale.
Scollegare l`apparecchio dalla rete prima di pulire e se non si usa.
i bagni, lavandini od altri recipienti riempiti dell`acqua.
Per evitare l`elettrocuzione ed incendi non immergere l`apparecchio nell`acqua o in qualsiasi altro tipo di liquido. Nel caso contrario disinserirlo dalla rete elettrica e rivolgersi all`assistenza per effettuare il
suo controllo.
a di esperienza e conoscenza. In questi casi viene effettuato il loro
addestramento sull`uso dell`apparecchio da parte della persona responsabile della loro sicurezza.
Non lasciare l'apparecchio incustodito quando funziona.
Durante il funzionamento, la superficie di lavoro del ferro e l'acqua nel serbatoio si riscaldano molto. Fare attenzione a non toccare le parti metalliche del ferro.
Evitare di stirare su chiusure a scatto - cerniere, rivetti, ecc, in quanto potrebbero graffiare la superficie di lavoro.
Non posizionare il ferro su superfici di metallo o superfici ruvide.
Per evitare scottature, fare attenzione quando si sposta il ferro, come il liquido e il vapore caldo potrebbero fuoriuscire quando si capovolge il corpo.
PRIMA DEL PRIMO UTILIZZO
Togliere tutti gli imballaggi ed autoadesivi dall`apparecchio.
e la piastra del ferro con un panno morbido.
PULIZIA E MANUTENZIONE
Prima di pulire l'apparecchio, assicurarsi che sia scollegato dalla rete e completamente raffreddato.
Pulire il corpo dell'apparecchio con panno umido e poi asciugare.
Non strofinare la piastra con lana d'acciaio e oggetti metallici. Per pulire le piante non possono utilizzarsi detergenti abrasivi.
AUTOPULIZIA
Riempire il serbatoio dell'acqua fino al "MAX".
Mettere il ferro sul tallone.
Collegare il ferro alla rete elettrica.
Attendere che la spia si spegne.
Mettete il ferro in posizione orizzontale sopra il lavandino.

18
processo di pulizia, dondolare leggermente il ferro avanti e indietro.
0.
Ripetere l'autopulizia se si nota che il ferro risulta molto sporco.
Passare il ferro su un panno di cotone pulito per la pulizia finale del piano di lavoro.
Scollegare l'apparecchio dalla rete.
Prima di mettere il ferro a posto, verificare che la superficie di lavoro sia asciutta.
CARATTERISTICHE TECNICHE
Modello
Tensione d`alimentazione
Potenza,
W
Piastra
Peso netto/brutto,
kg
A.),mm
LU-1125
220 240 V, 50 Hz
2200
Ceramica
0,720 / 0,850
269 x 118 x 148
Fabbricante:
NINGBO JIONGCHI ELECTRICAL APPLIANCE CO.,LTD
Tannan village, Tianyuan Town, Cixi, Ningbo, China
Fatto in Cina
DIE GARANTIE GILT NIC
LA GARANZIA NON VALE PER I MATERIALI DI CONSUMO (FILTRI, RIVESTIMENTI CERAMICI ED ANTIADERENTI, GUARNIZIONI IN GOMMA ED ALTRI).
La data di fabbricazione dell`
parecchio.
Il produttore si riserva il diritto di apportare modifiche ai componenti, aspetto esterno, paese di origine, periodo di garanzia e caratteristiche tecniche del prodotto a propria discrezione e senza preavviso.
Controllare le caratteristiche al momento di ricevimento del prodotto.
ESP MANUAL DE INSTRUCCIONES
MEDIDAS DE SEGURIDAD
Leer atentamente este manual antes de utilizar el aparato y guardarlo para futuras referencias.
la alimenta
No tirar, retorcer ni enrollar el cable alrededor del cuerpo del aparato.
El uso de
Pao inmediatamente y llamar a un centro de servicio para su control.
debe recibir
instrucciones previamente por la persona responsable de su seguridad.
Coloque la plancha sobre la tabla de planchar con cuidado, no golpee el dispositivo.

19
Durante el funcionamiento, la superficie de trabajo de la plancha y el agua en el tanque se calientan mucho. Tenga cuidado, n
- cremalleras, remaches, etc., ya que pueden rayar la superficie de trabajo.
ram
ANTES DEL PRIMER USO
Desempaquetar el aparato y quitar todos los materiales de embalaje y etiquetas.
uave.
LIMPIEZA Y CUIDADO
ufada y enfriada por completo.
la suela de la plancha.
AUTO-LIMPIEZA
Es importante aplicar el modo de auto-limpieza, al menos una vez cada dos semanas para eliminar la suciedad.
-limpieza.
Llene el tanque de agua hasta la marca "MAX".
Coloque la plancha sobre la parte trasera.
Espere hasta que la luz indicadora se apague.
o.
Entonces el agel proceso de limpieza hace falta mover la plancha hacia
delante -
0.
Repita la auto-limpieza si observa que plancha estaba bastante sucia.
CARACTERŪSTICAS TкCNICAS
Modelo
Potencia,
W
Soleplate
Peso neto / bruto,
kg
A),mm
LU-1125
220 240 V, 50 Hz
2200
C
0,720 / 0,850
269 x 118 x 148
Fabbricante:
NINGBO JIONGCHI ELECTRICAL APPLIANCE CO.,LTD
Tannan village, Tianyuan Town, Cixi, Ningbo, China

20
Hecho en China
.
aja
El fabricante puede sin previo aviso cambiar la lista de equipo, el aspecto,
producto.
FRA NІTICE D’UTILISATIІN
RECІMMANDATIІNS DE SкCURITк
surfaces chaudes.
-
ATTENTION : NН ШЙЫ ЭЬСФСЫНr Ф’ЙШШЙrНСФ п ШrЧаСХСЬх МНЫ КЙСЦЫ, хЮСНrЫ ЧЭ М’ЙЭЬrНЫ rхЫНrЮЧСrЫ rНХШФСЫ М’НЙЭ.
pper l'appareil.
Eviter de repasser les fermetures
ment du corps, ainsi que la sortie de la vapeur chaude sont possibles.
AVANT LA ЇREMIÈRE UTILISATIІN
Ceci est normal.
su mou.
NETTOYAGE ET ENTRETIEN
Nettoyer r
Ne pas utiliser
Other manuals for LU-1125
1
Table of contents
Other Lumme Iron manuals

Lumme
Lumme LU-1130 User manual

Lumme
Lumme LU-IR1133A User manual

Lumme
Lumme LU-1134 User manual

Lumme
Lumme LU-IR1137A User manual

Lumme
Lumme LU-1126 User manual

Lumme
Lumme LU-IR1130A User manual

Lumme
Lumme LU-1128 User manual

Lumme
Lumme LU-1135 User manual

Lumme
Lumme LU-1125 User manual

Lumme
Lumme LU-1127 User manual