Luxinar MULTISCAN VS User manual

USER MANUAL MULTISCAN® VS
CO2 laser marking system

© 2022 Luxinar Ltd. All rights reserved.
Revision history
1 31/10/2022 — CR 651949: Reorder and modularise content, create common modules, change to XML format.
2 08/11/2022 — CR 651940: UKCA marking and safety section updates.
3 10/07/2023 — CR 652279: Safety label updates.
This manual is copyrighted with all rights reserved. Under copyright laws, this manual may not be copied in
whole or part or reproduced in any other media without the express permission of Luxinar Ltd. Permitted
copies must carry the same proprietary and copyright notices as were affixed to the original. Under law,
copying includes translation into another language.
Please note that while every effort has been made to ensure that the data given in this document is accurate,
the information, figures, illustrations, tables, specifications and schematics contained herein are subject to
change without notice. Contact Luxinar Aftersales to verify that you have the latest version of this manual.
MULTISCAN is a registered trade mark (in the UK, EU and elsewhere) owned (in the UK, EU and elsewhere) by
Luxinar Ltd, and must not be used without permission from the owner.

Aftersales contact details
Luxinar Ltd
Meadow Road
Bridgehead Business Park
Kingston upon Hull
HU13 0DG
U.K.
Tel.: +44 (0) 1482 650088
www.luxinar.com
For Aftersales Service, contact: [email protected]
For Parts, contact: [email protected]
Luxinar GmbH (Germany)
Röntgenstrasse 6
21465 Reinbek
Germany
Tel.: +49 (0)40 883624-60
www.luxinar.com/de
Luxinar Ltd (Italy branch office)
Via Pavia 11/B
10098 Rivoli
Torino
Italy
Tel.: +39 (0)11 19118353
www.luxinar.com/it
Luxinar Ltd (Korea branch office)
#409, A-dong (Bundang Suji U-Tower)
767, Sinsu-ro, Suji-gu, Yongin-si, Gyeonggi-do
Republic of Korea 16827
Tel.: +82 (0)31 546 0861
www.luxinar.com/ko
Luxinar Laser Technology (Shanghai) Co., Ltd (China)
Room 02, 5th Floor, 8# Jiafeng Road
Shanghai Pilot Free Trade Zone
Shanghai, China
200131
Tel.: +86 21 6106 9917
www.luxinar.com/zh-CN
Luxinar Inc (USA)
51047 Celeste Dr
Shelby Township
MI 48315
USA
Tel.: +1 (0)586 291 2709
www.luxinar.com
Warranty shipments, returns and adjustments
Warranty claims must be made promptly and must be received by Luxinar Ltd during the applicable
warranty period.
Always identify the product, by both model number and serial number, when contacting Luxinar Aftersales.

If it becomes necessary to return a product for repair and/or adjustment, the instructions as to how and
where these products should be shipped must be obtained from Luxinar Aftersales.
Service and repair
Servicing or calibration of the system can only be carried out by trained Luxinar service engineers or
customers who have undertaken and passed a Luxinar approved service training course. Details of training
courses and servicing can be obtained from the local Luxinar Aftersales address.

Table of contents
Preface
Audience
How to use this manual
Admonitions
Connector labels and signal names
Marking and printing
1. Safety........................................................................................................................................................... 1
1.1. General safety information................................................................................................................. 1
1.2. Label locations.....................................................................................................................................1
1.3. Labels.................................................................................................................................................. 3
1.4. Maximum Permissible Exposure and Nominal Ocular Hazard Distance............................................. 5
1.5. Decommissioning and disposal........................................................................................................... 6
2. General Description..................................................................................................................................... 7
2.1. System overview................................................................................................................................. 7
2.2. Marking principles............................................................................................................................... 7
2.3. Typical production line installation..................................................................................................... 8
2.4. System components.......................................................................................................................... 11
2.5. Main cabinet..................................................................................................................................... 11
2.6. Articulated arm beam delivery system............................................................................................. 11
2.7. Scanning head................................................................................................................................... 12
2.8. Control panel..................................................................................................................................... 12
2.9. Specifications.................................................................................................................................... 13
2.9.1. Marking performance................................................................................................................ 13
2.9.2. External interface....................................................................................................................... 14
2.9.3. Dimensions................................................................................................................................. 14
2.9.4. Weights...................................................................................................................................... 14
2.9.5. External materials...................................................................................................................... 15
2.9.6. Electrical supply..........................................................................................................................15
2.9.7. Cooling system........................................................................................................................... 15
2.9.8. Optics purge gas......................................................................................................................... 16
2.9.9. Environmental specifications..................................................................................................... 16
2.9.10. Laser characteristics................................................................................................................. 17
2.9.11. Scanning head characteristics.................................................................................................. 17
3. Operation...................................................................................................................................................19
3.1. Preliminary checks............................................................................................................................ 20
3.2. Start-up............................................................................................................................................. 20
3.3. Shut-down......................................................................................................................................... 21
3.4. Manual restart after an emergency shut-down................................................................................ 21
3.4.1. Mains power failure................................................................................................................... 21
3.4.2. Remote interlock broken............................................................................................................21
4. Diagnostics and troubleshooting.............................................................................................................. 23
4.1. Status indicators................................................................................................................................ 23
5. Routine maintenance................................................................................................................................ 25
5.1. General information.......................................................................................................................... 25
5.2. General cleaning................................................................................................................................25
5.3. Cleaning the final focus lens..............................................................................................................25
5.4. Interlocks........................................................................................................................................... 26
5.5. Cooling system contamination.......................................................................................................... 26
5.6. Frost protection.................................................................................................................................27
5.7. Coolant replacement (all systems).................................................................................................... 27
5.8. Pre-ioniser fuse replacement............................................................................................................ 27
5.9. Compressed air supply...................................................................................................................... 27
906-0248-00 REV 3 i Table of contents

5.10. Fume extractor................................................................................................................................ 27
5.11. Product detectors............................................................................................................................28
6. Installation................................................................................................................................................. 29
6.1. Unpacking and preparation...............................................................................................................29
6.1.1. Delivery check............................................................................................................................ 29
6.1.2. Unpacking...................................................................................................................................29
6.2. Mechanical Installation..................................................................................................................... 31
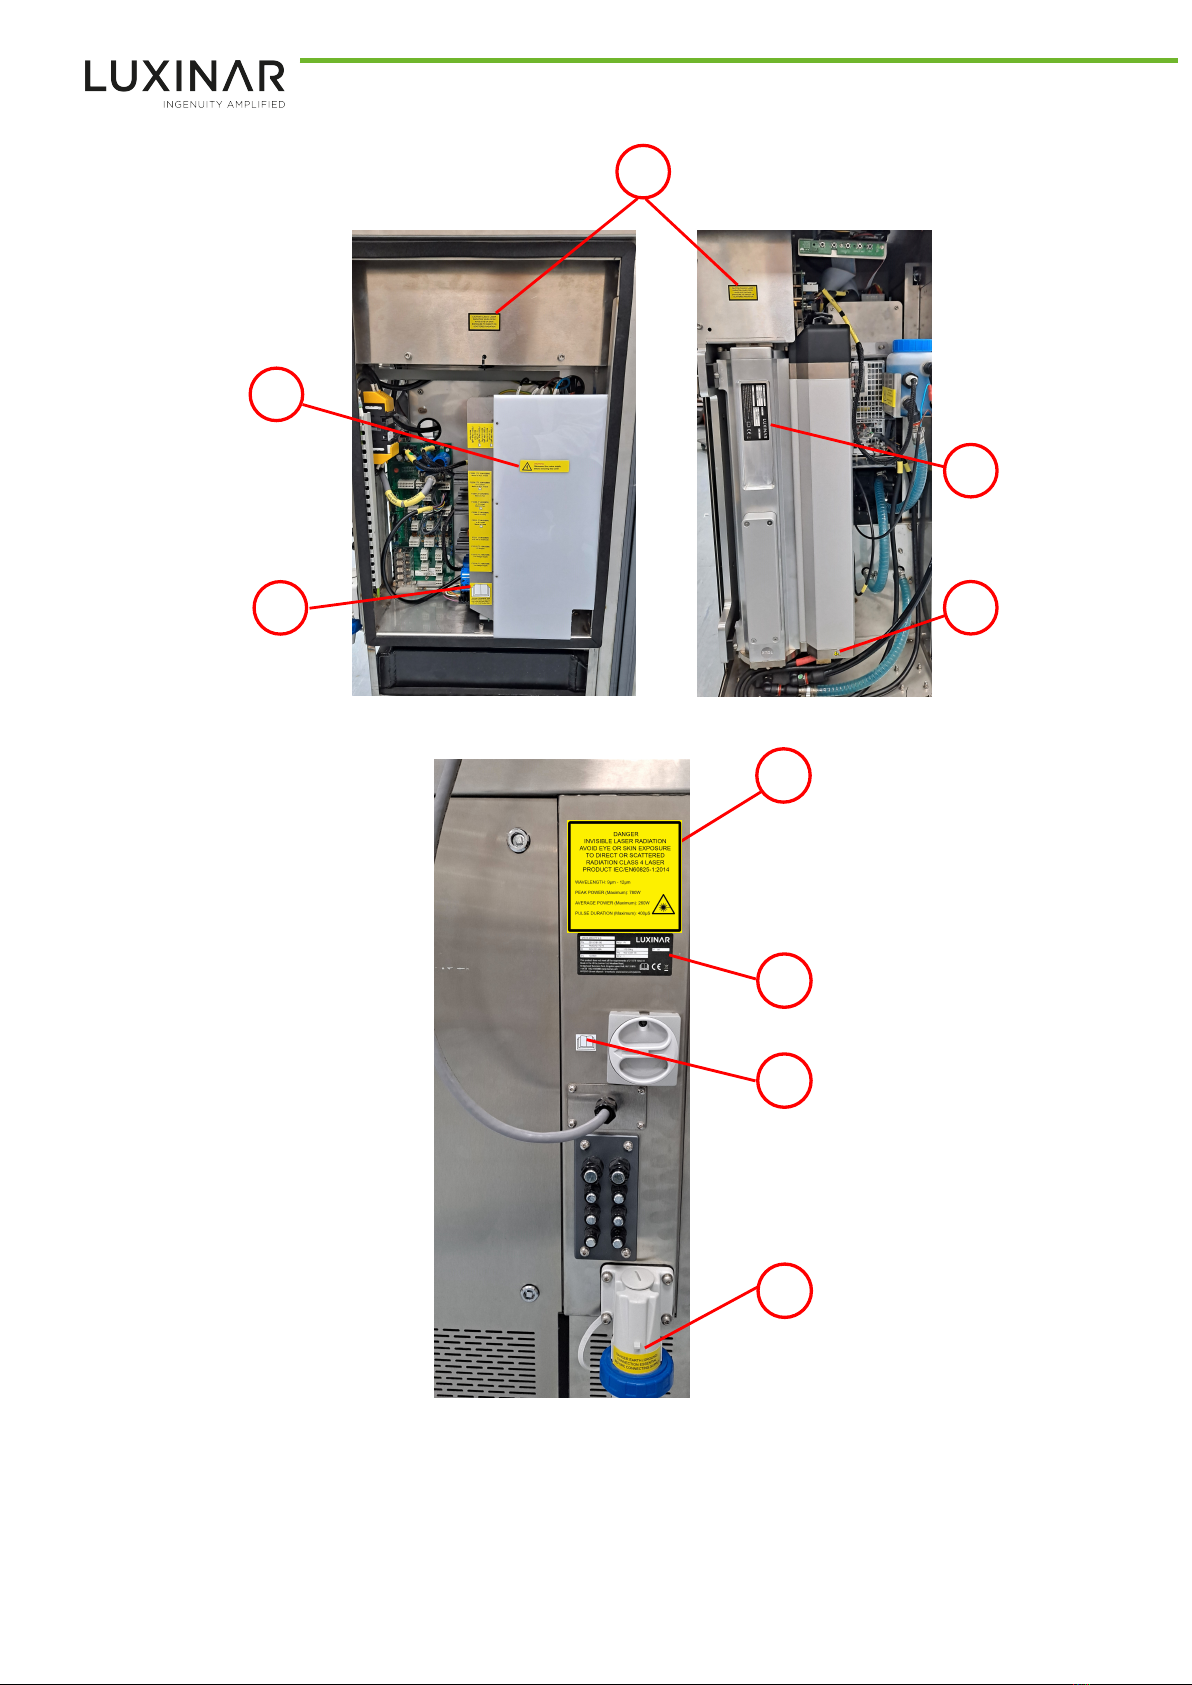
6.3. Safety guarding................................................................................................................................. 32
6.4. Scanning head positioning................................................................................................................ 32
6.5. Lens focus adjustment...................................................................................................................... 33
6.6. Lens protection shroud..................................................................................................................... 33
6.6.1. Static marking.............................................................................................................................34
6.6.2. On-the-fly marking..................................................................................................................... 34
6.6.3. Window adjustment................................................................................................................... 34
6.7. Cooling system.................................................................................................................................. 36
6.7.1. Internal cooling circuit — all versions........................................................................................ 36
6.7.2. External cooling circuit — Liquid-cooled version....................................................................... 37
6.7.3. Suspended particle removal.......................................................................................................37
6.8. Electrical supply connections............................................................................................................ 37
6.8.1. Cable and connector.................................................................................................................. 37
6.8.2. Auxiliary transformer tap configurations................................................................................... 38
6.9. Lens protection air supply................................................................................................................. 39
6.10. Fume extractor................................................................................................................................ 39
7. Transport and recommissioning............................................................................................................... 41
7.1. Internal cooling circuit draining — all versions................................................................................. 41
7.2. External coolant draining — liquid cooled version............................................................................42
7.3. Final focus lens protection................................................................................................................ 42
8. Interfacing..................................................................................................................................................43
8.1. User interface board......................................................................................................................... 43
8.2. Interlocks and security...................................................................................................................... 44
8.3. Shutter status output, J12................................................................................................................. 47
8.4. Scanning head to main enclosure cable............................................................................................ 48
8.5. Product detector J20, J21.................................................................................................................. 48
8.5.1. Dual detector installation........................................................................................................... 49
8.6. Tacho (shaft encoder) J19................................................................................................................. 50
8.6.1. Calculation of friction wheel diameter.......................................................................................51
8.7. Detector status output, J13...............................................................................................................51
8.8. System enable and extractor fault, J18............................................................................................. 51
8.9. Com 1 RS232, J7................................................................................................................................ 52
8.10. Additional interface connections.................................................................................................... 52
8.11. Remote control panel (optional)..................................................................................................... 55
9. Software configuration..............................................................................................................................57
9.1. Service menu..................................................................................................................................... 57
9.2. PC options......................................................................................................................................... 59
9.2.1. Print Screen Configuration......................................................................................................... 60
9.3. Galvo options.................................................................................................................................... 61
9.4. Setup I/O........................................................................................................................................... 62
Appendix A. Dimensional drawings.............................................................................................................. 65
Appendix B. Calculations for laser safety glasses selection......................................................................... 73
Table of contents ii 906-0248-00 REV 3

Preface
Audience
This manual should be read by all personnel who install or operate the MULTISCAN® VS laser.
Important!
Read this manual carefully before operating the power supply for the first time. Pay special
attention to the Safety chapter.
The MULTISCAN® VS is designed and sold for use in Original Equipment Manufacturer (OEM) systems
and is not to be used as a stand-alone laser. The OEM is responsible for compliance with all applicable
safety regulations.
How to use this manual
The following conventions are used in this manual.
Admonitions
The use of controls, replacement parts, adjustments, or procedures other than those specified within
this manual may result in exposure to any of these hazards.
• Laser hazards
• Electrical hazards
• Environmental hazards
• Mechanical hazards.
The degree of seriousness of the hazard is indicated by the use of the following signal words:
DANGER
Indicates an imminent hazard which, if not avoided, is extremely likely to result in death or serious
injury.
WARNING
Indicates a potentially hazardous situation which, if not avoided, could result in death or serious
injury.
CAUTION
Indicates a potentially hazardous situation which, if not avoided, may result in minor or moderate
injury. It is also used to alert the user against unsafe working practices and potential damage to the
equipment.
Connector labels and signal names
Connector labels and signal names are shown in bold serif font to aid identification.
For example; RF Enable, external interlock
Marking and printing
This manual uses the terms "mark" and "marking" to describe the process of using a focussed laser
beam to change the visible state of a surface. Graphical User Interface (GUI) windows within the system
software and supplementary documentation may also describe this process as "print" or "printing".
These terms have the same meaning in this context.
906-0248-00 REV 3 iii Preface

Preface iv 906-0248-00 REV 3

1. Safety
1.1. General safety information
It is strongly recommended that any personnel who are involved with the installation, operation or
maintenance of this laser equipment should first read and fully understand the contents of this manual
and Safety manual 906-0251-xx.
If there are any questions or doubts on any of the safety aspects of the equipment, then do not hesitate
to contact your nearest Luxinar Aftersales office or distributor for advice before proceeding.
The installation, operation, maintenance and repair of this laser equipment must only be carried out by
Luxinar service personnel or trained staff who have received correct instruction concerning the hazards
associated with this particular equipment.
Important!
All safety critical instructions contained within this document are framed with a border and
identified by CAUTION, WARNING or DANGER depending on the severity of the risk involved. In
addition, the safety symbol indicates that care should be taken when working with or on the
laser equipment.
Luxinar does not accept liability for any damage or injury howsoever caused or arising.
The symbol given below is also used on the equipment and indicates that the user should refer to the
OEM equipment operator’s manual for more information on the safe operation or installation of the
equipment.
1.2. Label locations
The labels shown on the following drawing are fitted to the equipment in the locations specified and
must not be removed or defaced. Immediately replace any missing labels.
906-0248-00 REV 3 1 1. Safety

1
6
7
9
10
Figure 1 - Main cabinet left and rear internal view
2
9
10
8
Figure 2 - Main cabinet rear
1. Safety 2 906-0248-00 REV 3

6
Figure 3 - Main cabinet cover
4
5
Figure 4 - Scanhead
10
11
10 Label — Read the instructions for use
11 Emission warning indicator
Figure 5 - Control panel
1.3. Labels
Figure 6 - Label 1 — Non-interlocked panel
906-0248-00 REV 3 3 1. Safety

Figure 7 - Label 2 — Class 4 laser warning and specification
Figure 8 - Label 4 — Laser hazard
AVOID EXPOSURE INVISIBLE
LASER RADIATION IS
EMITTED FROM THE APERTURE
Figure 9 - Label 5 — Laser aperture
WARNING
Disconnect the mains supply
before removing this cover
Figure 10 - Label 6 — Disconnect mains supply warning
Figure 11 - Label 7 — Electrical hazard
DANGER EARTH (GROUND)
CONNECTION ESSENTIAL
BEFORE CONNECTING SUPPLY
Figure 12 - Label 8 — Earth (ground) connection essential
1. Safety 4 906-0248-00 REV 3

7
5
1
2
3
4
6
1Model number
2Part number
3Serial number
4Input
5Revision
6Weight
7IP rating
Figure 13 - Label 9 — Product identification and certification
Figure 14 - Label 10 — Read the instructions for use
1.4. Maximum Permissible Exposure and Nominal Ocular Hazard Distance
The Maximum Permissible Exposure (MPE) is the level of radiation to which, under normal
circumstances, persons may be exposed without adverse effects. The MPEs represent the maximum
level to which the eye or skin can be exposed without consequential injury and are related to the
wavelength of the laser radiation, the pulse duration or exposure duration, and the tissue at risk.
The MPEs given in the following table are informative and provided so that the integrator can calculate
the Nominal Ocular Hazard Distance (NOHD), perform a risk analysis and inform the user about the safe
usage of the product. However, exposure limits for the eye and the skin of employees in the work place
and the general public are in many countries specified in national laws. These legally-binding national
exposure limits might differ from the MPEs given in the following table.
The NOHD is the distance from the output aperture beyond which the beam irradiance or radiant
exposure remains below the appropriate MPE. Importantly, the NOHD is dependent upon the beam
waist size and the divergence of the beam. Therefore, the NOHD is dependent upon the optical
components acting on the beam. The NOHDs given in the following table are relevant only when the
laser is operated with the complete beam delivery system attached. NOHD values are quoted from the
final focus lens on the scanning head. Further details of the safe use of lasers are given with IEC/ TR
60824-14 "Safety of laser products – Part 14: A user’s guide."
Table 1 - MULTISCAN® VS MPE calculation
Wavelength (µm) 10.6 10.25 9.3
MPE (W/m²) 1000 1000 1000
Table 2 - MULTISCAN® VS NOHD calculation
SC7 SC10 SC14
Wavelength
(µm)
10.6 10.25 9.3 10.6 10.25 9.3 10.6 10.25 9.3
Lens focal length
(mm)
NOHD (m)
75 12 12 11 8 8 8 6 5 5
906-0248-00 REV 3 5 1. Safety

SC7 SC10 SC14
Wavelength
(µm)
10.6 10.25 9.3 10.6 10.25 9.3 10.6 10.25 9.3
100 16 16 15 11 10 10 7 7 7
150 25 24 23 17 16 15 11 10 10
200 35 33 32 22 21 20 14 14 13
250 — — — 28 27 26 18 17 16
300 — — — 34 33 31 22 21 20
360 — — — 42 40 38 26 25 24
Note: Beam divergences given in the following table apply only when the marking system is operated
with the complete beam delivery system attached.
Table 3 - Beam divergence for MULTISCAN® VS
SC7 SC10 SC14
Wavelength
(µm)
10.6 10.25 9.3 10.6 10.25 9.3 10.6 10.25 9.3
Lens focal length
(mm)
1/e2 beam diameter divergence (mrad)
75 78 77 75 116 115 112 173 172 165
100 57 56 55 86 86 83 131 130 125
150 36 36 35 57 56 54 87 87 84
200 25 26 25 41 41 40 65 65 62
250 — — — 32 32 31 51 52 50
300 — — — 26 26 25 43 42 41
360 — — — 21 21 21 34 35 34
1.5. Decommissioning and disposal
Dispose of the system according to appropriate local regulations.
1. Safety 6 906-0248-00 REV 3

2. General Description
2.1. System overview
The MULTISCAN® VS is a vector laser marking system comprising:
• a Radio Frequency (RF) excited, diffusion cooled, CO2 industrial slab laser
• a high-speed galvanometer scanning head
• a computer-based controller to position the laser beam on the workpiece
• a control panel with QWERTY keypad and VGA display integrated into the main cabinet or with an
optional remote control panel on an umbilical cable
The MULTISCAN® VS system has been specifically designed for very low maintenance operation and
minimal user intervention or adjustment. It requires no initial warm-up time or recommended daily
maintenance requirements. Once the system is correctly installed and programmed it can simply be
turned on and off to initiate or end marking.
WARNING
Risk of eye damage
Permanent eye damage may result if laser radiation is allowed to enter the eye either directly or
by a reflective surface during procedures involving access to the laser output.
All personnel must wear protective goggles suitable for use with carbon dioxide lasers when the
laser is in a Class 4 operational state.
Personnel not wearing eye protection must be excluded from the area or room containing the
laser.
2.2. Marking principles
When the focused laser beam hits the surface of an infra-red absorbing material, such as ink on card,
the layer of ink is normally ablated or removed from the surface to reveal the contrasting substrate
material as shown diagrammatically in Figure 15.
3
2
1
4
5
1Laser beam
2Focused laser beam
3Focus lens
4Infrared absorbing surface coating
5Surface coating ablated to reveal the substrate
Figure 15 - Laser ablation using a focused laser beam
Many other materials also absorb at the infrared CO2 laser wavelength and will mark successfully. These
include glass (contrasting micro cracks are formed at the surface), some plastics (contrasting texture or
colour is made by chemical change or melting) and coated metals. Non-absorbing materials, which
cannot be marked with a CO2 laser, include most metals, which reflect at this wavelength, and some
plastics, such as polyethylene, which largely transmit the laser radiation.
906-0248-00 REV 3 7 2. General Description

To mark characters and images, the laser beam is deflected by high-speed galvanometer mirrors
controlled by a computer. The computer also switches the laser beam on and off to form individual
characters.
The computer is connected to a galvanometer control board via a digital interface which sends varying X
and Y co-ordinate deflection values to the vector scanning head. Inside the head, each X and Y deflection
value is converted to a voltage. X and Y galvanometers, (often abbreviated to 'galvos') convert the
voltages into a proportional rotation of their shafts. A mirror is mounted to each shaft to deflect the
laser beam. The galvanometers are mounted on perpendicular axes so that they control the deflection
in the X and Y axis.
Figure 16 - Galvanometer scanning principle
The laser beam enters the head through an input aperture. Once inside, the beam is deflected by mirror
X, then by mirror Y. The beam leaves the head through an objective lens which focuses the beam onto
the surface to be marked. The lens is an 'F-Theta' type so that the focal point is proportional to the angle
of incidence of the beam.
Distortion of the square image field is inherently caused by the path of the beam in the head and by the
objective lens. Without correction, lines would be distorted into curves and the compensation of the
product movement for 'on-the-fly' marking would no longer be accurate. A look-up table downloaded
and stored in the galvanometer control board converts the incoming X and Y values to the corrected
values.
The marking system is normally installed on a production line or conveyor where product moves past
the system’s scanning head. Marking of items on the production line is normally initiated by a product
detector, which is mounted on the side of the production line adjacent to the system’s scanning head.
By dynamically offsetting the marking by the same amount as the product movement, marking 'on-the-
fly' is achieved. Accurate measurement and compensation of the product movement is achieved by
using a tachometer (shaft encoder) coupled to the MULTISCAN® VS controller.
2.3. Typical production line installation
WARNING
Risk of eye damage
Use of controls or adjustments or performance of procedures other than those specified herein
may result in hazardous laser radiation exposure. This is a Class 4 (Class IV) laser and the beam is
invisible to the eye. Please review all safety instructions and precautions given in Chapter 1
before attempting to operate the system or perform maintenance procedures.
2. General Description 8 906-0248-00 REV 3

Important!
The MULTISCAN® VS is intended to be used for marking materials in an industrial environment.
Use of the equipment for applications other than the intended one constitutes misuse and the
laser manufacturer, Luxinar Ltd does not accept liability for any damage or injury howsoever
caused or arising.
Installation of the MULTISCAN® VS onto a production line requires several peripheral items in addition
to the necessary electrical, cooling and signal interfacing requirements.
These can include:
• Safety guarding to protect the operator from exposure to the laser beam or scattered laser
radiation.
• Product detection to initiate marking on the material to be marked.
• Clean compressed air to prevent contamination of the final focus lens on the scanning head.
• Extraction of any fume or debris resulting from the marking process.
A typical installation with a simple ‘conveyor-type’ production line is shown in the following figure.
906-0248-00 REV 3 9 2. General Description

12
10
9 6
7
3
1
2
8
8A
5
11
4
1User control panel
2Articulated beam delivery system
3Scanning head
4Main cabinet
5Laser beam stop
6Product detector
7Product detector retro-reflector
8Fume extractor
8A Flexible fume extraction hose and nozzle
9Compressed air source for lens shielding
10 Shaft encoder
11 Guarding
12 Product to be marked
Figure 17 - Typical conveyor-type marking installation
Position the user control panel (1) so that it is easily accessible and visible to the operator.
The cooling vents at the base of the system must be unrestricted and allow for free flow of air, required
for system cooling. There must be a minimum of 0.5m clearance between the enclosure and any walls or
other obstructions that could impede air flow.
The articulated beam delivery (2) directs the laser beam into the scanning head (3) which generates the
programmed marking pattern on each product to be marked (12). The marking process is triggered by a
product detector (6) that initiates a mark as each product is detected. In this example, a through-beam
detector is shown with its retro-reflector (7).
On variable speed production lines, a feedback signal is required to synchronise the marking speed. The
signal is normally provided by a shaft encoder (10) integrated with the conveyor drive system. Constant
speed lines do not require a feedback signal.
Depending on the material to be marked, it may be necessary to incorporate a fume extractor (8) and
nozzle with flexible hose (8A) to remove debris and fume produced by the marking process. If a
significant amount of debris is produced, the final lens will become contaminated, leading to a gradual
2. General Description 10 906-0248-00 REV 3

degradation of mark quality and possible damage to the lens. This is prevented by blowing clean
compressed air across the lens to form an air curtain. The compressed air is filtered and regulated down
to an appropriate pressure by an air purification unit (9).
To provide optical protection from the laser beam, guarding must be installed to protect the operator
and other personnel. In this example, a beam shield tunnel is provided which allows free passage of
products past the marking point but prevents operator access and exposure to the laser beam during
marking. The guarding must also incorporate a beam stop (5) that prevents damage to the guard
material if marking is triggered when no product is present.
2.4. System components
1Main cabinet
2Articulated arm beam delivery system
3Scanning head
Figure 18 - MULTISCAN® VS system components
The MULTISCAN® VS system has been specifically designed for very low maintenance operation and
minimal user intervention or adjustment. The system has no initial warm-up time or recommended daily
maintenance requirements. Once the system is correctly installed and programmed it can simply be
turned on and off to initiate or terminate marking.
2.5. Main cabinet
The main cabinet contains the laser head, DC and RF power supplies, air/liquid or liquid/liquid cooling
system and electronic control boards with interfaces for integration to the marking station. The
enclosure is made from stainless steel and is sealed to IP66 standard. All cables pass through watertight
glands to prevent ingress of moisture.
2.6. Articulated arm beam delivery system
The articulated arm has sealed articulation joints containing pre-aligned beam turning mirrors to direct
the laser beam from the main cabinet to the scanning head.
906-0248-00 REV 3 11 2. General Description

2.7. Scanning head
The scanning head directs the laser beam to follow a programmed path on the product to be marked.
The beam is directed by high-speed galvanometer mirrors within the head and is focussed by a final
focus lens mounted on the output face of the head.
Figure 19 - Typical scanning head
A range of scanning heads and final focus lenses is available to match the size of the marking field and
the code geometry.
2.8. Control panel
Figure 20 - Control panel
The control panel is used to programme and select the code to be marked and to control the marking
process. It is located on the top of the main cabinet. A remote control panel option is also available for
use in situations where the operator needs to work at a distance from the marking station.
2. General Description 12 906-0248-00 REV 3
Table of contents
Other Luxinar Measuring Instrument manuals
Popular Measuring Instrument manuals by other brands

Honeywell
Honeywell RMA300-ME user manual

Extech Instruments
Extech Instruments 380580 user guide

Endress+Hauser
Endress+Hauser Proline Promag 50 operating instructions

Inficon
Inficon Sensistor ILS500 operating manual

Savant
Savant DigiFlow 8300T-88 Operation guide

GANN
GANN HYDROMETTE BL Compact TF-IR 2 quick start guide