manuals.online logo
Brands
  1. Home
  2. •
  3. Brands
  4. •
  5. Lynx
  6. •
  7. Amplifier
  8. •
  9. Lynx 2000 G-Touring 600 User manual

Lynx 2000 G-Touring 600 User manual

POWER Series
600/1000/1500/2000/3000
OPERATION MANUAL
NOTICE D’EMPLOI
BEDIENUNGSANLEITUNG
Lynx Pro Audio S.L.
VALENCIA, Spain - www.lynxproaudio.com
To avoid fire or electrocution risk do not
expose the unit to rain or moisture.
To avoid electric shock, do not open the
unit. No user serviciable parts inside. In
the case of disfunction, have the unit
checked by qualified agents.
Class I device.
Main Power Switch and check
LED: Connects the amplifier’s
current feed. The LED lit when
“On”.
Signal attenuation level control
knobs: Permit independent control
of each channel’s attenuation.
CLIP: Lit when clipping situation in
the outputs’ signal exist.
FAULT: This LED shows the circuit
relay on the output has open obe-
ying one or several protections’
orders from the amplifier.
4
3
2
1
Front Panel
WARNING
CAUTION
RISK OF ELECTRIC SHOCK
DO NOT OPEN
Um Brand oder elektrische Schläge zu
vermeiden, setzen Sie diese Einheit
keiner starken Luftfeuchtigkeit oder
Regen aus.
Damit elektrisch Schläge vermieden
werden, öffnen Sie diese Einheit nich.
Bei Bedarf von Reparaturen, wenden
Sie sich an qualifiziertes Personal.
Es handelt sich um ein Gerät der
Klasse I.
Hauptstromschalter und LED:
Dieser Schalter schaltet die
Stromzuführung der Endstufe ein
und aus. Die Endstufe ist einges-
chaltet, wenn die LED leuchtet.
Lautstärkeregler: diese ermögli-
chen, die Signalstärke am Ausgang
zu regeln.
CLIP: Clip-Anzeige. Diese Anzeige
leuchtet 200 ms lang, unabhängig
von der realen Länge des clips.
FAULT: Diese LED-Anzeige leuchtet
auf wenn das Schutzrelais durch
irgendeine der Shutzschaltungen
ausgelöst worden ist.
4
3
2
1
Frontplatte
ACHTUNG!
Pour éviter tout risque d’incendie on
d’electrocution, ne pas exposer cet
appareil à la plui ou a l’humidité.
Afin d’ecarter tout risque, ne pas ouvrir
láppareil. Ne confier léntretien de l’ap-
pareil qu’à un personnel qualifié.
Appareil de Classe I.
Power et LED: Interrupteur de mise
sous tension et LED.
Attennateurs du signal d’entrée:
Pour le reglage du niveau d’entrée,
independament sur chaque canal.
CLIP: Lit when clipping situation in
the outputs’ signal exist.
FAULT: Signalisation par LED d’une
situation de defáut. Ce-ci indique la
coupure du signal de sortie.
4
3
2
1
Face Avant
AVERTISSEMENT
VORSICHT
GEFAHR EINES
ELEKTRISCHEN SCHLAGES.
NICHT ÖFFNEN!
ATTENTION
RISQUE DE CHOC ÉLECTRIQUE
NE PAS OUVRIR
Front Panel
14 2 2 33
Signal Input: Twin female Neutrik®
XLR Connectors for the amplifier’s
signal input.
Signal Link: Twin male Neutrik®
XLR Connectors for daisy chaining
input signal to other amplifiers
(parallel connected to female input
connectors).
Speaker connectors: Output
Neutrik®Speakon to connect the
speakers.
Dual / Bridge Operation Selection
Switch. To control the level in Bridge
mode use the CH-A level knob.
The Power switch must always be on
the “Off” position before plugging the
amp to a properly earthed mains soc-
ket (220-240V AC).
The input signal fed to the amplifier can
be either balanced or un-balanced. The
drawing below describes both ways to
wire a XLR connector for the purpose.
Connections
3
2
1
Rear Panel
Eingangssignal: Eingangssignal:
Neutrik®-XLR Buchsen.
LINK: Paralele XLR-Ausgänge zur
Zusammenschaltung mehrerer
Endstufen.
Dautsprecheranschluss: Neutrik
Speakon Stecker zum Anschluss
externer Lautsprecher.
Dual / Bridge: Dieser Schalter
wechselt von Zweikanaloperation zu
Bridge Modus. Bitte benutzen Sie
den Regler des Kanals A um die
Ausgangslautstärke zu kontrollieren.
Bevor Sie diese Einheit an eine
SHUKO-Steckdose anschliessen, schal-
ten Sie den Hautstromschalter Aus.
Das Eingangssignal kann entweder
symmetrisch oder unsymmetrisch sein.
Der Anschluss wird gemacht wie folgt.
Anschluss
3
2
1
Rückseite
Connecteurs Neutrik®XLR (feme-
lle) d’entrée des signaux de modu-
lation.
Connecteurs Neutrik®XLR (mâle),
sortie des signaux d’entrée pour la
mise en parallèle d’autres amplis.
Speakon de sortie pour le branche-
ment des HP.
Dual / Bridge: Sélecteur de mode
pont (Bridge) ou stéréo. Pour con-
troller le niveau de sortie, se servir
du potentiomètre canal A.
Veuillez à que l’interrupteur de mise en
route soit en position “Off” avant de
brancher l’appareil sur une prise secteur
avec mise a la terre (220V-240V AC).
L’appareil peut fonctionner avec des
signaux symétriques ou asymétriques.
La figure ci-dessous indique le cablage
des connecteurs XLR pour les deux
cas.
Branchement
3
2
1
Face Arrière
Rear Panel
Balanced Wiring
1- Ground
2- Signal +
3- Signal -
Unbalanced Wiring
1- Ground
2- Signal
3- Ground
SPECIFICATIONS
TECHNISCHE
SPEZIFIKATIONEN SPÉCIFICATIONS
Technical Specifications
P-600 P-1000 P-1500 P-2000 P-3000
Output Power
Continuous Average Power
RMS, 1kHz, 1.0% THD+N
@ 2Ω2x 340 W 2x 650 W * 2x 900 W * 2x 1250 W * 2x 1650 W *
@ 4Ω2x 300 W 2x 500 W 2x 750 W 2x 1050 W 2x 1450 W
@ 8Ω2x 190 W 2x 350 W 2x 500 W 2x 650 W 2x 1000 W
Bridge @ 4Ω680 W 1300 W * 1800 W * 2500 W * 3300 W *
Bridge @ 8Ω600 W 1000 W 1500 W 2100 W 2900 W
Pink Noise 12dB Crest Factor
@ 2Ω2x 530 W 2x 900 W * 2x 1200 W * 2x 1600 W * 2x 2200 W *
@ 4Ω2x 380 W 2x 680 W 2x 970 W 2x 1350 W 2x 2000 W
@ 8Ω2x 220 W 2x 400 W 2x 575 W 2x 870 W 2x 1225 W
Frequency Response
Power Bandwidth ±0.5dB 20Hz-20kHz 20Hz-20kHz 20Hz-20kHz 20Hz-20kHz 20Hz-20kHz
Total Harmonic Distortion
20Hz-20kHz <0.05% <0.05% <0.05% <0.05% <0.05%
Intermodulation Distortion
SMPTE <0.05% <0.05% <0.05% <0.05% <0.05%
Damping Factor
20Hz-500Hz @8Ω>200 >200 >200 >350 >350
Voltage Gain 32 dB 32 dB 32 dB 32 dB 32 dB
Sensitivity
Rated Power @ 8Ω1 V 1.3 V 1.6 V 1.8 V 2.25 V
Signal-to-Noise Ratio
Unweighted 96 dB 99 dB 101 dB 106 dB 108 dB
A weighted 101 dB 104 dB 105 dB 108 dB 110 dB
Required Mains
230V AC - 50Hz
@ 4Ω(1/8 rated power) 2.2 A 2.6 A 3.6 A 4.5 A 5.5 A
Dimensions
W x H x D (mm) 483x88x215 483x88x215 483x88x215 483x88x215 483x88x215
W x H x D (inches) 19x3.5x8.5 19x3.5x8.5 19x3.5x8.5 19x3.5x8.5 19x3.5x8.5
Weight
Net (Kg-Lbs) 10-22.1 10.5-23.2 11-24.3 12-26.5 13.5-29.8
Protections
Soft-start, Turn-on Turn-off transients, Muting at turn-on, Over-heating, DC, RF, Short-circuit, Open or mismatched
loads, Power Transistors SOA Guard, ICL™Clip limiter (RX2000 & RX3000)
* Limited by SOA Guard Protection
Lynx Pro Audio S.L.
Pol.Ind.Picassent, Calle 7 Final - Esq.calle 5
46220 Picassent, VALENCIA, Spain
www.lynxproaudio.com - [email protected]

This manual suits for next models

5

Other Lynx Amplifier manuals

Lynx CardModule D VD 5010 User manual

Lynx

Lynx CardModule D VD 5010 User manual

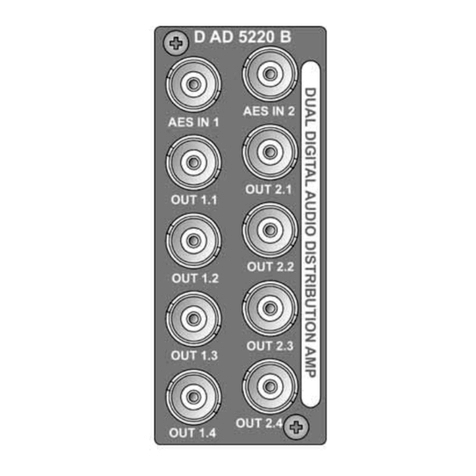
Lynx D AD 5220 D User manual

Lynx

Lynx D AD 5220 D User manual

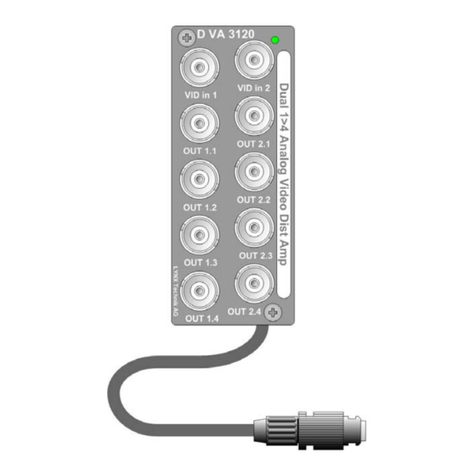
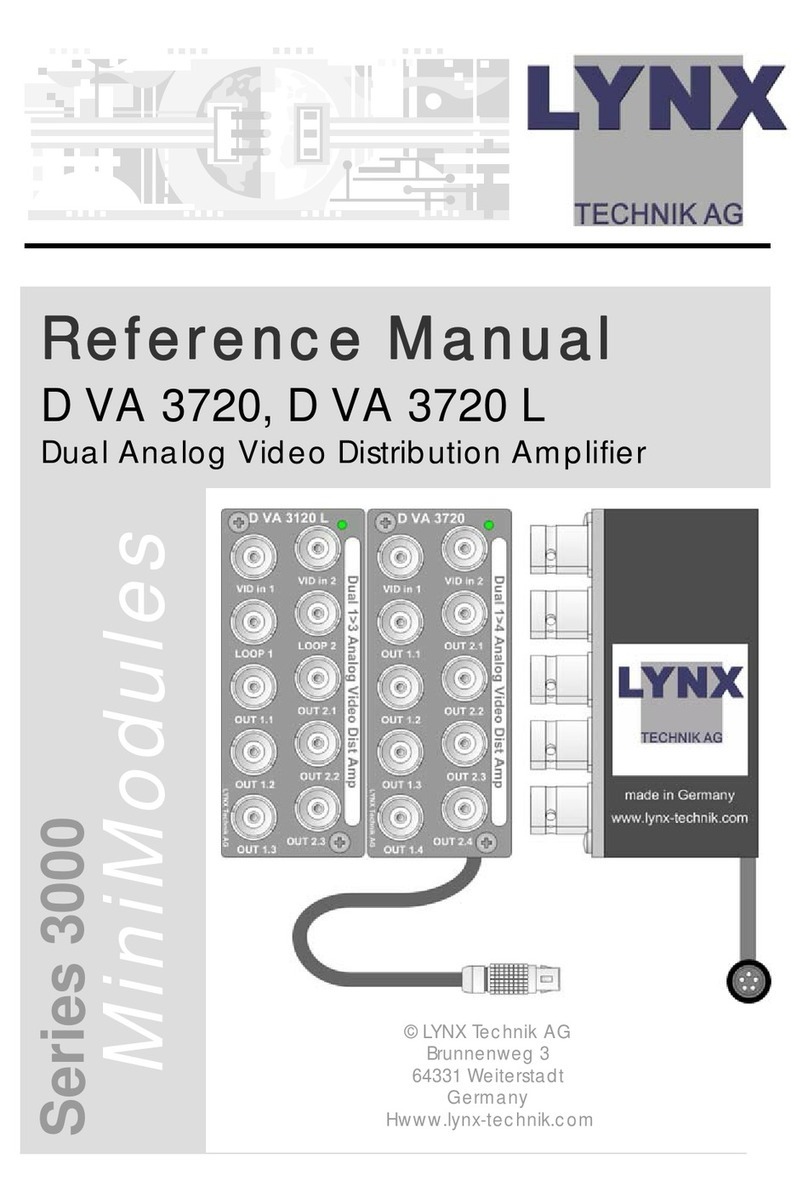
Lynx D VA 3120 User manual

Lynx

Lynx D VA 3120 User manual

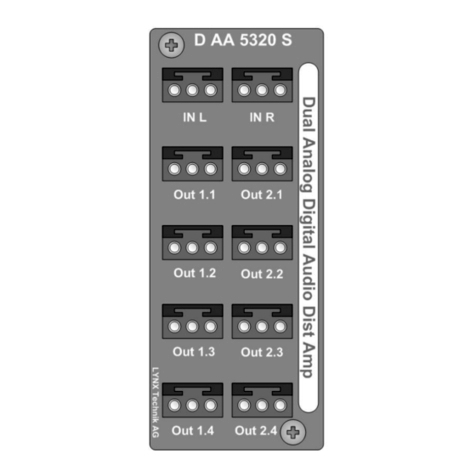
Lynx D AA 5320 D User manual

Lynx

Lynx D AA 5320 D User manual

Lynx D VA 5718 L User manual

Lynx

Lynx D VA 5718 L User manual

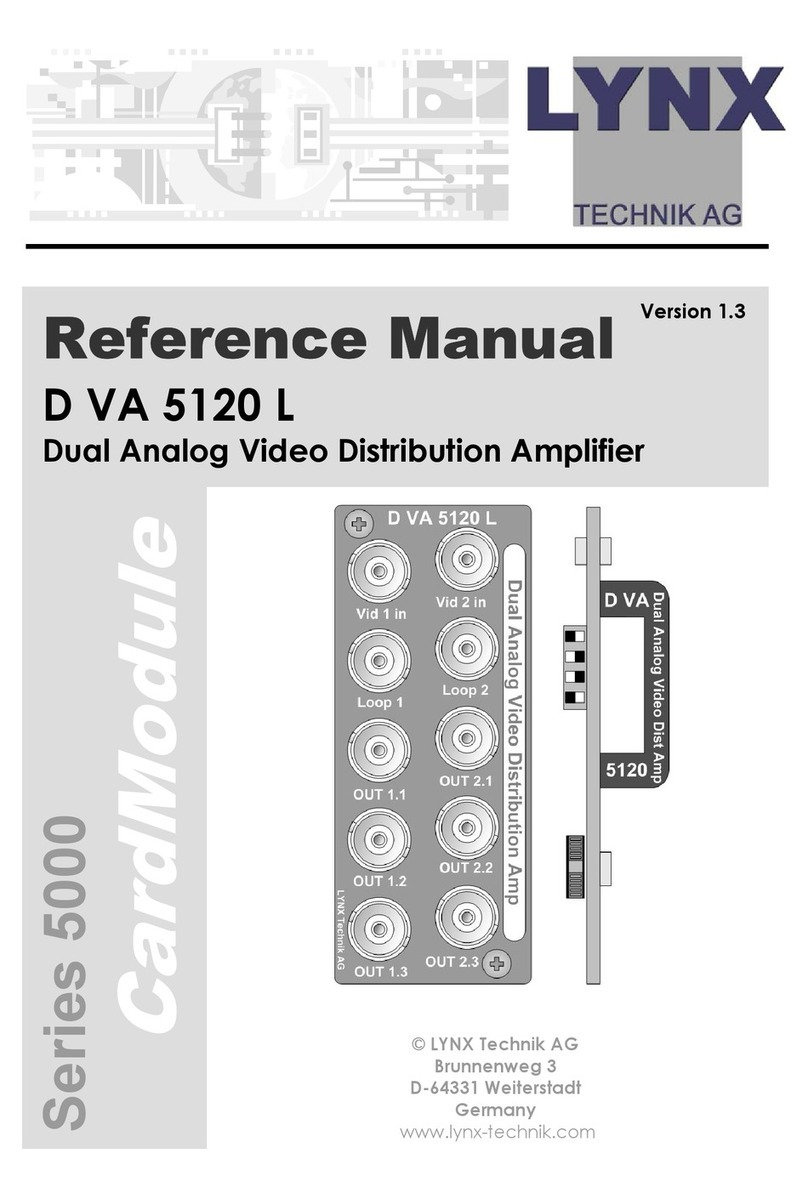
Lynx D VA 5120 L User manual

Lynx

Lynx D VA 5120 L User manual

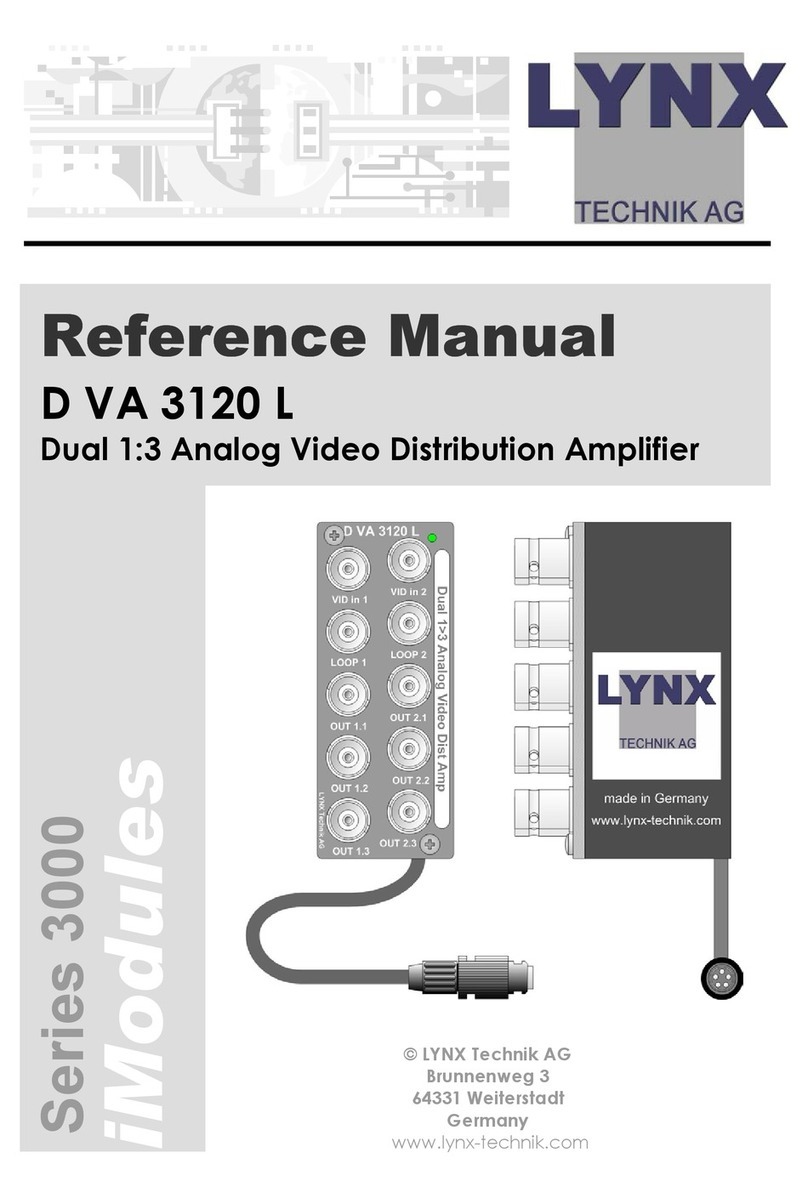
Lynx D VA 3120 L User manual

Lynx

Lynx D VA 3120 L User manual

Lynx D VD 5830 User manual

Lynx

Lynx D VD 5830 User manual

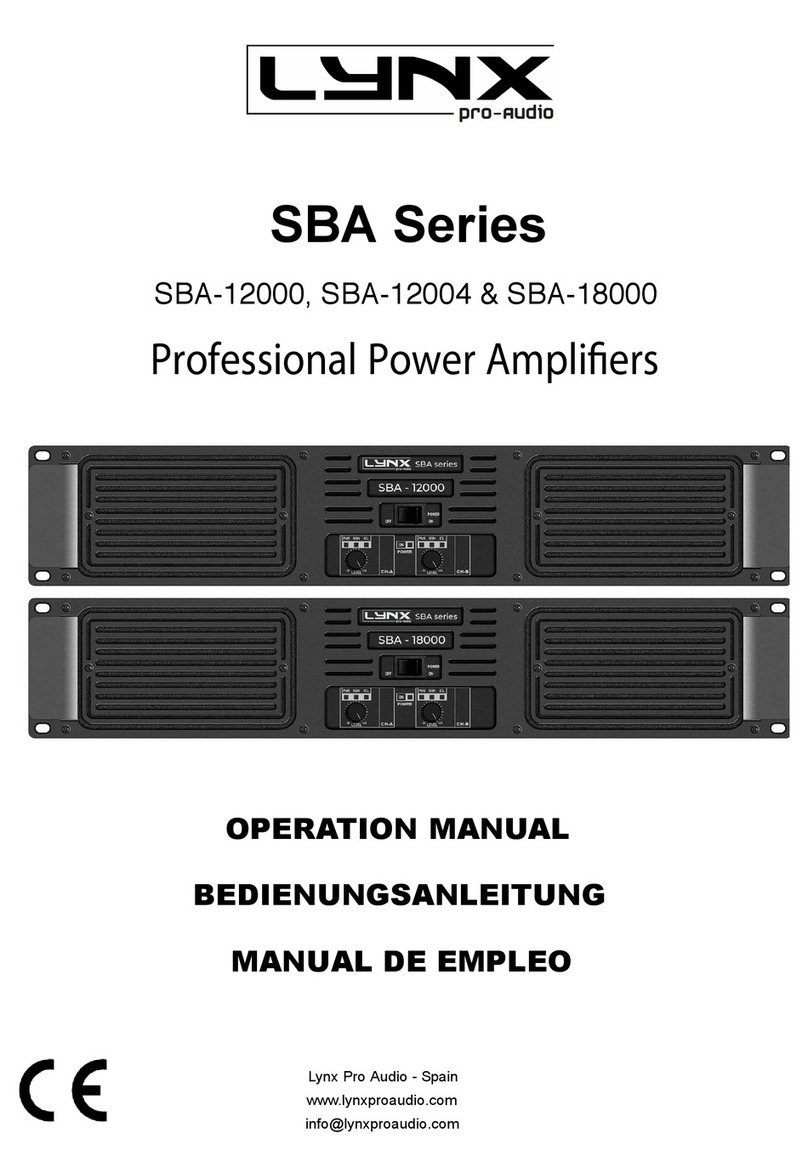
Lynx SBA Series User manual

Lynx

Lynx SBA Series User manual

Lynx D VD 5820 User manual

Lynx

Lynx D VD 5820 User manual

Lynx DSX-1004 User manual

Lynx

Lynx DSX-1004 User manual

Lynx D VD 5810 User manual

Lynx

Lynx D VD 5810 User manual

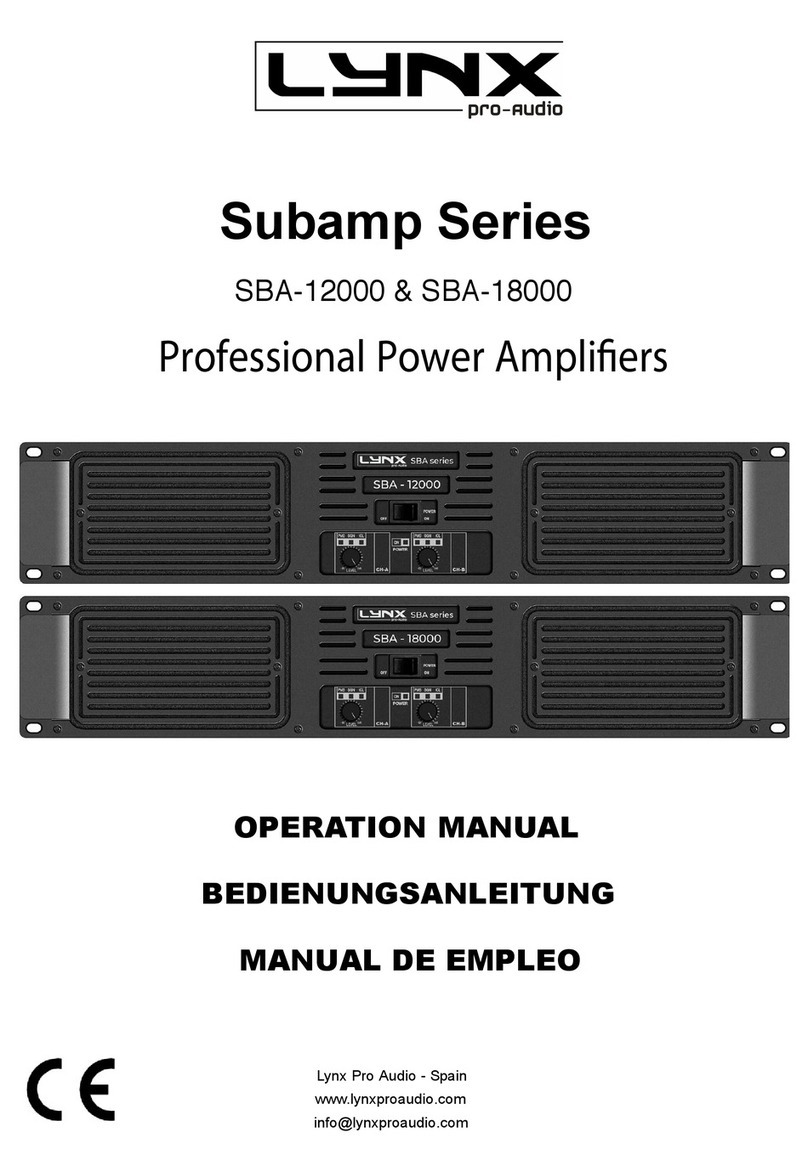
Lynx Subamp Series User manual

Lynx

Lynx Subamp Series User manual

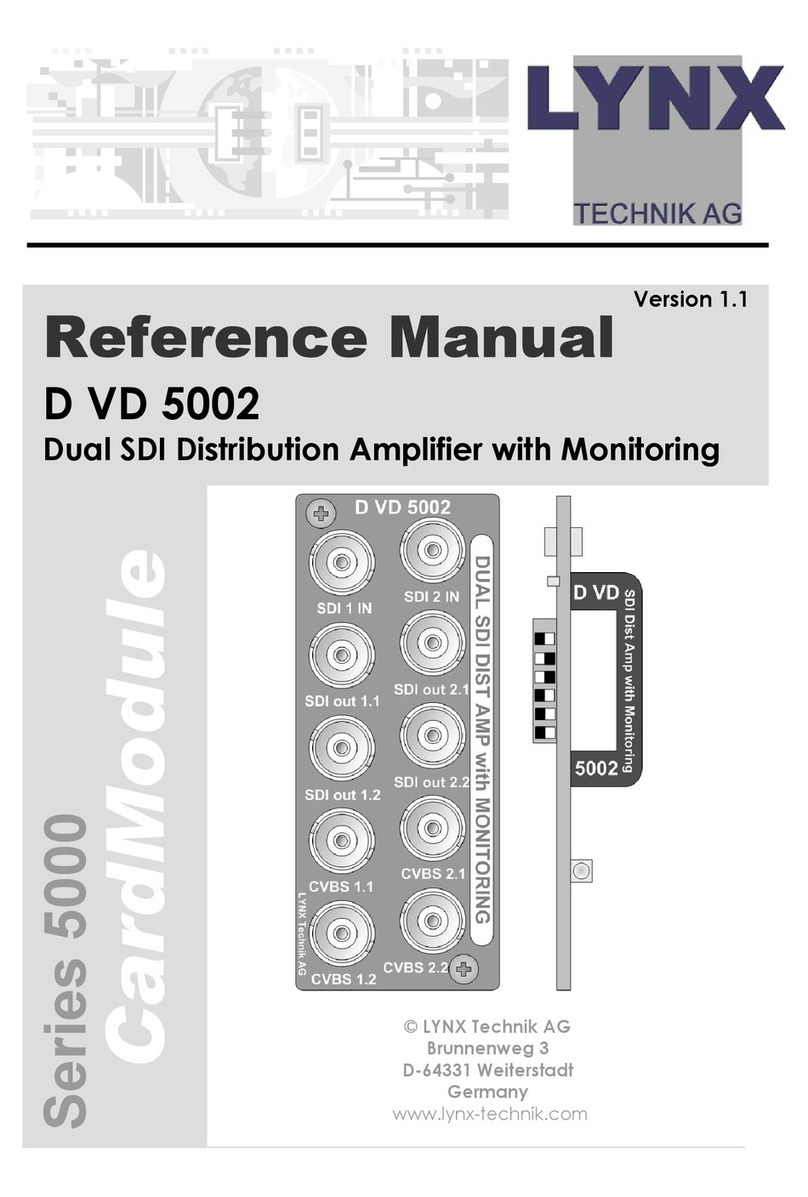
Lynx D VD 5002 User manual

Lynx

Lynx D VD 5002 User manual

Lynx D VA 3720 User manual

Lynx

Lynx D VA 3720 User manual

Lynx D VD 5020 User manual

Lynx

Lynx D VD 5020 User manual

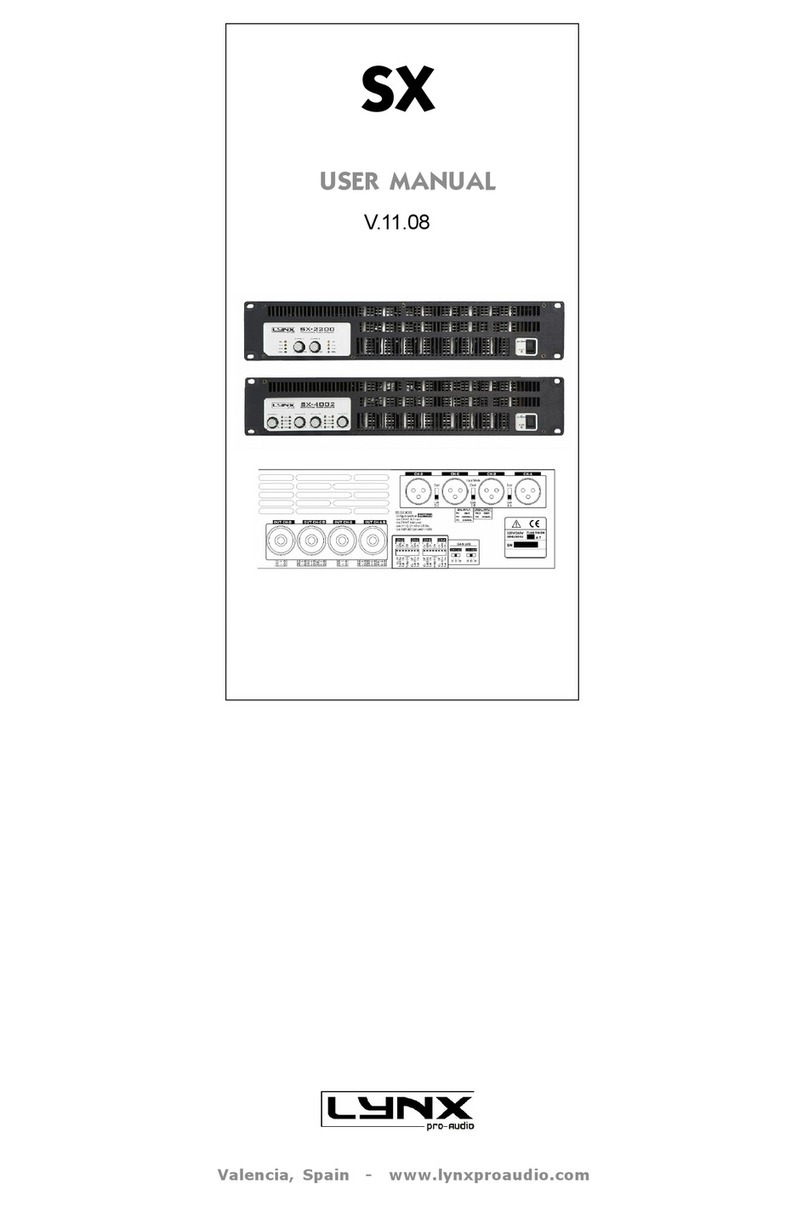
Lynx SX Series User manual

Lynx

Lynx SX Series User manual

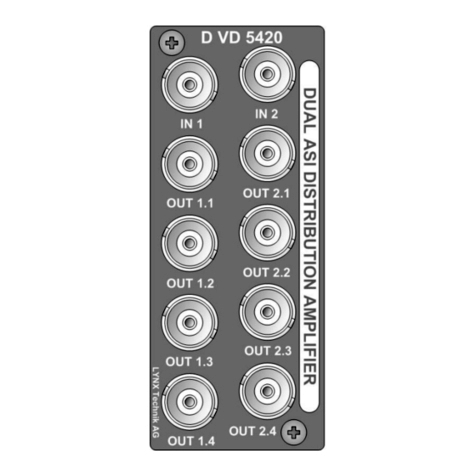
Lynx D VD 5420 User manual

Lynx

Lynx D VD 5420 User manual

Lynx D VD 3620 User manual

Lynx

Lynx D VD 3620 User manual

Lynx D VD 3020 User manual

Lynx

Lynx D VD 3020 User manual

Lynx D AD 3220 B User manual

Lynx

Lynx D AD 3220 B User manual

Popular Amplifier manuals by other brands

Intelix HDMI-2X8 installation manual

Intelix

Intelix HDMI-2X8 installation manual

Pulsar LPA50 System manual

Pulsar

Pulsar LPA50 System manual

RCS AUDIO-SYSTEMS VLZ Series operating instructions

RCS AUDIO-SYSTEMS

RCS AUDIO-SYSTEMS VLZ Series operating instructions

McIntosh A116 instruction manual

McIntosh

McIntosh A116 instruction manual

Adastra SA-240 user manual

Adastra

Adastra SA-240 user manual

Biamp AMP-450BP Installation & operation guide

Biamp

Biamp AMP-450BP Installation & operation guide

Sony TA-N9000ES operating instructions

Sony

Sony TA-N9000ES operating instructions

James Loudspeaker M102 owner's manual

James Loudspeaker

James Loudspeaker M102 owner's manual

Integra MZA-4.7 Service man

Integra

Integra MZA-4.7 Service man

AUDIO TELEX SA120-4 operating instructions

AUDIO TELEX

AUDIO TELEX SA120-4 operating instructions

Simmons DA2012B owner's manual

Simmons

Simmons DA2012B owner's manual

Coda CSX Operation manual

Coda

Coda CSX Operation manual

McLelland AVD-800P user guide

McLelland

McLelland AVD-800P user guide

Sony ta-ax44 Service manual

Sony

Sony ta-ax44 Service manual

DS18 ZR500.1D owner's manual

DS18

DS18 ZR500.1D owner's manual

MyTek Manhattan II Phono Board owner's manual

MyTek

MyTek Manhattan II Phono Board owner's manual

Monacor img Stage Line HPR-6 manual

Monacor

Monacor img Stage Line HPR-6 manual

peerless-AV DS-VW646-2X2 Installation and assembly

peerless-AV

peerless-AV DS-VW646-2X2 Installation and assembly

manuals.online logo
manuals.online logoBrands
  • About & Mission
  • Contact us
  • Privacy Policy
  • Terms and Conditions

Copyright 2025 Manuals.Online. All Rights Reserved.