manuals.online logo
Brands
  1. Home
  2. •
  3. Brands
  4. •
  5. M-system
  6. •
  7. Industrial Equipment
  8. •
  9. M-system M8BS-16U5 User manual

M-system M8BS-16U5 User manual

5-2-55, Minamitsumori, Nishinari-ku, Osaka 557-0063 JAPAN
Phone: +81(6)6659-8201 Fax: +81(6)6659-8510 E-mail: info@m-system.co.jp
EM-5490-U5 P. 1 / 4
INSTRUCTION MANUAL
INSTALLATION BASE
(16 positions, DDK connector / M3.5 screw terminal) MODEL
M8BS-16U5
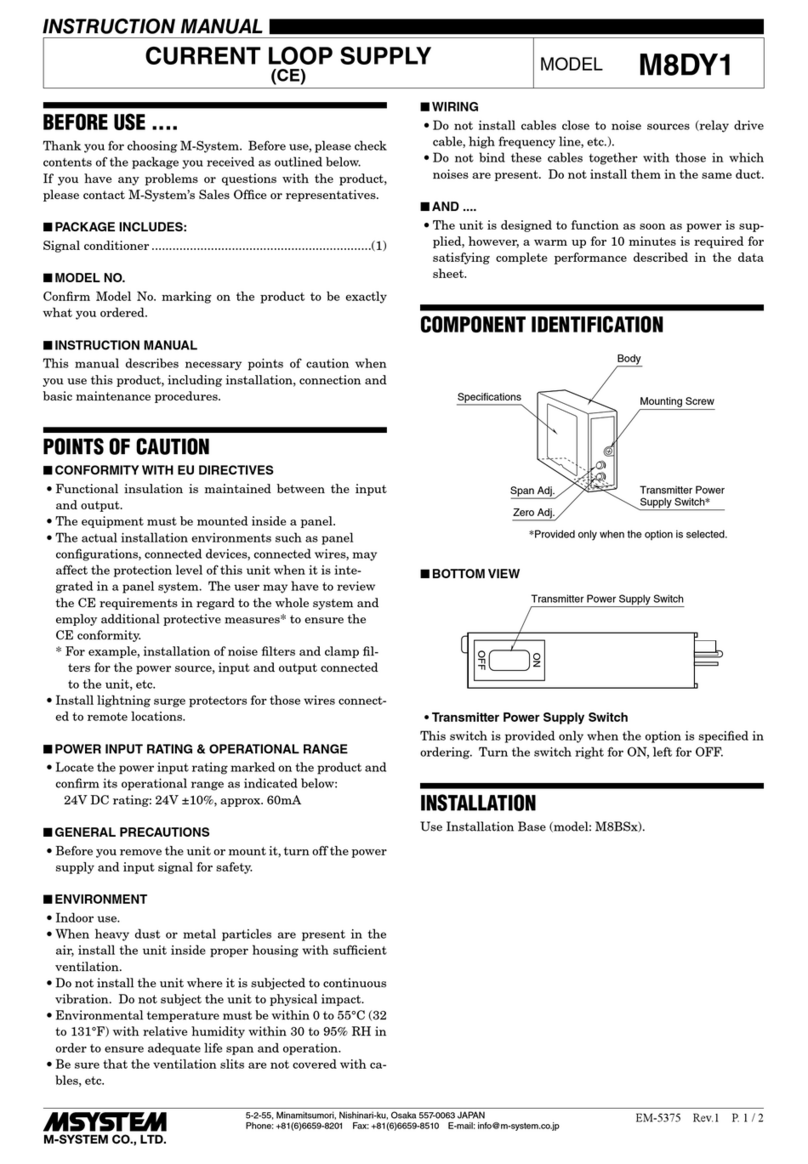
BEFORE USE ....
Thank you for choosing M-System. Before use, please check
contents of the package you received as outlined below.
If you have any problems or questions with the product,
please contact M-System’s Sales Office or representatives.
■PACKAGE INCLUDES:
Installation base..................................................................(1)
■MODEL NO.
Confirm Model No. marking on the product to be exactly
what you ordered.
■INSTRUCTION MANUAL
This manual describes necessary points of caution when
you use this product, including installation, connection and
basic maintenance procedures.
POINTS OF CAUTION
■POWER INPUT RATING & OPERATIONAL RANGE
• Locate the power input rating marked on the product and
confirm its operational range as indicated below:
85 – 132V AC rating: 85 – 132V, 47 – 63 Hz, ≥ 130VA
170 – 264V AC rating: 170 – 264V, 47 – 63Hz, ≥ 130VA
24V DC rating: 24V ±10%, ≥ 2.5A
■GENERAL PRECAUTIONS
• Before you remove the unit from the base or mount it,
turn off the power supply and input signal for safety.
■ENVIRONMENT
• Indoor use.
• When heavy dust or metal particles are present in the
air, install the installation base inside proper housing and
ventilate it.
• Do not install the base where it is subjected to continuous
vibration. Do not subject the unit to physical impact.
• Environmental temperature must be within 0 to 55°C or
32 to 131°F (0 to50°C or 32 to 122°F for AC power) with
relative humidity within 30 to 90% RH in order to ensure
adequate life span and operation.
• Be sure that the ventilation slits are not covered with ca-
bles, etc.
■WIRING
• Do not install cables close to noise sources (relay drive
cable, high frequency line, etc.).
• Do not bind these cables together with those in which
noises are present. Do not install them in the same duct.
• Be sure to close the terminal cover for safety.
■AND ....
• The unit is designed to function as soon as power is sup-
plied, however, a warm up for 10 minutes is required for
satisfying complete performance described in the data
sheet.
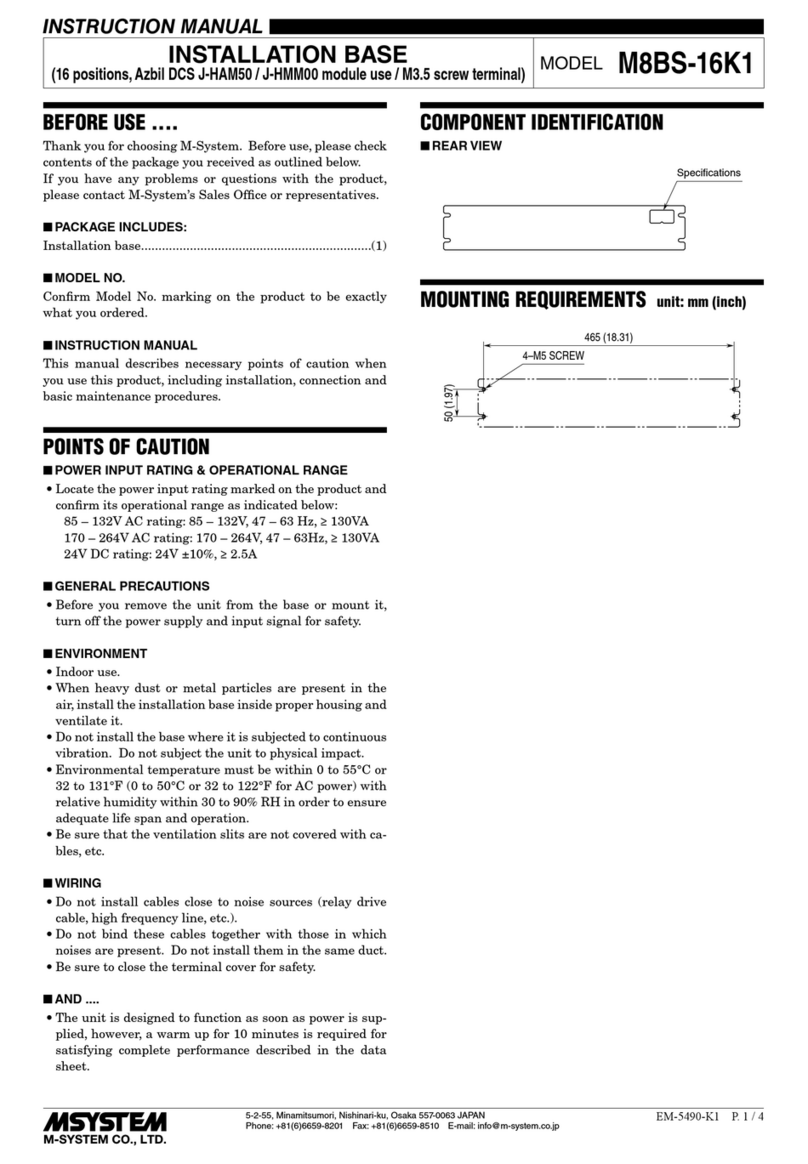
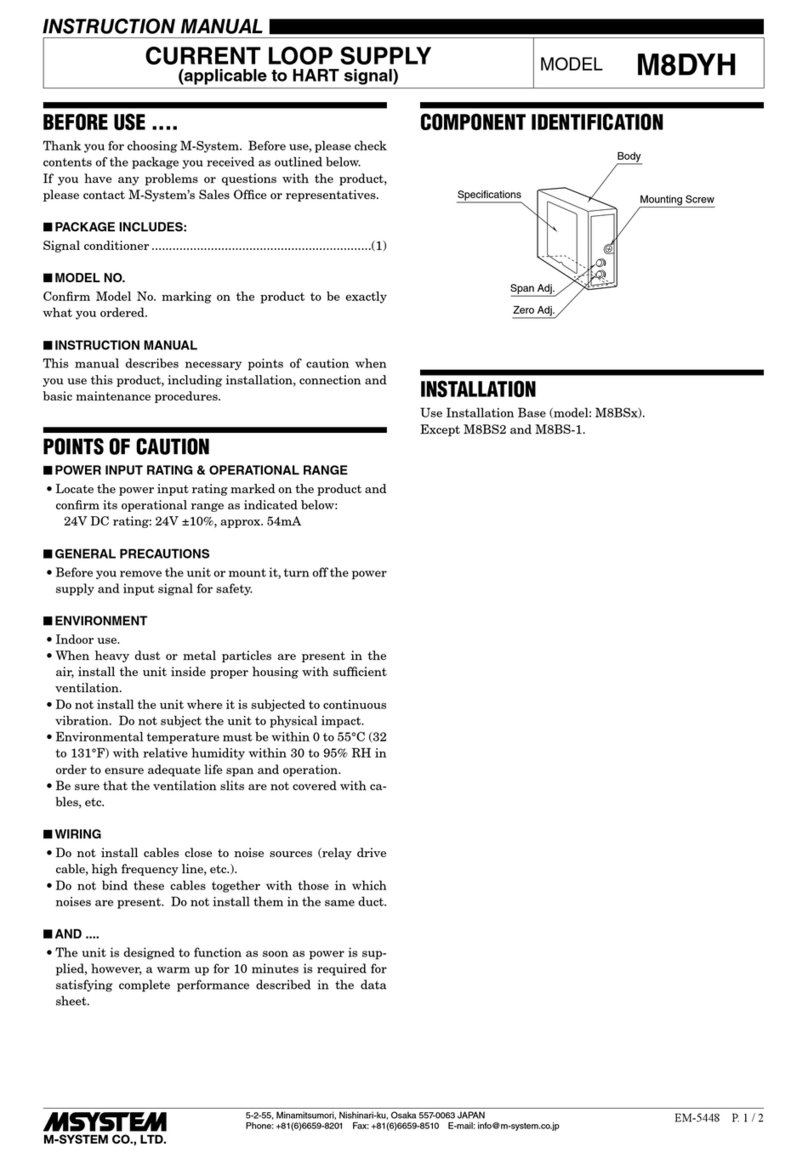
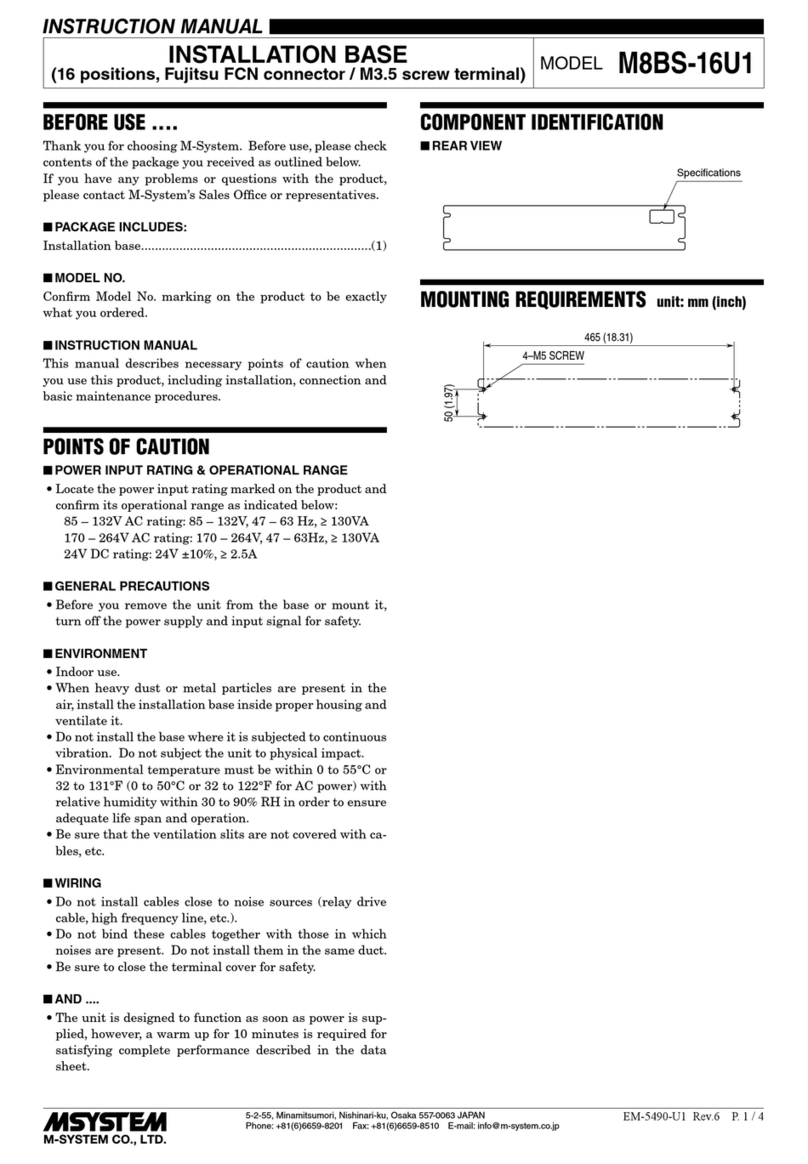
COMPONENT IDENTIFICATION
■REAR VIEW
Specifications
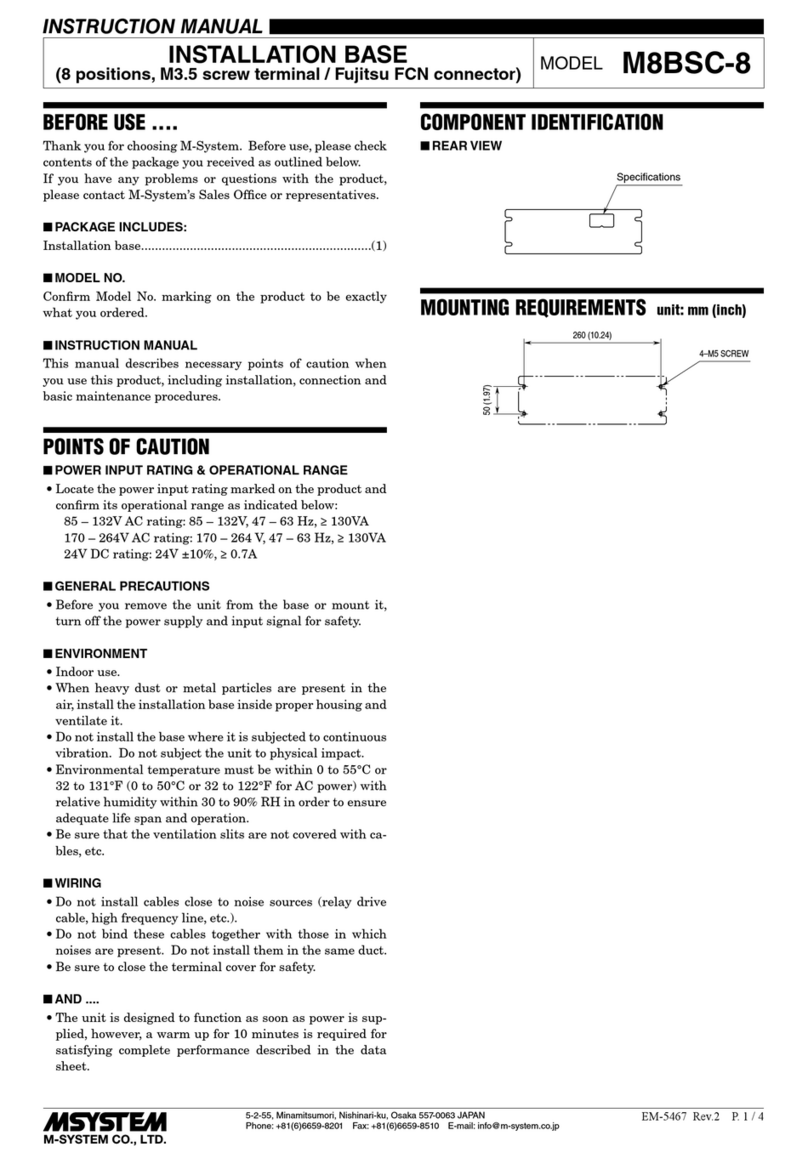
MOUNTING REQUIREMENTS unit: mm (inch)
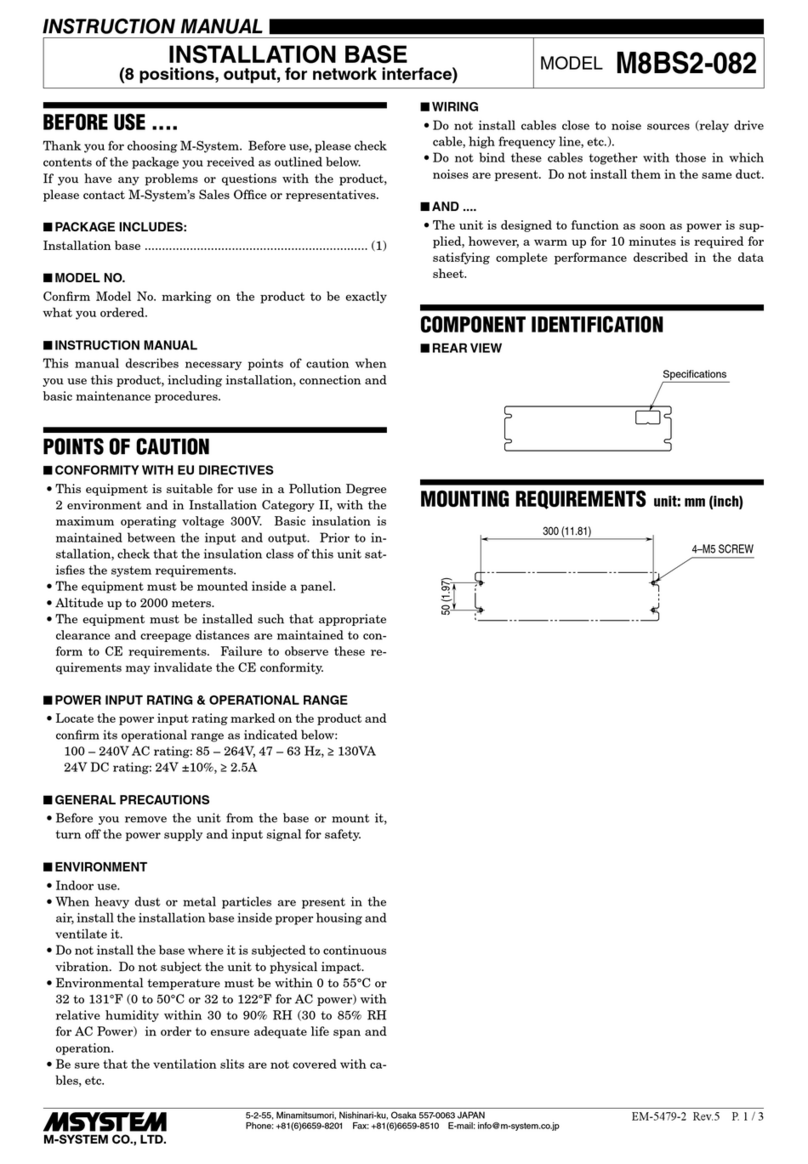
465 (18.31)
4–M5 SCREW
50 (1.97)
M8BS-16U5
5-2-55, Minamitsumori, Nishinari-ku, Osaka 557-0063 JAPAN
Phone: +81(6)6659-8201 Fax: +81(6)6659-8510 E-mail: info@m-system.co.jp
EM-5490-U5 P. 2 / 4
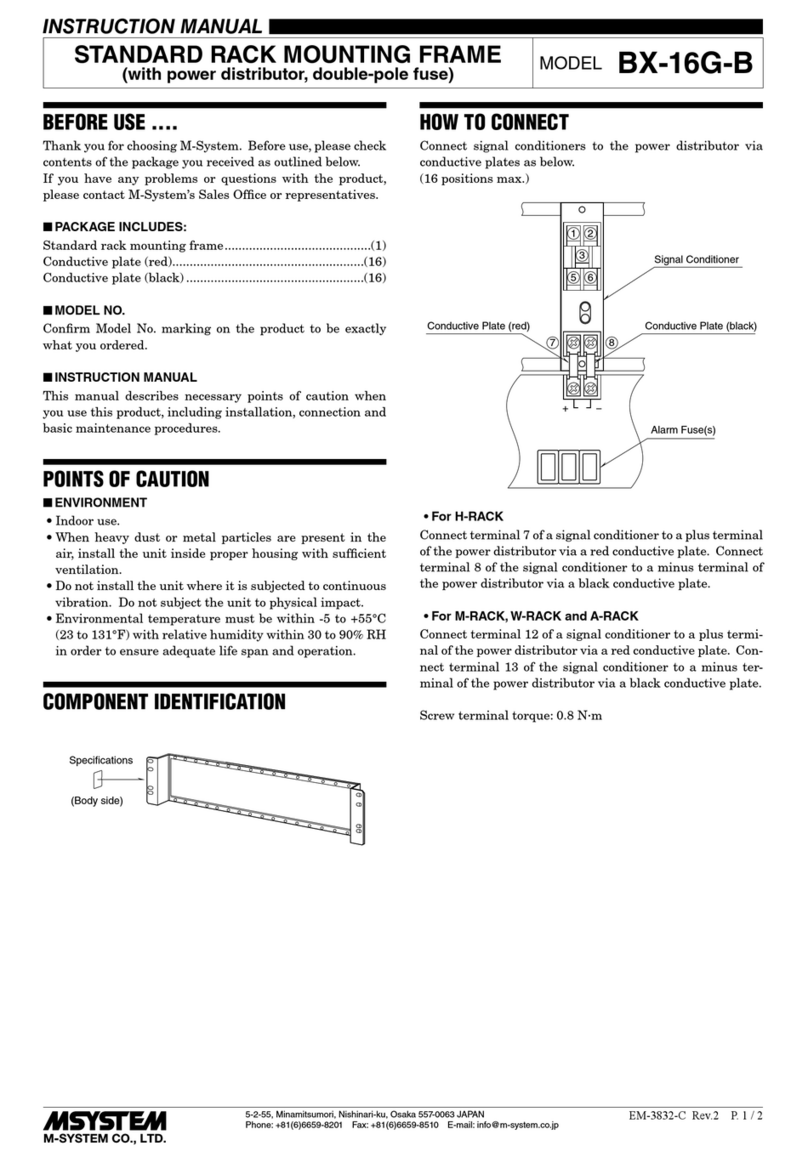
TERMINAL CONNECTIONS
Connect the unit as in the diagram below.
■EXTERNAL DIMENSIONS unit: mm (inch)
• M8BS-16U5-K, R
1 2 3 4 5 6 7 8 9
10 11 12 13 14 15 16
123
+–+–+–+–+–+–+–+–
CH1 CH8 CH9 CH16
CDCDCDCDCDCDCDCD
CH8CH1
ABABABABABABABAB
CDCDCDCDCDCDCDCD
CH16CH9
ABABABABABABABAB
+–+–+–+–+–+–+–+–
88 (3.46)
50 (1.97)
64–M3.5 INPUT TERMINALS
87 (3.43)
7.2(.28) 32–M3.5
OUTPUT TERMINALS
3–M3.5
POWER TERMINALS
8.6 (.34)
17 (.67)
POWER LED
440 (17.32)
465 (18.31)
480 (18.90)
7.3 (.29)
CT PROTECTOR (CTR)
*1
CN1
CONNECTOR
*1. Included with M8CTx.
• M8BS-16U5-KK, L
CN1
CONNECTOR
1 2 3 4 5 6 7 8 9
10 11 12 13 14 15 16
CH1 CH8 CH9 CH16
CDCDCDCDCDCDCDCD
CH8CH1
ABABABABABABABAB
CDCDCDCDCDCDCDCD
CH16CH9
ABABABABABABABAB
PWR1PWR2
+–+–+–+–+–+–+–+– +–+–+–+–+–+–+–+–
3
2
1
4
5
3
2
1
4
5
1
2
88 (3.46)
50 (1.97)
64–M3.5 INPUT TERMINALS
135 (5.31)
7.2(.28)
32–M3.5
OUTPUT TERMINALS
5–M4
POWER TERMINALS
8.5
(.34)
POWER UNITS
*1
POWER LED
*2
87 (3.43)
17 (.67)
7.3 (.29)
440 (17.32)
465 (18.31)
480 (18.90)
POWER LED
*3
CT PROTECTOR (CTR)
*4
*1. PWR2 provided only for power supply unit code KK.
*2. For power supply unit code KK.
*3. For power supply unit code L.
*4. Included with M8CTx.
M8BS-16U5
5-2-55, Minamitsumori, Nishinari-ku, Osaka 557-0063 JAPAN
Phone: +81(6)6659-8201 Fax: +81(6)6659-8510 E-mail: info@m-system.co.jp
EM-5490-U5 P. 3 / 4
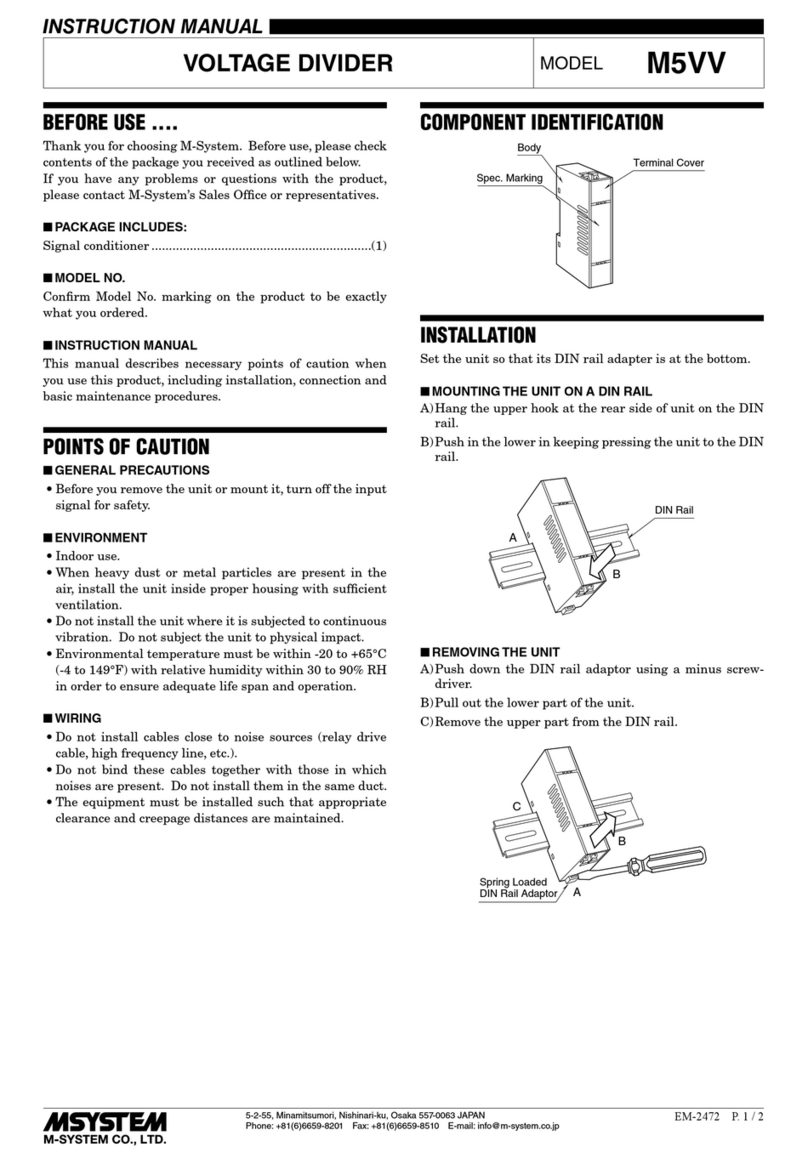
■CONNECTOR PIN ASSIGNMENT
Connector type: DDK connector, 17JE-13370-37 [D16B]
CN1: Output 1 or input
PIN NO. ASSIGNMENT PIN NO. ASSIGNMENT
1
2
3
4
5
6
7
8
9
10
11
12
13
14
15
16
ch. 1 +
ch. 2 +
ch. 3 +
ch. 4 +
ch. 5 +
ch. 6 +
ch. 7 +
ch. 8 +
ch. 9 +
ch. 10 +
ch. 11 +
ch. 12 +
ch. 13 +
ch. 14 +
ch. 15 +
ch. 16 +
20
21
22
23
24
25
26
27
28
29
30
31
32
33
34
35
ch. 1 –
ch. 2 –
ch. 3 –
ch. 4 –
ch. 5 –
ch. 6 –
ch. 7 –
ch. 8 –
ch. 9 –
ch. 10 –
ch. 11 –
ch. 12 –
ch. 13 –
ch. 14 –
ch. 15 –
ch. 16 –
17 – 19, 36, 37: Unused
■CONNECTION DIAGRAM
A
B
C
D
CN1
Ch.1
INPUT**
A
B
C
D
Ch.16
INPUT**
+
–
+
–
PWR2 4
5
FG
3
U
V
AC POWER
PWR1 4
5
FG
3
U
V
AC POWER
FG
3
A
B
C
D
CN1
Ch.1
INPUT**
A
B
C
D
Ch.16
INPUT**
+
–
+
–
OUTPUT 2
OUTPUT 2
Ch.1
OUTPUT**
Ch.16
OUTPUT**
OUTPUT 2
OUTPUT 2
Ch.1
OUTPUT**
Ch.16
OUTPUT**
■ Power Supply Unit Code R, K ■ Power Supply Unit Code KK, L
*
* For power supply unit code KK only.
** The input and output terminals are reversed for model M8YSx, M8YCx.
Use either Output 1 (connector) or Output 2 terminal for the input.
U(+)
V(–)
POWER
2
1
WIRING INSTRUCTIONS
■M3.5 Screw (I/O, power supply unit code: K, R)
Torque: 0.8 N∙m
■M4 Screw (power supply unit code: KK, L)
Torque: 0.8 N∙m
CHECKING
1) Terminal wiring: Check that all cables are correctly con-
nected according to the connection diagram.
2) Power input voltage: Check voltage across the power ter-
minals.
3) Installation & environment
M8BS-16U5
5-2-55, Minamitsumori, Nishinari-ku, Osaka 557-0063 JAPAN
Phone: +81(6)6659-8201 Fax: +81(6)6659-8510 E-mail: info@m-system.co.jp
EM-5490-U5 P. 4 / 4
MAINTENANCE
For maintaining AC power supply types, Power Supply
Units are available as follows:
• 85 – 132V AC single power supply: HDC6-1
• 85 – 132V AC two independent power sources: HDC4-K-R
• 170 – 264V AC single power supply: HDC4-L-R
Power units’ standard life is expected for 10 years with
average ambient temperature 35°C (95°F) and 1.0A load.
Contact M-System for use in extremely different conditions.
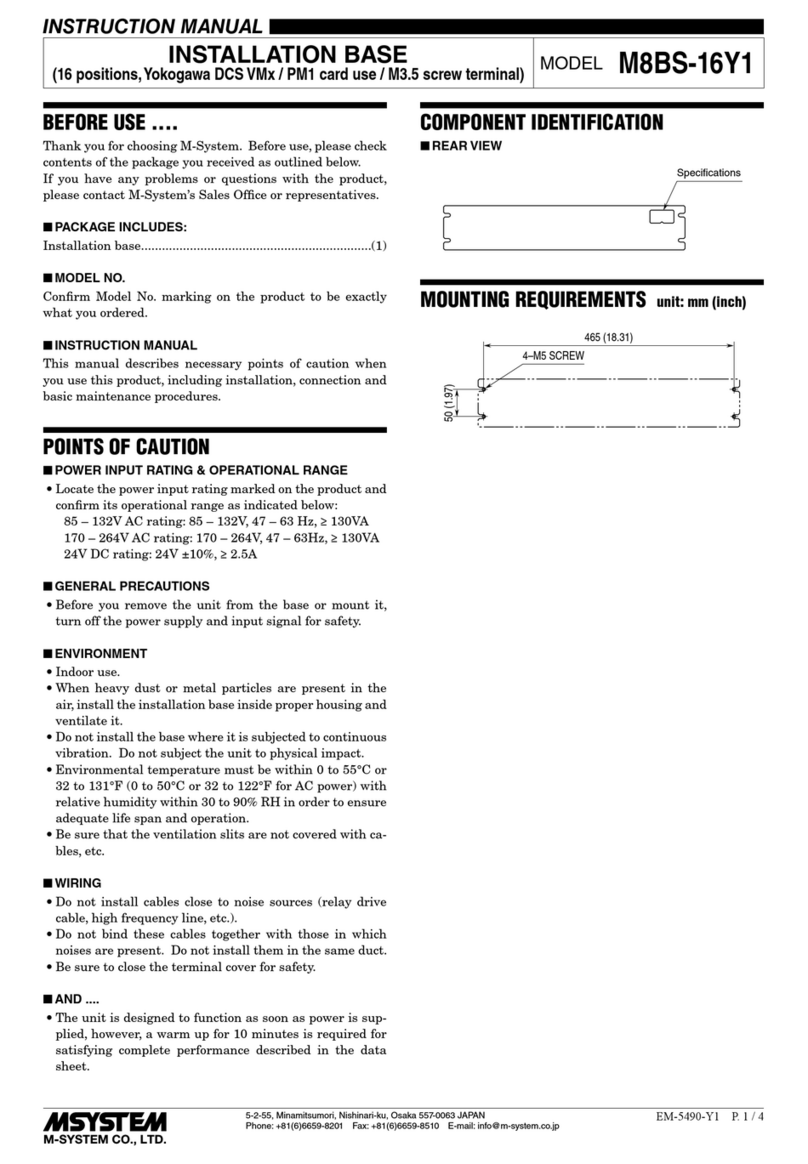
■HOW TO REPLACE THE POWER UNIT
(power supply unit code: KK, L)
1) Prepare Power Unit (switching regulator) model HDC4-
K-R or HDC4-L-R.
2) Turn off the power supply connected to the Power Unit.
3) Remove the wire binding and wiring connected to the ter-
minal 1 – 2 and 4 – 5.
4) Loosen and remove the mounting screws A(4 places).
Remove also the screws Bbehind the base plate, fixing
the unit to be replaced.
5) Detach the Power Unit from the Installation Base.
6) Remove the mounting screws C(2 places) from the new
Power Unit.
7) Separate the new Power Unit from the mounting plate.
8) Attach the new Power Unit to the Installation Base and
tighten the screws in reverse order as explained above.
A
A
A
A
B B
BB
5
4
3
2
1
5
4
3
2
1
C
Mounting Plate
C
A
B
C
1
2
3
4
5
: Mounting screws with
washer, M3 x 6 (4 pls.)
: Mounting screws with
washer, M3 x 5
(2 pls. per unit)
: Flat-head mounting
screws, M3 x 4 (+)
(2 pls.)
: 24V DC (+)
: 24V DC (–)
: FG
: AC power input (U)
: AC power input (V)
■ SIDE VIEW OF THE POWER UNIT
■ FRONT VIEW ■ REAR VIEW
■HOW TO REPLACE THE POWER UNIT
(power supply unit code: K)
1) Prepare Power Unit (switching regulator) model HDC6-
1.
2) Turn off the power supply connected to the Power Unit.
3) Remove the wiring connected to the terminals 1 – 2 and
3.
4) Loosen and remove the mounting screws A(2 places).
Loosen the mounting screws B(2 places) and pull out the
Power Unit in sliding it to the direction pointed by the
arrow in the figure below.
5) Disconnect the connectors of the Power Unit.
6) Place the new Power Unit in reverse order as explained
above.
B
B
A
A
123A
B
1
2
3
: Mounting screws with
washer, M3 x 6 (2 pls.)
: Mounting screws with
washer, M3 x 10L (2 pls.)
: AC power input (U)
: AC power input (V)
: FG
■ FRONT VIEW
Note: Check that the internal wiring does not get caught
between other objects when assembling.
LIGHTNING SURGE PROTECTION
M-System offers a series of lightning surge protector for
protection against induced lightning surges. Please contact
M-System to choose appropriate models.

Other M-system Industrial Equipment manuals

M-system M8BS-16K1 User manual

M-system

M-system M8BS-16K1 User manual

M-system M8DY1 User manual

M-system

M-system M8DY1 User manual

M-system M5XADS User manual

M-system

M-system M5XADS User manual

M-system M5VV User manual

M-system

M-system M5VV User manual

M-system M8BS2-082 User manual

M-system

M-system M8BS2-082 User manual

M-system M8BS-16U1 User manual

M-system

M-system M8BS-16U1 User manual

M-system 10JFX User manual

M-system

M-system 10JFX User manual

M-system M5PP User manual

M-system

M-system M5PP User manual

M-system R7D-EC16A User manual

M-system

M-system R7D-EC16A User manual

M-system M8DYH User manual

M-system

M-system M8DYH User manual

M-system BX-16G-B User manual

M-system

M-system BX-16G-B User manual

M-system M8BS-16K2 User manual

M-system

M-system M8BS-16K2 User manual

M-system M8BSC-8 User manual

M-system

M-system M8BSC-8 User manual

M-system R3-NL1 User manual

M-system

M-system R3-NL1 User manual

M-system JFX1 User manual

M-system

M-system JFX1 User manual

M-system M8BS-16Y1 User manual

M-system

M-system M8BS-16Y1 User manual

Popular Industrial Equipment manuals by other brands

MIMAKI JV34-260 user manual

MIMAKI

MIMAKI JV34-260 user manual

Siemens MFI Technical manual

Siemens

Siemens MFI Technical manual

UniVer DA Series instructions

UniVer

UniVer DA Series instructions

dymax BlueWave 200 Operation manual

dymax

dymax BlueWave 200 Operation manual

Denray 3648G operating instructions

Denray

Denray 3648G operating instructions

Ametek VersaSCAN System manual

Ametek

Ametek VersaSCAN System manual

Teledyne Lecroy SFF-8639 quick start

Teledyne Lecroy

Teledyne Lecroy SFF-8639 quick start

enz RGS 01 Series operating manual

enz

enz RGS 01 Series operating manual

Colibri HSM Jet Spindle TJS-HPC user manual

Colibri

Colibri HSM Jet Spindle TJS-HPC user manual

CommScope 864 FDH RESKIN KIT installation instructions

CommScope

CommScope 864 FDH RESKIN KIT installation instructions

Eastey TT Series user guide

Eastey

Eastey TT Series user guide

Hydrafeed MSV 65 Operation manual

Hydrafeed

Hydrafeed MSV 65 Operation manual

Ravaglioli RAVTD4400 manual

Ravaglioli

Ravaglioli RAVTD4400 manual

allfi Abrasive Feeder 2.0 Assembly, Operating and Maintenance Instruction

allfi

allfi Abrasive Feeder 2.0 Assembly, Operating and Maintenance Instruction

Euromair EUROPRO X-PRO 50 user manual

Euromair

Euromair EUROPRO X-PRO 50 user manual

Labelmate CAT-40G user manual

Labelmate

Labelmate CAT-40G user manual

NEMA MG 1-2011 Information guide

NEMA

NEMA MG 1-2011 Information guide

Lenze g700 Series Mounting instructions

Lenze

Lenze g700 Series Mounting instructions

manuals.online logo
manuals.online logoBrands
  • About & Mission
  • Contact us
  • Privacy Policy
  • Terms and Conditions

Copyright 2025 Manuals.Online. All Rights Reserved.