❺Schnittstellenanschluss
❻Hier kann das Schnittstellenkabel
festgeklemmt werden, um ein
versehentliches Abziehen zu verhindern.
❼Stromanschluss zum Anschließen des
mitgelieferten Netzteils (Zum Lösen des
Netzteils vorsichtig an der Netzstecker-
ummantelung ziehen!).
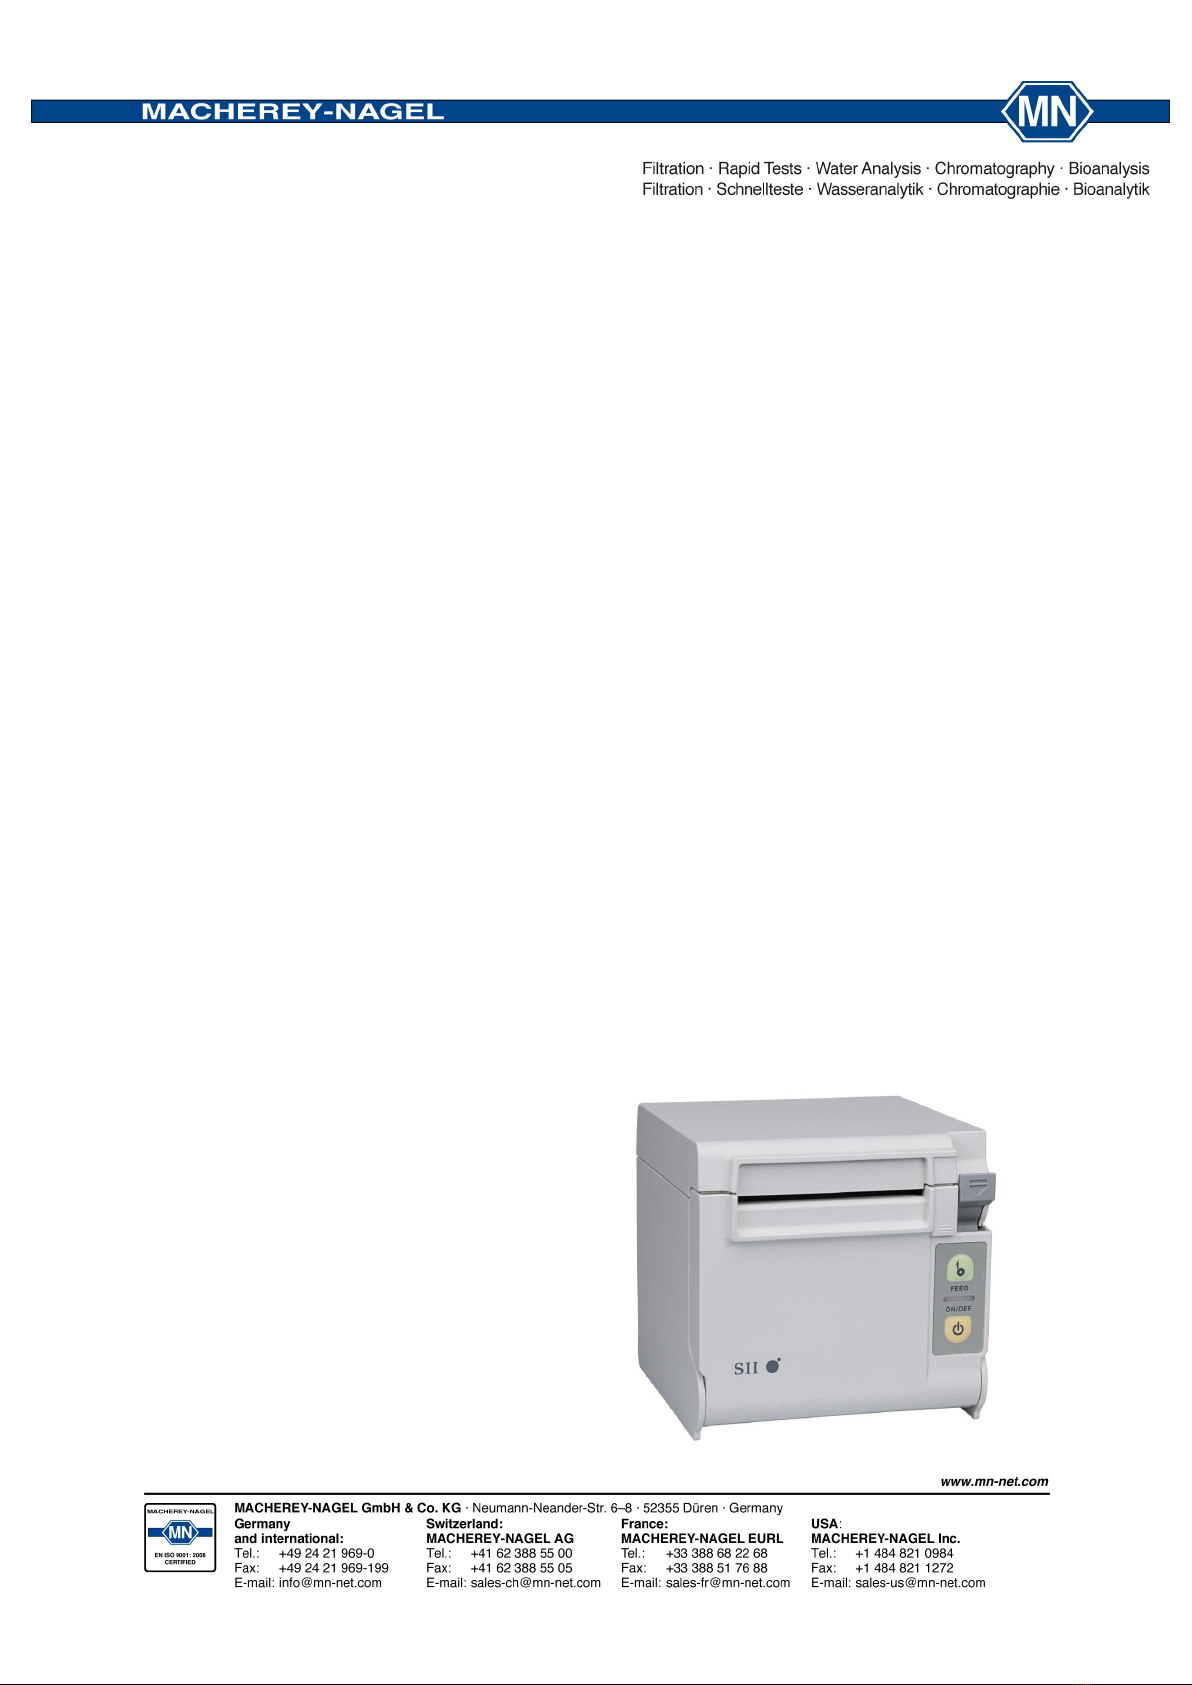
5. Anschluss an NANOCOLOR®UV/VIS II / VIS II
Um den NANOCOLOR®Thermodrucker in einen betriebsbereiten Zustand zu
versetzen sowie eine Verbindung zu Ihrem NANOCOLOR®UV/VIS II / VIS II
herzustellen, gehen Sie bitte wie folgt vor:
1. Entnehmen Sie den Thermodrucker aus der Verpackung und entfernen Sie
die Folie von dem Gerät.
2. Entnehmen Sie die Thermopapierrolle aus der Verpackung und entfernen Sie
ebenfalls die Folie.
3. Entfernen Sie vorsichtig den Klebestreifen von der Thermopapierrolle.
4. Öffnen Sie anschließend das Papierfach über den Lösehebel (❶).
5. Legen Sie die Thermopapierrolle in den Thermodrucker ein (analog der
Abbildung auf der Innenseite des Papierfachdeckels).
6. Verbinden Sie den Thermodrucker über den Schnittstellenanschluss (❺) mit
einer der zwei vorhandenen USB A Anschlüssen Ihres NANOCOLOR®UV/VIS II
/ VIS II. Verwenden Sie hierzu das mitgelieferte USB-Verbindungskabel (REF
919 687) Ihres Spektralphotometers.
7. Schließen Sie anschließend den Thermodrucker mit dem mitgelieferten
Netzteil über den Stromanschluss (❼) des Gerätes an den Strom an.
8. Überprüfen Sie, ob in Ihrem Spektralphotometer unter „Einstellungen
Drucker“der Haken bei „Automatischer Ausdruck der Messung“ und
„Thermodrucker“ gesetzt ist.
9. Ihre Messdaten werden nun beim Ziehen der Küvette nach Durchführung
einer Messung automatisch ausgedruckt.
6. Kontakt
Für weitere Fragen stehen wir Ihnen selbstverständlich gerne zur Verfügung:
Technischer Support und Kundenberatung +49 24 21 969-331
csc@mn-net.com
Bestellannahme (national) 0800 2616 000
sales-de@mn-net.com