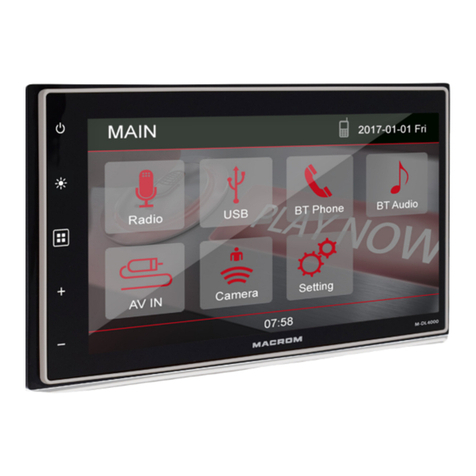
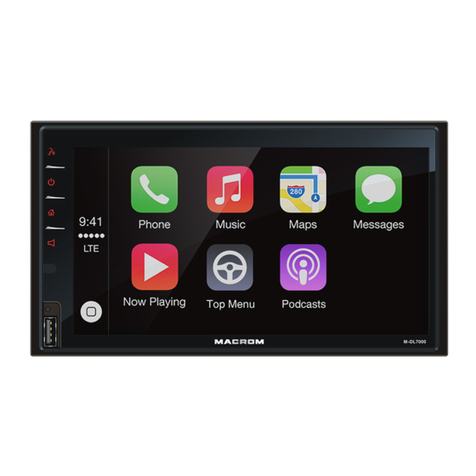
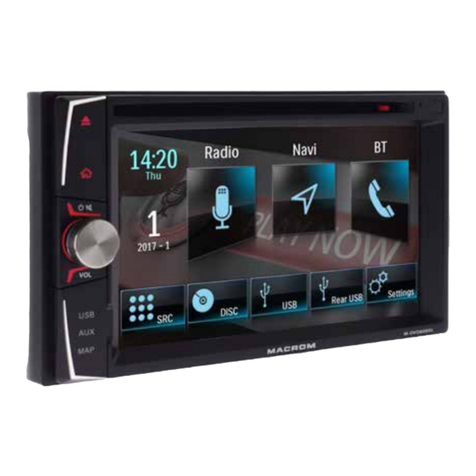
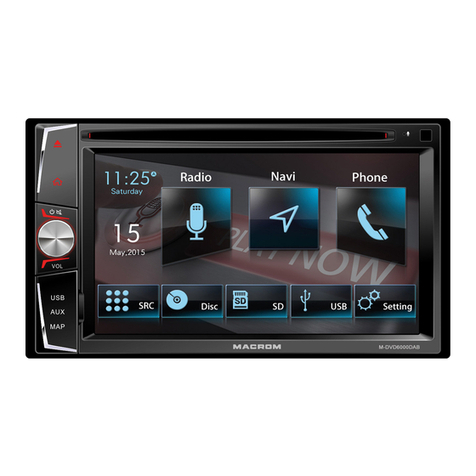
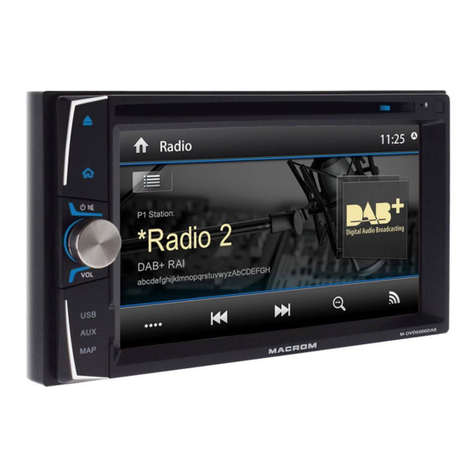
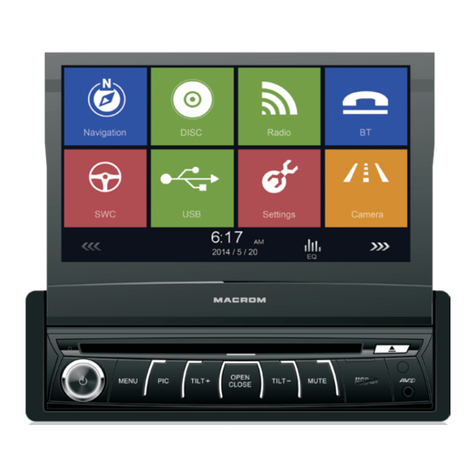
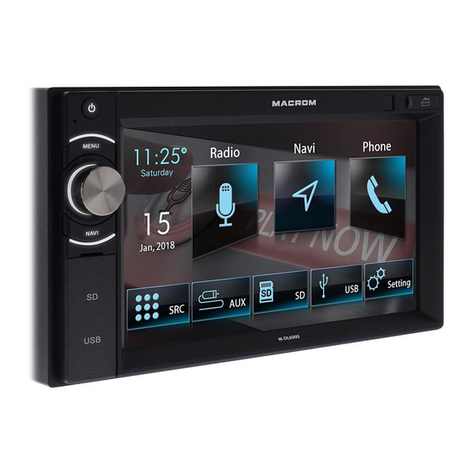
Macrom M-DL9000 User manual

USER MANUAL
M-DL9000

- 2 -
Contents
Safety Precautions ....................................1-2
Warning......................................................... 2
Produc overview ........................................... 3
Front Panel............................................... 3
Basic Operations .......................................... 4
Power On/Off ............................................ 4
Volume Adjustment.................................. 4
Mute .......................................................... 4
Playing Source Selection ......................... 4
General settings ........................................... 5
Date & Time.............................................. 5
Android auto ............................................. 5
Navigation................................................. 5
Language .................................................. 5
Advance settings ...................................... 5
Steering wheel control................................. 6
SWC settings ............................................ 6
Audio settings............................................... 7
Audio ......................................................... 7
Volume...................................................... 7
Audio effect............................................... 7
Display settings ............................................ 7
Screen....................................................... 7
LED............................................................ 7
Default ...................................................... 7
Bluetooth settings........................................ 8
Bluetooth .................................................. 8
Radio settings............................................... 8
Quality seek .............................................. 8
Region....................................................... 8
RDS ........................................................... 8
Radio playback music .................................. 9
Play music ................................................ 9
Collect station........................................... 9
Car play....................................................... 10
Play with carPlay .................................... 10
Play music .............................................. 10
Call out / Receive Call ........................... 10
Use map.................................................. 10
Check message ...................................... 10
Siri........................................................... 10
iPod ............................................................. 11
iPod ......................................................... 11
Play with iPod ......................................... 11
Android Auto............................................... 11
Installation procedure................. 11-12-13
Play with aAndroid Auto......................... 14
Open map................................................ 14
Call Out / Receive Call............................ 14
Back to Android Auto ............................. 14
Play music .............................................. 14
Talk with Google..................................... 14
Back to unit mane .................................. 14
USB playback music................................... 15
Supported format ................................... 15
Play music .............................................. 15
USB playback video .................................... 16
Supported format ................................... 16
Play video................................................ 16
USB playback image .................................. 16
Supported format ................................... 16
Play image .............................................. 16
Bluetooth mode.......................................... 17
Search Bluetooth device ........................ 17
Pairing device ......................................... 17
Download phone book............................ 17
Call Out / Receive call ............................ 17
Hands-free mode and Private mode ..... 17
Disconnection......................................... 17
Bluetooth audio music ............................... 18
Supported format ................................... 18
Play song ................................................ 18
Specifications ............................................. 19
Troubleshooting ......................................... 20
Wire Connections ....................................... 21
Declaration of Conformity.......................... 22
- 1 -
Safety Precautions
Never expose this unit, amplifier, and
speakers to moisture or water to prevent
electric sparks or fire.
Please don't change the fuse on the power
cord without professional guidance, using
improper fuse may cause damage to this unit
or even cause fire.
Please contact your nearest dealer if one of
the following symptoms is experienced:
(a). Water or other objects enters the unit.
(b). There is smoke.
(c). Peculiar smell.
Only connect the unit to a 12-volt power
supply with negative grounding.
MUTE
OK
MUTE
OK
Never install this unit where the operation &
condition for safe driving is impaired.
Never use the video display function in the
front when driving to prevent the violation of
laws & regulations and also to reduce the
risk of traffic accident except for using rear
view video camera.
MUTE
OK
MUTE
OK
MUTE
OK
MUTE
OK
Thank you for purchasing this product. Please
read through these operating instructions
so you will know how to operate your model
properly. After you’ve finished reading the
instructions, keep this manual in a safe place
for future reference.
To ensure safe driving, please adjust the
volume to a safe and comfortable level in
case of emergency situations.

- 2 -
1. Never disassemble or adjust the unit without any professional guidance.
For details, please consult any professional car shop / dealer for inquiry.
2. If the front panel or TFT monitor is dirty, please use a clean silicone cloth and neutral detergent
to wipe off the spot. Using a rough cloth and non-neutral detergent such as alcohol for cleaning
may result in scratching or decoloration to the monitor.
3. If any abnormal behavior of the unit is found, please refer to trouble shooting guide of this
manual. If no relevant information is found, please press the [RESET] key on the front panel to
resume factory default.
4. If you have parked the car in hot or cold weather for a long time, please wait until the
temperature in the car becomes normal before operating the unit.
5. Using the car heater in low temperature environment may result in moisture inside the unit, DO
NOT use the unit in this situation. Eject the disc and wipe off the moisture on the disc. If the unit
still doesn't work after a few hours, please contact the service center.
6. Do not impact the LCD monitor which could cause damage.
7. To prevent damage to the screen, avoid touching it with sharp objects.
8. To provide a clear demonstration and an alternative for easy understanding to the operation of
this unit, graphic illustrations are used.
However, some illustrations are different from the actual images displayed on the screen.
9. Operate the unit correctly according to this manual to prevent unnecessary problem. The
guarantee won't be valid if the problem is caused by inappropriate operation.
Safety Precautions
Detect parking brake
• In order to be able to install the android application, the handbrake connection must be
connected. Engage the parking brake for APP installation.
• Connect the cable "BRAKE" to the parking brake switch to view video files on the TFT monitor.
Engage the parking brake for viewing videos.
• When the parking brake is not engaged, the monitor displays "Warning!!!, Video playback is
disabled for your safety. Engage parking brake to watch video.", preventing the driver to watch
content while driving. The rear screens are not interested in this inhibition.
Warning
TO PARKING
Brake light
REVERSE
PARKING
Battery
Detect parking brake
This connection is indispensable
for the proper operation.

- 3 -
Front Panel
1. Internal Microphone
Iternal microphone for Bluetooth calls.
2. [MENU] button
Press to turn the unit ON. Press and hold to turn the unit OFF.
Press to access the main.
3. (FIND) Anable Siri or Google
4. [VOL +] button
Press to increase the volume
5. [VOL -] button
Press to decrese the volume
6. (MUTE) button
Press to mute the system, press agin to play the system.
7. (RESET) button
Press to reset the system
8. Screen dispaly area
Product overview
Notice:
The graphic in this manual is for reference only, and may be different from the actual unit.
MIC
RES
3
8
2
1
7
4
5
6

- 4 -
Power On / Off
Press the [ ] button on the unit to turn the unit on. The buttons on the front of the unit light up and
the current mode status appears in the LCD.
Press and hold the [ ] knob to power off the unit.
Volume Adjustment
To increase or decrease the volume level, push the [ VOL +/- ] buttons on the front panel. The
volume ranges are from “0” to “32”. The LCD screen displays the volume level for 5 seconds.
Mute
Press [ ] button to mute the volume from the unit. Press again to restore the volume. [ ] is displayed
on the LCD. Adjusting the volume or using any of the audio setup features cancels the mute function.
Playing Source Selection
Press the [ ] button on the front panel to display the playing source menu. The playing mode is
displayed on the screen.
1. Media player view
2. Phone Hands-free phoning
3. Bluetooth Play Bluetooth audio music
4. Navigation Use navigation system
5. FM/AM Listen to FM / AM radio program
6. Android Auto Connect to Android phone
7. CarPlay Connect to iPhone
8. iPod Connect to iPod
9. USB Play music/video in USB flash drive
10.Settings Set the parameters of the product
11.AUX Listen to External audio
Basic Operations
12
57
34
8 106 9 11

- 5 -
General settings
Date & Time
1. Touch to select the time zone in the region.
2. Touch to set date, touch OK for setting done.
3. Touch to set the time, touch OK for setting done.
4. On/Off/24H mode.
5. On/Off automatically adjust time according
to the navigation position.
6. On/Off daylight saving time.
Android Auto
7. Auto lunch
Navigation
8. Select the path for navigation software.
Select the mode of navigation path always, when
display the map and close.
9. Select the desired navigation mode between
“always” or “navigation only”
Language
10. Touch to select language, and then touch OK to
restart automatically.
Advance settings
11. Touch to for advance settings.
Enter password 0000
Advance settings
12. Touch to choose left driving position or right
driving position (for CarPlay)
A new connection is required to activate the
settings.
13. On/Off handbrake; If On, it will remind user not
to watch the video or input keypad in the driving
process due to safety.
14. On/Off the illumination control; If open, the
screen backlight automatically becomes
dimming when user turns on the vehicle light.
15. Steering Wheel control
(see next page for setting)
16. Touch to lock, and you need to enter
password again for the second time setting.
17. Touch to return.
1
2
3
4
5
6
7
8
9
10
11
12
13
14
15
1716

- 6 -
Steering wheel control
SWC settings
1. Before starting press Calibrate.
2. Then press YES to reset the preset setting
3. Select the function key, then press the phisically key on steering wheel.
4. Repeat the sequence until the available functions are completed.
5. At the end of the sequence, press Confirm to store the selected functions.
12
3
5

- 7 -
Audio settings
Audio
1. On/Off beep, one touch one beep.
2. On/Off loudness effect.
3. Subwoover volume level.
4. Subwoofer frequency cutting (low pass)
80Hz - 120Hz - 160Hz
Volume
5. Adjust the volume of multimedia (music, video
and radio).
6. Adjust the volume of phone.
7. Adjust the volume of assistant /navigation.
Audio Effect
8. Select the sound effect, choose it directly.
Classic, pop, rock, jazz sound effect,
9. Sliding progress Equalizer bar to custom sound
effect.
10. Move original point to adjust the speaker output
balance.
1
2
3
5
4
6
7
8
9
10
Display settings
Screen
1. Adjust the Gamma contrast range of the LCD
screen.
2. Adjust the brightness of the screen in daylight
mode.
3. Adjust the brightness of the screen in night mode.
LED
5. Choose the color of LED illumination keys.
6. Adjust the brightness of the LED in daylight
mode.
7. Adjust the brightness of the LED in night mode.
8. On/Off animation effect of LED.
Default
9. Recover to default setting value.
1
2
3
4
5
6
7
8
9

- 8 -
Bluetooth settings
Bluetooth
1. To turn On or Off “Bluetooth” function.
2. To turn On or Off “Auto connect” function.
3. To turn On or Off “Auto answer” function.
If setting to On, the incoming call will be received
automatically.
4. On/Off automatic download phonebook; if On, the
product will automatically download phonebook
from mobile phone when Bluetooth connection is
done.
Note: (need permission of mobile phone ).
5. Touch to modify the product name.
1
2
3
4
5
Radio settings
Seek quality
1. When the scan quality is set to -5, the stop
sensitivity will be greater (more stations
received).
When the scan quality is set to +5, the stop
sensitivity will be lower (fewer received stations).
2. Touch to recover to default stop sensitivity.
Region
3. Touch to select the region.
Changing settings causes loss of previously set
settings.
1
2
3
RDS
RDS transmits data to the radio which displays information such as name station, song artist, and
song title. RDS service availability varies with areas.
4. To turn on or off “RDS” function.
5. To turn on or off “AF” function.
6. To turn on or off “TA” function.
4
5
6

- 9 -
Radio playback music
Play music
1. Select the Radio source to play music.
2. Touch(FM-AM)to alternate switch between FM
and AM.
3. Touch ( ) or ( ) to automatic search the
radio station.
4. Touch ( ) or ( ) to manually search the radio
station.
5. Touch ( ) to back to the main menu.
6. Touch ( ) to select the station in the list.
7. Sliding the cursor left or right to rough adjust
radio frequency.
8. Touch (
Search
) to automatic search and save station.
9. Radio frequency and Programme Service
information.
Press the ( PS ) to view the collected stations.
Collect station
10. Collected favorite station
11. Touch ( ) to collect the current station.
12. Touch ( PS ) to back to the radio window.
13. Touch (Playing) to back to the radio window.
14. Touch ( FM ) to view the collected FM stations.
15. Touch ( AM ) to view the collected AM stations.
16. Touch ( Favorite ) to view the favorite FM stations.
17. Touch ( Home) to back to the home page.
1
2
3
4
5
6 7 8
3
4
13
9
10 10
11 12
14
15
16
17

- 10 -
Car Play
Using Apple lightning cable to connect iPhone with the product, and it will automatically show the
CarPlay interface. User could directly operate the common functions of iPhone on the product.
iPhone support: minimum iPhone5; Required iOS: minimum iOS 7.1.
1
Play with CarPlay
1. Select the CarPlay source to play music.
Play Music
Touch the main interface of CarPlay mode to access
all of your content from iTunes.
Call Out / Receive Call
Touch the Phone of CarPlay mode for Calling.
Use Map
Touch the Map of CarPlay mode to let the iPhone
show you the way.
Check Message
Touch the Messages of CarPlay mode for sending
message or check unread message.
Siri
1. Touch and hold Apple Home key on product or
iPhone for using Siri voice assistant, such as
issuing a call, playing music, opening the map
and other voice commands.
2. Touch the Siri key on the front panel.
3. When iPhone is connected, enable Siri by steering
wheel control
This function is only available on cars equipped
with the equivalent key
4. Control with “Hey, Siri”.
Play music
Call Out/Receive Call
CarPlay
Use map

- 11 -
iPod
Using Apple cable to connect the iPod with the
product, then user could listen to the iPod music on
the product.
Play with iPod
1. Select the iPod source to play music.
iPod
1
Android Auto
Connect Android phone by standard micro USB cable, drivers can enjoy the music from their phone,
show the way with Google map or other map App and make or receive a call.
User need to enable Bluetooth on phones and the product at the same time.
Required Android OS: 5.0. (Android Auto App must be installed on the phone before connecting).
Installation procedur
The following procedure illustrated for the installation of Android Auto APP.
Note: The sequence shown may vary depending on the device connected.
IMPORTANT NOTE:
In order to continue with the APP installation, the vehicle must be parked with the handbrake
inserted.
1

- 12 -
Android Auto
Installation procedure
To continue with the installation, you must agree to the terms provided by Google.
Next step, are to allow Android Auto to easily work with navigation, music, calls messages and other
voice commands. If you want these functions to Allow or Deny the functions.

- 13 -
Android Auto
Next step, are to allow Android Auto to show your notifications on top of your other apps.
Next step, Get started to Android Auto.

- 14 -
Android Auto
Connect Android phone by standard micro USB cable, drivers can enjoy the music from their phone,
show the way with Google map or other map App and make or receive a call.
User need to enable Bluetooth on phones and the product at the same time.
Required Android OS: 5.0. (Android Auto App must be installed on the phone before connecting).
1
Play with Android Auto
1. Select the Andorid Auto source to play music.
Open Map
Touch the ( ) icon of Android Auto to let the phone
show you the way.
Call Out / Receive Call
Touch the ( ) icon on Android Auto for Calling.
Back to Android Auto
Touch the ( ) icon of Android Auto to back on main
menu.
Play Music
Touch the ( ) icon of Android Auto to play music.
Talk with Google
1. Touch the ( ) on product for using Google voice
assistant, such as issuing a call, playing music,
opening the map and other voice commands.
2. Touch the ( ) on the top right of LCD .
3. When Phone is connected, enable Google voice by
steering wheel control
This function is only available on cars equipped
with the equivalent key
4. Control with “Ok, Google”.
Back to unit menu
Touch the ( ) icon of Android Auto to back on unit
main menu.
Andorid Auto

- 15 -
Supporting Format
• Music: APE, FLAC, MP3, WMA, WAV,M4A, OGG.
1. Select the USB device to play music.
Play music
2. Touch list ( ), to view the available media
player.
3. Select (
Music
) to show the music list.
4. Drag up and down the list, touch the selected
song to play and adjust the play progress in the
progress bar.
5. Touch to change the selection between (
Folder
)
to (
Tracks
) or viceversa.
6. Touch (
Search
) to find the file by the first letter.
7. Touch (
Playing
) to return to the player interface.
USB playback music
1
2
3
4
5
7
6

- 16 -
Supporting Format
• Video: 3GP, AVI, MKV, MOV, MP4, MPEG, RMVB.
Play video
1. Touch list ( ), to view the available media
player.
2. Select (
Video
) to show the music list.
3. Drag up and down the list, touch the selected
song to play and adjust the play progress in the
progress bar.
4. Touch to change the selection between (
Folder
)
to (
Tracks
) or viceversa.
5. Touch (
Playing
) to return to the player interface.
6. Touch (
Search
) to find the file by the first letter.
USB playback video
1
6
3
4
2
2
Supporting Format
• Image: JPG, PNG,BMP.
Play image
1. Select (
Image
) to show the image list.
2. Touch to change the selection between (
Folder
)
to (
Tracks
) or viceversa.
3. Drag up and down the list, touch the selected
image to play and adjust the play progress in the
progress bar.
4. Touch ( ) to zoom out or zoom in
5. Touch ( ) or ( )to view previous or next
picture.
6. Touch ( ) to preview all pictures.
7. Touch ( ) to return to the list.
8. Touch ( ) to rotate the image.
USB playback image
4 5 6 7 58
1
3
2

- 17 -
You can make or receive phone calls with Bluetooth-enabled phones through the unit. You can also
listen to music from a Bluetooth-enabled device.
Bluetooth mode
Search Bluetooth device
Please make sure that the device you desire to connect has
been turned on and allowed to be detected. Using a mobile
device to search the product, the name will be displayed
on your mobile device, or touch (
Search
) to search the
surrounding Bluetooth devices.
All the devices searched will be displayed on the screen.
Tip:
• The operational range between this unit and a Bluetooth device is approximately 5 meters.
Pairing device
In the mobile device, touch name of the product or choose
device on product to connect, and then wait for the
connection.
Automatic Connection
If the connected device is out of the operating range, the
Bluetooth connection will be disconnected automatically. If
user does not close the Bluetooth function, the Bluetooth is
automatically reconnected when the device returns to the
operating range in few minutes.
Download Phone book
Touch (Download) to download phone book from mobile
device, at this time it will show the download tips on the
screen of mobile device, touch OK for download, touch
Cancel for not download.
Call Out / Receive call
1. Dial the phone number for calling.
2. Select a name from the phone book to call.
3. Choose a record in the call history for calling.
4. When call is coming in, choose receiving or hanging up.
Hands-free mode and Private mode
During a call, touch ( ) and ( )to switch between
Hands-free mode and private mode. Touch ( ) to mute
microphone so that the receiver cannot hear from your side.
Disconnection
1. Touch the connected device name for disconnection.
2. Touch the dustbin next to the device name to disconnect.
3. End the connection directly on the mobile device.

- 18 -
Supported format
The product supports A2DP, AVRCP, PBAP and HFP protocol.
Make sure Bluetooth device volume is turned to max.
Bluetooth audio music
1. Select the Bluetooth device to play music by
streaming.
1
Play song
1. Select ( ) to show play song from Bluetooth.
2. Touch ( ) to back to the main menu.
3. Touch ( ) to return to the list.
4. Touch ( ) or ( )to view previous or next song.
5. Touch ( ) to play or pause the song.
2 3 4 5 4
Table of contents
Other Macrom GPS manuals

Macrom
Macrom M-DVD7702 User manual

Macrom
Macrom M-DL3000DAB User manual

Macrom
Macrom M-DL6000 User manual

Macrom
Macrom M-DVD4000 User manual

Macrom
Macrom M-DVD6560 User manual

Macrom
Macrom M-DL7000D User manual

Macrom
Macrom 3.5 User manual

Macrom
Macrom M-DVD6000 User manual

Macrom
Macrom M-DVD5566 User manual

Macrom
Macrom M-DVD6000L User manual