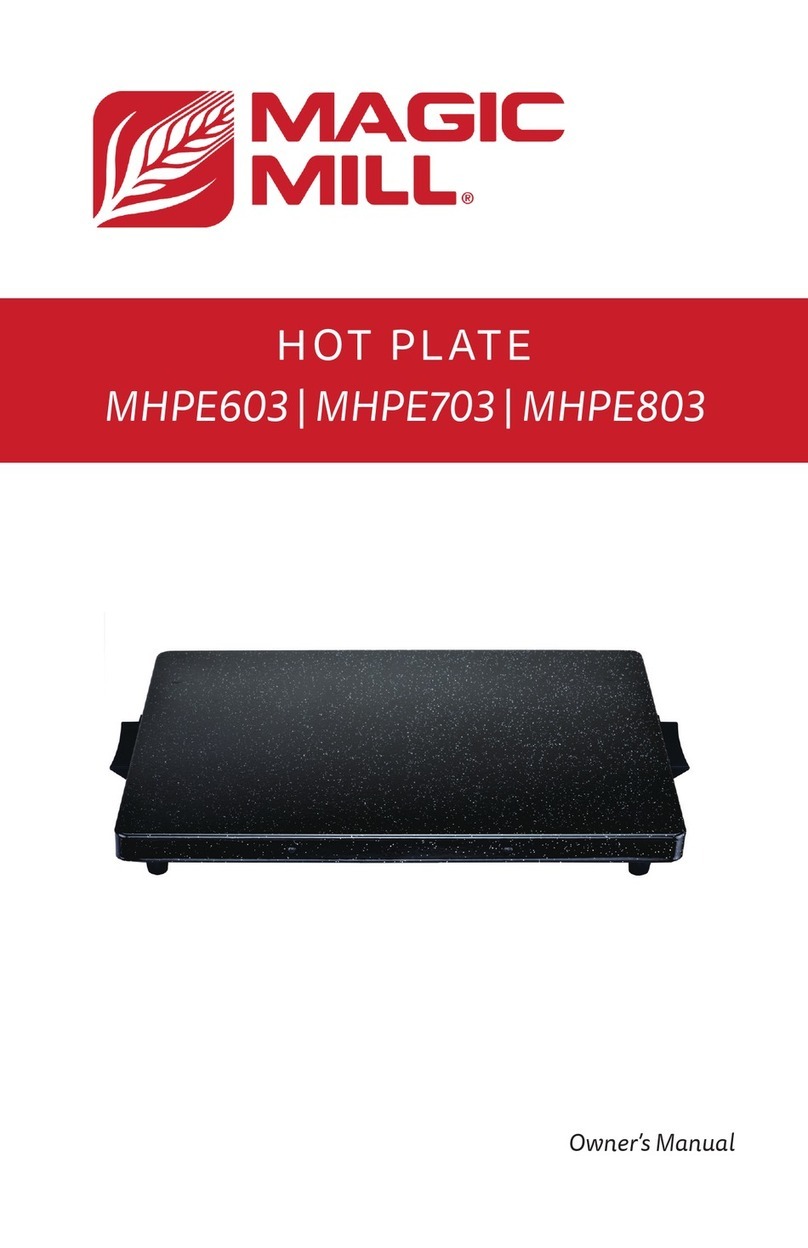
Magic mill MHPE704 User manual

HOT PLATE
With Temperature Control
MHPE704
Owner’s Manual

pg 1
FEATURES
SPECIFICATIONS
Cool Touch
Handles
Enamel top Surface
Temperature Control
Knob
Non-slip
feet
Model #: MHPE
Temp
Control
Knob

pg 2
IMPORTANT SAFEGUARDS
HOUSEHOLD USE ONLY
1. READ ALL INSTRUCTIONS BEFORE USE.
2. WARNING: When using electrical appliances especially when children are present,
basic safety precautions should always be followed to reduce the risk of re, electric
shock, and/or injury to persons, including the following:
3. Never immerse this unit or power cord in water or any other liquid.
4. Do not allow water to seep into the unit frame or allow heating elements to come into
contact with water.
5. To protect against electrical shock, do not immerse the power cord or power plug in
water or in any other liquid.
6. CAUTION: Unit gets HOT. Use handles and knobs provided.
7. Do not touch warming tray surface. Always use hot pads or potholders until unit cools.
8. CAUTION: Do not place non- heat resistant objects or containers on this warming tray.
Some non-heat resistant objects include plastic containers.
9. Some examples of heat-resistant cooking utensils that may be placed on the warming
tray surface include stainless steel and aluminum pots and pans. Check with your
cookware manufacturer to make sure your utensils are heat- resistant before placing
any object on the unit.
10. Place the appliance on a hard, at level surface and keep at least 8 inches of space
between this unit and other objects to avoid interruption of airow underneath the hot
plate. Do not block airow from under the unit.
11. Only place this unit on heat resistant surfaces.
12. DO NOT place this unit on non-heat resistant surfaces.
13. Some heat resistant surfaces include granite, stainless steel, quartz, marble, glass,
soapstone, travertine, and limestone.
14. Do not use this unit on the following surface materials: butcher block, wood, recycled
material, concrete, bamboo and plastic. This list is meant to be a guide only and is not
exclusive to the materials mentioned above. We recommend that you check with your
counter or table manufacturer to make sure the surface is heat-resistant before using
this unit on the desired surface.
15. Do not place this unit on a wet surface or near any ammable objects CAUTION: DO
NOT cover surface or side vents. Covering this unit can cause re hazard. Covering this
unit with aluminum foil can cause glass to shatter
16. Keep out of reach of children.
17. Close adult supervision is necessary when any appliance is used by or near children.
This appliance should not be used by children.
18. Never leave unit unattended when children are present.
19. Unplug the appliance from the outlet when not in use and before cleaning. Allow
appliance to cool before cleaning appliance.
20. Do not operate any electrical appliance with a damaged power cord or power plug or
operate it aer the appliance malfunctions, or has been dropped or damaged in any
manner. Return this appliance to nearest authorized service facility for examination,
repair or adjustment.
21. The use of accessory attachments not recommended by the appliance manufacturer
may result in re, electrical shock or injury to persons.
22. Do not use outdoors or for commercial purposes.
23. Do not let cord hang over edge of table or counter, or allow it to come into contact with
hot surfaces including stove.
24. Do not move this unit while in use.
25. Do not place appliance on or near a hot gas stove, or inside heated oven or microwave.
SAVE THESE INSTRUCTIONS

pg 3
26. Do not use the appliance for other than its intended use.
27. Do not use any scouring agents or abrasive pads when cleaning this unit
28. Do not place unit in dishwasher.
29. Unplug appliance from outlet when not in use and before cleaning. Allow appliance to
cool before cleaning this appliance.
30. The use of accessory attachments not recommended by the appliance manufacturer
may result in re, electrical shock or injury to persons.
31. DO NOT USE PLASTIC DISHES OR PLASTIC WRAP ON TRAY.
32. Do not use for prolonged periods of time or leave unattended.
SHORT CORD INSTRUCTIONS
A short power supply cord is provided to reduce the hazards resulting from entanglement
or tripping over a longer cord. Longer detachable power-supply cords or extension cords
are available and may be used if care is exercised in their use. If a longer detachable power-
supply extension cord is used:
1. The marked electrical rating of the cord set or extension cord should be at least as
great as the electrical rating of the appliance, and:
2. The cord should be arranged so that it will not drape over the counter top or tabletop
where it can be pulled on by children or tripped over unintentionally.
3. If the appliance is of the grounded type, the extension cord should be a grounding-type
3-wire cord.
LINE CORD SAFETY TIPS
1. Never pull or yank on cord or the appliance.
2. To insert plug, grasp it rmly and guide it into outlet.
3. To disconnect appliance, grasp plug and remove it from outlet.
4. Before each use, inspect the line cord for cuts and/or abrasion marks. If any are found,
this indicates that the appliance should be serviced and the line cord replaced. Please
return it to an authorized service representative.
5. Never wrap the cord tightly around the appliance, as this could place undue stress on
the cord where it enters the appliance and cause it to fray and break.
6. DO NOT OPERATE APPLIANCE IF THE LINE CORD SHOWS ANY DAMAGE OR IF
APPLIANCE WORKS INTERMITTENTLY OR STOPS WORKING ENTIRELY.
7. This appliance must be grounded while in use.
8. CAUTION: To ensure continued protection against risk of electric shock, connect to
properly grounded outlets only.
9. IMPORTANT: During the rst few minutes of initial use, you may notice smoke and/or a
slight odor. This is normal and should quickly disappear. It will not recur aer appliance
has been used a few more times.
10. This appliance is not intended for use by persons (including children) with reduced
physical, sensory or mental capabilities, or lack of experience and knowledge, unless
they have been given supervision or instruction concerning use of the appliance by a
person responsible for their safety.
11. . DO NOT USE PLASTIC DISHES OR PLASTIC WARP ON WARMER TRAY.
IMPORTANT SAFEGUARDS CONT.

pg 4
OPERATION INSTRUCTIONS
1. HOW TO USE YOUR WARMER TRAY
2. Plug unit in. The red power ON light will illuminate. Wait a few
minutes for the hot plate to reach the warming temperature.
3. NOTE: Food placed on warming tray should be FULLY cooked
and already hot. The warmer tray is designed to keep food
warm only.
4. This product is not cooking appliance.
5. Be sure to use dishes that are heatproof and are suitable to
work over hot surface.
NOTE: During the rst few minutes of initial use, you may notice smoke and/or
a slight odor. This is normal and should quickly disappear. It will not recur aer
appliance has been used a few more times.
CLEANING AND MAINTENANCE
1. Do not use any scouring agents or abrasive pads. The best way
to clean the this warming tray is with a mild detergent and a
soft moist cloth.
2. To polish use a nonabrasive glass cleaner. Any food residue
remaining can be wiped away with a soft sponge. Rinse and
wipe dry.
3. DO NOT ALLOW WATER TO SPILL OR SEEP INTO FRAME.
4. In extreme circumstances you may use a little bit of steel wool
to remove tough stains.
DO NOT SUBMERGE THE WARMING TRAY BASE OR LET THE HEAT
ELEMENTS COME IN CONTACT WITH WATER. DO NOT ALLOW WATER TO
SPILL OR SEEP INTO FRAME.

YEAR WARRANTY
1. WARRANTY TERMS AND CONDITIONS
2. Your product has a one-year warranty period form the date of
purchase from and authorized ratail.
3. In the event that the product is defective, please contact us to
arrange for a replacement.
4. This warranty only cover defects in workmanship and materials.
5. The warranty does not include damage due to abuse or miss-
use, any commercial use or accidents. This warranty does not
cover normal wear of parts of damage resulting from any of the
following: negligent use or misuse of the product, improper
voltage or current or use contrary to the operation instructions,
repair or alternation by anyone other authorized service center
approved by importer.
6.
7. MAGIC MILL SHALL NOT BE LIABLE FOR ANY INCIDENTAL OR
CONSEQUENTIAL DAMAGES CAUSED BY THE BREACH OF THE
ABOVE INSTRUCTIONS.
8. CONDITIONS:
9. The warranty stated above is the only warranty applicable to
this product. Other expressed or implied warranties are here-
by disclaimed. No verbal or written information given by the
manufacturer, its agents or employees shall create a guarantee
or in any way increase the scope and duration of this warranty.
Repair or replacement as provided under this warranty is the
exclusive remedy of the consumer.
10. The manufacture shall not be liable for incidental or conse-
quential damages resulting from the use of this product.
11. USING YOUR WARMER TRAY FOR THE FIRST TIME
12. Before first use, clean the warming tray base with a mild deter-
gent and a soft moist cloth.
13. DO NOT SUBMERGE THE WARMING BASE OR LET THE PLUG
COME IN CONTACT WITH WATER OR ANY OTHER LIQUID.
14. DO NOT ALLOW WATER TO SPILL OR SEEP INTO THE FRAME.
15. Heat the warming tray for approximately 10 minutes.
16. NOTE: Temporary smoking might occur. This is normal during
initial use.


2 Alpine Ct STE 102 Chestnut Ridge NY 10977
201.785.8840 | contact@magicmillusa.com
Table of contents
Other Magic mill Cooktop manuals
Popular Cooktop manuals by other brands

HOME ELEMENT
HOME ELEMENT HE-HP706 user manual

Atlanta
Atlanta ATH-1723 instruction manual

Aarow
Aarow BK061 Operating & installation manual

Hearthware
Hearthware NuWave Precision Owner's manual, recipes & tips

CASO DESIGN
CASO DESIGN Pro Menu 3500 Original operating manual

APW Wyott
APW Wyott SEHPS Installation and operation instructions

KitchenAid
KitchenAid KECS100GWH0 installation instructions

Inalto
Inalto ICI905TB quick start guide

Barnstead International
Barnstead International MIRAK 725 Series Operation manual and parts list

Whirlpool
Whirlpool AKM 950/NE/01 Service manual

BELLISSIMO
BELLISSIMO HNTB64GWS Instructions for use and installation

Optimum
Optimum PK-2305 operating instructions