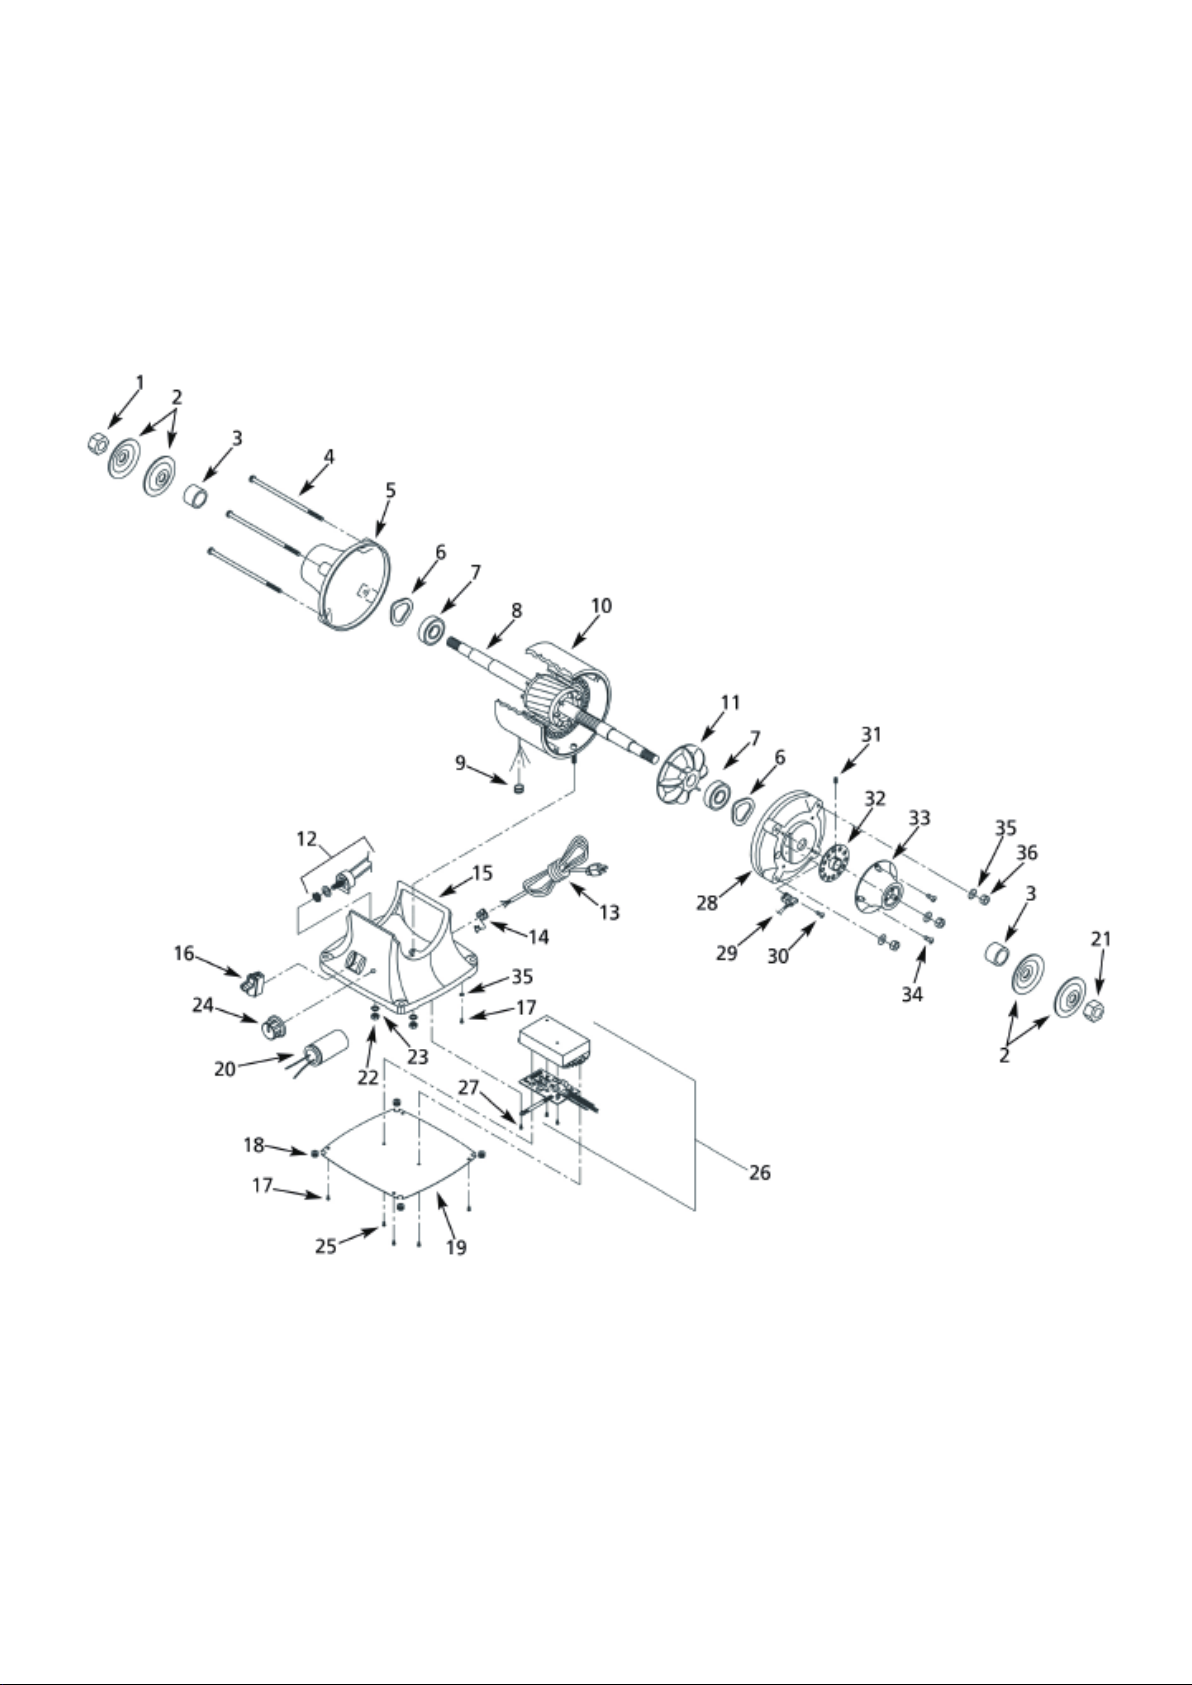
Magnum Industrial MI-14150 User manual

MODEL NO.: MI-14150、MI-14350
OPERATING MANUAL
MI-14350_8'' POLISHER GRINDER
MI-14150_6'' POLISHER GRINDER

Description
Buffers are equipped with a totally enclosed ball bearing motor.Armature assembly is dynamically balanced for smooth op-
eration. Motor housing is compact so long pieces of work can press against both buffing wheels without touching the motor
frame. Buffing wheels are included
The 6” Buffer, MI-14150, operates at a single speed of 3600 rpm. The 8” Buffer, MI-14350, operates at 3600 rpm and also
can be operated at any speed from 2000 to 3300 rpm.
Unpacking
Check for shipping damage. If damage has occurred, a claim must be filed with the carrier immediately. Check for com-
pleteness. Immediately report missing parts to dealer.
Specifi cations
Model HP RPM AMPS Volts Hz
MI-14150 1/2 3600 5.0 115 60
MI-14350 3/4 3600 7.0 115 60
MI-14350 Variable
speed range ....2000-3300; 3600 RPM
SIZES
MI-14150: 6” Dia., 1/2” Bore
MI-14350: 8” Dia., 5/8” Bore
General Safety Information
WARNING For your own safety, read operating instructions manual before operating tool.
BE PREPARED FOR JOB
1. Wear proper apparel. Do not wear loose clothing, gloves, neckties, rings, bracelets or other jewelry which may get caught
in moving parts of machine.
2. Wear protective hair covering to contain long hair.
3. Wear safety shoes with non-slip soles.
4. Wear safety glasses complying with United StatesANSI Z87.1. Everyday glasses have only impact resistant lenses. They
are NOT safety glasses.
5. Wear face mask or dust mask if operation is dusty.
6. Be alert and think clearly. Never operate power tools when tired, intoxicated or when taking medications that cause
drowsiness.
PREPARE WORK AREA FOR JOB
1. Keep work area clean. Cluttered work areas invite accidents.
2. Do not use power tools in dangerous environments. Do not use power tools in damp or wet locations. Do not expose
power tools to rain.
3. Work area should be properly lighted.
4. Proper electrical plug should be plugged directly into properly grounded, three-prong receptacle.
5. Extension cords should have a grounding prong and the three wires of the extension cord should be of the correct gauge.
6. Keep visitors at a safe distance from work area.
7. Keep children out of the workplace. Make workshop childproof. Use padlocks, master switches or remove switch keys to
prevent any uninten- tional use of power tools.
TOOL SHOULD BE MAINTAINED
1.Always unplug tool prior to inspection.
2. Consult manual for specific maintain- ing and adjusting procedures.
3. Keep tool clean for safest operation.
4. Remove adjusting tools. Form habit of checking to see that adjusting tools are removed before turning machine on.
5. Keep all parts in working order. Check to determine that the guard or other parts will operate properly and per- form their

intended function.
6. Check for damaged parts. Check for alignment of moving parts, binding of moving parts, breakage of parts, mounting and
any other condition that may affect a tool's operation.
7. Do not perform makeshift repairs. (Use the parts list to order repair parts.)
KNOW HOW TO USE TOOL
1. Use right tool for job. Do not force tool or attachment to do a job for which it was not designed.
2. Disconnect tool from power when changing accessories such as bufng wheels and the like.
3. Avoid accidental start-up. Make sure that the switch is in the OFF position before plugging in.
4. Do not force tool. It will work most efciently at the rate for which it was designed.
5. Keep hands away from moving parts and bufng surfaces.
6. Never leave a tool running unat- tended. Turn the power off and do not leave tool until it comes to a com- plete stop.
7. Do not overreach. Keep proper footing and balance.
8. Never stand on tool. Serious injury could occur if tool is tipped over.
General Safety Information (Continued)
9. Know your tool. Learn the tool's operation, application and specic limitations.
10. Use recommended accessories. Understand and obey all safety instructions supplied with
accessories. The use of improper accessories may cause risk of injury to persons.
11. Do not over tighten wheel nut. Use only anges supplied with the buer.
12. Handle the workpiece correctly.
Assembly
Refer to Figures 3 and 4.
Buer comes completely assembled with hex nuts, wheel anges and spacers (Ref. Nos. 1, 2, 3 and
11) packed sepa- rately. One spiral sewn wheel and one soft wheel are included.
IMPORTANT:
Do not attempt assembly if parts are missing. Use this manual to order repair parts.
INSTALL BUFFING WHEELS
To install bung wheels on the buer:
1. Remove plastic protective sleeves from armature shaft.
2. Slide spacer (Ref. No. 3) onto arma- ture shaft.
3. Slide inner wheel ange (Ref. No. 2) onto armature shaft.
4. Slide in bung wheel on to the armature shaft and butt it against the inner wheel ange.
5. Slide in the outer wheel ange and butt the at side of the ange against the bung wheel.
6. Tighten hex nut (Ref. No. 1) on to the armature shaft. Make sure the bung wheel is rmly held in
place and the hex nut is snug against the outer wheel ange. Use additional spacers (not supplied)
if required.
7. Repeat steps 1-6 to install bung wheel on the other side of the buer.
Installation
MOUNT BUFFER
1. Mount buer to a solid horizontal sur- face (hardware not provided). If mounted to metal pedestal,
align mounting holes with corresponding holes in pedestal. Insert a 1/4-20 x 14" hex head bolt with
at washer through base of buer. From bottom of pedestal, place a 1/4" at washer and 1/4"-
20 hex nut onto the bolt. Tighten only until space between buer base and pedestal is 1/8". Using
second nut on each bolt, jam tighten against the rst to prevent loosening by vibration.
2. To mount buer to wooden bench top, use 1/4 x 14" wood screws with at washers beneath heads.
Tighten screws until space between buer base and bench top is 1/8".

GROUNDING INSTRUCTIONS
WARNING Improper connection lof equipment grounding conductor can result in the risk
of electrical shock. Equipment should be grounded while in use to pro- tect operator from
electrical shock.
Check with a qualied electrician if grounding instructions are not under- stood or if in doubt as to
whether the tool is properly grounded.
This buer is equipped with an approved 3-conductor cord rated at 300V and a 3-prong, grounding
type plug (See Figure 1) for your protection against shock hazards.
Grounding plug should be plugged directly Into a properly installed and grounded 3-prong grounding-
type receptacle (See Figure 1).
Figure 1-3-Prong Receptacle
Do not remove or alter grounding prong in any manner. In the event of a malfunction or breakdown,
grounding provides a path of least resistance for electrical shock.
WARNING
Do not permit n-gers to touch the terminals of plug when installing or removing from outlet.
Plug must be plugged into matching out- let that is properly installed and ground- ed in accordance
with all local codes and ordinances. Do not modify plug provid- ed. If it will not fit In outlet, have
proper outlet Installed by a qualled electrician. Inspect tool cords perlodically, and, If damaged, have
repalred by an authorized service facility.
Green (or green and yellow) conductor In cord is the grounding wire. If repair or replacement of
the electric cord or plug is necessary, do not connect the green (or green and yellow) wire to a live
terminal.
Where a 2-prong wall receptacle is encountered, it must be replaced with a properly grounded 3-prong
receptacle installed in accordance with National Electric Code and local codes and ordi- nances. A
WARNING This work should be performed by a qual- ied electrician.
Installation (Continued)
A temporary 3-prong to 2-prong ground- ing adapter (See Flgure 2) Is avallable for connecting plugs
to a two it is properly grounded.
Figure 2-2-Prong Receptacle
Do not use a 3-prong to 2-prong ground- ing adapter unless permitted by local and national codes
and ordinances. (A 3-prong to 2-prong grounding adapter is not permitted in Canada.) Where per-
mitted, the rigid green tab or terminal on the side of the adapter must be securely connected to a
permanent electrical ground such as a properly grounded water pipe, a properly grounded outlet
box or a properly grounded wire system. Many cover plate screws, water pipes and outlet boxes are
not properly grounded. To ensure proper ground, grounding means must be tested by a qualified
electrician.

EXTENSION CORDS
1. The use of any extension cord will cause some drop in voltage and loss of power.
2. Wires of the extension cord must be of sucient size to carry the current and maintain adequate
voltage.
3. Running the unit on voltages which are not within ±10% of the specied voltage may cause
overheating and motor burnout.
4. Use the table to determine the mini- mum wire size (A.W.G.) extension cord.
5. Use only 3-wire extension cords having 3-prong grounding type plugs and 3- pole receptacles
which accept the tool plug.
6. If the extension cord is worn, cut or dam- aged In any way, replace it immediately.
EXTENSION CORD LENGTH
Wire Size A.W.G.
Up to 25 ft.________18
25 ti 50 ft._________16
NOTE: Using extension cords over 50 ft. long is not recommended.
ELECTRICAL CONNECTIONS
WARNING All electrical connec- tions must be per- formed by a qualified electrician.
Make sure tool is o and disconnected from is mounted, power source while mc connected,
reconnected or anytime wiring is inspected.
Motor is assembled with approved, 3-conductor cord to be used at 120 volts only. Buffers are
prewired at the factory for 120 volts.
Operation
WARNING Always wear safety glasses complying with United States ANSI Z87.1 (shown on
package) before commencing power tool operation. Safety glasses are avail- able through
your Grainger catalog.
1. Keep a steady, moderate pressure on the work and keep it moving at an even pace for smooth
bung.
2. Pressing too hard overheats the motor and prematurely wears down the bu- ing wheels.
3. The bung wheel should rotate into object being bued.
4. Dip work into a coolant regularly to prevent overheating. Overheating can weaken metals.
Maintenance
1. Replacement wheels must have a mini- mum rated speed of 3600 RPM.
2. Maximum wheel diameter is 6" for MI-14150 and 8" for MI-14350.
3. Disconnect unit from power source before replacing bung wheels or before performing any
maintenance work.
4. The threads on the right side of the buer (facing unit) are right hand; threads on the left side are
left hand. Hold the wheels rmly to loosen the
5. Make sure hex nuts are tight and snug against the outer wheel ange prior to restarting buer.

PARTS LIST FOR MI-14150

ITEM NO. DESCRIPTION Q'ty
MI-14150-01 1/2"-12 Hex nut (LH Thread) 1
MI-14150-02 Wheel flange 4
MI-14150-03 Spacer 2
MI-14150-04 5-0.8mm Hex nut 4
MI-14150-05 #10 Serrated washer 5
MI-14150-06 Endshield 2
MI-14150-07 6202ZZ Bearing 2
MI-14150-08 Motor fan 1
MI-14150-09 Armature 1
MI-14150-10 Stator with housing 1
MI-14150-11 1/2"-12 Hex nut 1
MI-14150-12 Grommet 1
MI-14150-13 Line cord 1
MI-14150-14 Strain relief 1
MI-14150-15 Base 1
MI-14150-16 Switch with key 1
MI-14150-17 #10-24x1/4" Pan head screw 7
MI-14150-18 Bumper 4
MI-14150-19 Cover 1
MI-14150-20 Capacitor 1
MI-14150-21 Wavy washer 2
MI-14150-22 1/4"-20 Hex nut 2
MI-14150-23 1/4" Lock washer 2
MI-14150-24 5-0.8x200mm Flange screw 4
▲Spiral sewn buffing wheel 1
▲Soft buffing wheel 1
Recommended Accessories
▲Cast iron tool stand 1
▲Cotton buffing wheel 1
▲Soft buffing wheel 1
PARTS LIST FOR MI-14150

PARTS LIST FOR MI-14350

ITEM NO. DESCRIPTION Q'ty
MI-14350-01 5/8"-12 Hex nut (LH Thread) 1
MI-14350-02 Wheel flange 4
MI-14350-03 Spacer 2
MI-14350-04 5-0.8mm x Flange screw 4
MI-14350-05 Endshield 1
MI-14350-06 Wavy washer 2
MI-14350-07 6202ZZ Bearing 2
MI-14350-08 Armature 1
MI-14350-09 Grommet 1
MI-14350-10 Stator with housing 1
MI-14350-11 Motor fan 1
MI-14350-12 Variable switch 1
MI-14350-13 Line cord 1
MI-14350-14 Strain relief 1
MI-14350-15 Base 1
MI-14350-16 Switch with key 1
MI-14350-17 #10-24x1/4" Pan head screw 5
MI-14350-18 Bumper 4
MI-14350-19 Cover 1
MI-14350-20 Capacitor 1
MI-14350-21 5/8" - 11 Hex nut 1
MI-14350-22 1/4"-20 Hex nut 2
MI-14350-23 1/4" Lock washer 2
MI-14350-24 Knob 1
MI-14350-25 4-1.4 x 8 mm Thread forming screw 2
MI-14350-26 Circuit board assembly 1
MI-14350-27 4-0.7 x 8 mm Thread forming screw 1
MI-14350-28 Endshield 1
MI-14350-29 Sensor 1
MI-14350-30 3-0.5 x 6 mm Pan head screw 2
MI-14350-31 4-0.7 x 5 mm Set screw 1
MI-14350-32 Plate 1
MI-14350-33 Endshield cap 1
MI-14350-34 #10-24 x 3/8" Flange screw 4
MI-14350-35 #10 Serrated washer 5
MI-14350-36 5-0.8 mm Hex nut 4
Recommended Accessories
▲Cast iron tool stand 1
▲Cotton buffing wheel 1
▲Soft buffing wheel 1
PARTS LIST FOR MI-14350
This manual suits for next models
1
Table of contents
Other Magnum Industrial Grinder manuals
Popular Grinder manuals by other brands

EINHELL
EINHELL TE-DS 20 E Original operating instructions

Ingersoll-Rand
Ingersoll-Rand CD Series Maintenance information

Makita
Makita GD0602 instruction manual

Husqvarna
Husqvarna SG13HB CE / 966042701 parts manual

Ferm
Ferm FSMW-150 user manual

Hyundai power products
Hyundai power products HYAG2000E instruction manual